Inventory : Configuration: Warehouse Management
Purpose
This document provides instructions and illustrate how to manage warehouses, locations, operations, and routes features in the Inventory application of Odoo 16.
Process
To get started, navigate to the Inventory application.
Warehouses
Go to CONFIGURATION > WAREHOUSES. On a new database, you would see a warehouse already created for the current company. Odoo will name the warehouse with the company's name by default. Odoo gives the option to change the warehouse name easily during the creation mode.
Click on a warehouse from the list.

Next, give this warehouse a long name and a short name.
Warehouse: This field will allow users to change the name of the warehouse.
Short Name: Help users and Odoo keep track of categories, locations, and transactions within the program. When creating short name remember the characters are limited to only five.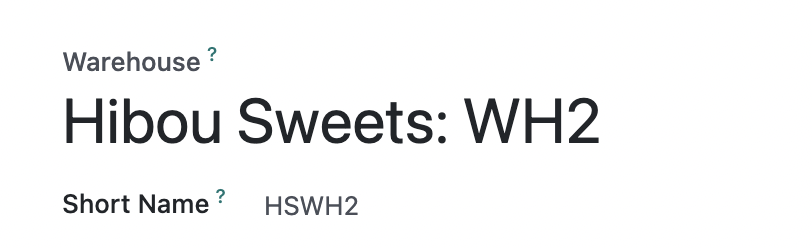
Important!
Odoo will automatically create and list several locations nesting under each warehouse users create. These locations are within the Inventory application by their parent location, which will be represented by your warehouse's short name. So, what is placed in that field is important for future workflows.
Address: The address will allow users to define the location address of this particular warehouse.
Input your warehouse's physical address by selecting an existing contact for the warehouse location from the Address dropdown or creating a new one.
Repeat this process for all warehouses that were created by Odoo automatically or created by a user.
Good to Know!
Not a New Database?
If you're working an an already-established database, you may see other sections and tabs. Don't worry about this in this step, those areas will be covered in other pages of the Inventory documentation.
Locations
Think of Locations like sub-sections of the Warehouses. These can be broken down into specific rows, bins, or aisles, so warehouse employees know exactly where to go to complete pickings, inventory, or stock moves.
To access your Locations, go to CONFIGURATION > LOCATIONS.
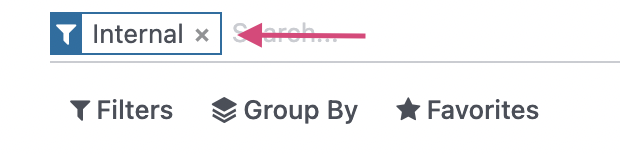
When first landing on the Locations page, the Internal filter will be in the Search bar at the top right of the screen. Click the icon to remove this filter and see all locations.
If this is the first time you are creating any Locations, then you will only see the Locations created by Odoo based on the Warehouses you created above.
For the purposes of explaining the different types of Locations, we will show you an example below of what this page looks like when there are multiple Warehouses and Locations present.
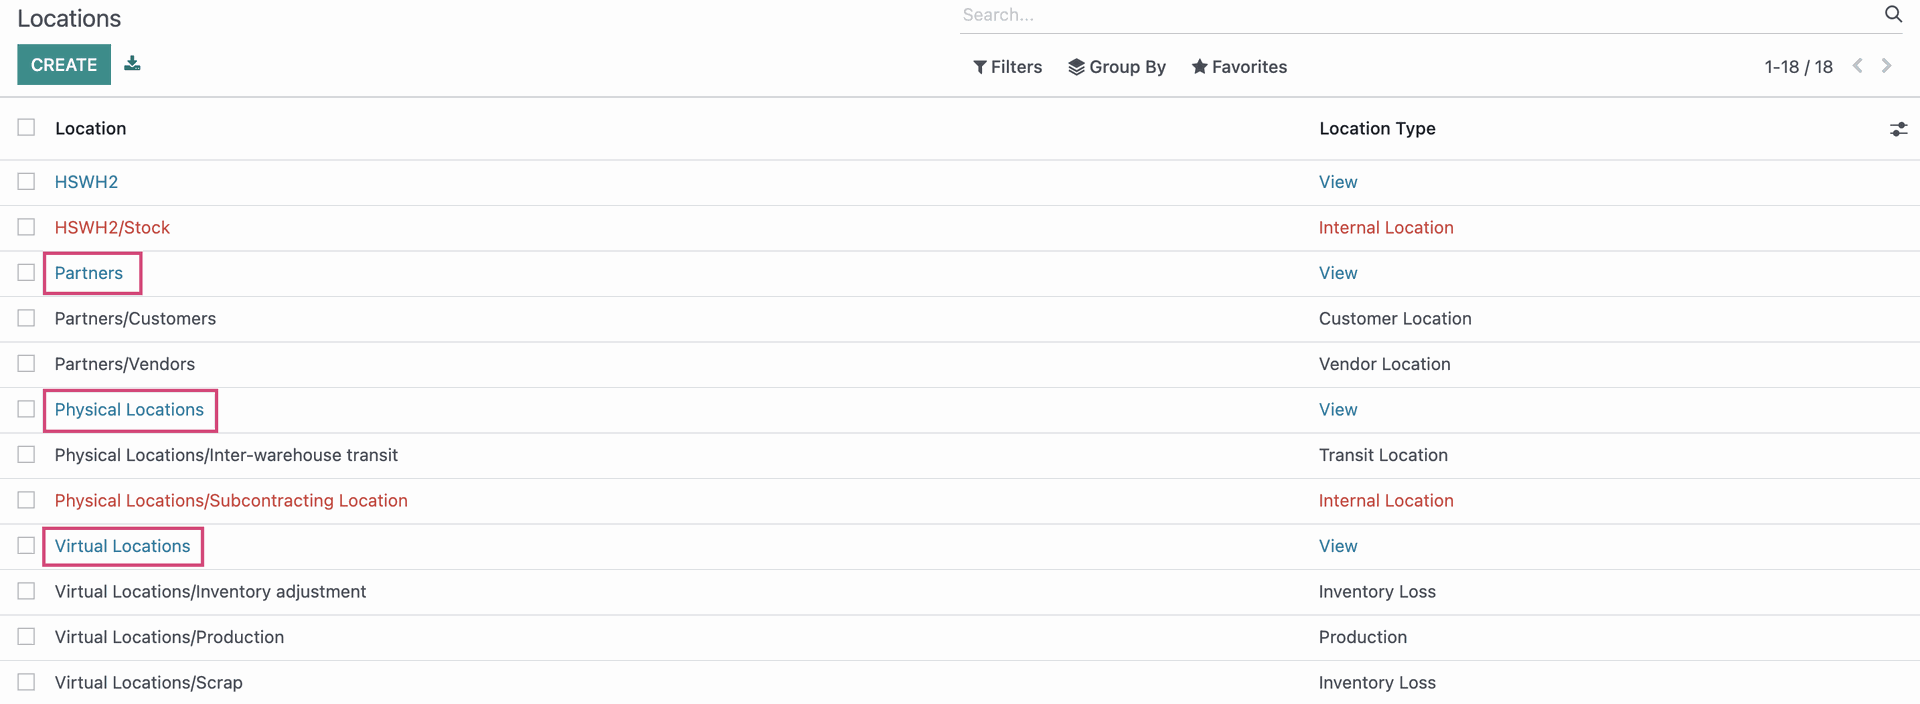
Different location types are color-coded and organized accordingly. You can see the Location Type in the right-hand column.
Blue: The View location type is used as a way to organize all of the locations underneath it.
In the highlighted example above, this View location is not a physical location within your warehouse but rather a Partner location (a view that organizes the locations outside of your warehouses where you deliver goods to or receive goods from). Additionally, every time you create a new warehouse, it automatically creates a View location for it that houses all of the other locations inside of that warehouse.
Red: Internal locations are physical locations within your warehouse.
Black: All other location types are colored black and will be covered in detail below.
To make a new location, click CREATE. On the following page, you will be able to input your location details:
Location Name: Input a location name that represents what the location is.
Parent Location: This is the warehouse that houses the location you're creating. Select it from the dropdown menu.
Location Type: This will allow users to designate what type of location and what type of transactions will come through each warehouse created in particular.
Vendor Location: This is a virtual location, meaning it's not associated with a physical location you control. This only represents the designated location for products that are received for tracking purposes.
Customer Location: Users can use this virtual location to track goods that are going out to customers.
Inventory Loss: This location is used to balance stock moves and to correct stock levels when products turn up missing.
Production: This location receives raw materials for goods to be produced. Once produced, finished products are moved from this inventory location.
Transit Location: These locations are used to designate inventory that is in transit.
View: This location type is used to organize the locations underneath it for easy location management.
Internal Location: These locations are used for internal areas within your warehouses for stock moves.
Is a Scrap Location?: If checked, this option will designate a location as being able to receive defective or scrapped goods for processing.
Is a Return Location?: If checked, this option will designate a location as being able to receive returns from customers.
Is a Subcontracting Location?: Check this box to create a new dedicated subcontracting location for this company.
Barcode: If using Barcode, you can set the location scan code here.
Replenish Location: Activate this function to get all quantities to replenish at this particular location.
Removal Strategy: This determines how products will be removed from stock. This can be set on the Product Category as well. The options are:
First In First Out (FIFO): This will pull product that was entered into stock first so that stock rotates itself out.
Last In First Out: (LIFO): This will pull product that was most recently put into stock.
Closest Location: This option will pull product from whichever location is closest to the packing or shipping station.
- First Expiry First Out (FEFO): This will pull product with the closest removal date. This setting is dependent on the "Expiration Dates" setting.
Cyclic Counting:
Inventory Frequency in Days: Determine the number of days between inventories for this location.
Last Effective Inventory: Date of last inventory on this location.
Next Expected Inventory: Date of next inventory for this location.
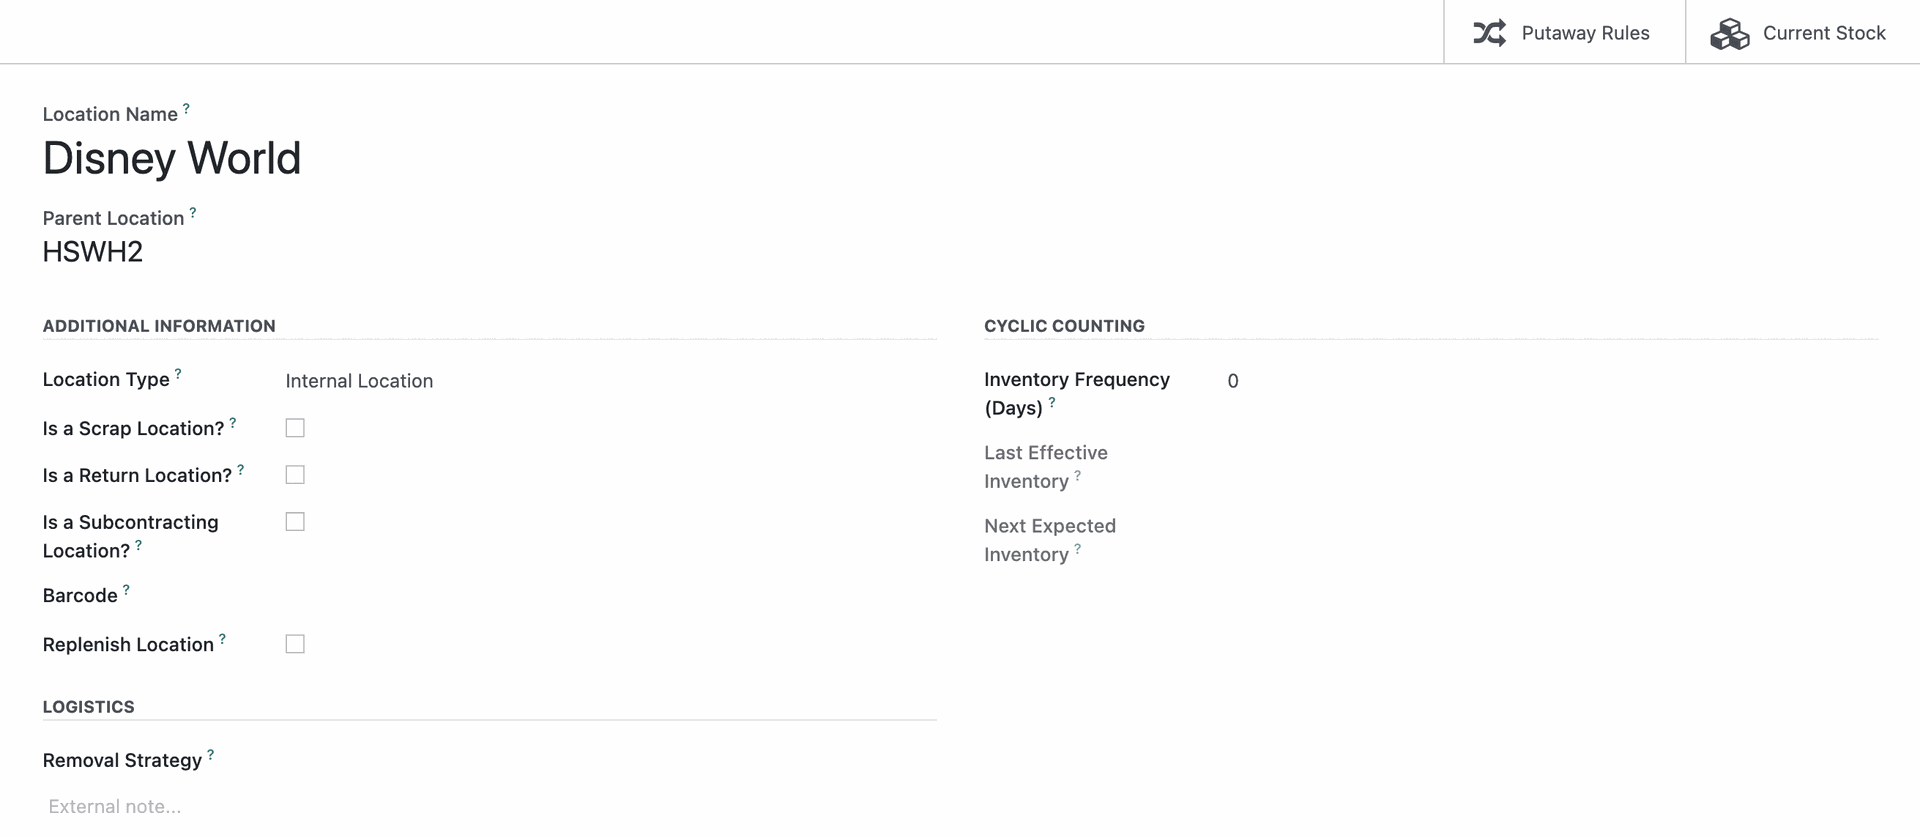

Putaway Rules
Putaway Rules: Allows users to choose how and where products will be stored, or transferred to after receiving inventory.

Current Stock: Allows users to review all current stock levels. Here users can also see how products are specifically packaged or stored, how many units reserved for open orders, including the unit of measure for the product.

Operations Types
Operations Types allow you to configure the rules for your Routes. Operation Types are created for warehouses automatically, and in general, these do not need modifying.
While the sequences that are used to create the operations are not configurable without assistance from the Hibou team, you have full access to configure the operations and set them up as needed from this area.
On the top menu, click CONFIGURATION > Operations Types, then click NEW.
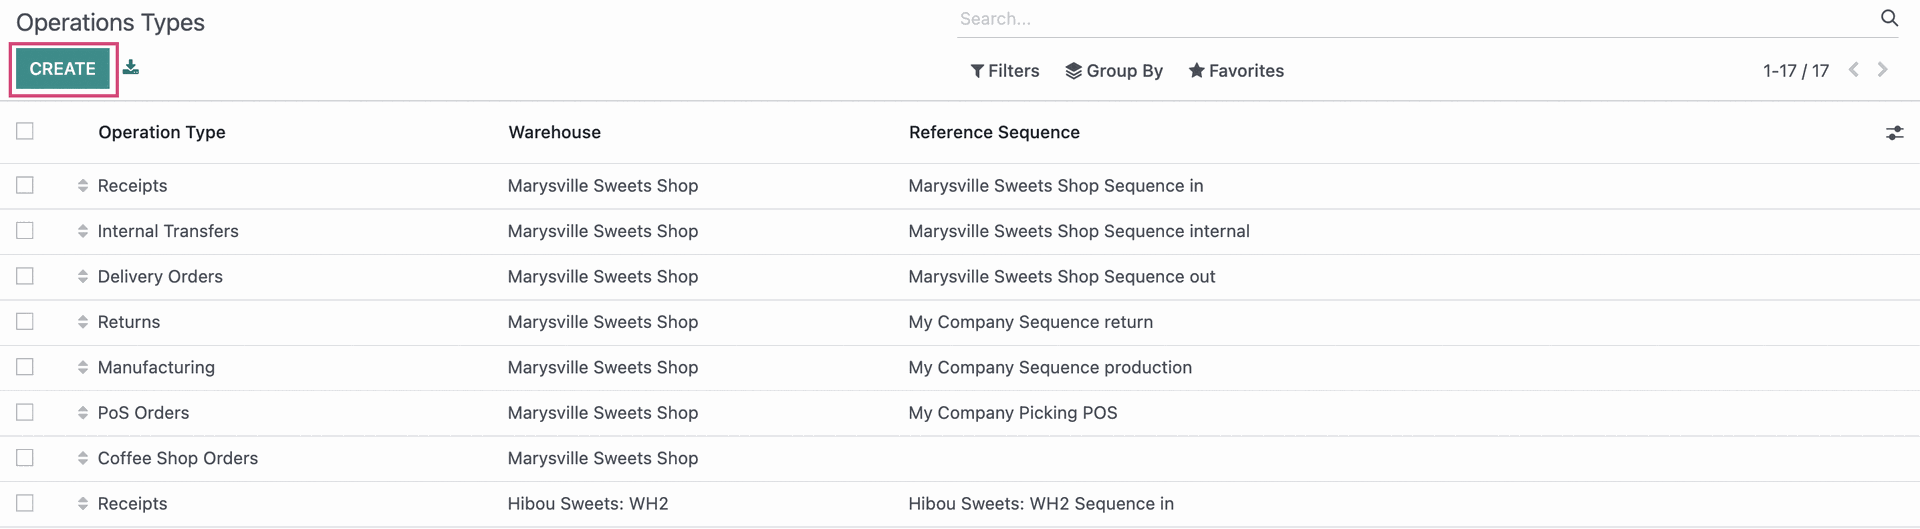
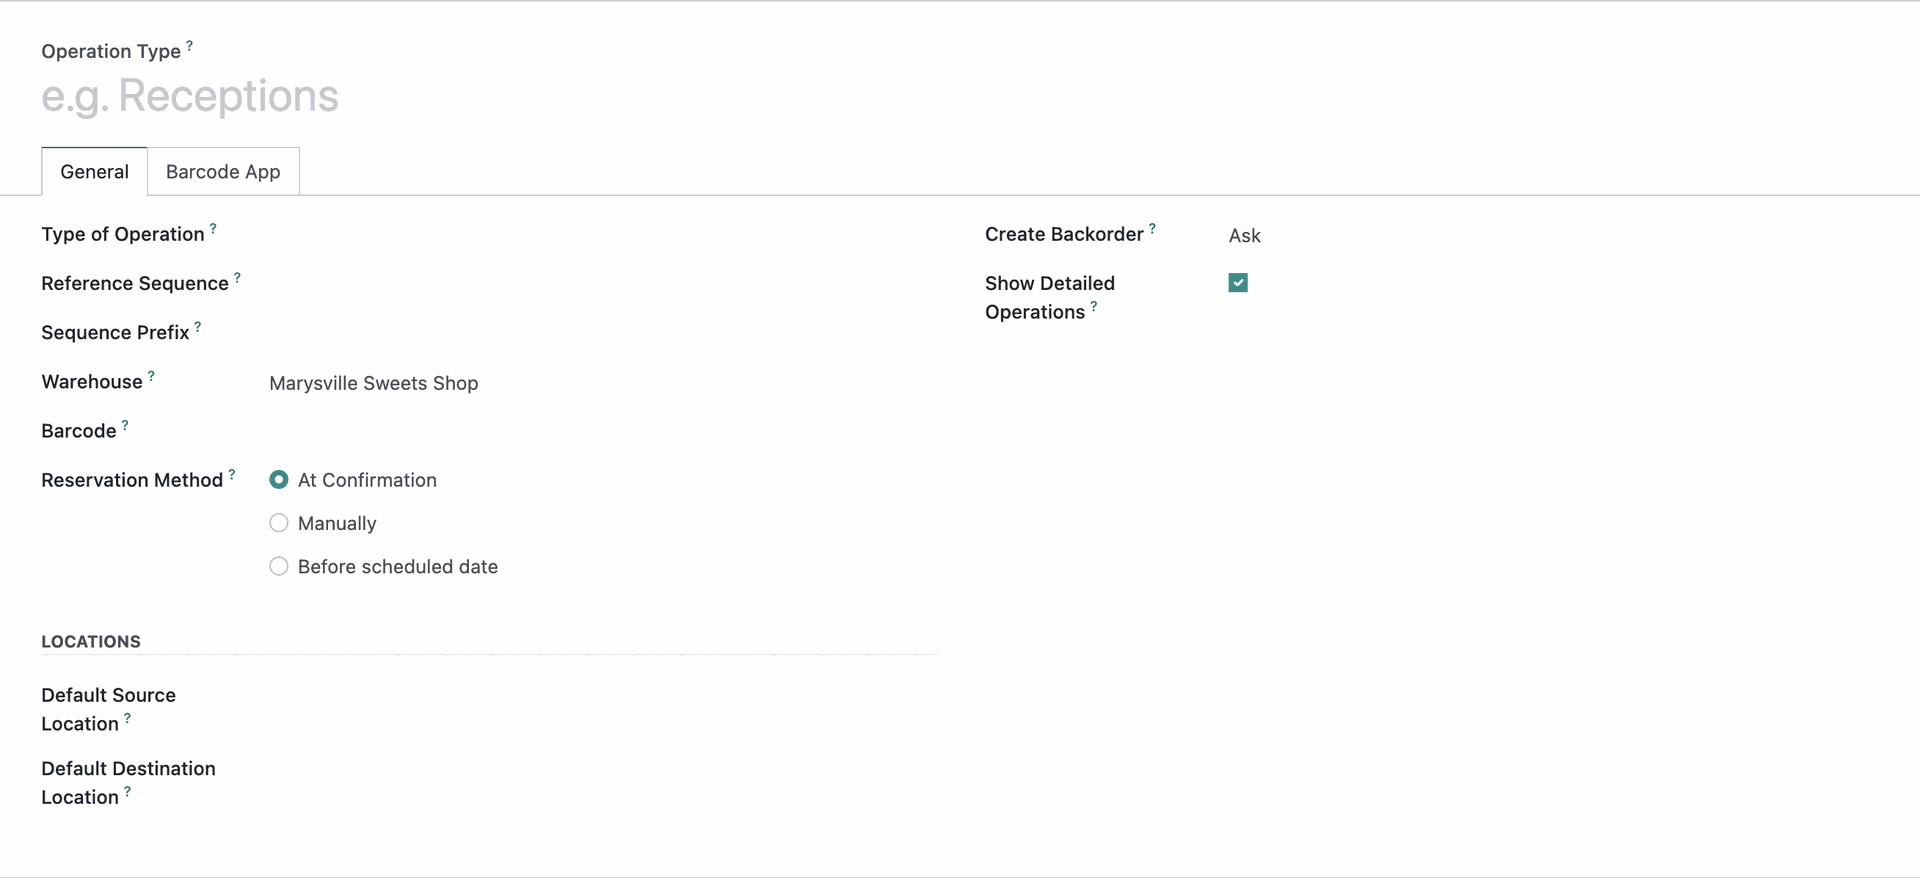
Once the Operations Types form opens you will be able to create your new operation type for this warehouse.
Operation Type: In this field, enter the operation type name. This is the name of the operation and it tells what kind of process this will be used. For this example, we named this Receipts, so we know this operation should be used for receiving inventory.
Important!
Don't Skip the Code
It's imperative to use a code your company will be familiar with using for operation types as this defines the actions taken for certain operations.
Barcode: If the Barcode app is installed, you can input the barcode details here.
Type of Operation: This allows users to specify if the operation is for Vendors, Customers, Internal, or Manufacturing Operations.
Receipt: This is the type of modal created when a purchase order is created.
Delivery: When a sales order is confirmed, the process will trigger a delivery record to be created automatically.
Internal Transfers: Allows users to move inventory throughout multiple locations within the warehouse, or multiple warehouses within the company database.
Manufacturing: This action operation typically takes place when products need to be created for use in the warehouse or to be sold to customers.
Sequence Prefix: Code.
Reservation Method: Select if products will be reserved when the transfer is confirmed, if products should be reserved manually, or if they should be reserved at a certain date.
Show Detailed Operations: By selecting this option, when processing transfers, you will be presented with a modal pop-up displaying more information about the location, serial number, packaging, products, and more.
Warehouse: Select Warehouse it is going to.
Locations
Default Source Location: This is the location the product will be coming from by default for this operation.
Default Destination Location: This is the location the product will be taken to by default for this operation.