Inventory : Operations: Inventory Adjustments
Purpose
The purpose of this document is to show you how to make Inventory Adjustments in the Inventory application of Odoo 14. This is necessary when the recorded quantity doesn't match the product on hand.
Process
To get started, navigate to the Inventory app.

Once there, click OPERATIONS > INVENTORY ADJUSTMENTS. The initial view will be a list of recorded Inventory Adjustments. To record a new Inventory Adjustment, click Create. You'll be presented with the following fields:
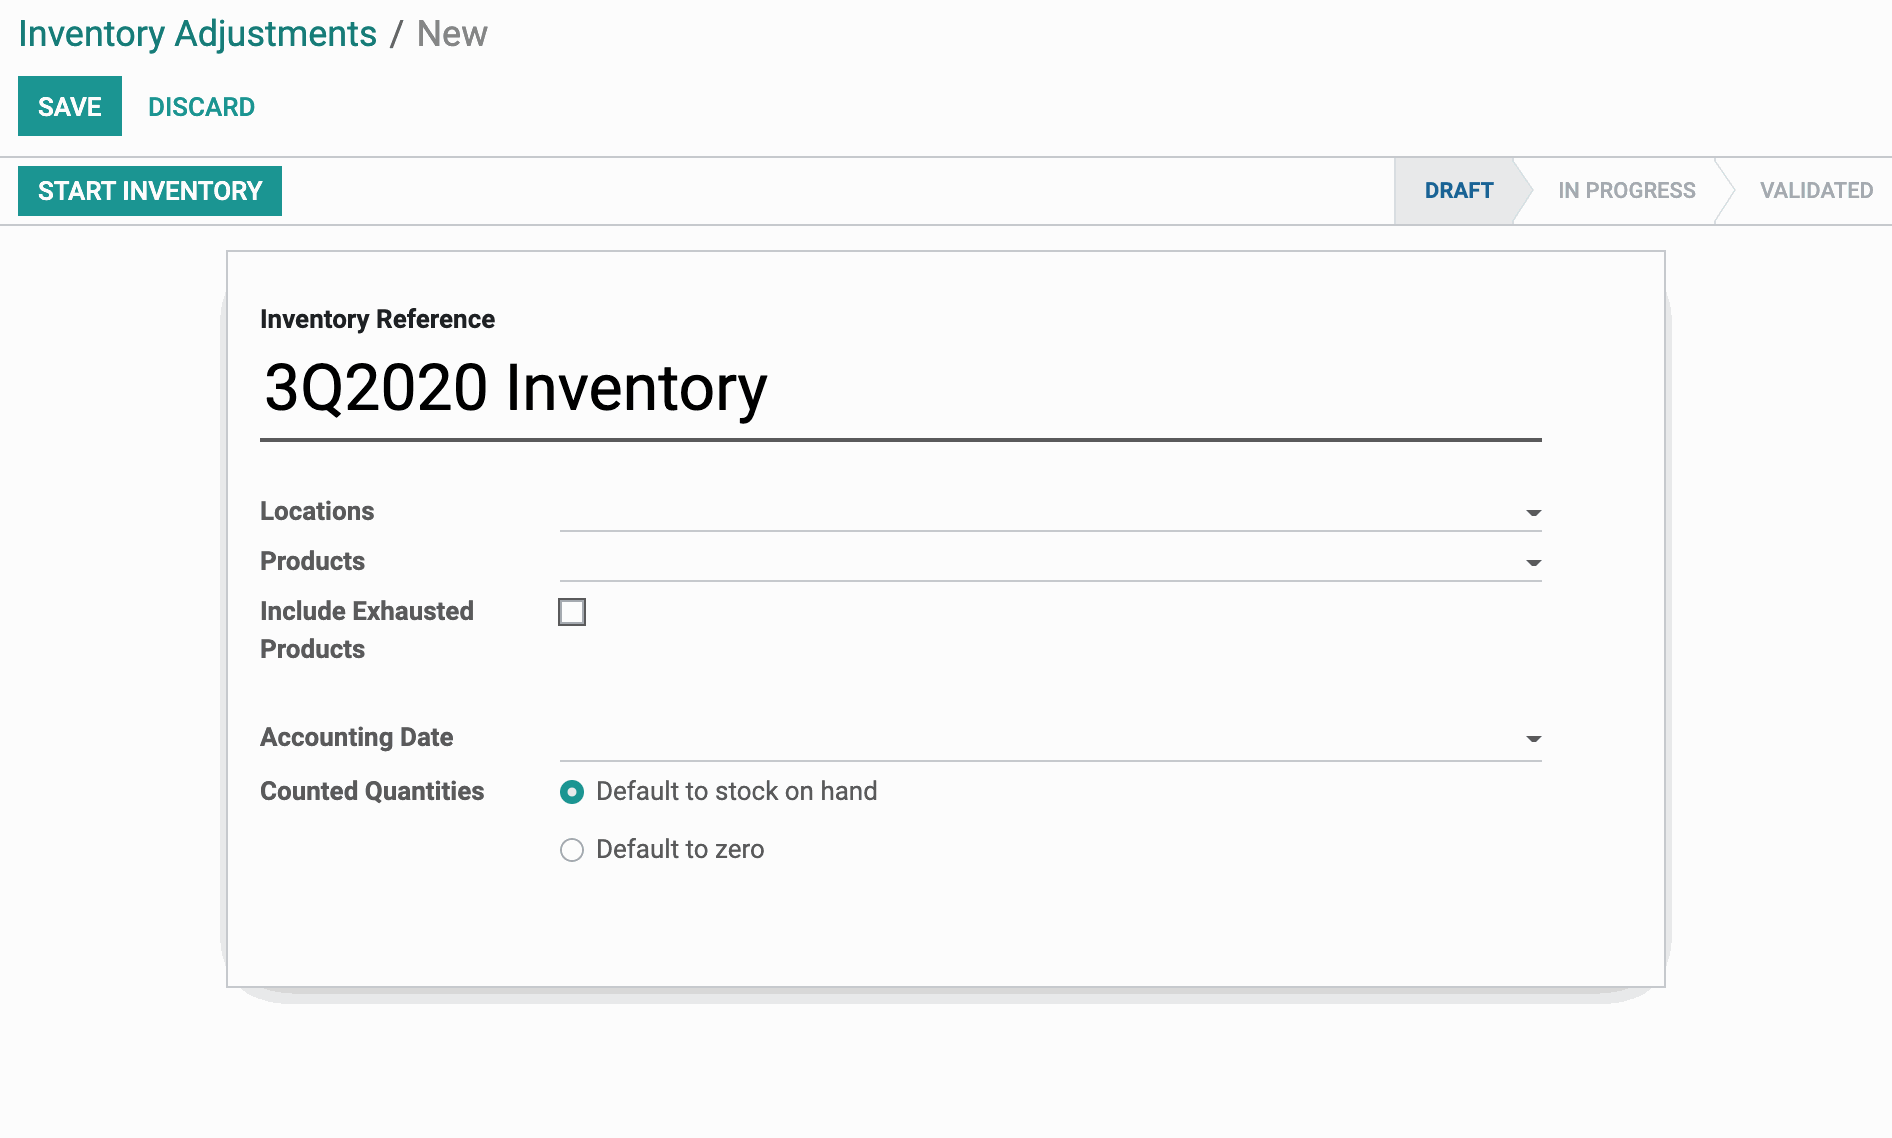
Inventory Reference: Enter the name, or reason, for the inventory adjustment. For example, for a planned inventory count for the third quarter, you might use "3Q2020 Inventory."
Locations: If needed, select the location(s) included in the count and affected by the adjustment. You can leave this field blank so that Odoo looks in all locations.
Products: If needed, select the product(s) included in the count and affected by the adjustment. You can leave this field blank if you want to do an inventory adjustment on all products.
Include Exhausted Products: Check this box if you would like exhausted products, i.e. products with a quantity of 0, included in your Inventory Adjustment.
Accounting Date: Enter the date at which the accounting entries will be created in case of automated inventory valuation. If this field is left empty, the inventory date will be used.
Counted Quantities: Enter the state of your initial quantities.
Default to stock on hand: This allows you to start with pre-filled counted quantities for each line.
Default to zero: This option sets all counted quantities to zero.
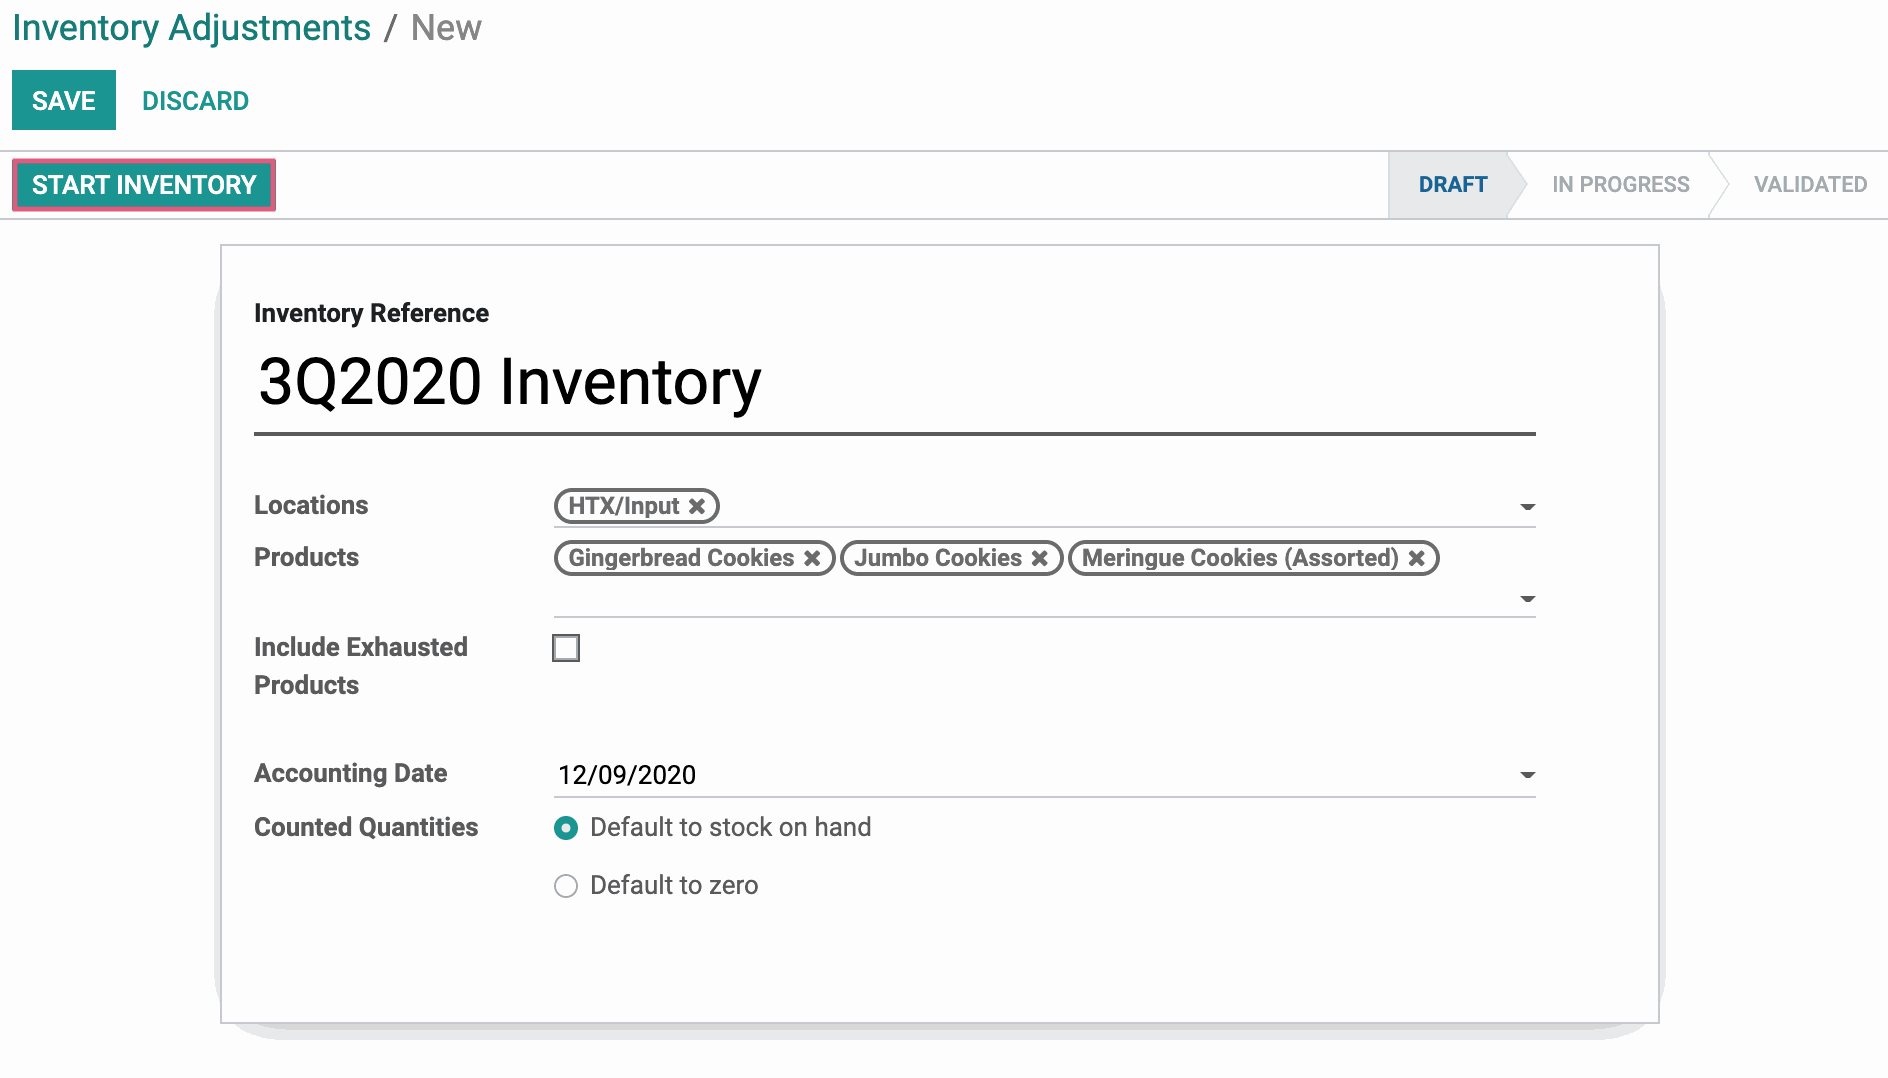
When you've filled in the necessary fields, click Start Inventory.
In the below example, we're taking inventory of three cookie products in our bakery.
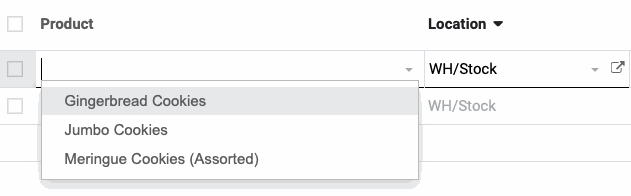
On the next screen, you'll be entering the quantities counted for each product selected on the previous screen. You may see lines for some or all of the products entered on the previous screen.

To add the other products, click Create and, in the Product field in the new line, select the product from the available entries.
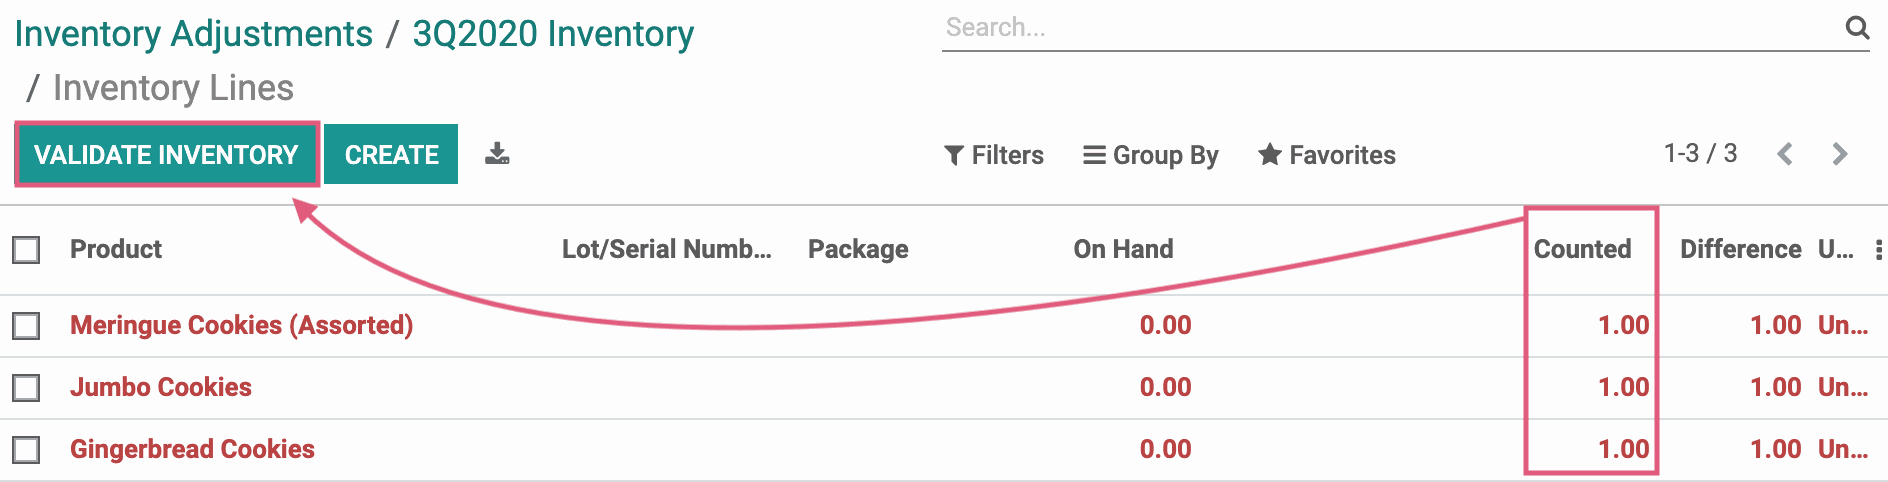
Next, in the Counted column, enter the Counted quantity of each product. Make sure you're recording in the correct Unit of Measure (UoM).
Note the text color of each line. When the Counted quantities don't match the quantity On Hand, the line will show as red text.
When you've adjusted the Counted quantities on all entries, click Validate Inventory.
You'll see a quick message flash in the corner stating that "The inventory has been validated."
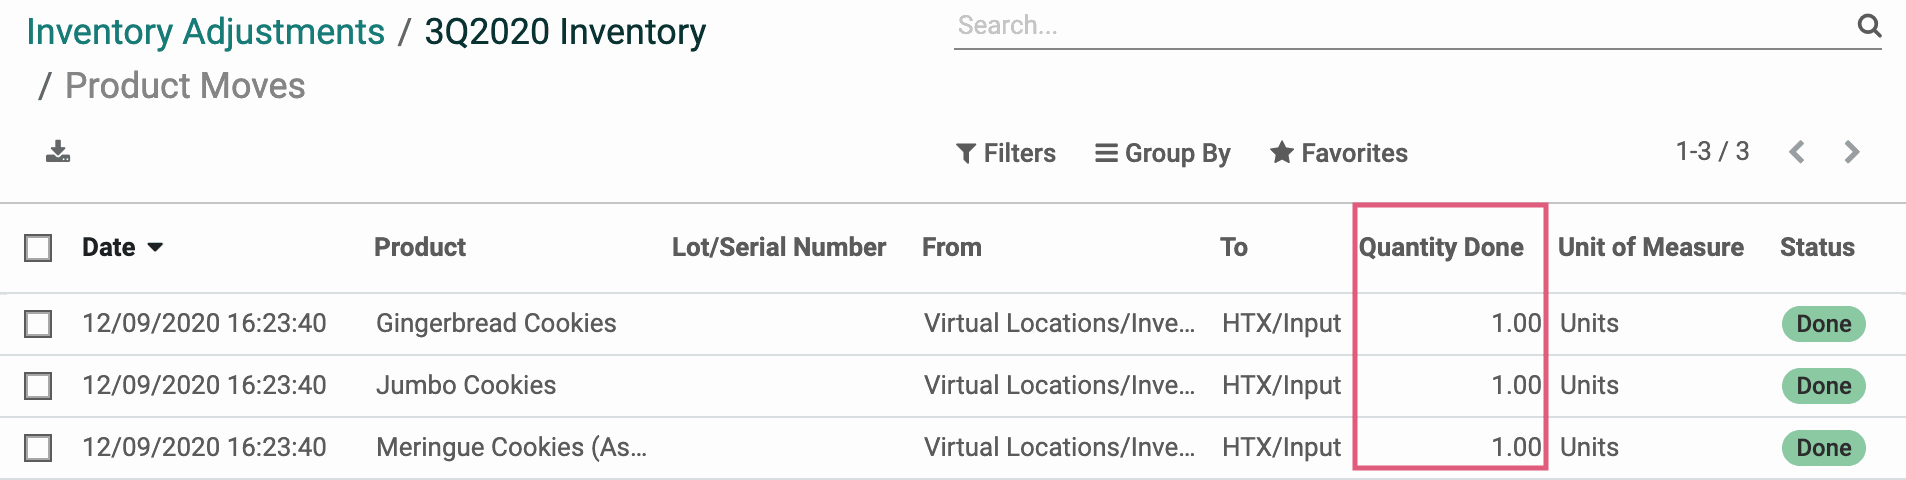
If your counted quantities did not match your previously recorded quantities, you can see the adjustments by clicking the Product Moves Smart Button.
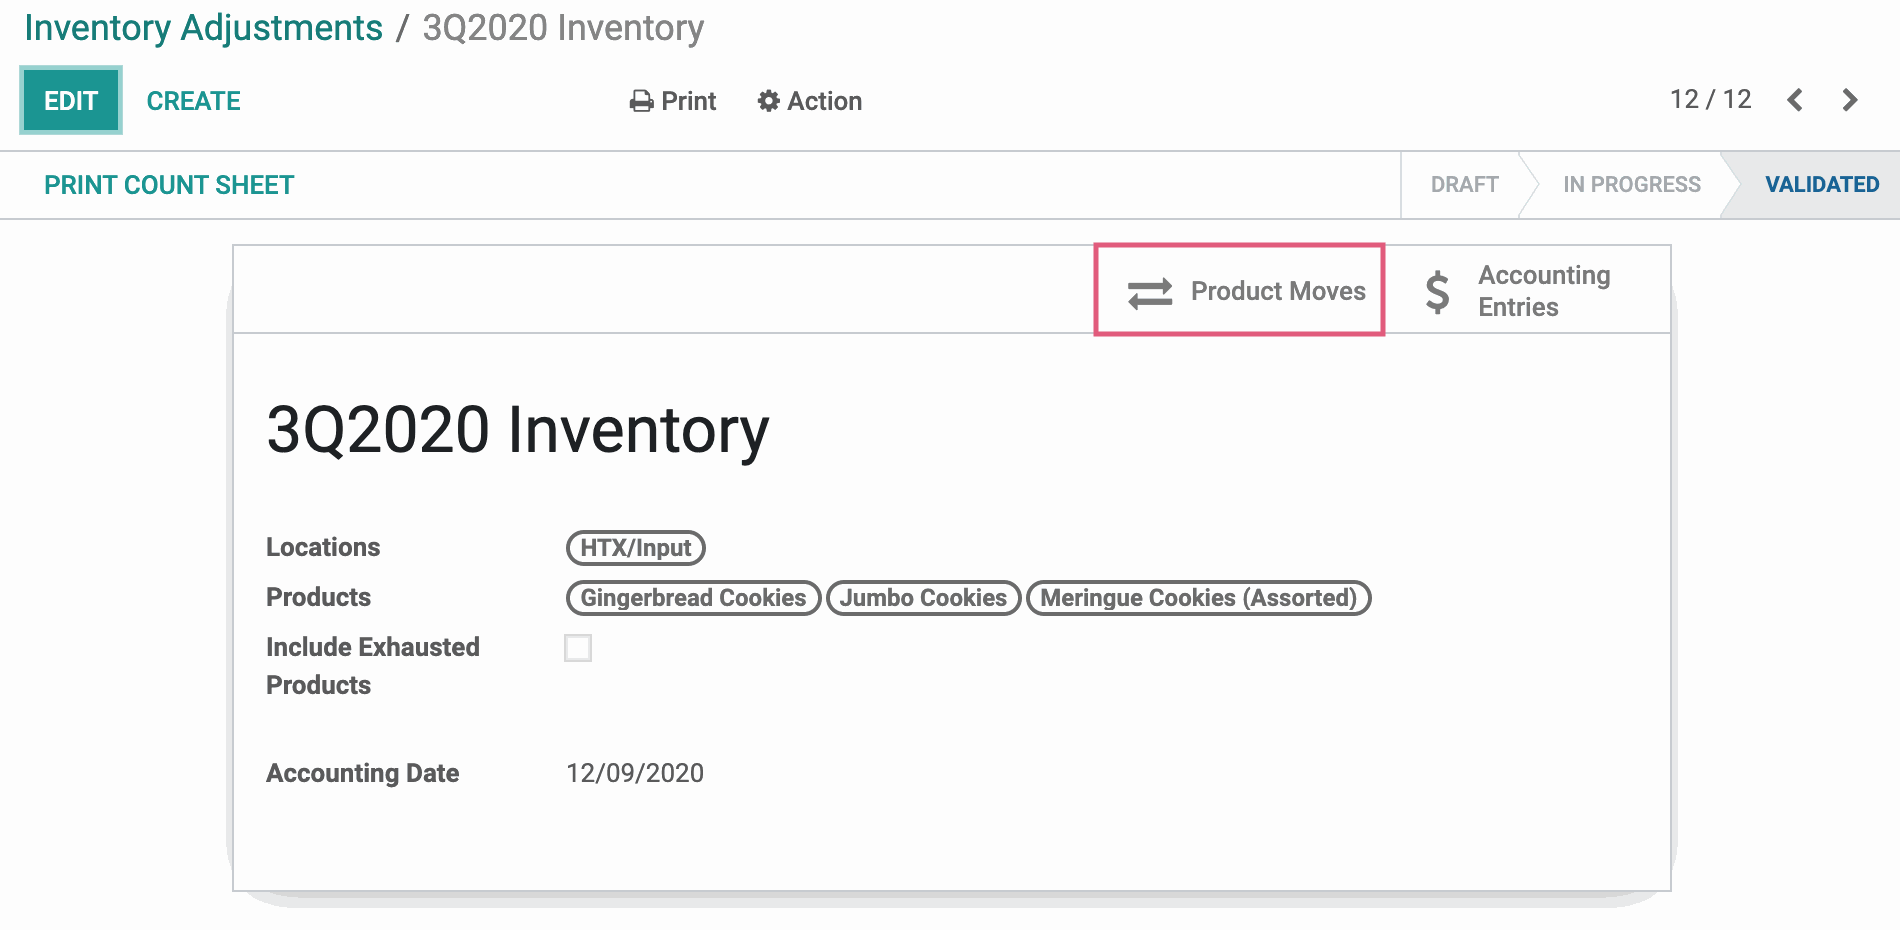
Because we adjusted the quantities for three products, those three products are now reflected in this Product Moves report.