Inventory : Barcodes: Processing Inventory Adjustments
Purpose
This documentation explains how to conduct an Inventory Adjustment in Odoo 14 using the Barcode application.
Process
To get started, navigate to the Barcode application.
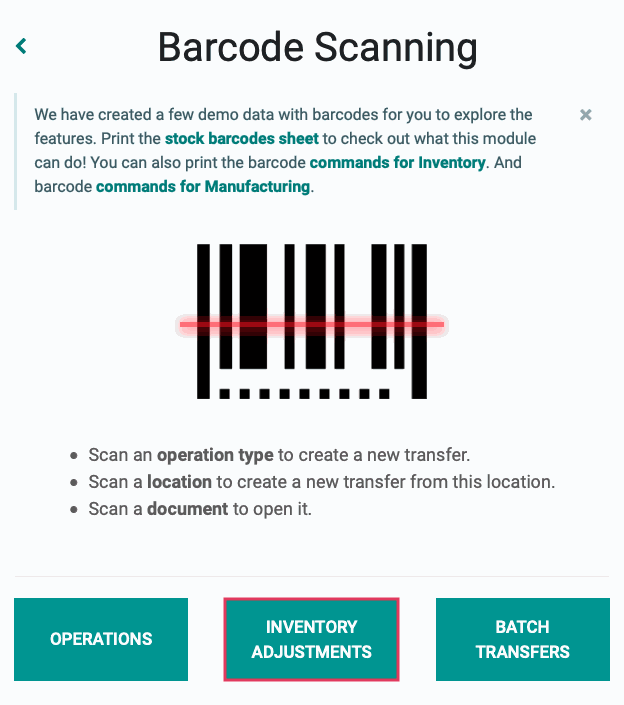
Inventory Adjustments
From this screen, select Inventory Adjustments.
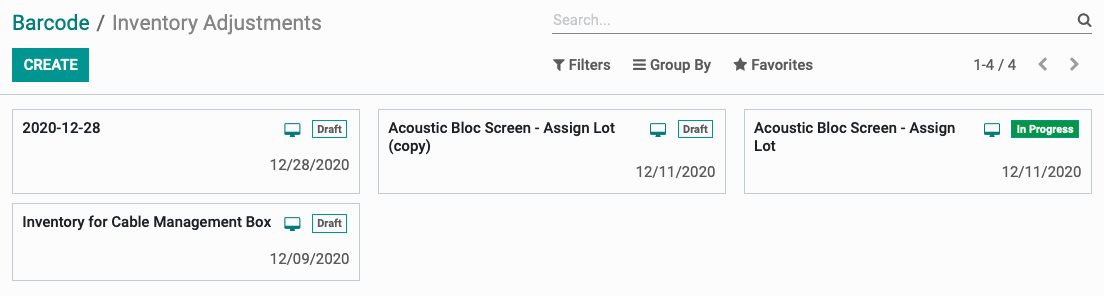
On the next page, select the adjustment you'd like to process, or click create to start a new one.
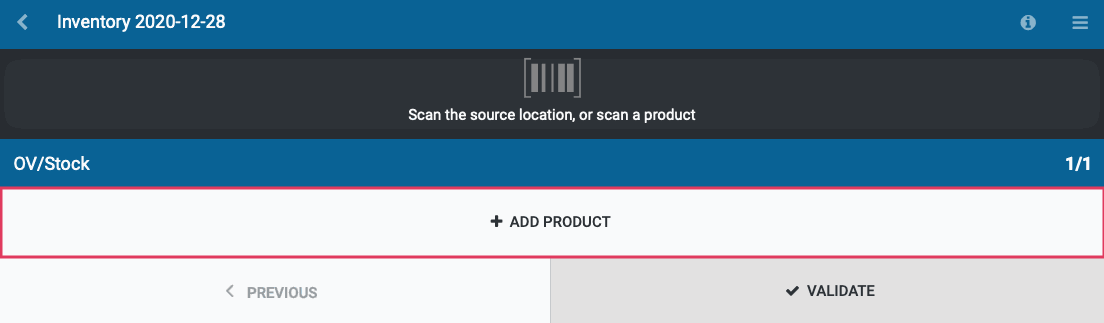
When you get to this screen, scan your Location barcode first, then scan the products you wish to include in the inventory adjustment.

Alternatively, you can add a product manually just as before by clicking Add Product.
When adding a product manually, this brings up a form with the following fields:
Product: Select the product from the list. If you don't see the product on the initial drop down, select Search More... to locate it.
Quantity: Enter the adjusted product quantity. Once confirmed, you will see the number of On Hand units change.
On Hand: The current quantity of units on hand for this product in the location selected.
Location: Select the location these products are located.
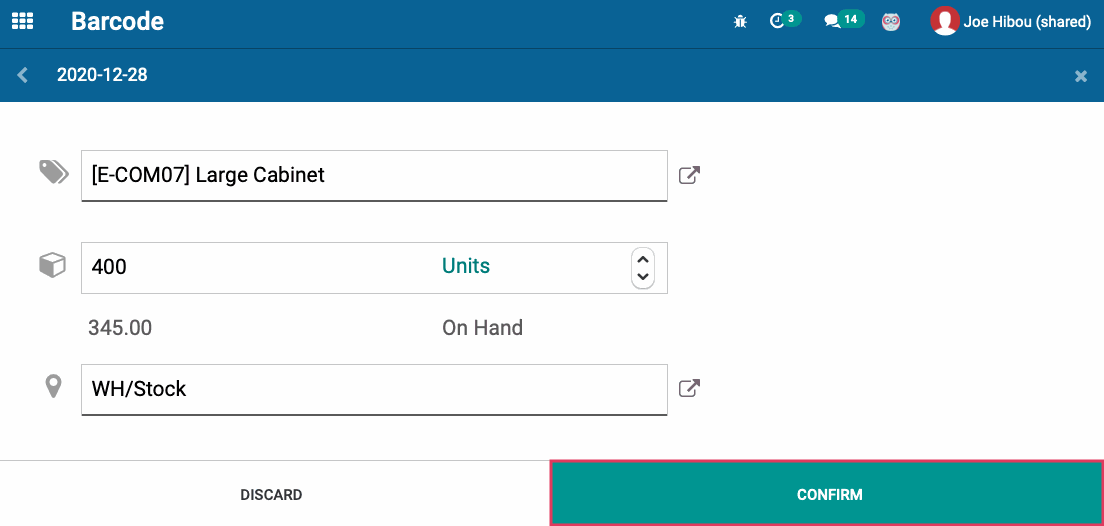
When finished, click confirm.
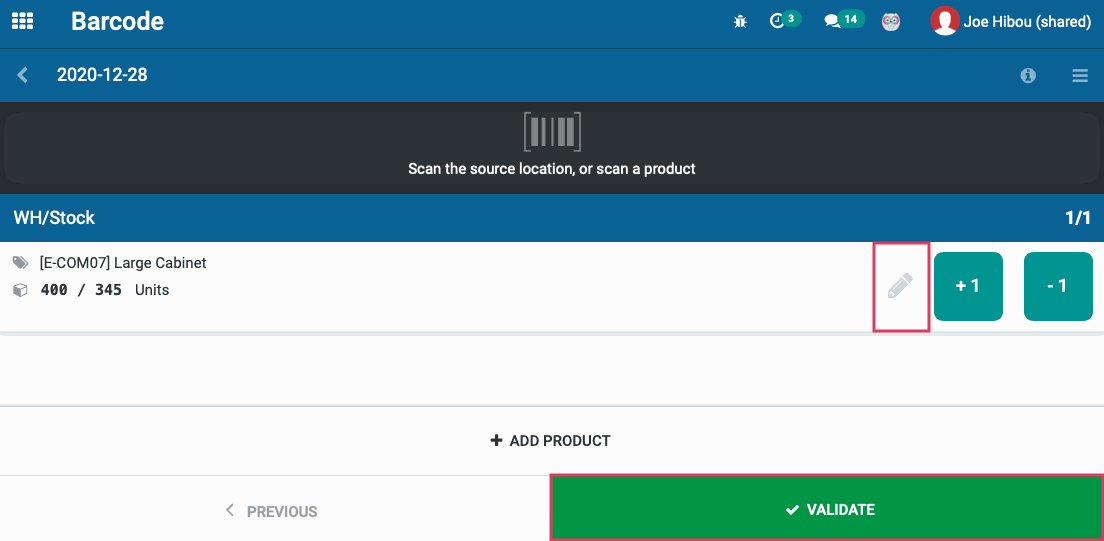
On the next page, you will see an overview of your Inventory Adjustment. If you need to make changes to the Inventory Adjustment, you can do so by clicking the icon at the right of the record. You can add additional products by clicking Add Product. If you are satisfied with the Inventory Adjustment, click Validate.