Inventory : Inventory Workflows: 3-Step Receiving
Purpose
This documentation outlines implementing 3-Step Receiving in the Inventory application of Odoo 16. In 3-Step Receiving, products are first received to an internal Input location. They are then transferred to an internal Quality Control location and finally transferred to an internal Stock location.Process
To get started, navigate to the Inventory application.
Once there, go to CONFIGURATION > SETTINGS.
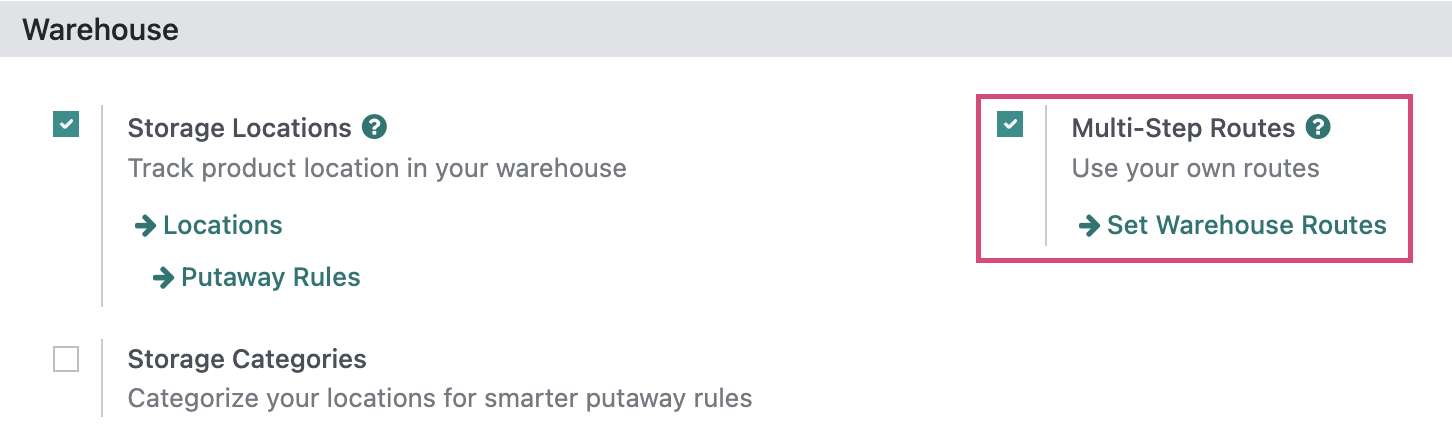
Scroll down to the Warehouse section and check Multi-Step Routes. If you don't already have Storage Locations enabled, this will enable that setting, as well.
Next, go to CONFIGURATION > Warehouses. Once there, select the Warehouse you wish to configure with 3-Step Receiving.

On the Warehouse template, under Shipments > Incoming Shipments, select "Receive goods in input, then quality and then stock (3 steps)."
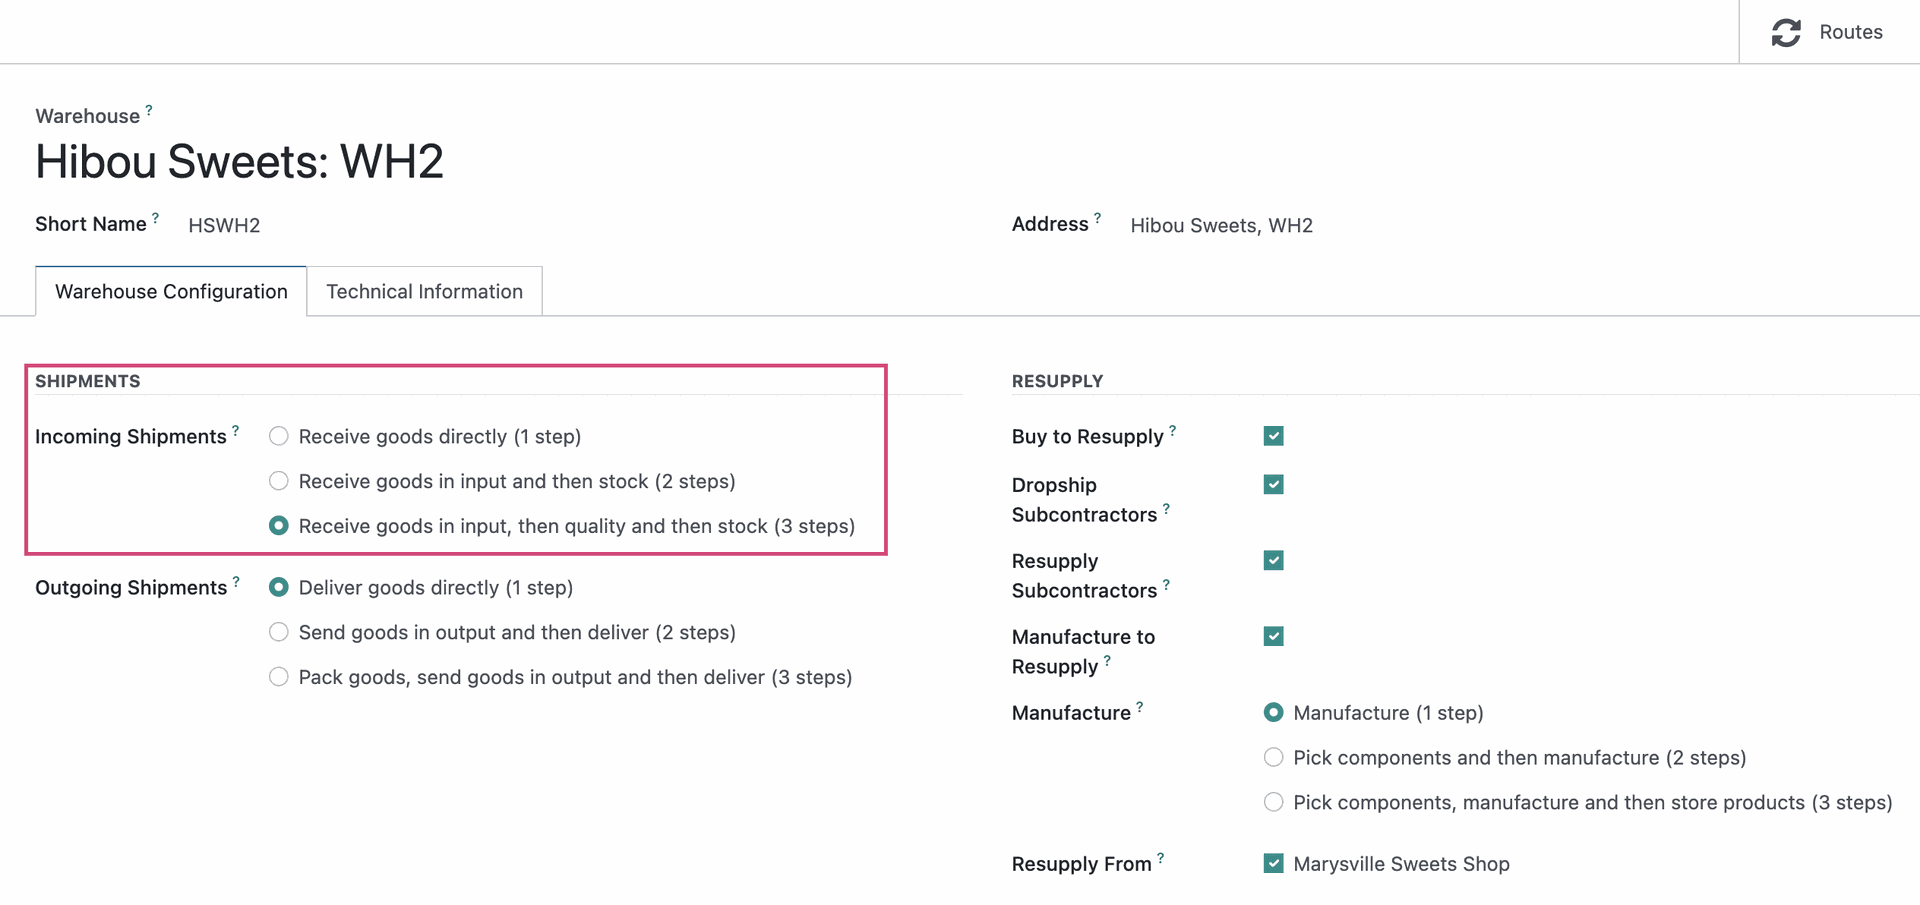
Enabling the 3-Step option means that Odoo will create an Input location to receive goods and a Quality Control location to perform a quality check.
You can see this by navigating to CONFIGURATION > LOCATIONS, and searching for your Warehouse.

Good to Know!
Location Names
You can select any location, then change its name to one that works best with your company.
Receiving Products
Once you have set up 3-Step Receiving on your Warehouse, you will see its effects on your receipts. To do so, navigate to the Purchase app.
Once there, create a Purchase Order for a storable product. For information on how to create Purchase Orders, please refer to the Purchase Orders documentation.
When creating an RFQ or Purchase Order, on the OTHER INFORMATION tab, set the Deliver To: field to use Receipts of the Warehouse you've configured for 3-Step Receiving.
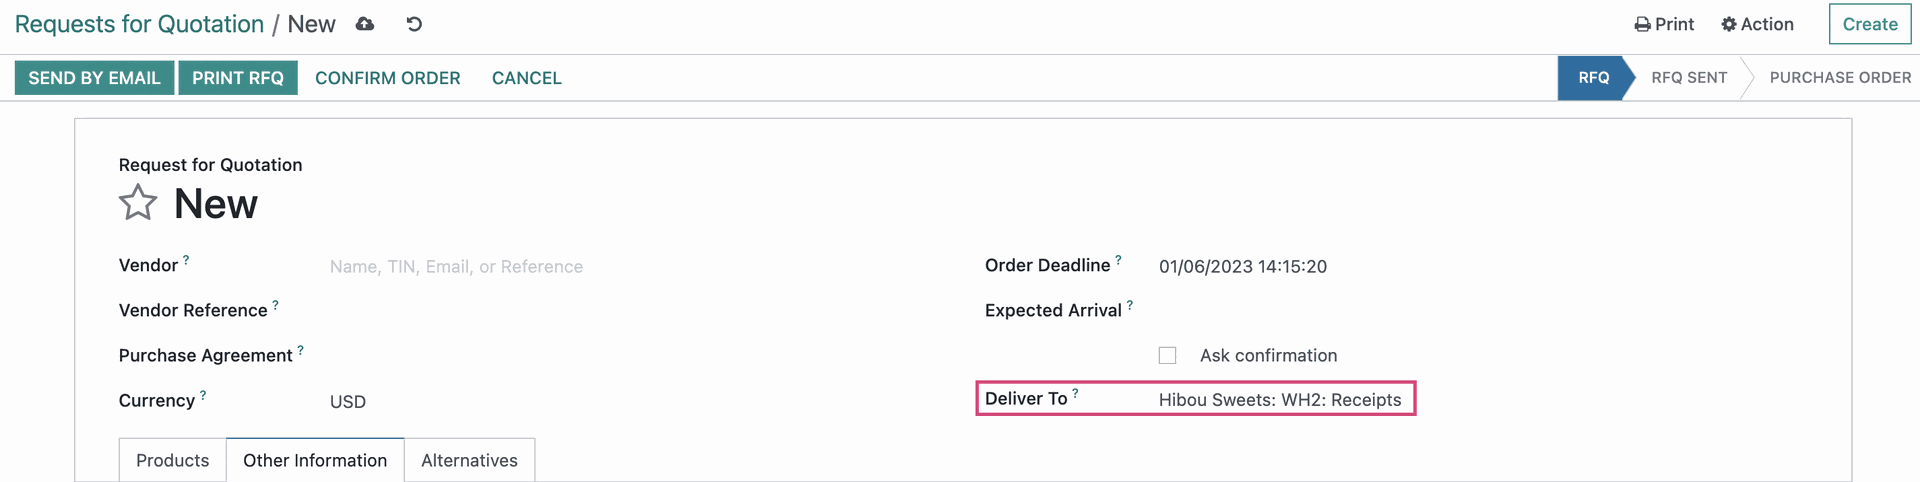
To notify your vendor of the purchase, you can use the Send by EMail button to send an email directly to the vendor, or the Print RFQ button to send a physical copy.

Clicking either of these buttons puts the record in "RFQ Sent" status. After the vendor confirms they can fulfill the order, click Confirm order to convert this RFQ to a Purchase order.

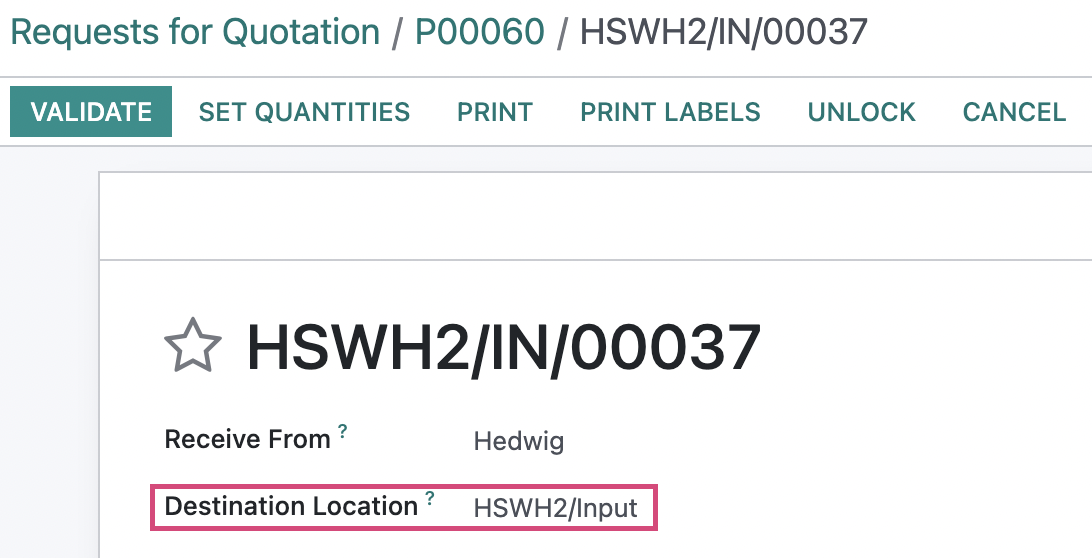
Next, click either the Receipt smart button or Receive Products on the Purchase Order.

On the receipt, you'll notice the Destination Location is set to use the Input location for the warehouse you've configured to use 3-Step Receiving.
When ready, click Validate. Click apply in the resulting modal window.
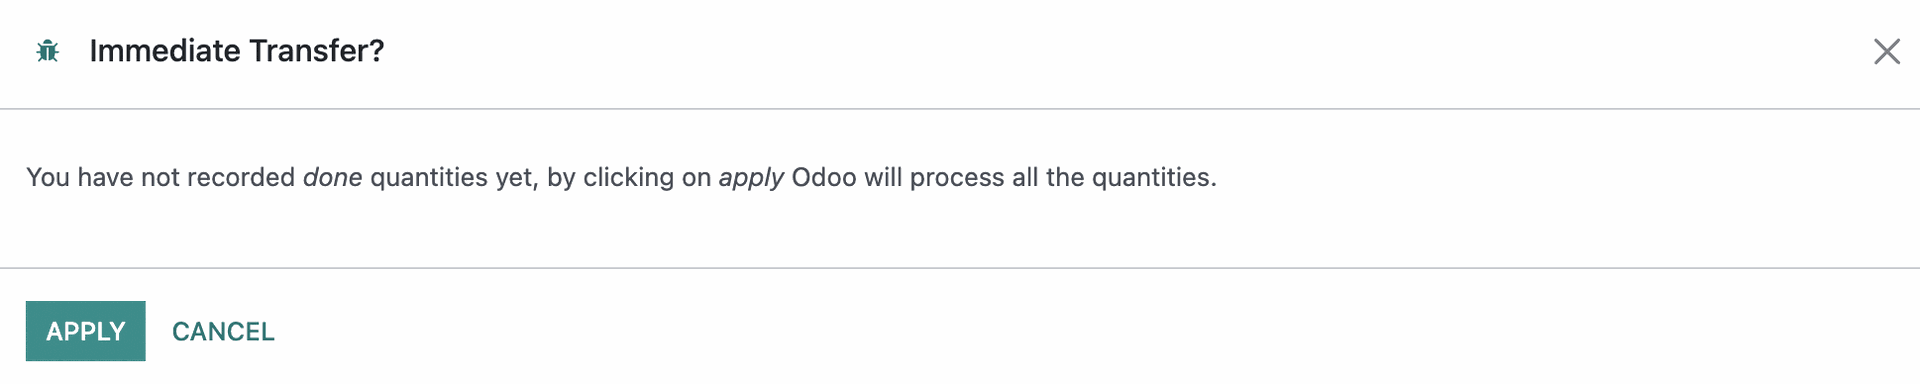
Now, your goods are in the Input location.
When using 3-step Receiving, Odoo automatically creates a transfer that will move the received product from the Input location to the Quality Control location on your company's receipt Operation Type. Follow the steps below to validate the transfer.
Good to Know!
Note Your Purchase Order Number
For ease in moving forward through this document, note your PO number. This will make it easier to locate the records you're looking for in transfers.
Processing the First Transfer
To get started, navigate to the Inventory Application.
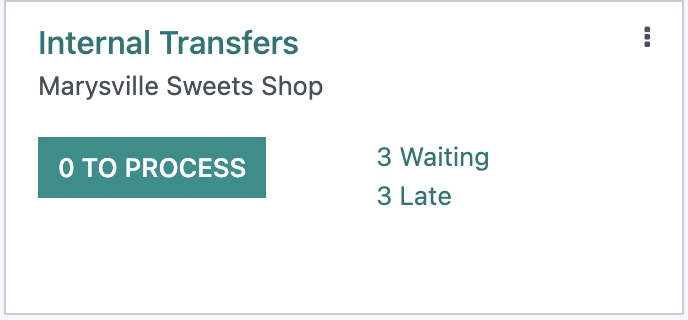
Locate the Internal Transfer card for your Warehouse and click # TO PROCESS on that card. You can GROUP BY > WAREHOUSE to narrow your search down.
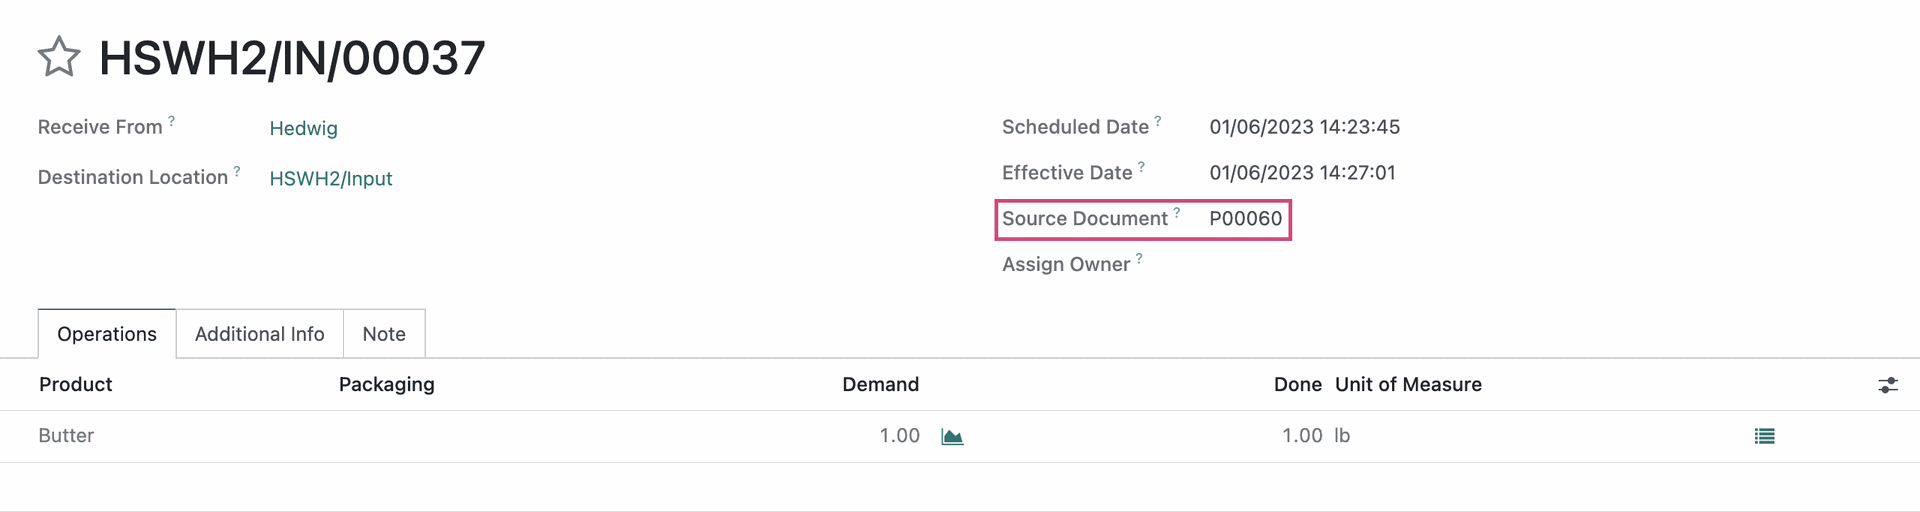
From the list of internal transfers, locate the transfer that lists your Purchase Order as the Source Document.

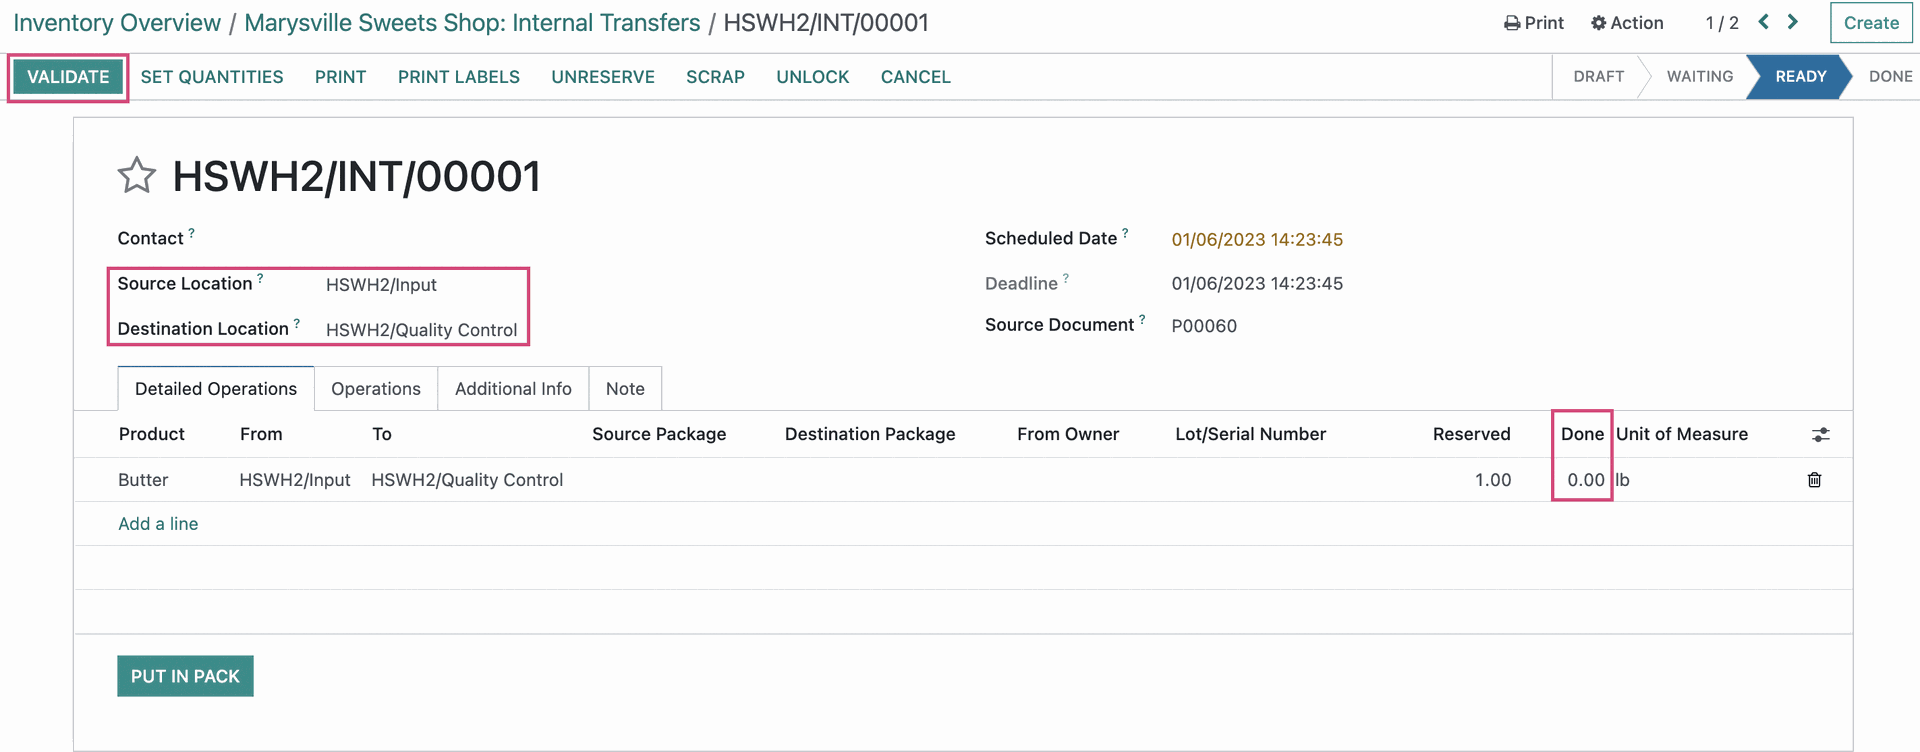
On the internal transfer, you will see that the From and To fields are populated with the Input and Stock locations, respectively, of the warehouse configured for 3-Step Receiving.
Click into your selected internal transfer and review it for accuracy.
Increment the Done quantity and when ready, click VALIDATE.
At this point, Odoo automatically creates an internal transfer that moves the product from the Quality Control location to the Stock location. Now, you must process this transfer.
Use the breadcrumbs to navigate back to the list of Internal Transfers for your Warehouse.

Processing the Second Transfer
On this transfer, we will again see the the Source and Destination locations are populated with Quality Control and Stock respectively. Increment the Done qty and then VALIDATE.
Your products are now in the Stock location and you can review the product moves to verify all products are where they should be.
Good to Know!
Putaway Rules
If you have configured a Putaway Strategy on the Product or Product Category of the product being received, they will take effect once you validate the transfer. The destination location on the transfer will still reflect the main Stock location, but once processed, the products will be moved to their more specific stock locations.
For more information on Putaway Rules, please refer to the Putaway Rules documentation.
Reviewing Moves History
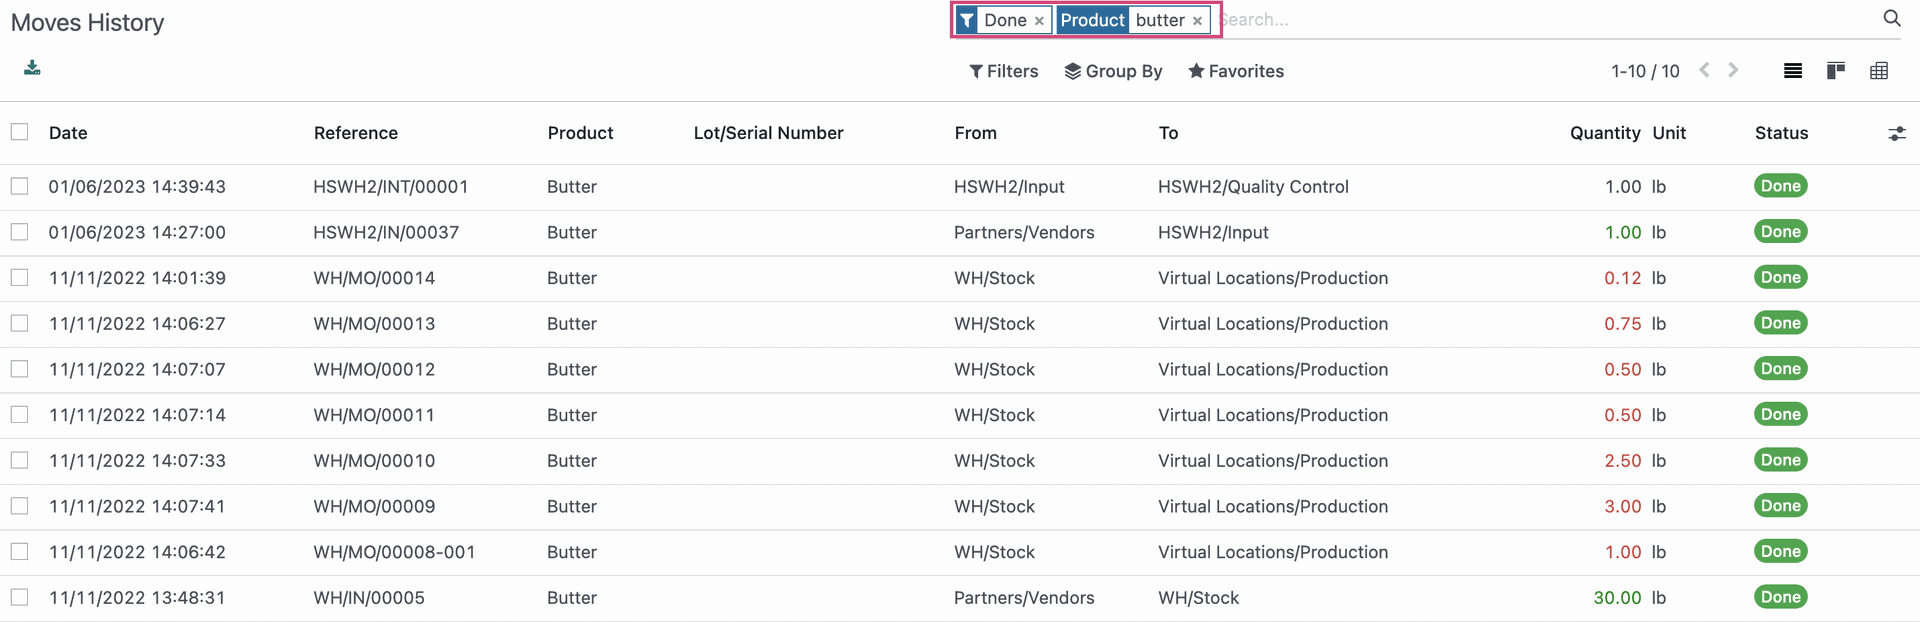
Navigate to REPORTING > MOVES HISTORY. Use the search bar to locate the product you just received.
If there are a lot of records, you can click the arrow next to "Date" to sort by date and find your most recent moves.
Good to Know!
Filter Moves History
If searching for your product returns several results, you can add a custom filter to search by the Purchase Order. To do this, select the following from the Add Custom Filter drop-down menu : "Source", "contains" and enter the number that corresponds to your Purchase Order.
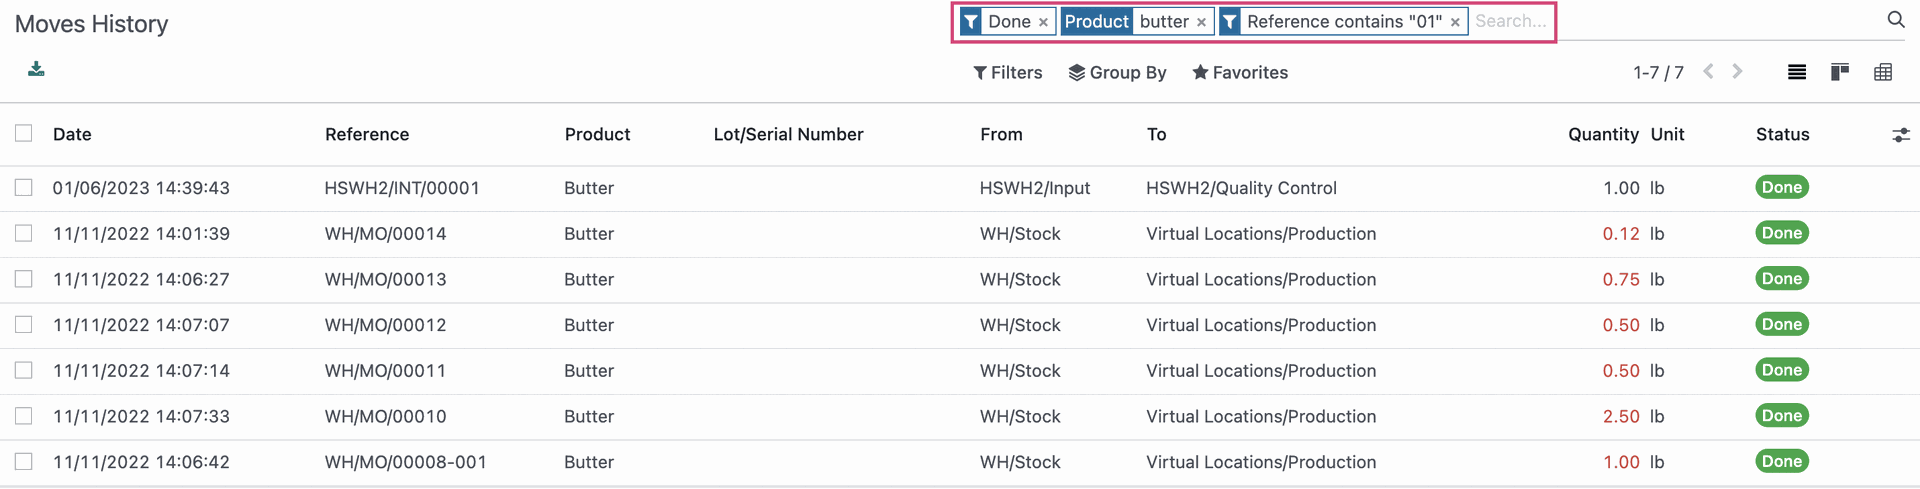
From here, we see that our product was received in three moves.
Vendors virtual location to the Input location
Input location to the Quality Control location
Quality Control location to the Stock location
