Inventory : Operations: Transfers
Purpose
The Purchase, Sales, and Manufacturing applications in Odoo 16 will all generate transfers automatically during their workflows. This document will walk you through each transaction, outlining how they trigger transfers throughout the warehouse, and how they will appear in the Inventory application Overview page.
Process
To get started, navigate to the Inventory app.
Here you'll see a kanban view of all transfers, grouped by warehouse and type. You can also reach this page by clicking Overview from anywhere in the app.
Incoming Transfers
From the list, find a Receipts card and click the # to Process button. Make sure the button has a number greater than 0.
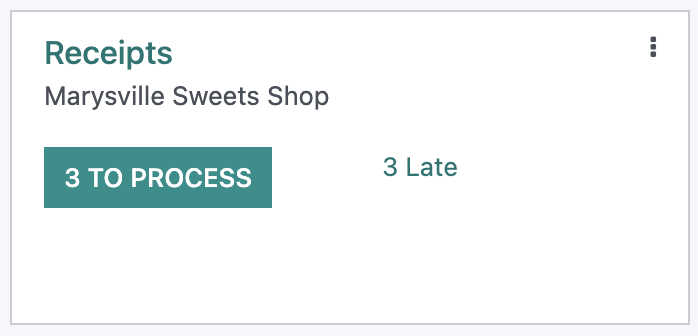
This should display all incoming transfers in Ready status.

Click one from the list.
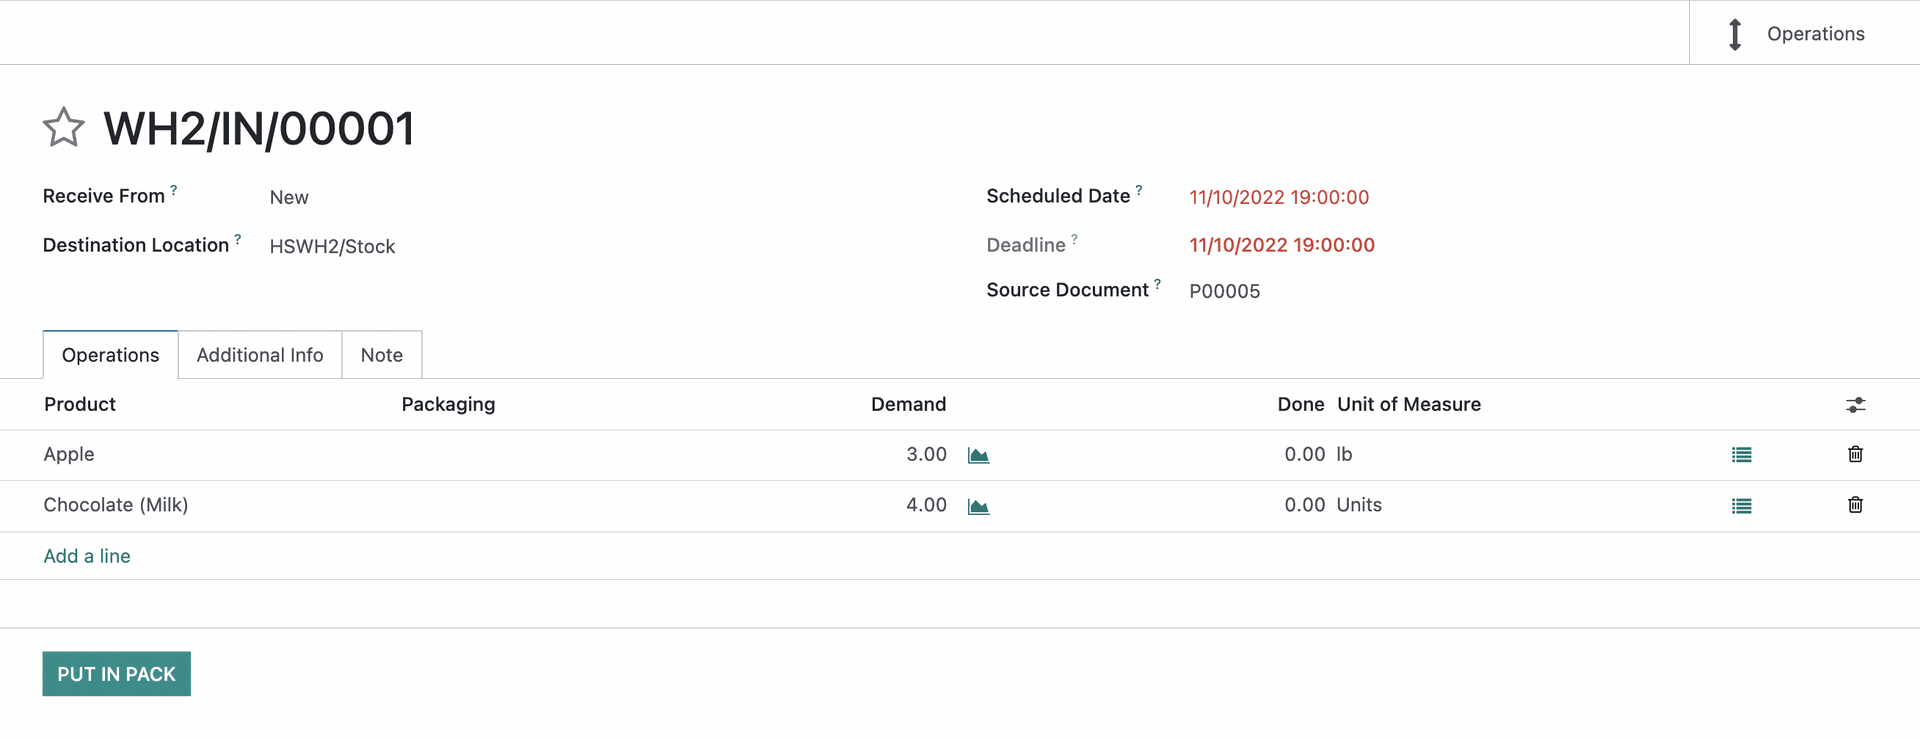
Record ID: This is the unique ID for this transfer. It is auto-populated and cannot be changed.
Receive From: This field is automatically filled from the vendor on the original purchase order.
Destination Location: The destination location for the products on this order, within your warehouse. This field is auto-populated and cannot be changed.
Scheduled Date: This is the scheduled date for the first part of the order to be processed. It will automatically fill with the date the Order was created. Setting a value here manually would set that date as the expected date for all product moves.
Deadline: The date promised to the customer on the Purchase Order.
Source Document: Here, you can view the document the transaction was created from automatically.
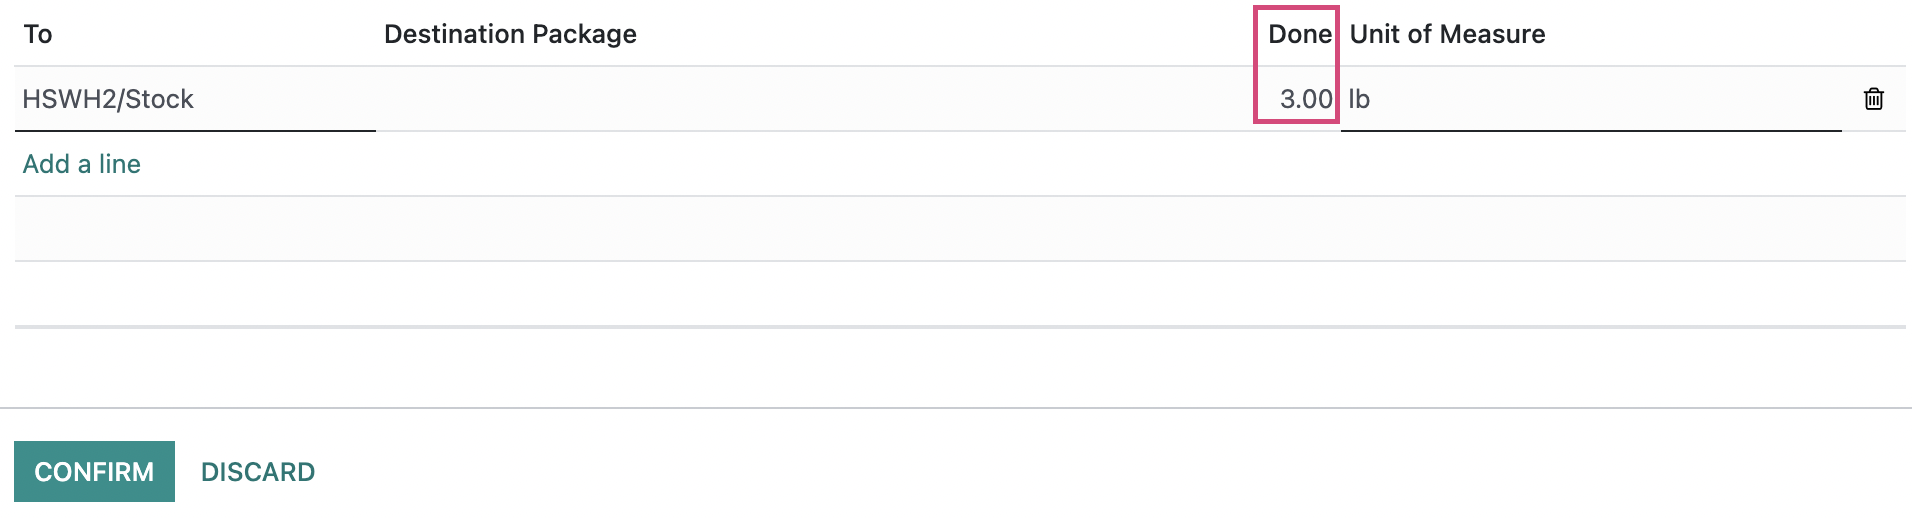
Under the OPERATIONS tab, we need to indicate how many products we've received. In the Done field, enter the actual number of products received. If there are multiple products you'll enter this quantity for each line, respectively.

Here you will see the product lines from the original Purchase Order. We need to indicate how many products we've received. Click the icon in one of the product lines, a Detailed Operations window will appear where we will need to indicated the quantity of that product we received.
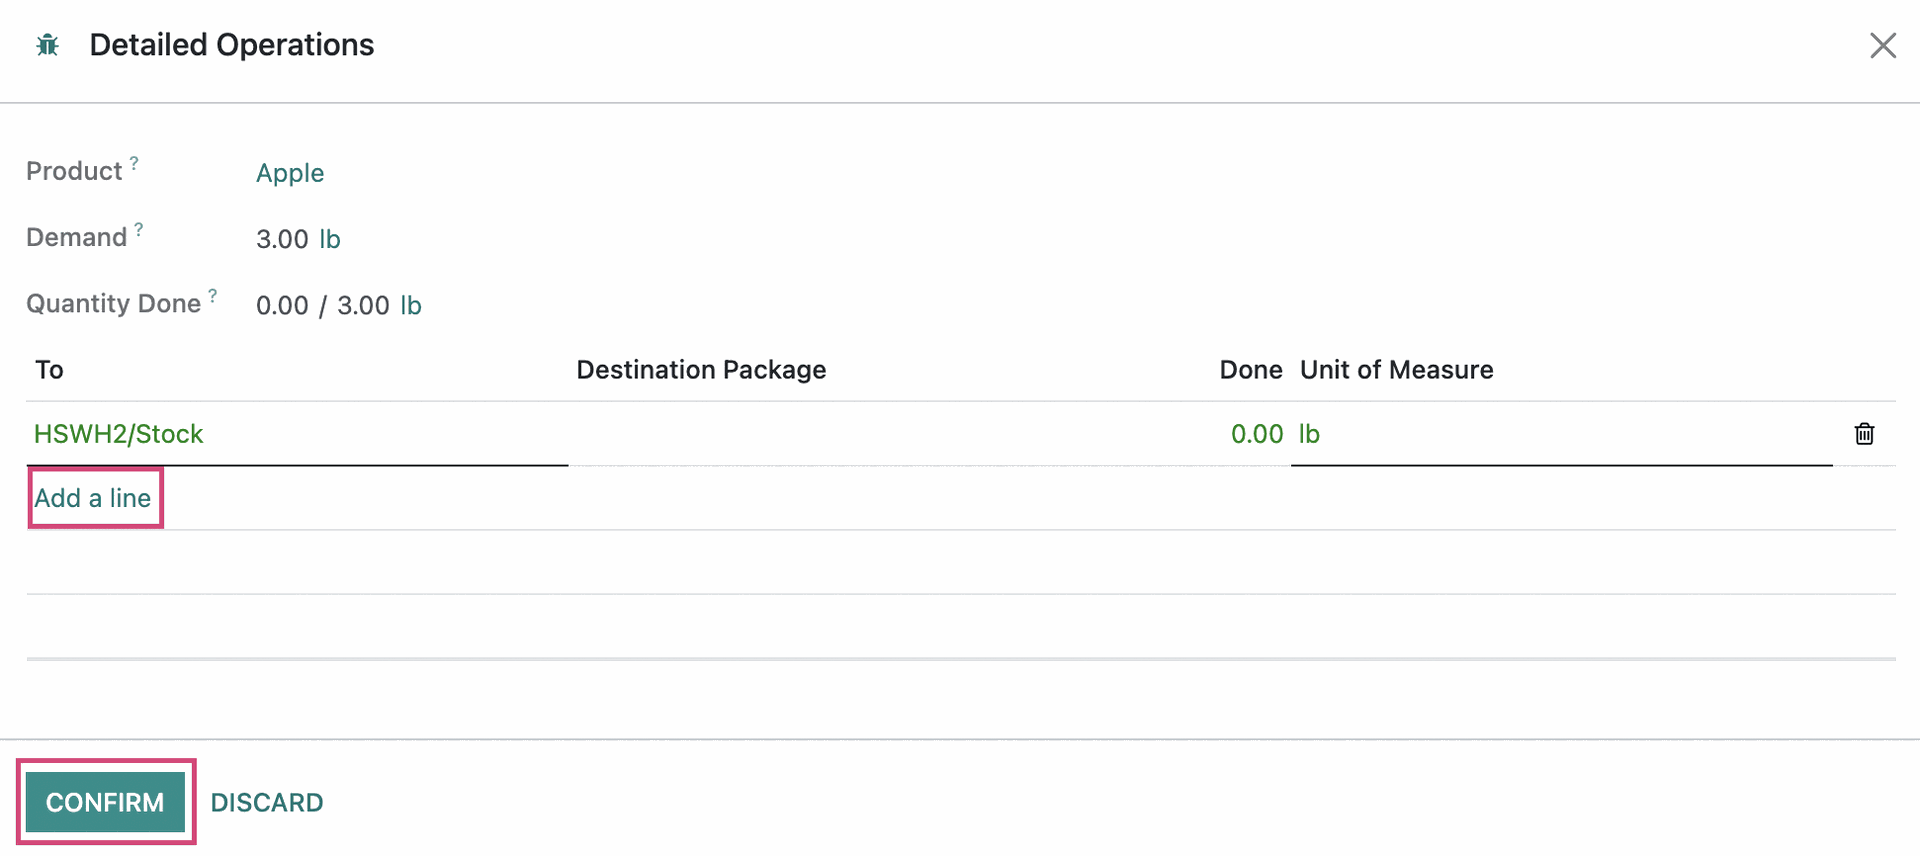
Next, enter the quantity received in the Done column. Click confirm when finished.
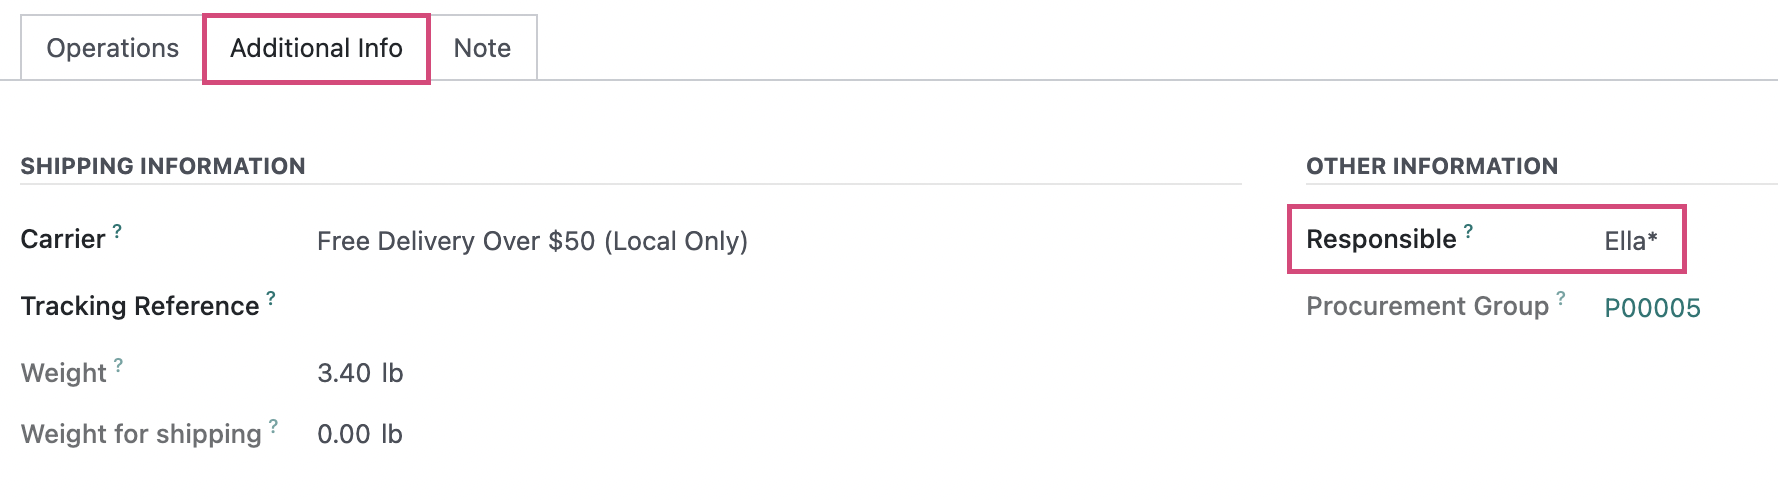
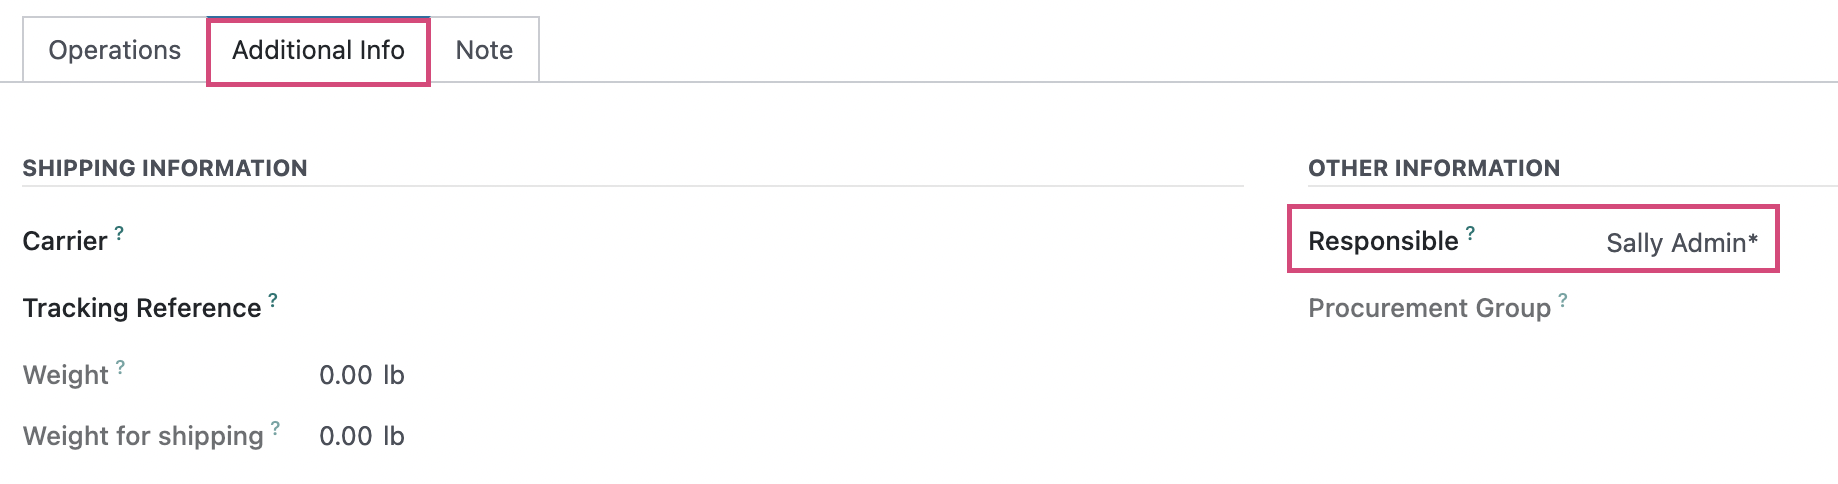
The Additional Info tab may contain a number of different fields, depending on the applications installed to, and the configuration of, your database. The Responsible field will always be present; this is where you can select the employee from your company responsible for this receipt.
The Note tab allows you to add an internal note that will be printed on the Picking Operations sheet.
![]()
Outgoing Transfers
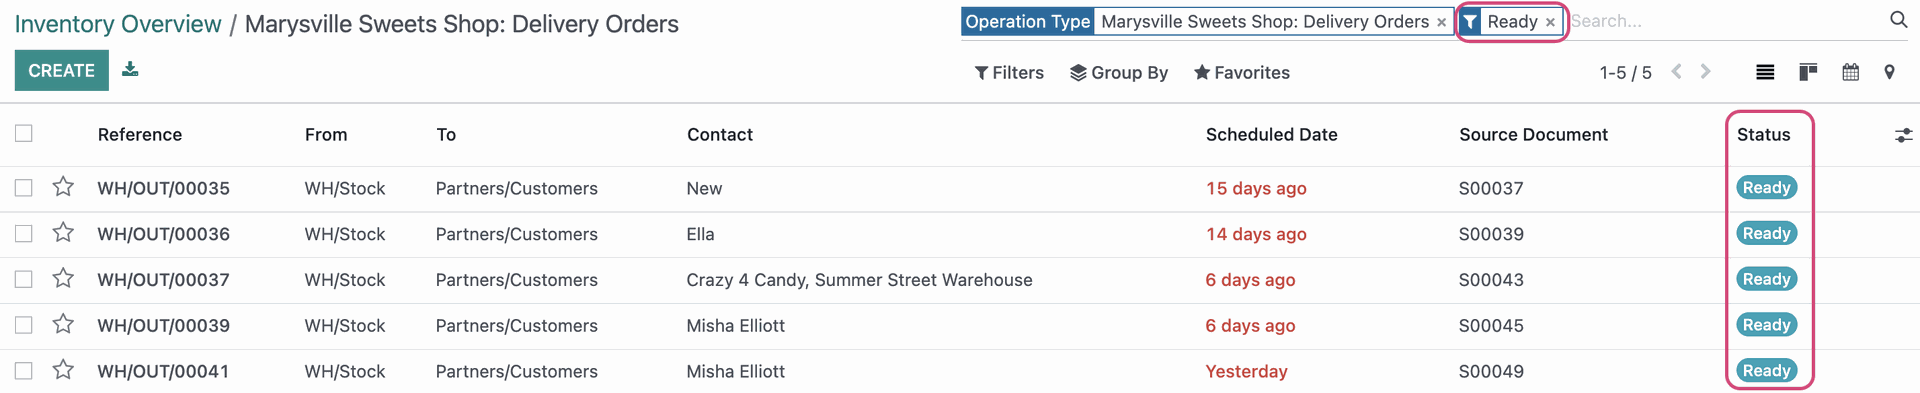
From the Overview page, find a Delivery Orders card and click the # TO PROCESS button. Make sure the button has a number greater than 0.

This should display all outgoing transfers in Ready status.
Click one from the list to expose all availabe options on this form.
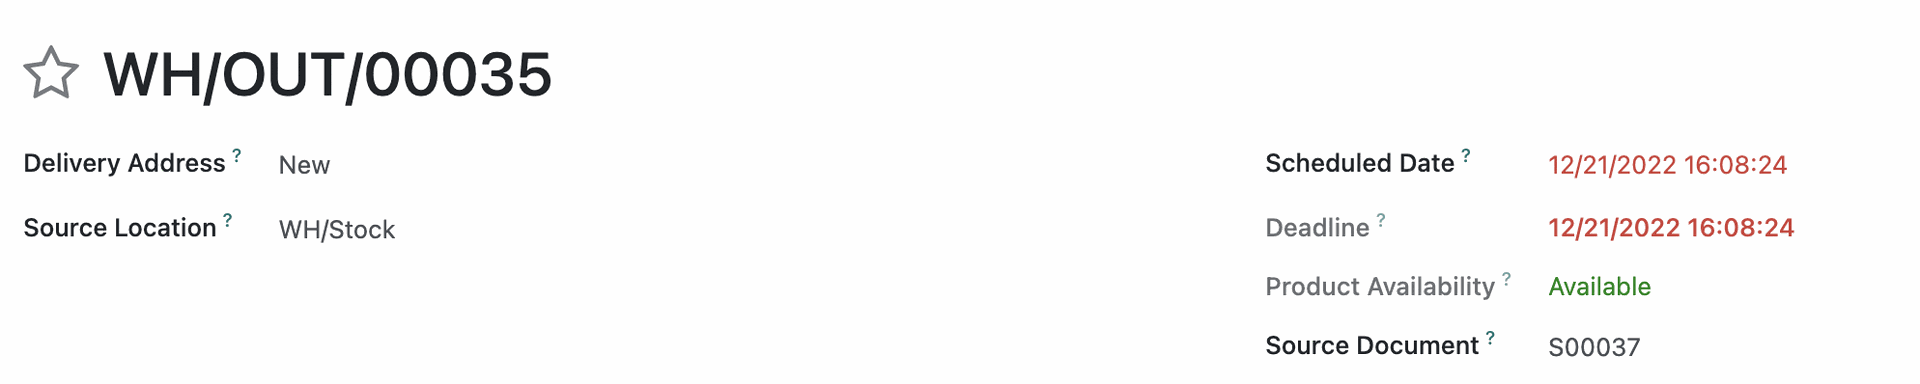
Delivery Address: Select the contact who will be receiving this delivery.
Source Location: The warehouse location that the products on this delivery will be originating from. This field is auto-populated and cannot be changed.
Scheduled Date: This is the scheduled time for the first part of the shipment to be processed. This field will auto-populate with the date the order was created. Setting a date here manually will set it as the expected date for all stock moves.
Deadline: This is the date promised to your customer on the original Sale Order.
Product Availability: Spoilers: This will show if the product is available or not.
Source Document: This is the Sales or Purchase Order for which this delivery originates. It will auto-populate but can be modified as needed.
Under the Detailed Operations tab, in each product line you can manually enter the amount you received in the Done column.


The Additional Info tab may contain a number of different fields, depending on the applications installed to, and the configuration of, your database. The following fields will always be present:
Shipping Policy: Select whether you'd like the products to be delivered as soon as possible or all at once.
Responsible: Select the employee responsible for this transfer.
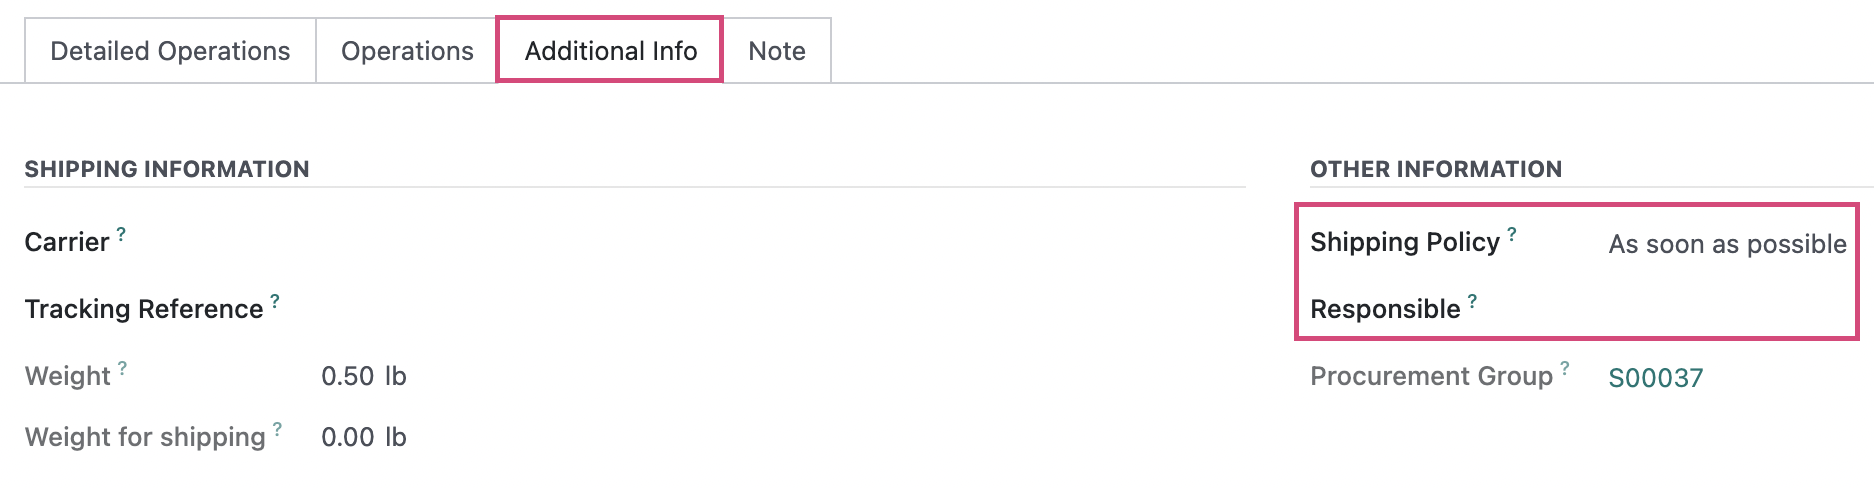
The NOTE tab allows you to add an internal note that will be printed on the Picking Operations sheet.
Once all fields are complete, you can click VALIDATE to complete the transfer. Doing so will confirm these products have been moved to the Destination Location indicated.
Internal Transfers
Because you'll be managing both the Source and Destination Locations, Internal Transfers are a combination of Incoming and Outgoing transfers.
From the OVERVIEW page, find the Internal Transfers card and click the # TO PROCESS button. Make sure the button has a number greater than 0.
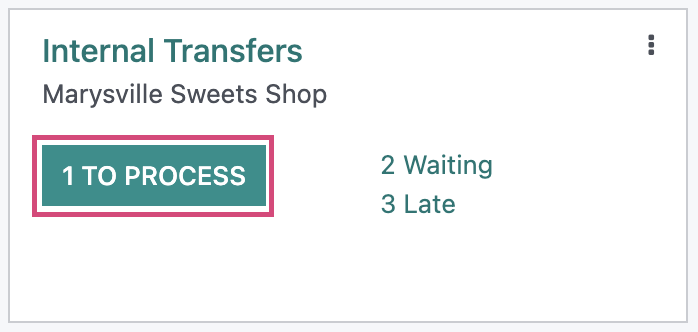
This should display all internal transfers in Ready status.

Click one from the list to expose all available options on this form.

Contact: This field will generally be empty because this is an internal transfer.
Source Location: The warehouse location that the products on this delivery will be originating from. This field is auto-populated and cannot be changed.
Destination Location: The destination location for the products on this order, within your warehouse. This field is auto-populated and cannot be changed.
Scheduled Date: This is the scheduled date for the first part of the order to be processed. It will automatically fill with the date the Order was created. Setting a value here manually would set that date as the expected date for all product moves.
Source Document: The reference for the document the transaction was created from if one exists.
Under the detailed operations tab you can mark done quantities as the product is received in its destination location. Click add a line to add a product line for anything additional that has been received.

Under the operations tab you can keep track of the received products on the transfer. Just like the first tab, you can click add a line to add product lines on this transfer that will be updated as products are received.

The ADDITIONAL INFO tab may contain a number of different fields, depending on the applications installed to, and the configuration of, your database. The following fields will always be present:
Shipping Policy: Select whether you'd like the products to be delivered as soon as possible or all at once.
Responsible: Select the employee responsible for this transfer.
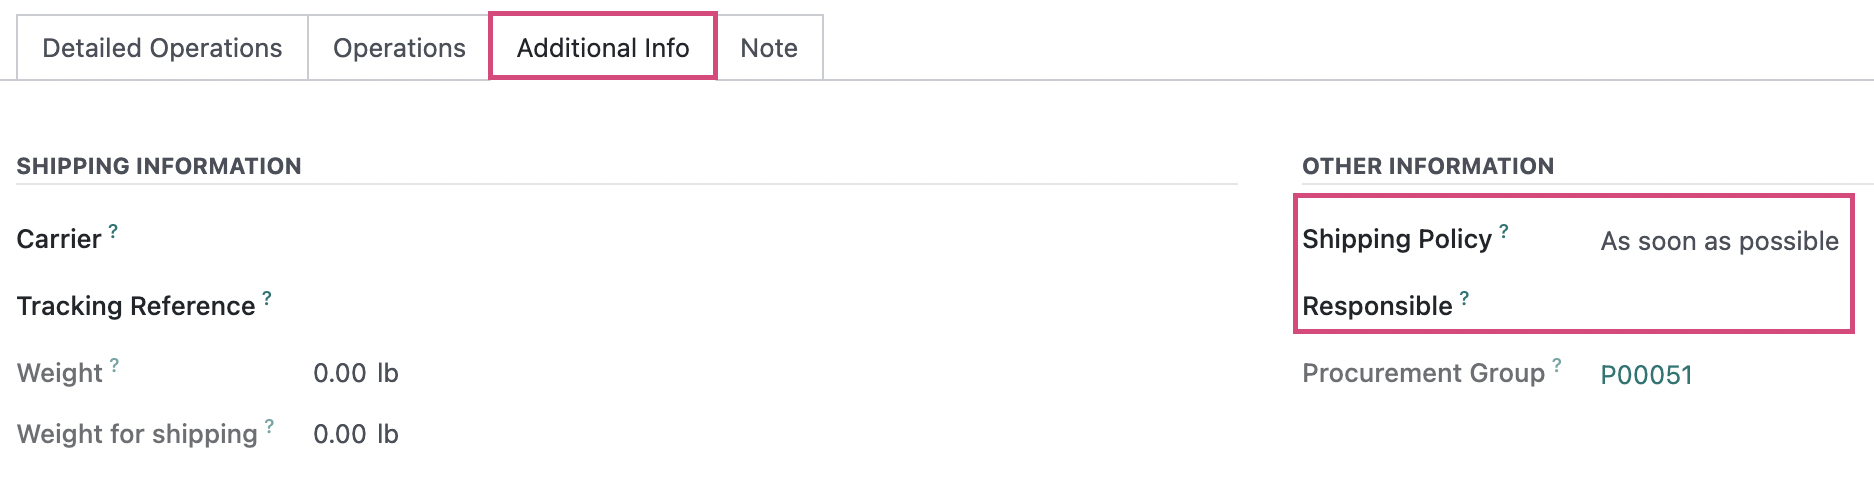
Under the note tab you can add an internal note that will be printed on the Picking Orders sheet.
![]()
Once all fields are complete, you can click VALIDATE to complete the transfer. Doing so will confirm these products have been moved to the Destination Location indicated.
Manual Transfers
It is possible to create transfers manually when you need to move products between stock locations, such as from a warehouse to a retail store. To do so, click Operations > TRANSFERS. Once there, click create
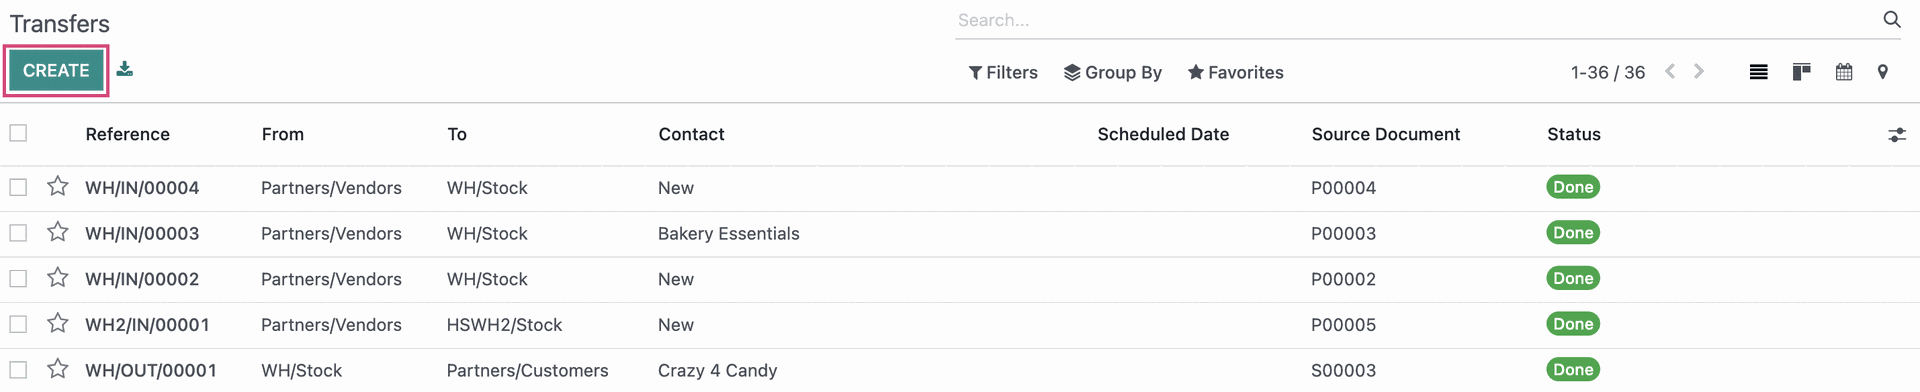
Fill out the form as indicated.

Receive From: If this transfer is for a specific contact, select it here.
Operation Type: Indicate the type of transfer and which location it's associated with. See Operations Type for further details.
Destination Location: This field will display if you choose a Receipt or Internal Operation Type. Indicate the destination location of the products.
Scheduled Date: This will auto-populate based on today's date but you may change it if needed.
Source Document: If there is a source document, note the ID here.
Under the Operations tab, click Add a Line. This will open a line for you to add the products and quantities being moved. The columns you see will depend on the Operation Type selected.

Product: Select the product being transferred.
Packaging: If enabled, you can specify package size here.
Demand: Enter the quantity of product being transferred.
Unit of Measure: This will auto-populate based on the product template.
The ADDITIONAL INFO tab may contain a number of different fields, depending on the applications installed to, and the configuration of, your database. The following fields will always be present:
Shipping Policy: Select whether you'd like the products to be delivered as soon as possible or all at once.
Responsible: Select the employee responsible for this transfer.
Under the note tab, you can add an internal note that will be printed on the Picking Operations sheet.
![]()
Once all fields are complete, you can follow the steps outlined for Incoming or Outgoing transfers, outlined above, at the time the transfer is processed.