Inventory : Barcodes: Creating Transfers
Purpose
This document covers the creation of transfers within the Barcode application in Odoo 12.
Process
To get started, navigate to the Inventory app.
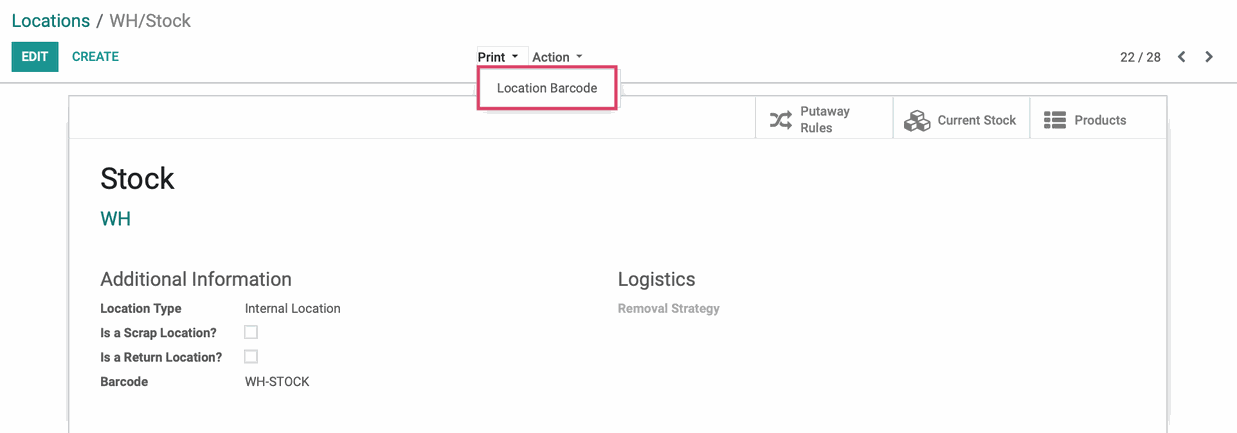
The first thing we need to do is print some barcodes. Start by clicking Configuration > Warehouse Management > Locations. We need to print at least 2 barcodes, one for the current location of our product, and one for the destination location. For each one, select your location, and click Print > Location Barcode .
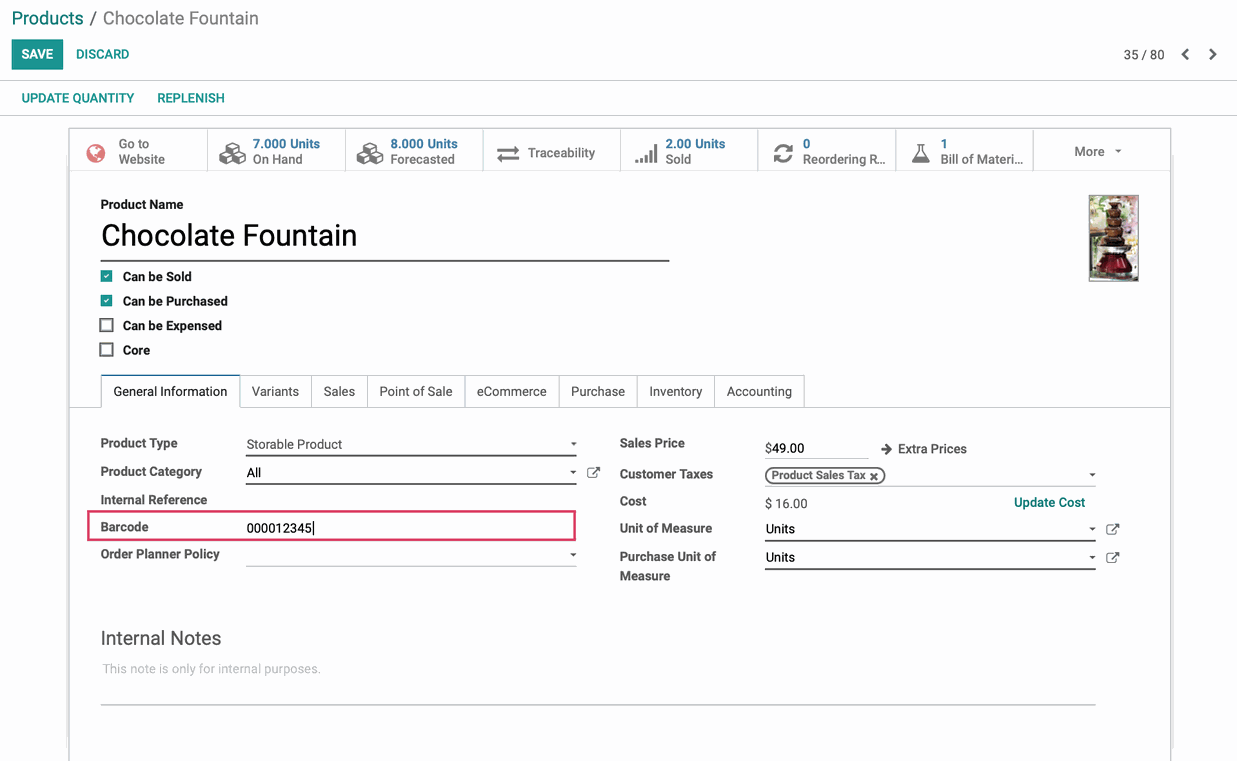
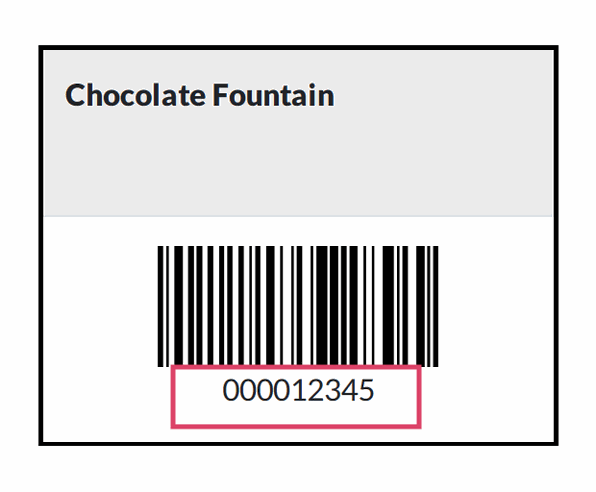
Next, we need a product barcode. Go to Master Data > Products. Select your product and click Edit. Under the General Information tab, you can enter in the assigned barcode number for your product, or create one for it. Click Save when finished.
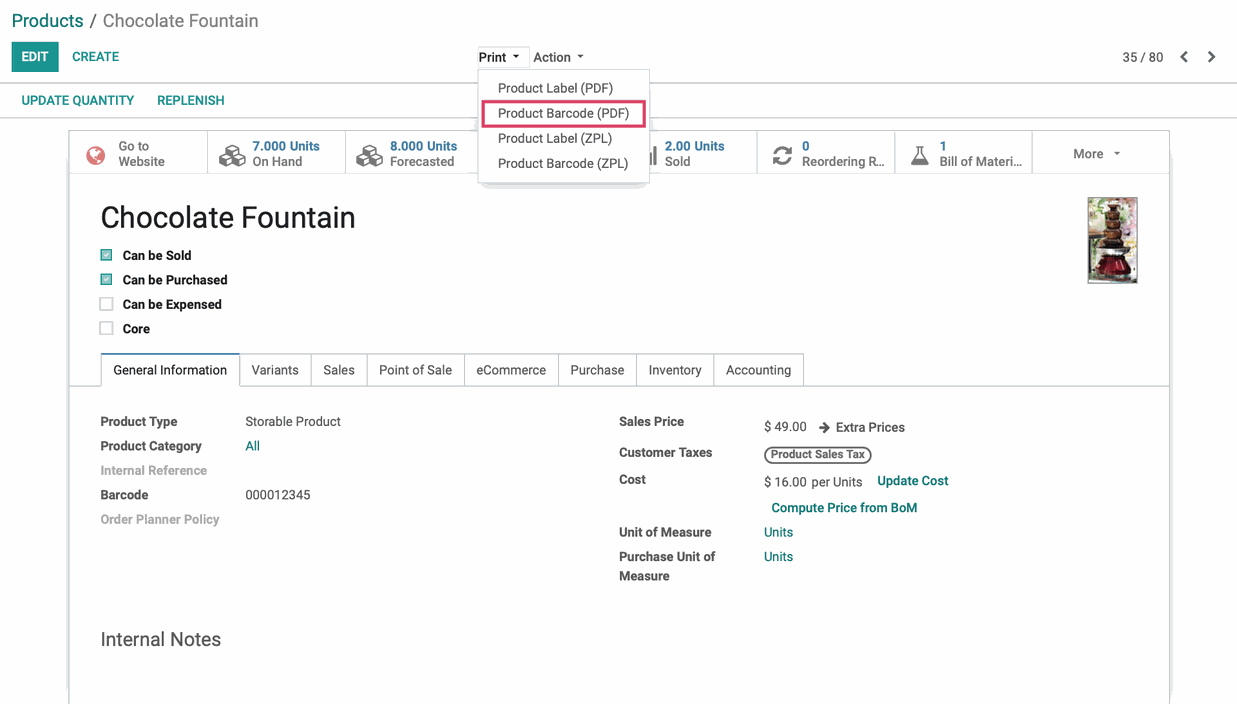
Next, just like we did to print our warehouse locations, select Print > Product Barcode (PDF).
Now, head to the dashboard and open the Barcode app.
Upon opening the app, you will be taken to this screen. Click Operations.

To create a new transfer, simply scan the barcode we printed from our stock location of the product.
Then, scan either the barcode we printed for our product, or the product itself if it already has a barcode. Note the number assigned to the barcode is the same one we entered on the product page, Odoo attaches the number we assigned to this barcode for this product.
Then scan your destination location barcode. When you've completed scanning all products and quantities, click Validate to complete the transfer.