Inventory : Configuration: Products
Purpose
This document reviews the Product settings of the Inventory application configuration of Odoo 15. This includes product categories, attributes, and reordering rules.
Process
To get started, navigate to the Inventory app.
Product Categories
Go to Configuration > Products > Product Categories.
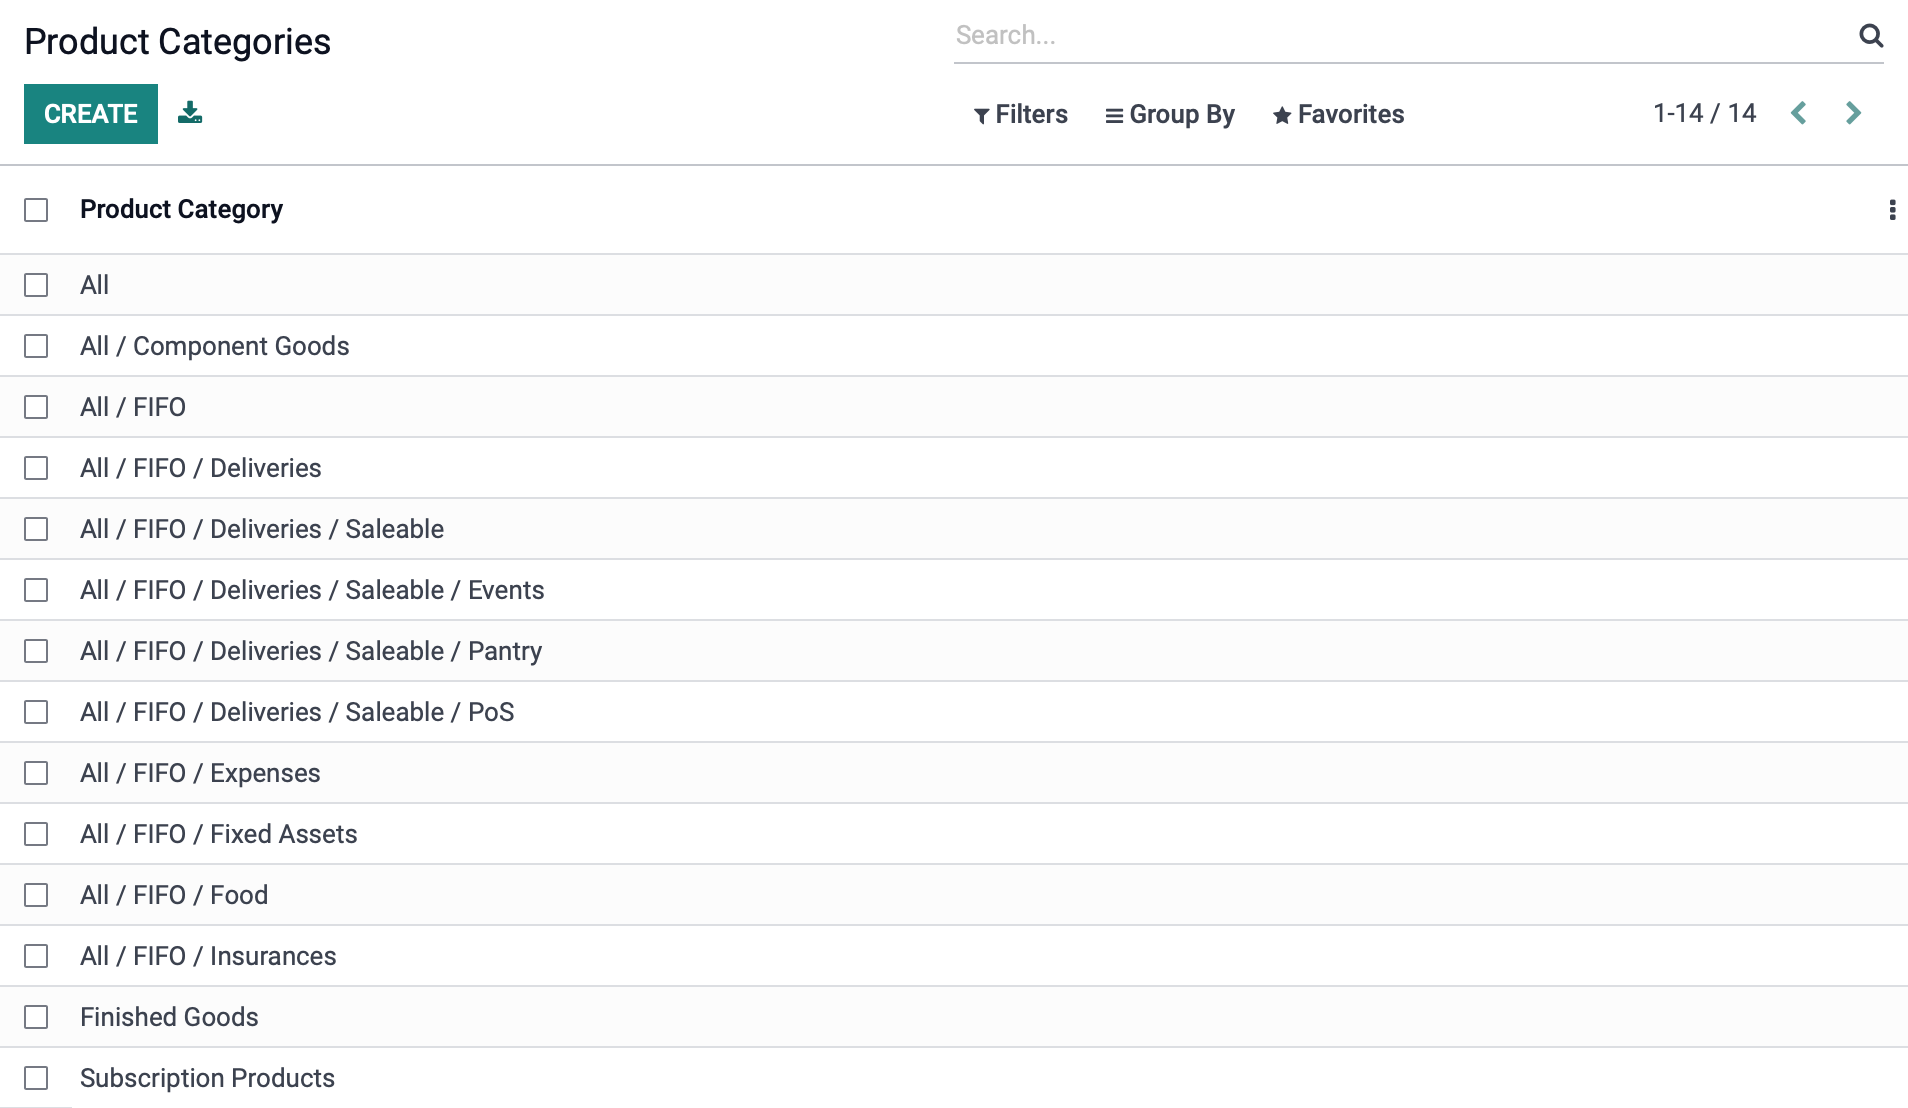
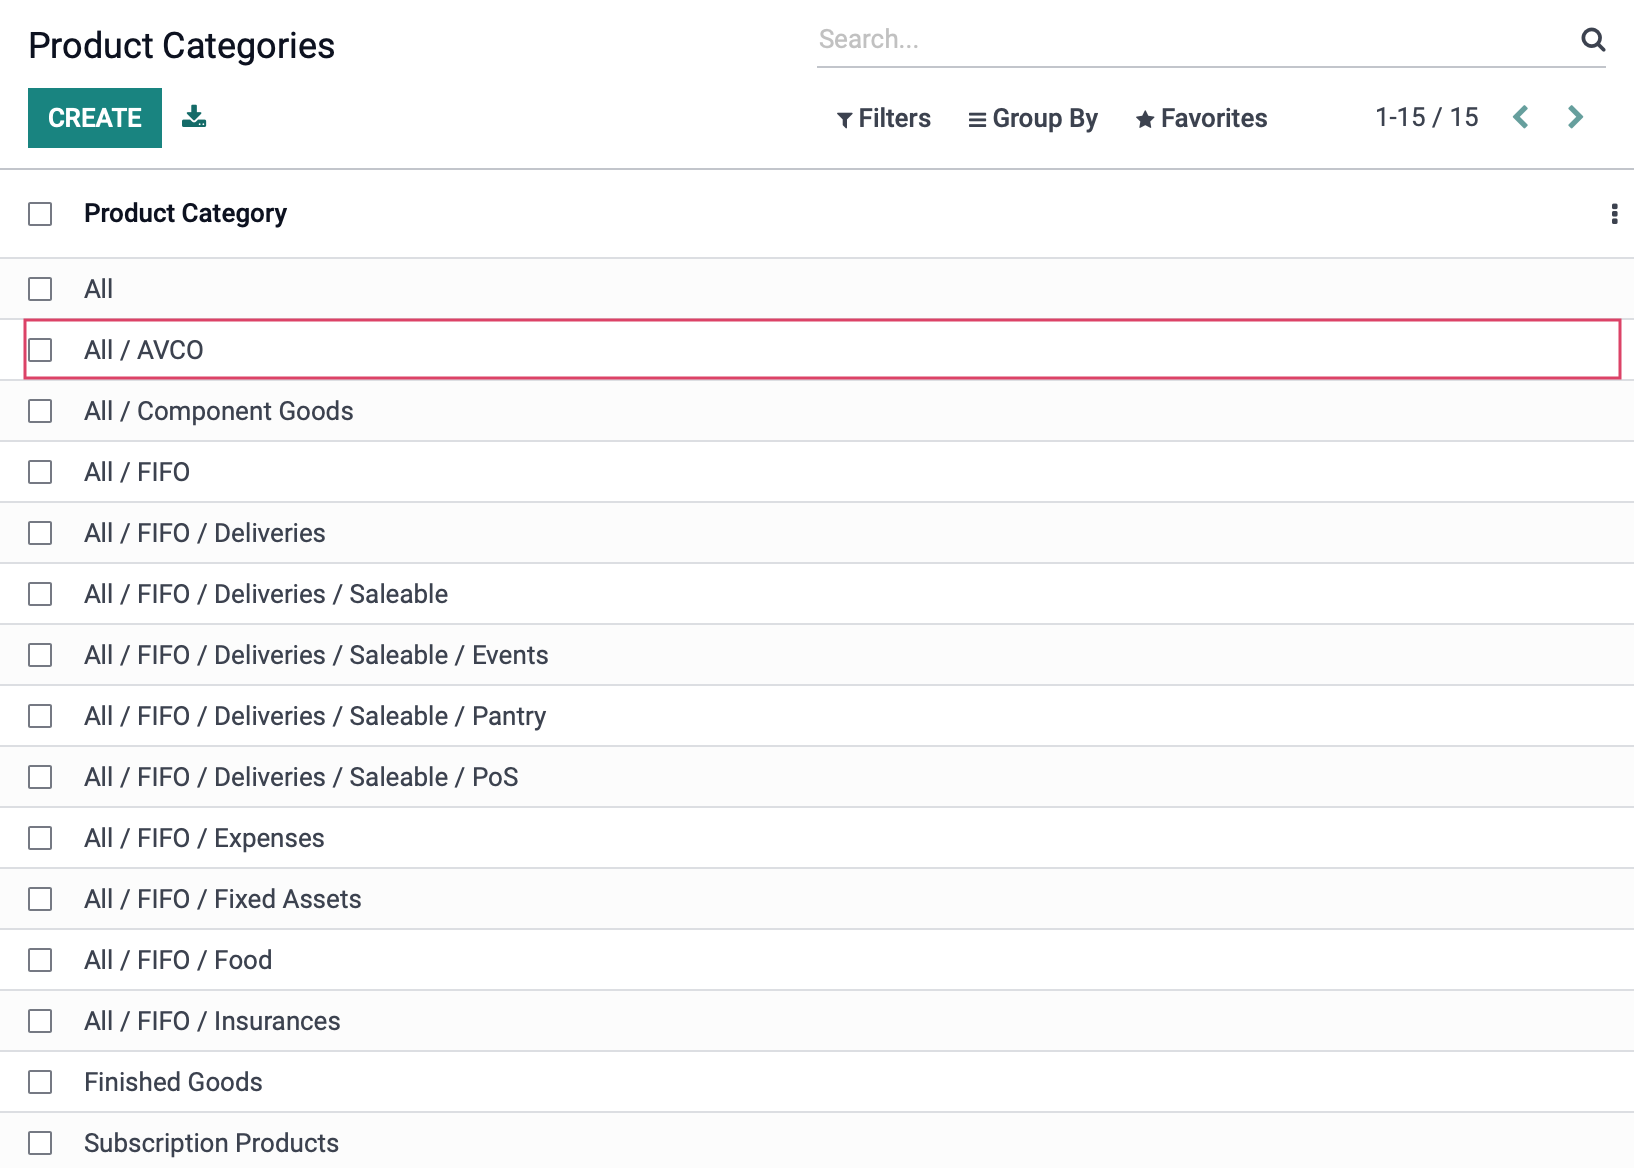
The initial view will show all of your product categories, and any categories nested beneath. Note that the forward-slash is used as a separator between a top-level category and subsequent categories below it. (e.g., All / Saleable)
In the following example, there is one top-level category: All. There are multiple subcategories: Component Goods and FIFO among them with the FIFO category having its own subcategories.
Good to Know!
Unlimited Sub-Categories?
There is no limit to how far you can drill down your categories; however, you may find that having too many levels will make navigating laborious.
Creating a Product Category
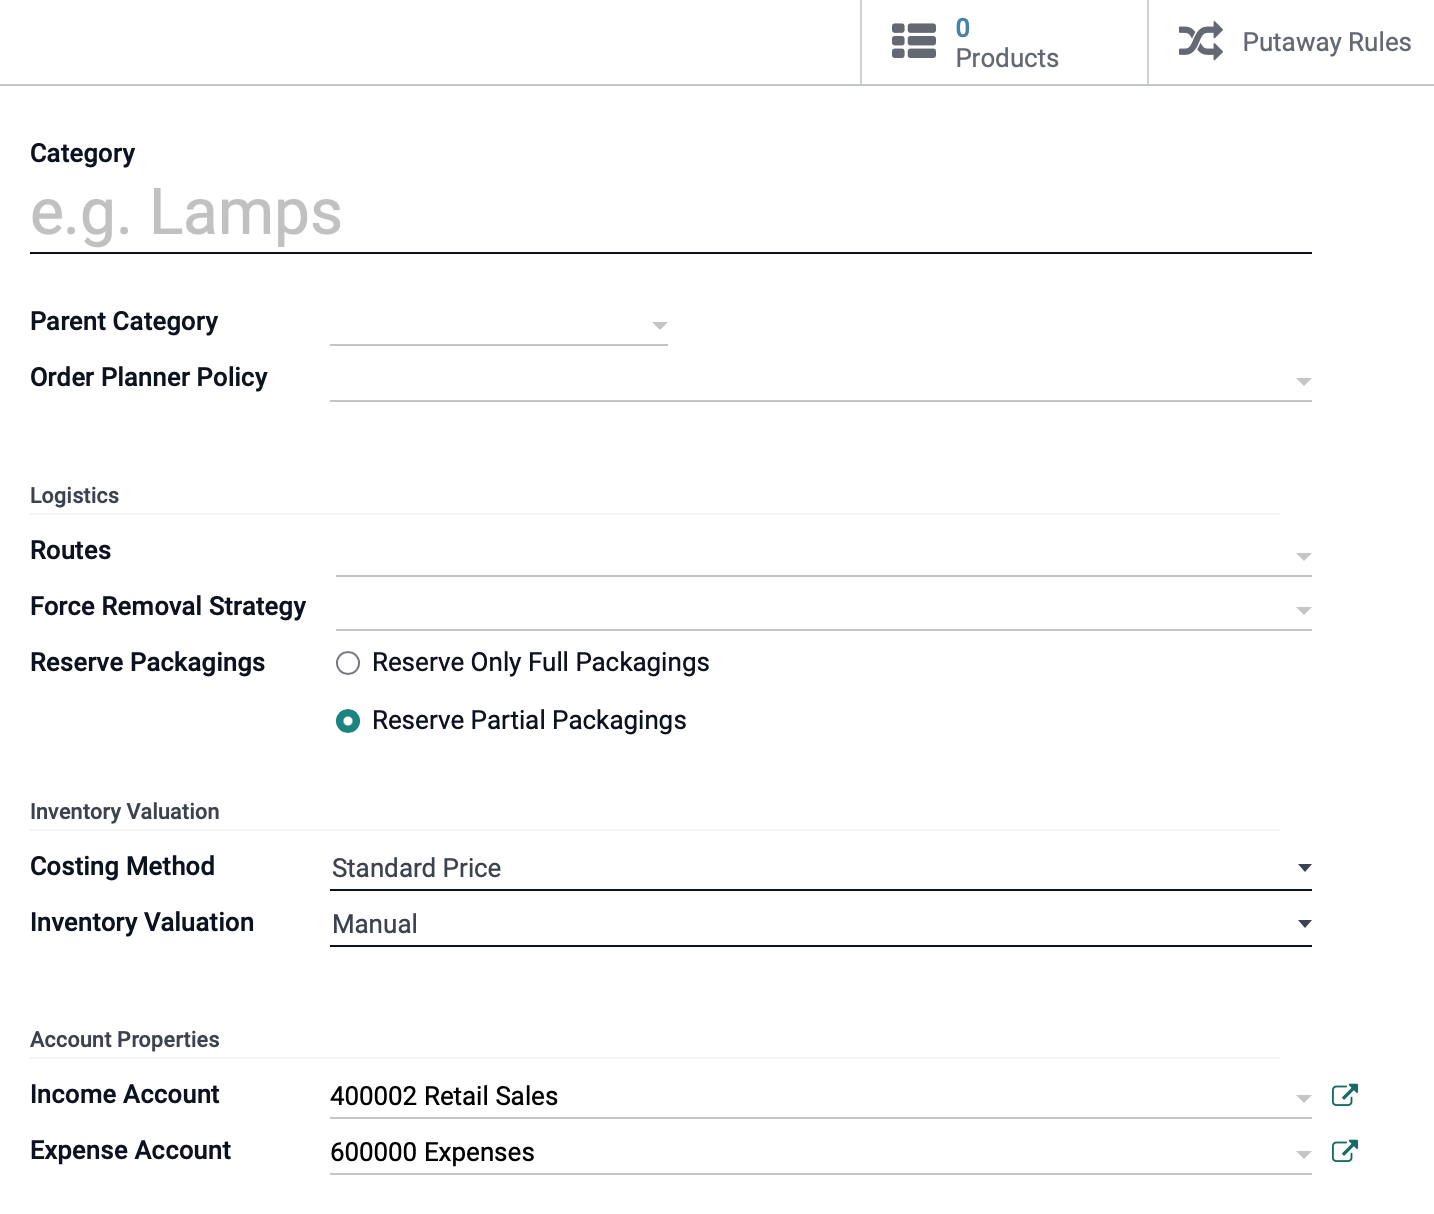
Click the Create button, and you'll be presented with these fields on the following screen:
Category Name: Enter the name of your new category.
Parent Category: Select or create the parent category under which this new category will be nested. If this is to be a top-level category, leave this field blank.
Order Planner Policy: Here you can set a Sale Order Policy if you have one you would like to use.
Logistics
Routes: Select the preferred route for the product category.
Force Removal Strategy: Select the method that you'll move this inventory. The options are:
First In First Out (FIFO): The product you've had the longest will ship/sell first. This is the most popular model to ensure stock doesn't become outdated or expire.
Last In First Out (LIFO): The newest stock will ship/sell first. This method is not allowed in the United States.
Closest Location: Product ships/sells based on closest storage location.
Reserve Packagings:
Reserve Only Full Packages: EX: If a customer orders 2 packages of 500 units each, and you only have 700 in stock, then only 500 will be reserved.
Reserve Partial Packages: EX: If a customer orders 2 packages of 500 units each, and you only have 700 in stock, then 700 will be reserved.
Inventory Valuation: This determines the value of each product based on the method you select.
Costing Method: Select the costing method preferred for this product category.
Standard Price: The products are valued at their standard cost defined by the product.
Average Cost (AVCO): The products are valued at weighted average cost.
First In First Out (FIFO): The products are valued supposing those that enter the company first will also leave it first.
Inventory Valuation: Select the valuation method preferred for this category.
Manual: The accounting entries to value the inventory are not posted automatically.
Automated: An accounting entry is automatically created to value the inventory when a product enters or leaves the company. This is the most-used setting and will display further fields for you to set Difference accounts, Stock Valuation accounts, Stock Journal, and Stock Input and Output accounts.
Account Properties & Account Stock Properties: All of these settings are important to determine before adding products. Each entry is an Accounting Journal. To learn more about Accounting Journals, please refer to the Journals documentation. You should carefully select the journal for each respective field that is most appropriate for your business.
When you've completed all fields, click Save to save your record.
Edit or View a Product Category
Navigate back to CONFIGURATION > PRODUCT CATEGORIES. To view or edit an existing product category, simply click its name in the list.
To make changes, click the Edit button.
Note that on each product category record there are two smart buttons for Products and Putaway Rules.
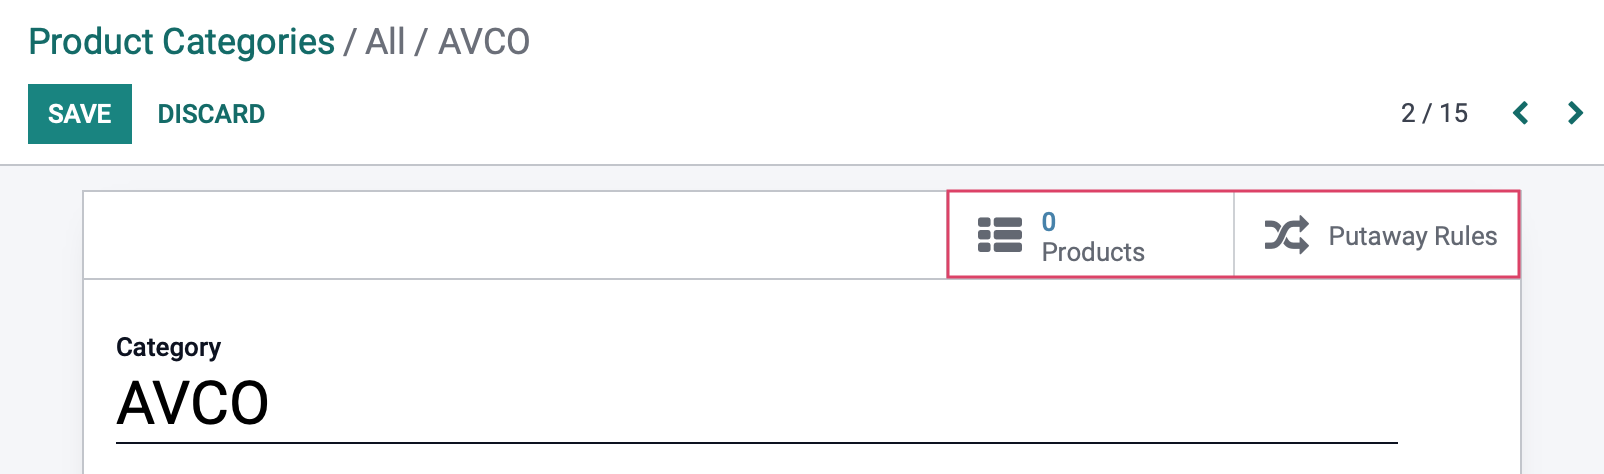
The Products Smart Button displays the number of products within that category. You can click it to see a full product listing.
The Putaway Rules Smart Button takes you to the Putaway Rules for products in this category. From there you can create or edit rules.
Attributes
Attributes are product option categories, such as size, style, and color. Attribute values are the selections within those categories, such as small, medium and large.
From the top menu, click Configuration > Attributes. This initial view will show all of the existing product attributes along with their Display Type, and Variations Creation Mode.
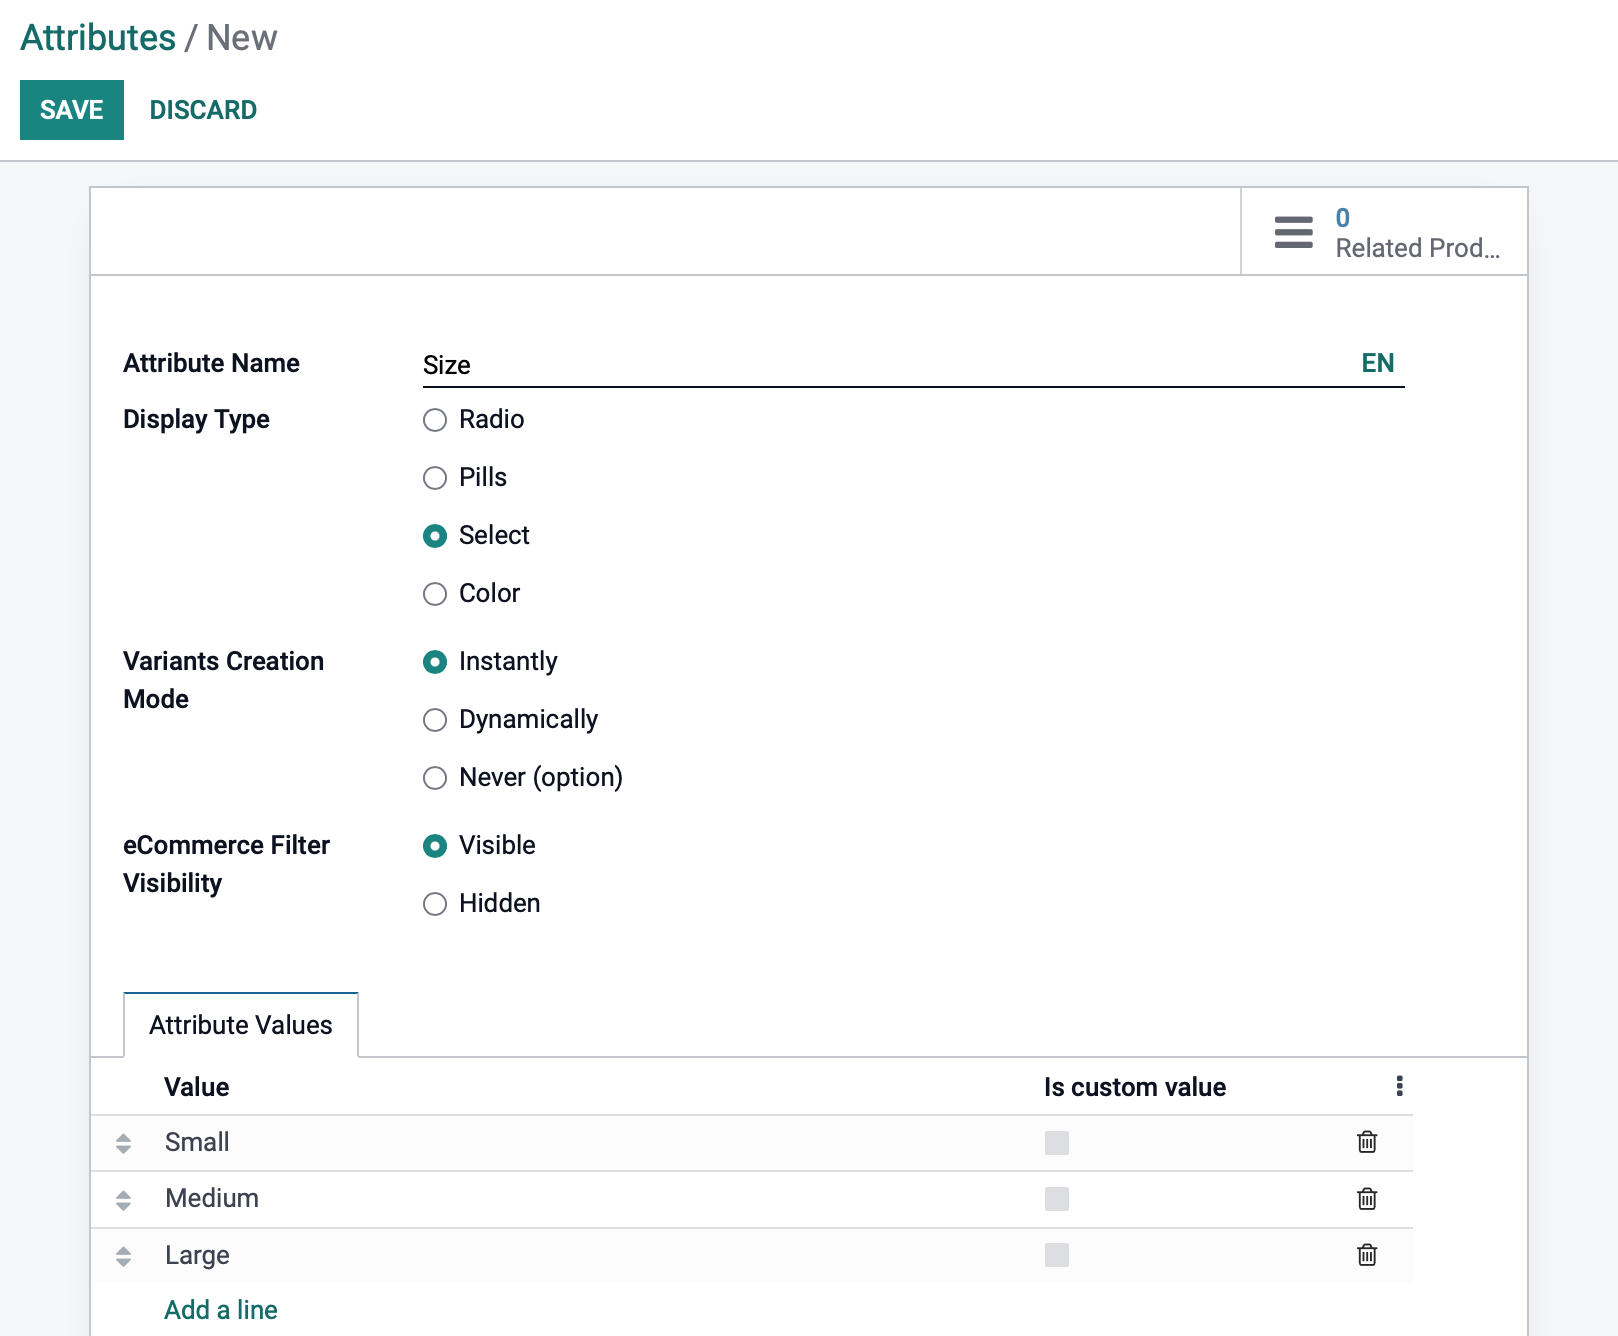
To create a new Attribute, click the Create button. You'll see the following options in the new window:
Attribute Name: Enter a name for your attribute. This will display as the title for the attribute on the front end of your site. As it may be used among many types of products, keep the name general.
Display Types: Odoo offers three Display Types for attributes:
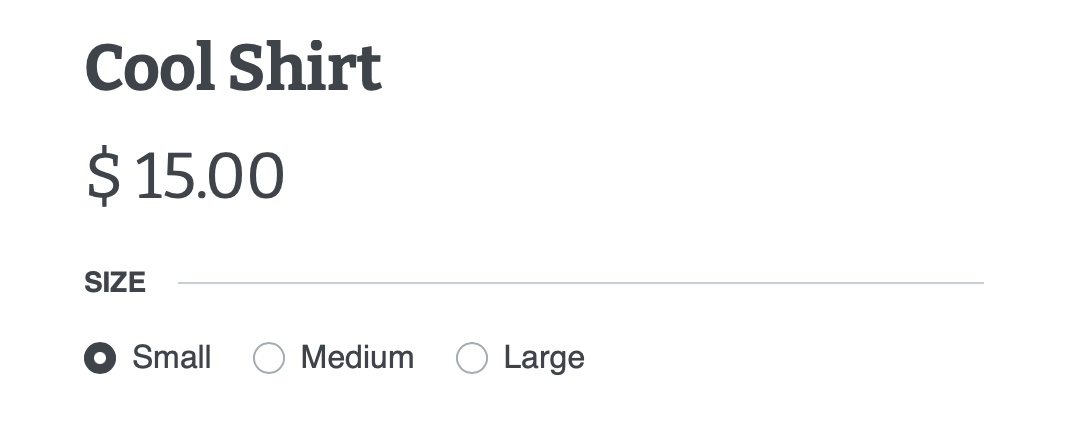
Radio: A Radio button allows the selection of only one option and lists them out in full view. The following is an example of a Radio button attribute where the S (small) variation is selected.
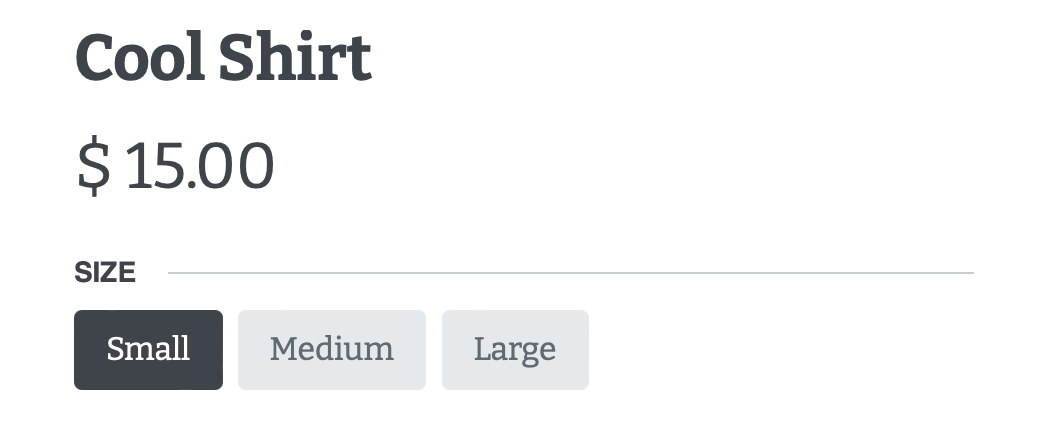
Pills: Pills displays the selection of only one option and only displays the selected option. The following is an example of a Pills attribute where S (small) variation is selected:
Select: This option provides a drop-down menu for the customer to select the variant they want as shown below:

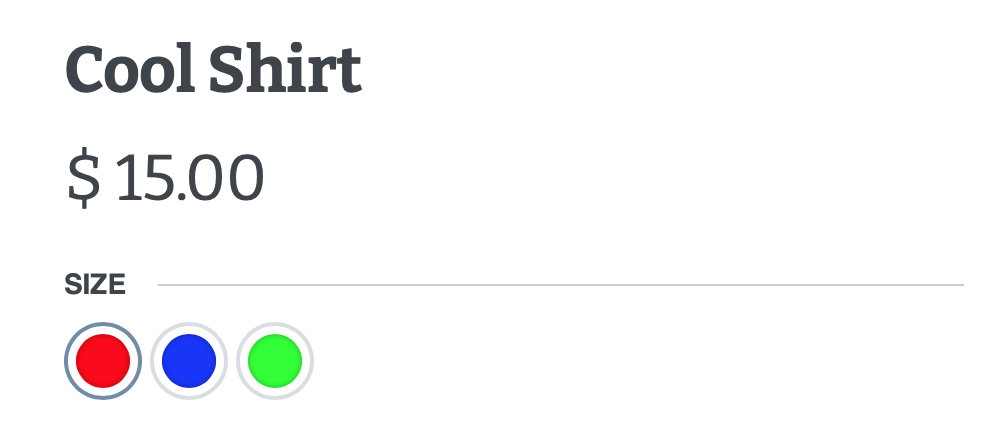
Color: The Color display type gives the ability to enter RGB or HEX colors for your customers. If you select the color option on the attribute template, you can assign each variant it's own color designation as pictured:

The following is an example of a Color attribute where the color Blue is selected:
Good to Know!
Be Careful with the Variants Creation Mode
The Variants Creation Mode cannot be changed once it has been used on one product.
Variants Creation Mode: You'll be offered three options that tailor how product variants are created in Odoo:
Instantly: All possible variants are created as soon as the attribute and its values are added to a product.
Dynamically: Each variant is created only when its corresponding attributes and values are added to a sales order.
Never: Variants are never created for the attribute.
eCommerce Filter Visibility: Determine if the Attribute can be filtered for or not by choosing Visible or Hidden.
The ATTRIBUTE VALUES tab is where you'll add values to the attribute. To add your first value, click ADD A LINE. This will open a new line where you'll add your new attribute value.
With both Radio and Select options, you'll have these two fields:
Value: This is the variant name. For example, if your Attribute is Size, a variant value may be Small.
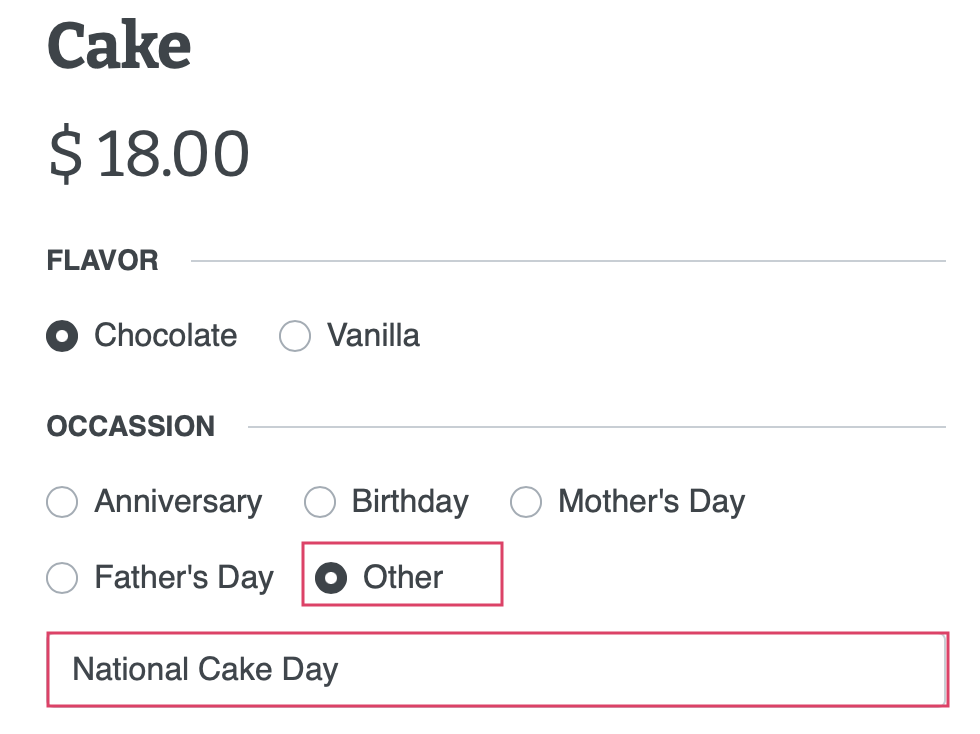
Is Custom Value: When enabled, this field will require user input on selection. In this example, the Radio button is named Occasion, and the last variant is named Other. When selected, the user will manually input the value.
When you've added all attribute values, click Save. The attribute will then be ready to add to your products.
Product Packagings
Product Packagings are a useful way to manage your product in sets or units. From the top menu, click CONFIGURATION > Product Packagings. This view will show all of the existing Product Packagings.
To create a new Product Packaging, click the Create button. You'll be presented with the following options.
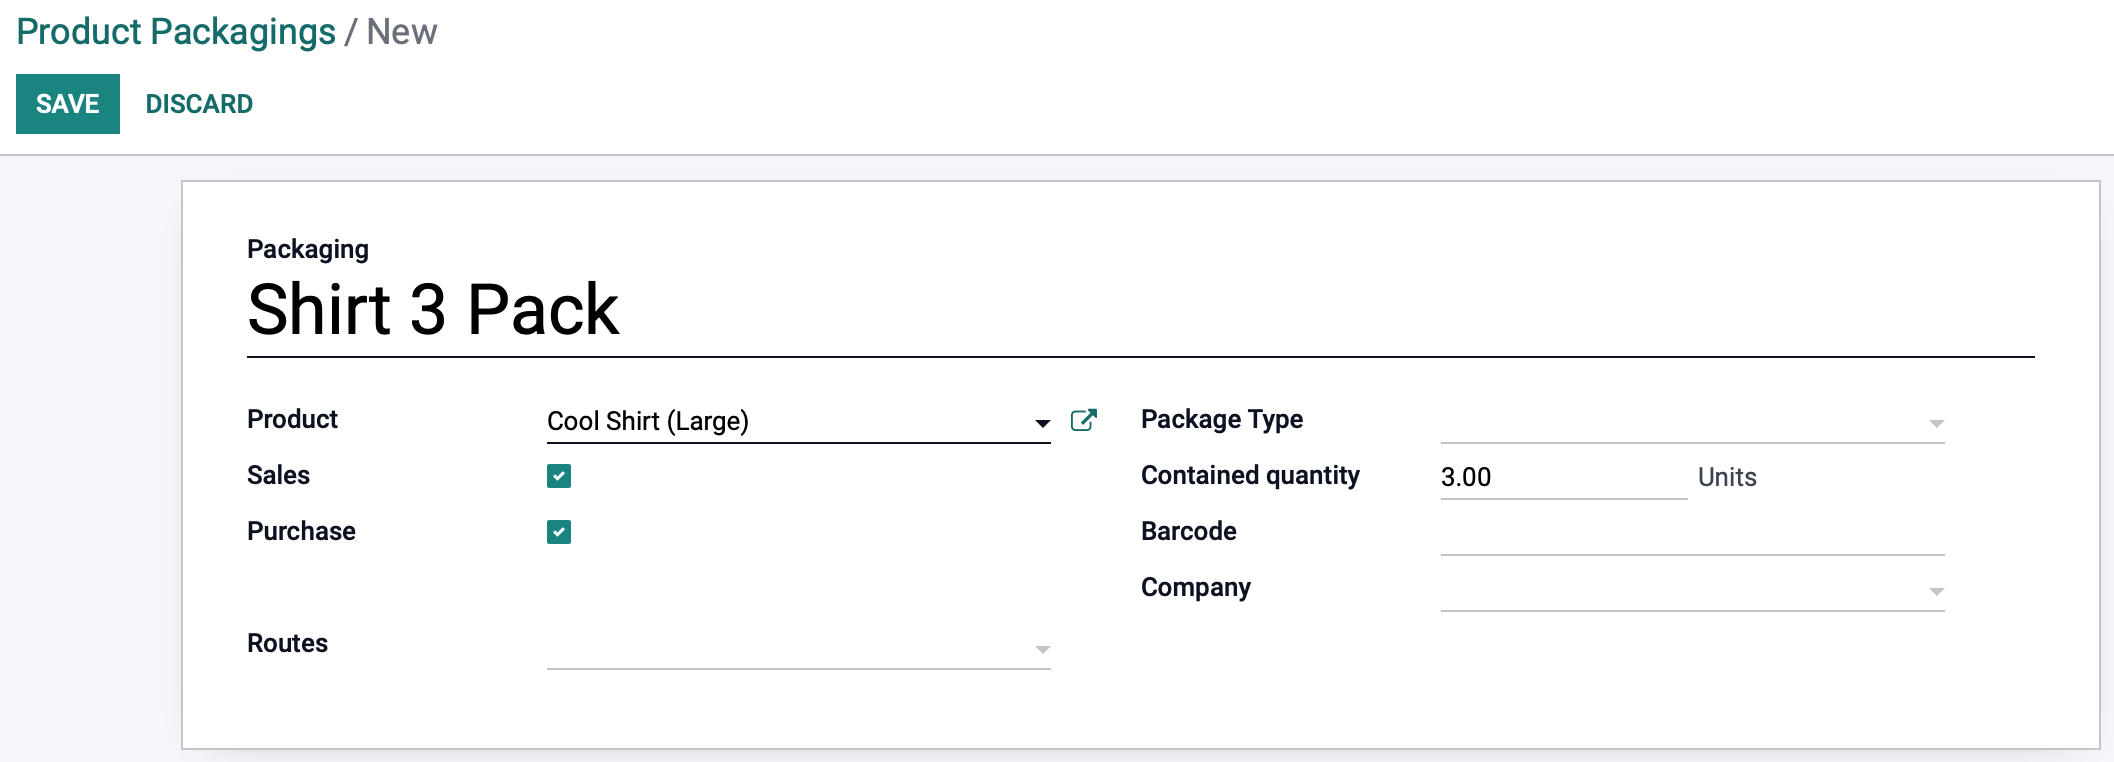
Packaging: Enter the name of your packaging
Product: Select the product that will be packaged.
Sales/Purchase: If enabled, these packagings can be used in Sales and Purchases.
Routes: Set any routes that you wish to apply.
Package Type: Choose the desired package type, i.e., small box, or large envelope.
Contained Quantity: Enter the quantity of the product that will be within this packaging.
Barcode: You'll see this field if the Barcodes module is installed. Here you can add a barcode for easier tracking and inventory control.
You can create multiple Product Packagings for the same product based on the many ways you may package, sell, and/or ship it.
In this example, we're viewing the product record for a Cool Shirt. From the Inventory tab, you can see that these are packaged in quantities of 3 or 5.

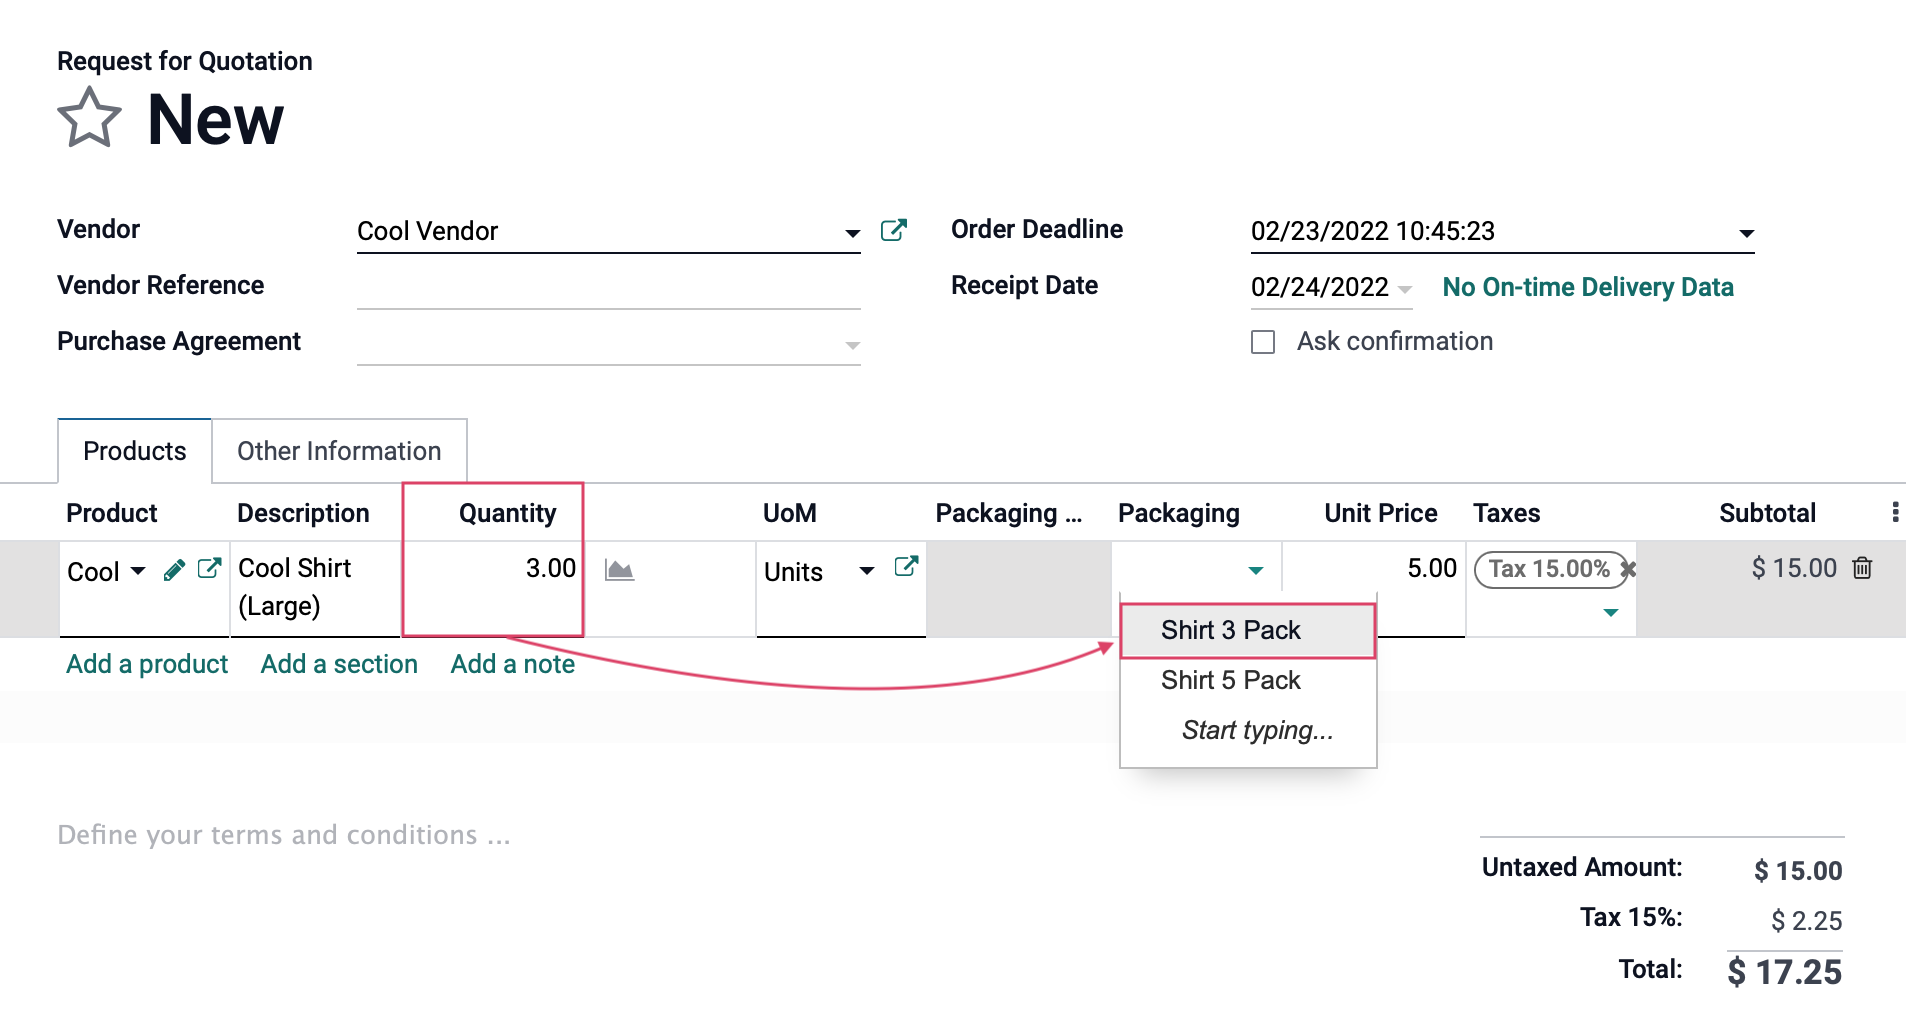
After you've added all available Product Packagings for a product, you can then select it on an RFQ or Purchase Order. The following is a Purchase Order where we've added 3 really Cool Shirts, and have chosen to ship it in a pack of 3.
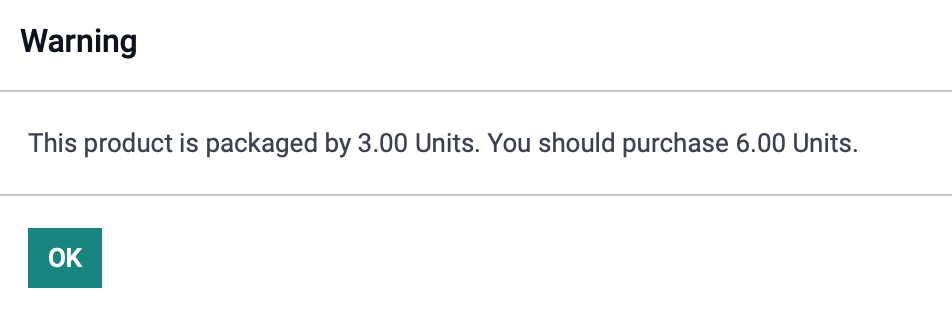
Important!
If the quantity of items we select doesn't match the quantity in the package we've selected, Odoo will give us a warning. Clicking OK doesn't modify the quantities, so be sure you double-check your quantity to the package you've chosen.