Inventory : Products / Master Data: Reordering Rules
Purpose
A Reordering Rule is the method by which Odoo automates replenishing stock through manufacturing or purchasing. This documentation introduces Reordering Rules and to outline creating the rules in the Odoo 14 Inventory application.
Process
To start, navigate to the Inventory app.
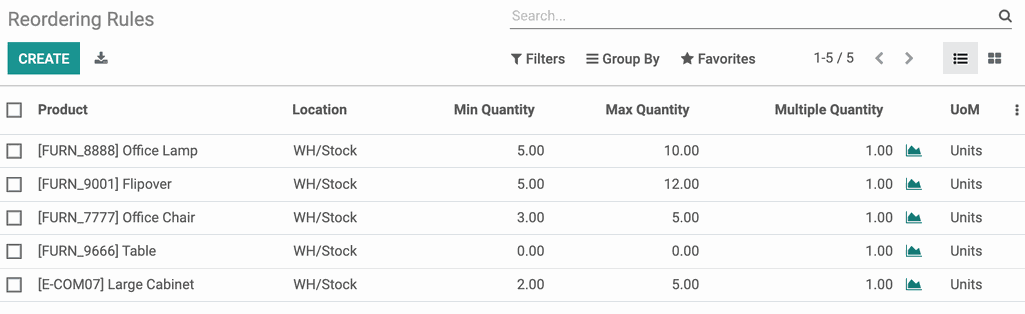
Once there, click Configuration >REORDERING RULES. This will list out all existing Reordering Rules in place.
Good to Know!
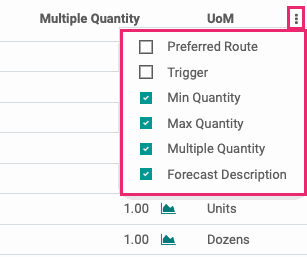
Exposing Columns
There are several available columns in this view. Use the ellipses menu on the top-right to hide or expose them, as needed.
Create a Reordering Rule
To make a new Reordering Rule, click CREATE. This opens a new line where you'll fill out the following fields:
Product: Select the product to create this rule for.
Location: Select the location within the warehouse, above, where this product will be stored.
Maximum Quantity: Odoo will only replenish to this quantity when a Reordering Rule is triggered.
Multiple Quantity: Enter the multiples in which to order this quantity. For example, if the product must be ordered in dozens, you'd enter 12 here. Entering a 0 or 1, will process multiple quantities as 1.
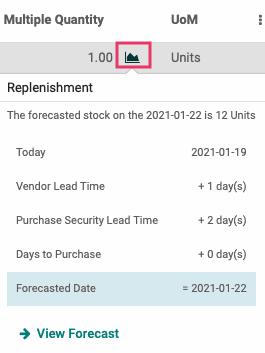
Replenishment: By clicking this icon, you can see data existing for this product, including forecast and lead times.
UoM: This field is auto-populated with the Unit of Measure for the selected product, it cannot be changed.
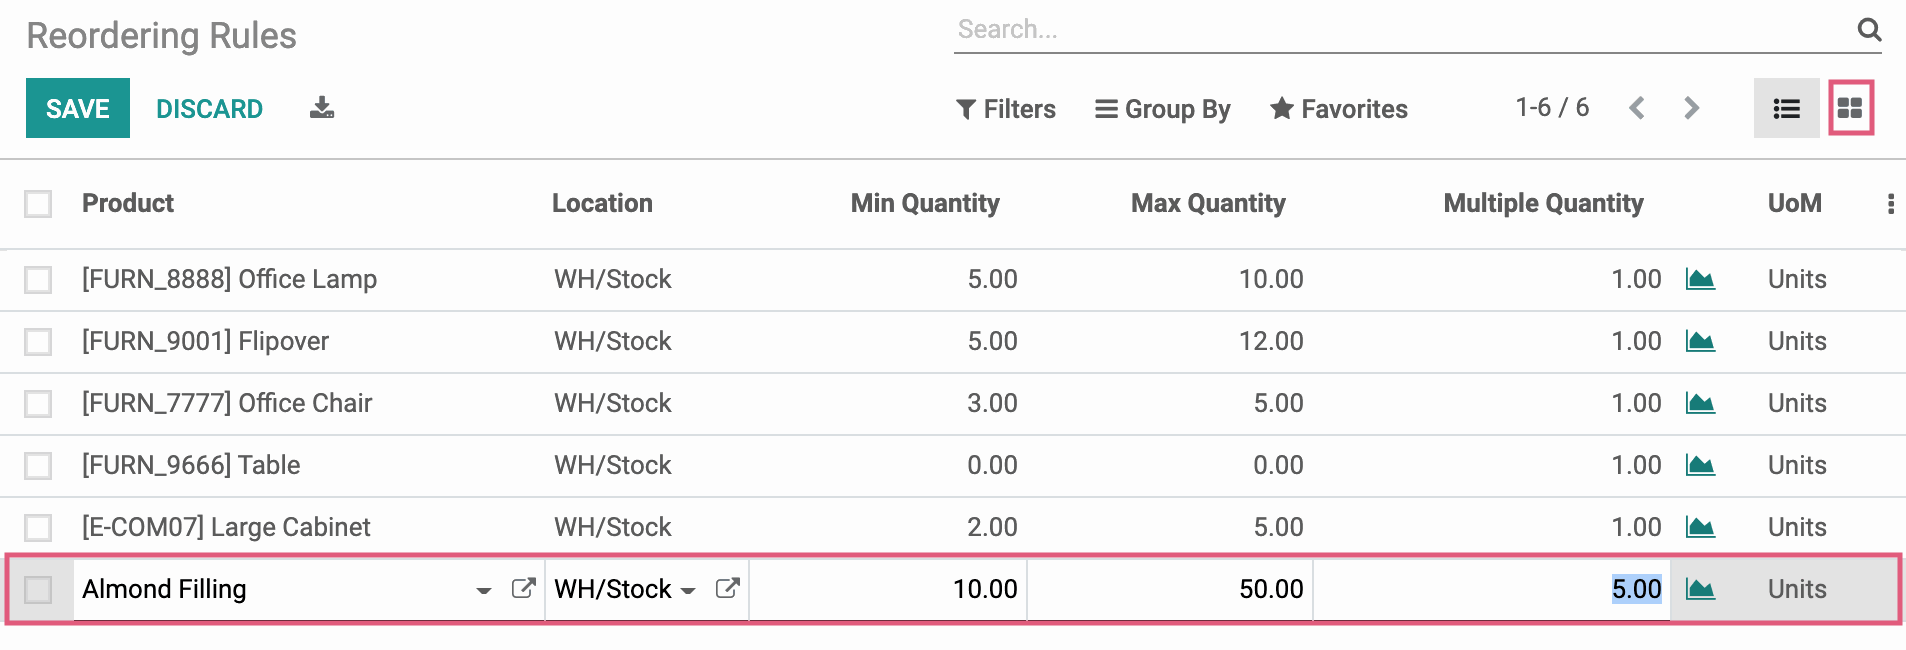
When you've entered all of the information, click SAVE.
Good to Know!
The Kanban View
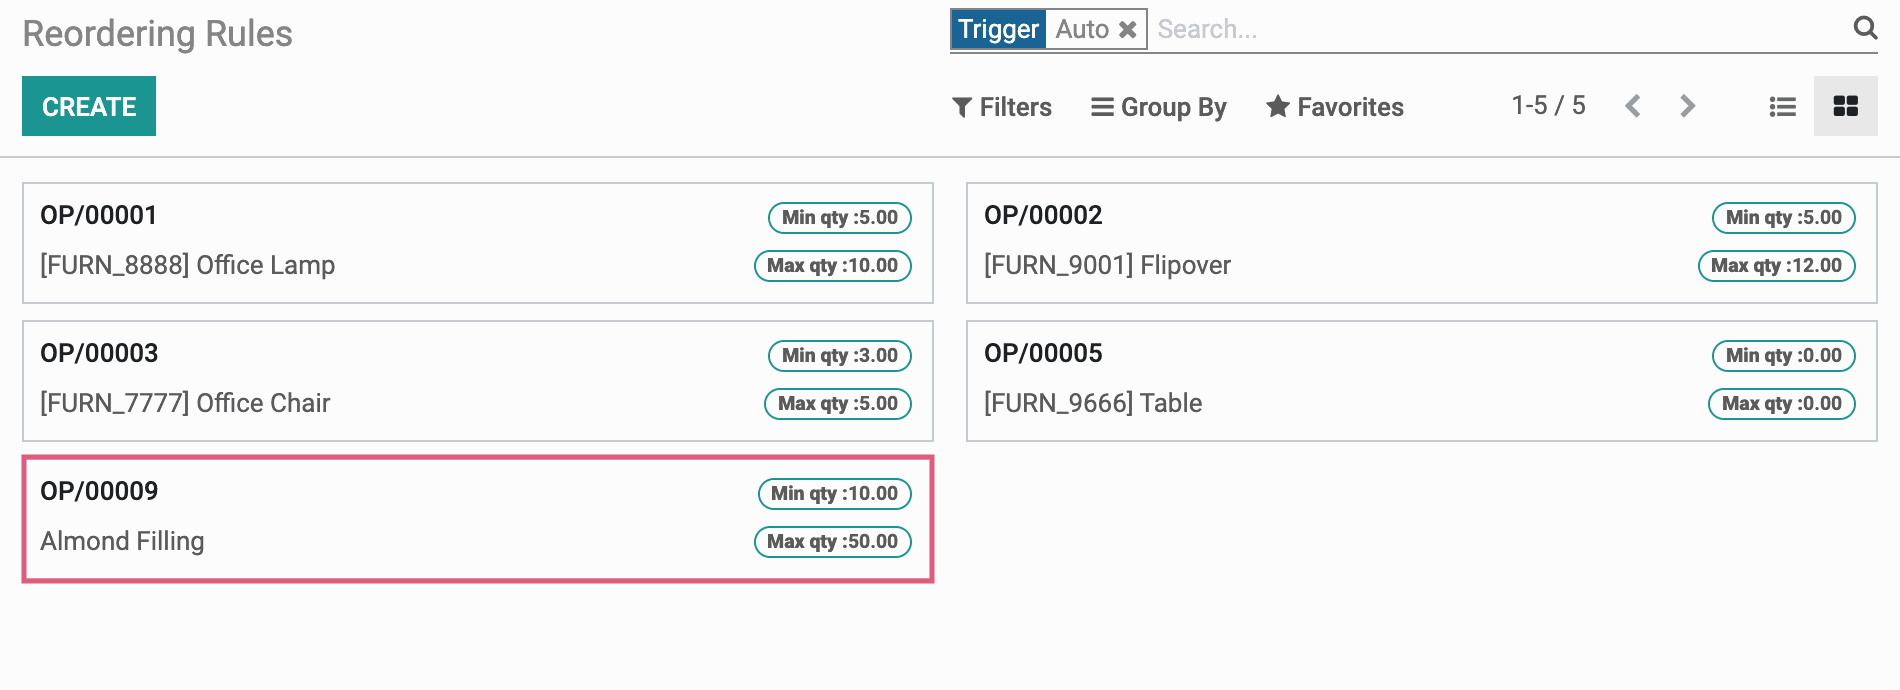
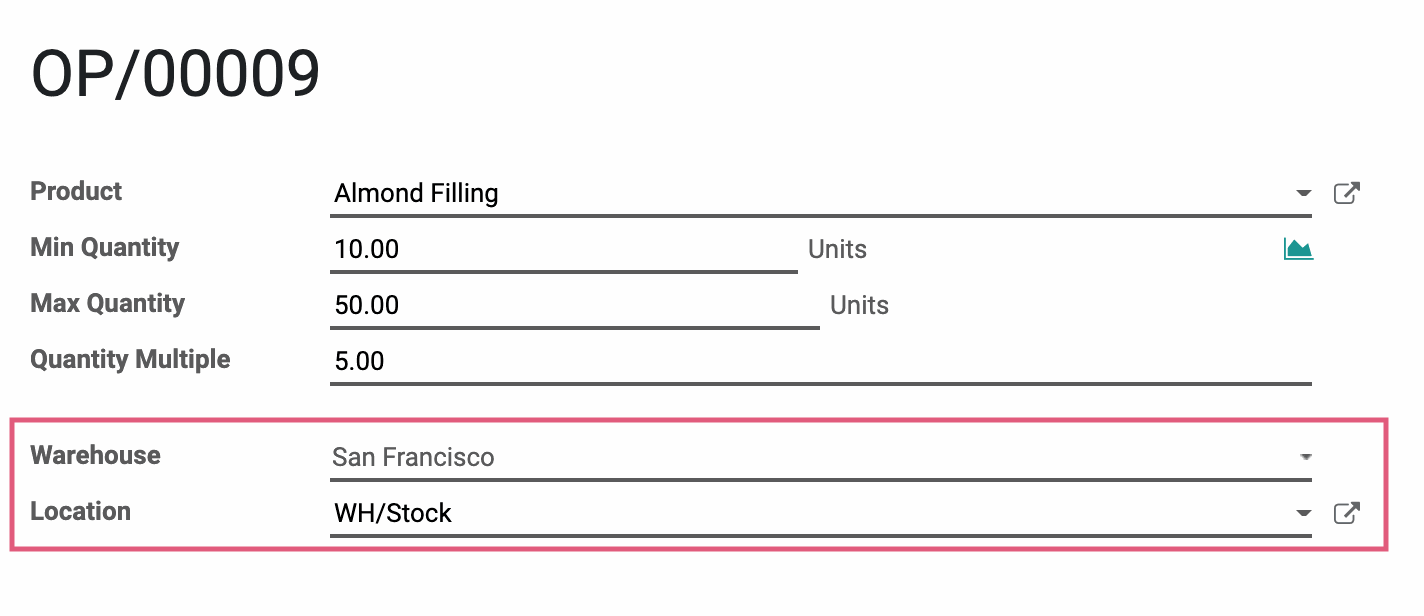
By switching to kanban view and clicking into your desired Reordering Rule, you can also input the additional fields:
Warehouse: Select the warehouse where this product will be stored in your operation.
Location: Select the location within the warehouse, above, where this product will be stored.
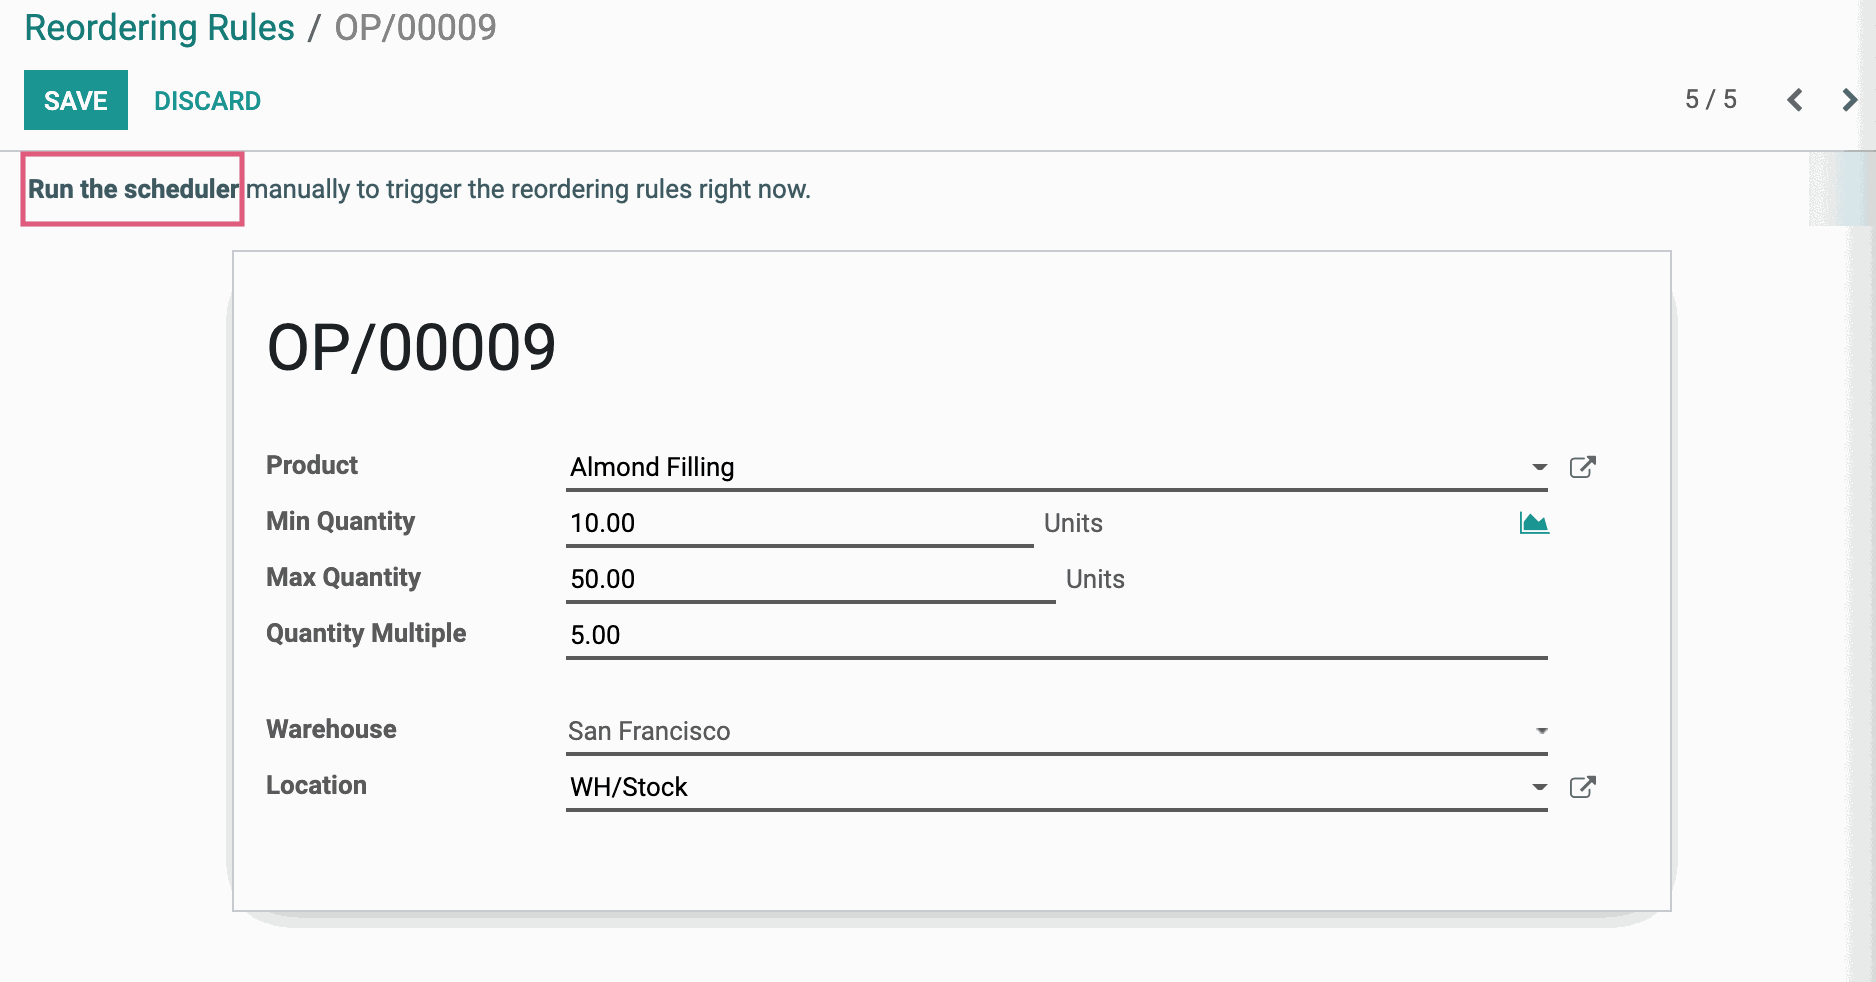
Scheduler
When accessing a Reordering Rule through kanban view, you'll have the option to "Run the Scheduler". Clicking this link manually triggers the reordering rule for the record you're on.
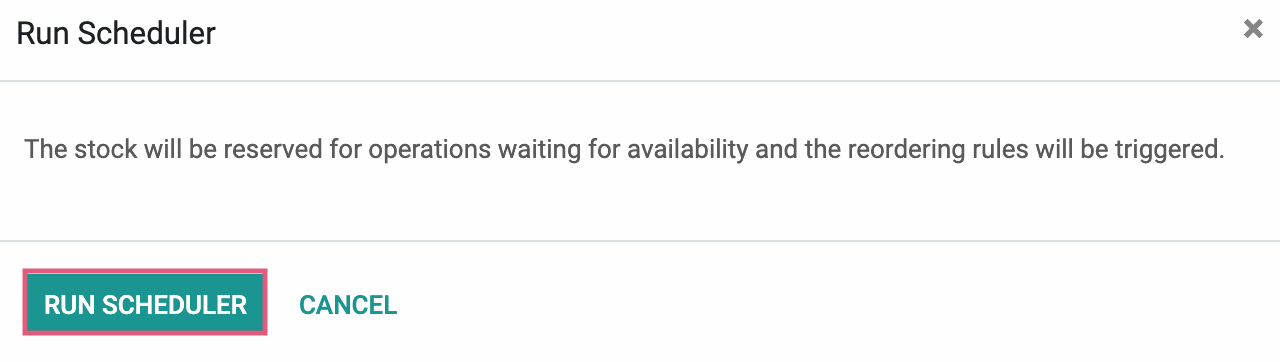
In doing so, you'll see the following modal window. Click Run Scheduler to confirm.

To trigger the scheduler for all Reordering Rules, click OPERATION > RUN SCHEDULER from anywhere inside the Inventory application. Again, you'll need to confirm the action by clicking RUN SCHEDULER on the modal window.
For more information, see the Run Scheduler documentation.