Inventory : Configuration: Warehouse Management: Putaway Rules
Purpose
This documentation outlines setting up and using Putaway Rules in the Inventory application of Odoo 16. Putaway Rules move received products from a parent location to their more specific child locations without the need to manually set the receipt locations on the transfer lines.
Process
To get started, navigate to the Inventory app.
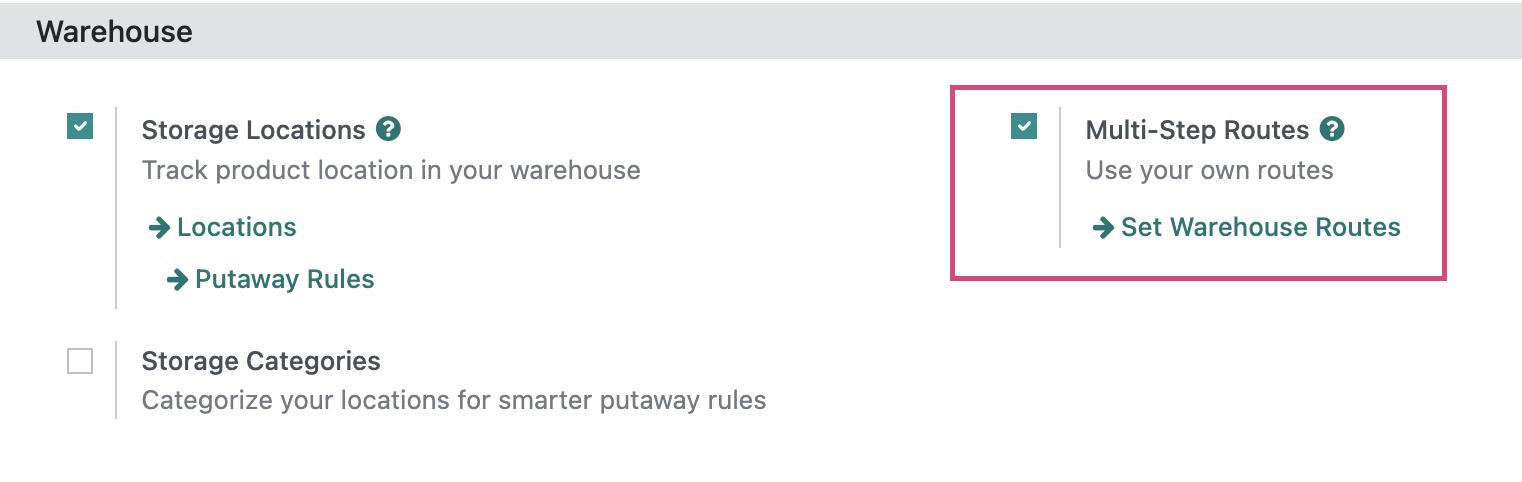
Once there, navigate to Configuration > Settings. Scroll down to the Warehouse section, enable Multi-Step Routes, then click Save.
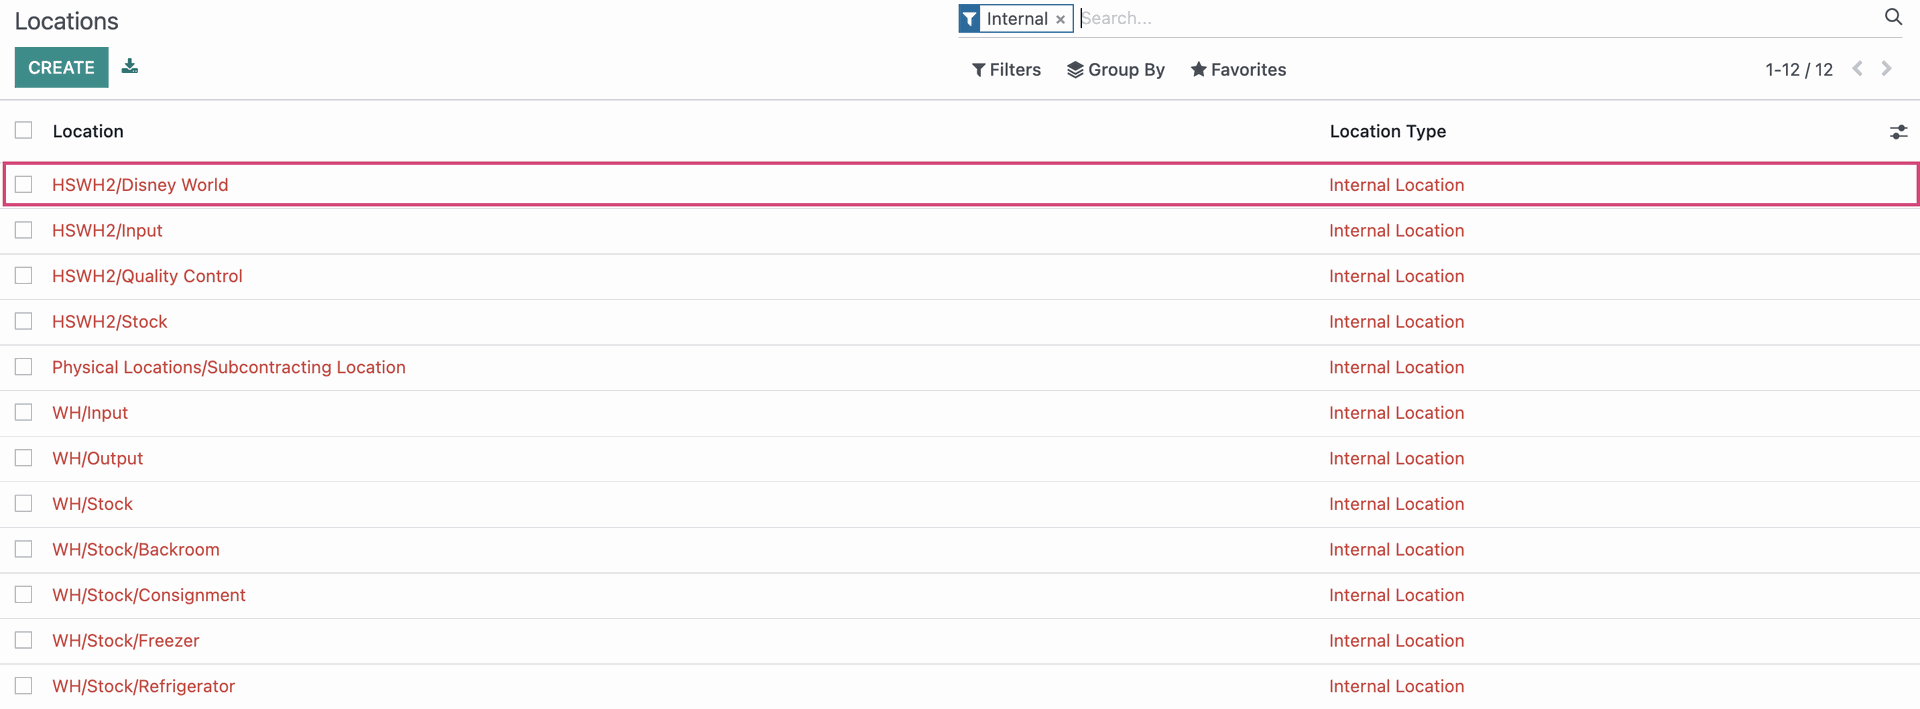
Next, go to CONFIGURATION > LOCATIONS.
Important!
Locations
You must configure Putaway Rules on the locations the products are being distributed FROM, not moved TO. When you set up the Putaway Rule, you will be able to specify to which location you wish to move products to.
You are also only able to move stock from a parent location to a child location. You cannot move stock from a parent location to another parent location.
From the list, select the location you wish to distribute products from.
This opens the Locations template. Click the Putaway Rules smart button.
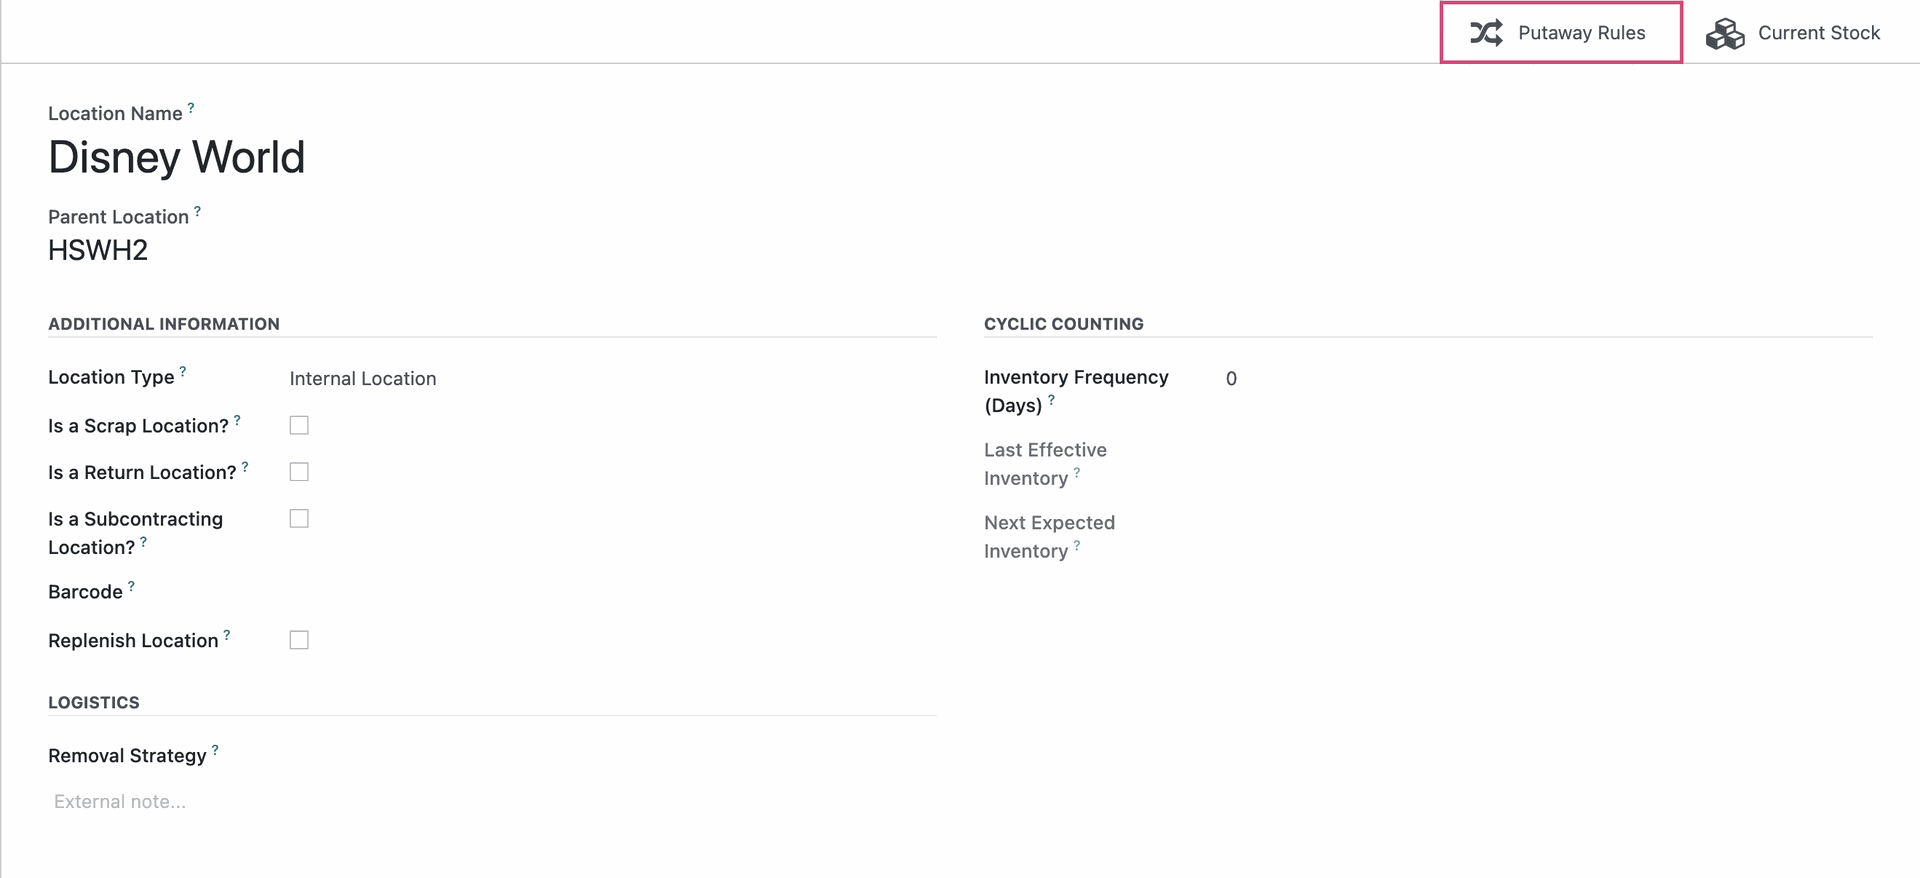
This will bring you to the list of existing Putaway Rules for this location. Once here, click NEW. A new line will appear for you to fill in a new Rule with the following fields:
Important!
Order of Operations
If you apply your Putaway Strategy to both products and product categories, Odoo will apply the rule to the Product before it applies it to the Product Category.

When Product Arrives In: The location you're adding this Rule to will automatically be auto-populated indicating that the rule applies whenever the selected Product/Product Category arrives to this location, this rule will apply.
Product: If you wish to apply the Putaway Rule to a specific Product, select it here. A new line must be made for each additional product.
Product Category: If you wish to apply the Putaway Rule to a specific Product Category, select it here. A new line must be made for each additional Product Category.
Package Type: This is only applicable if you have Packages enabled in Settings.
Store To Sublocation: Select the Shelf the selected Product will be stored within this location.
Company: The company this location belongs to will auto-populate in this field.

Receiving Products
If you have created a Putaway Rule for incoming stock, you can create Purchase Orders to see how the incoming products move once they are received in inventory.
To get started, navigate to the Purchase app.

Once there, create and confirm a Purchase Order for a product that is included in a Putaway Strategy. For information on how to create Purchase Orders, please refer to the Purchase Orders documentation.
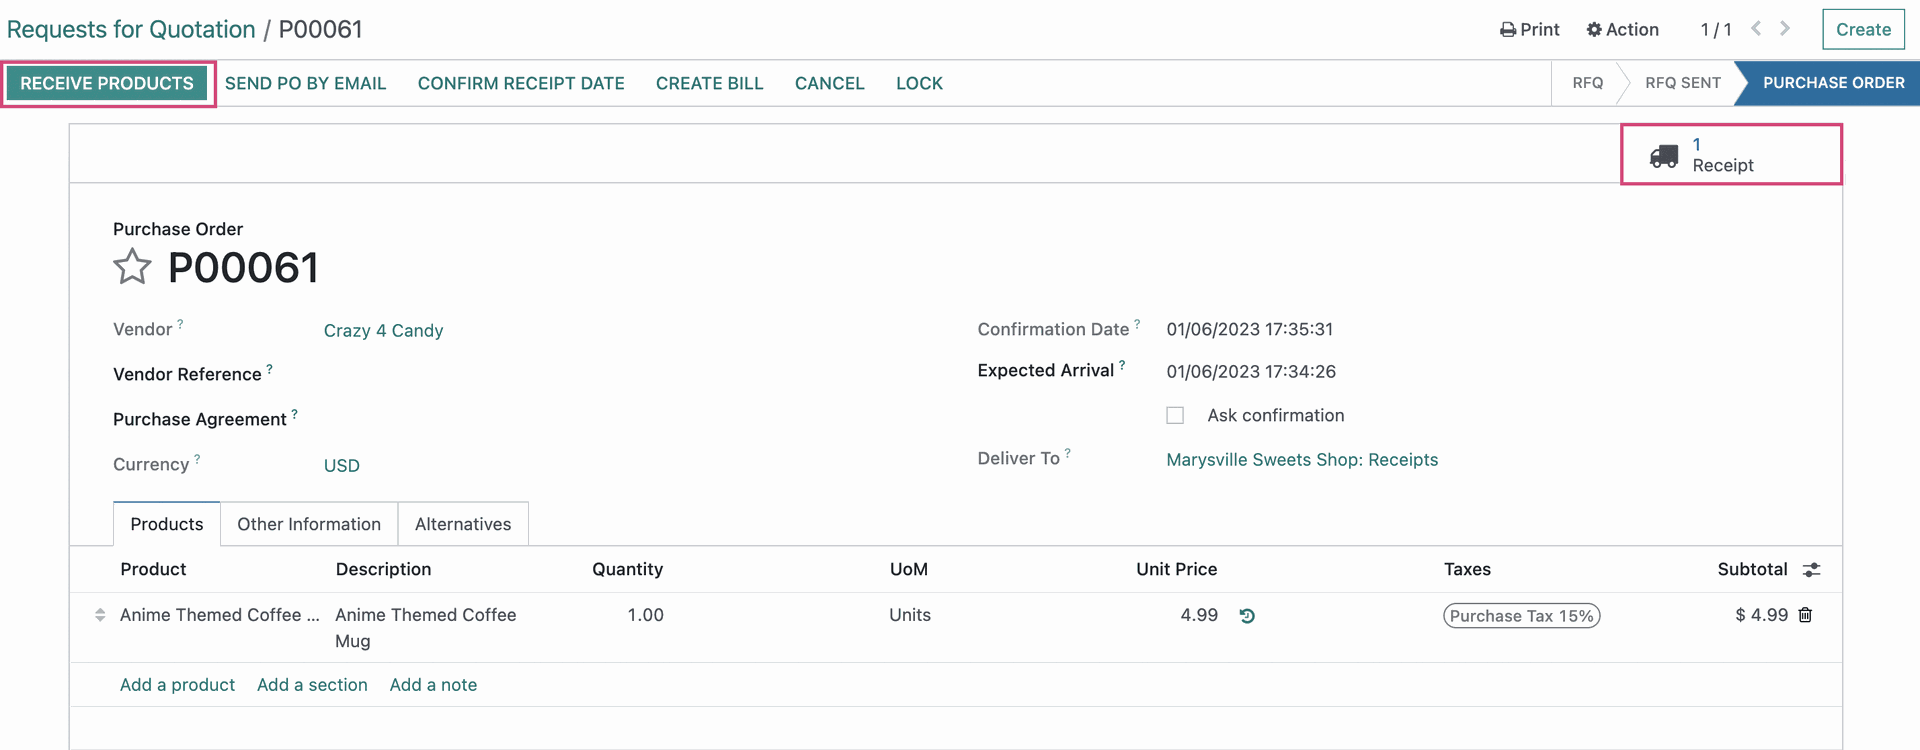
Once you have confirmed the order, click either Receipt or Receive Products.
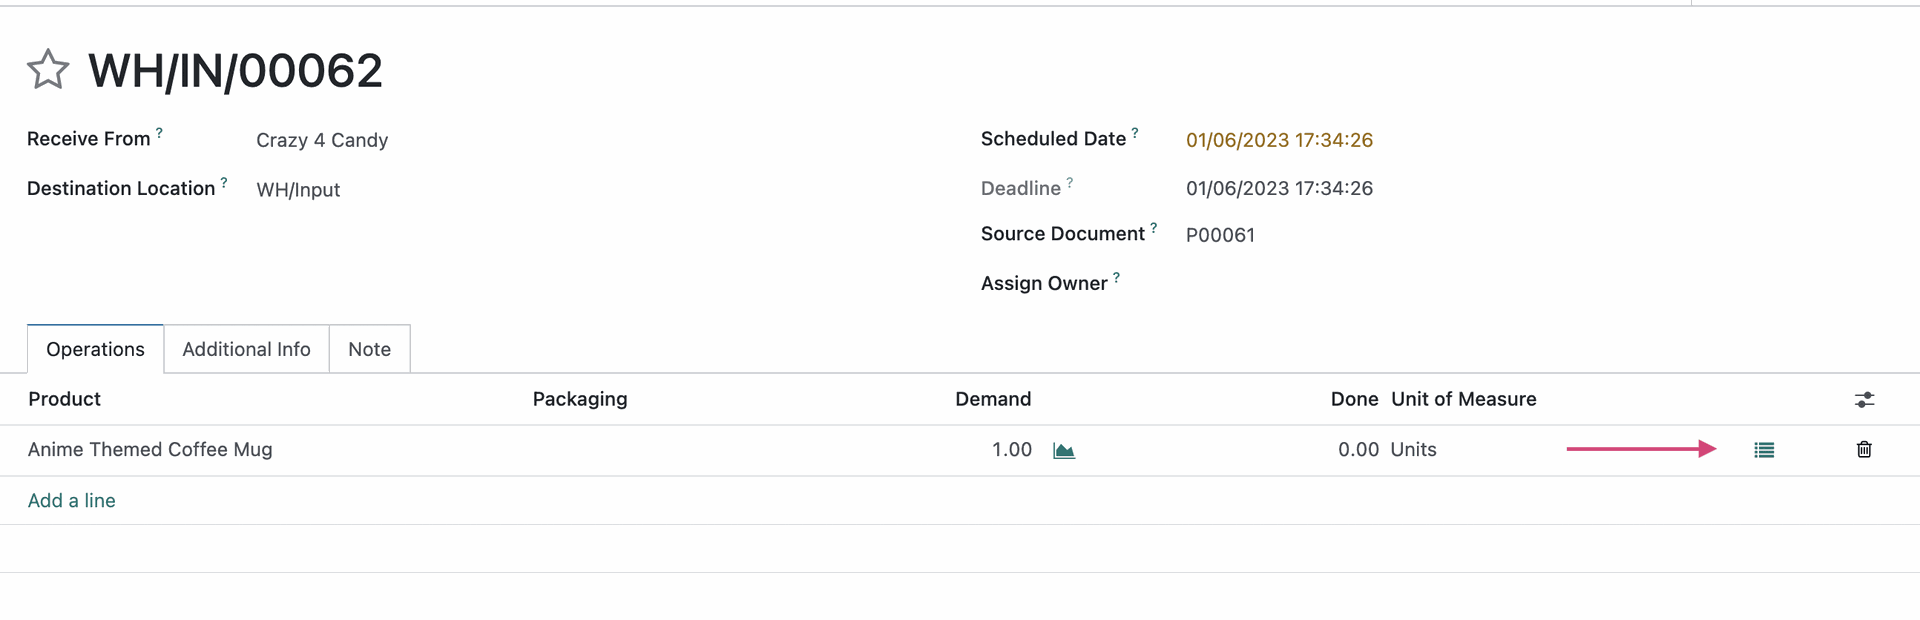
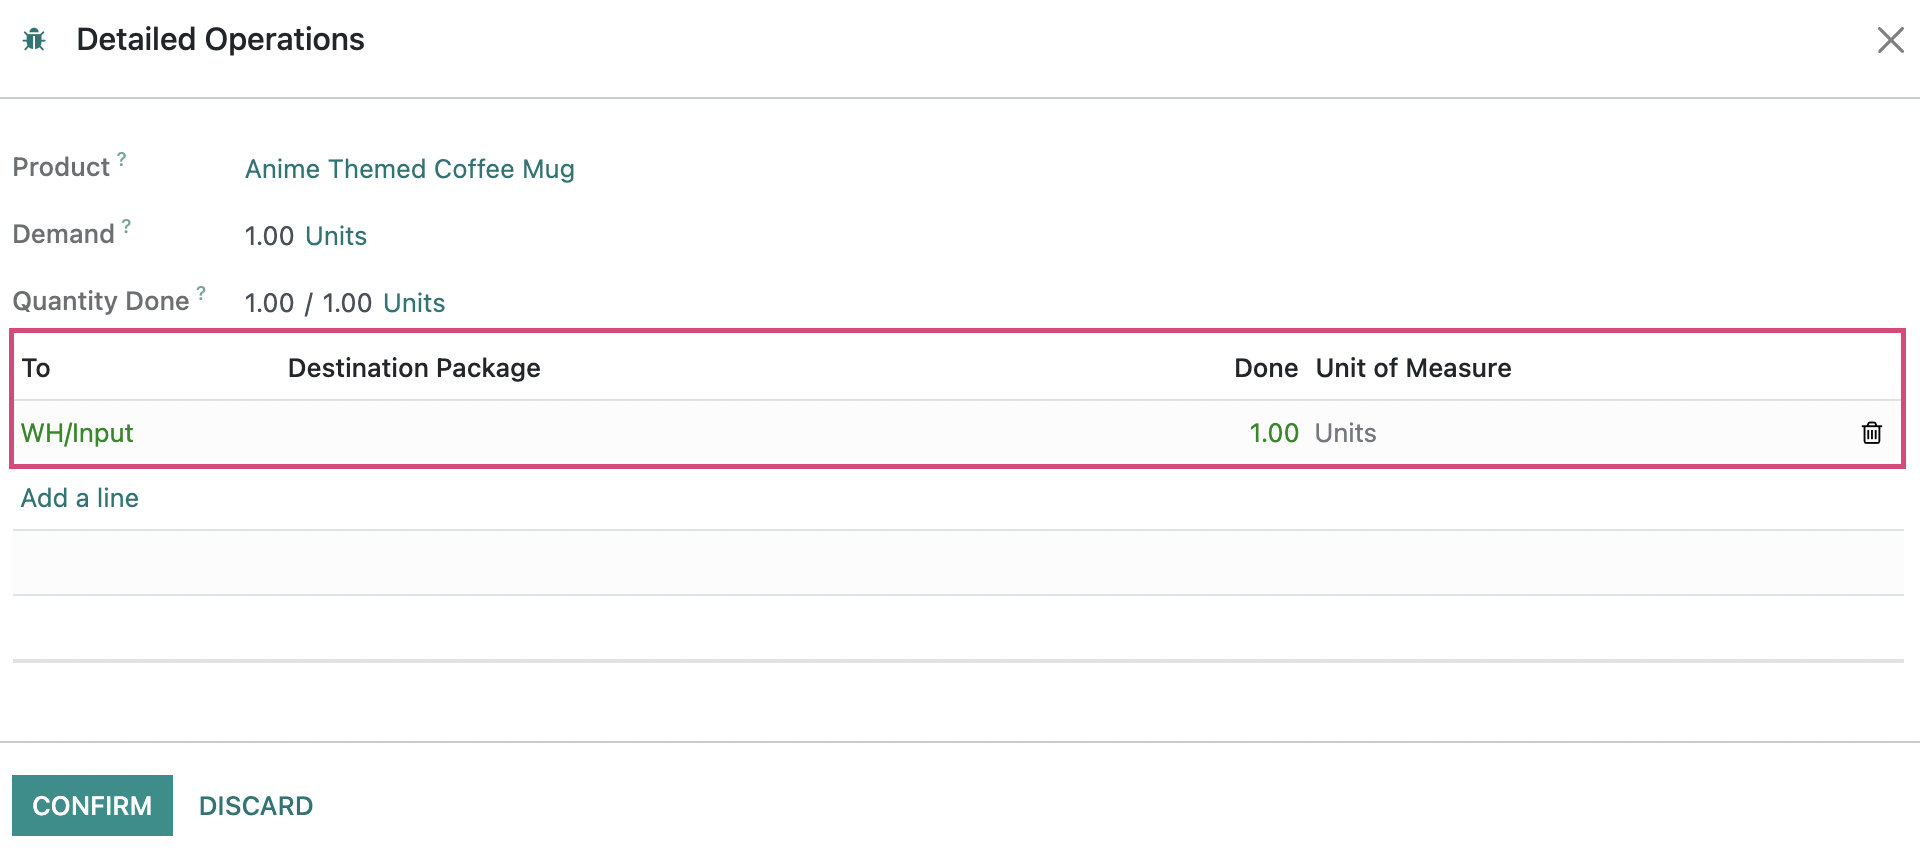
This will open the Detailed Operations modal window. Once there, click Add a line and you will see that the To field auto-populates with the location the Putaway Rule has been configured to move the product to. Make sure to enter the done quantity and click CONFIRM.
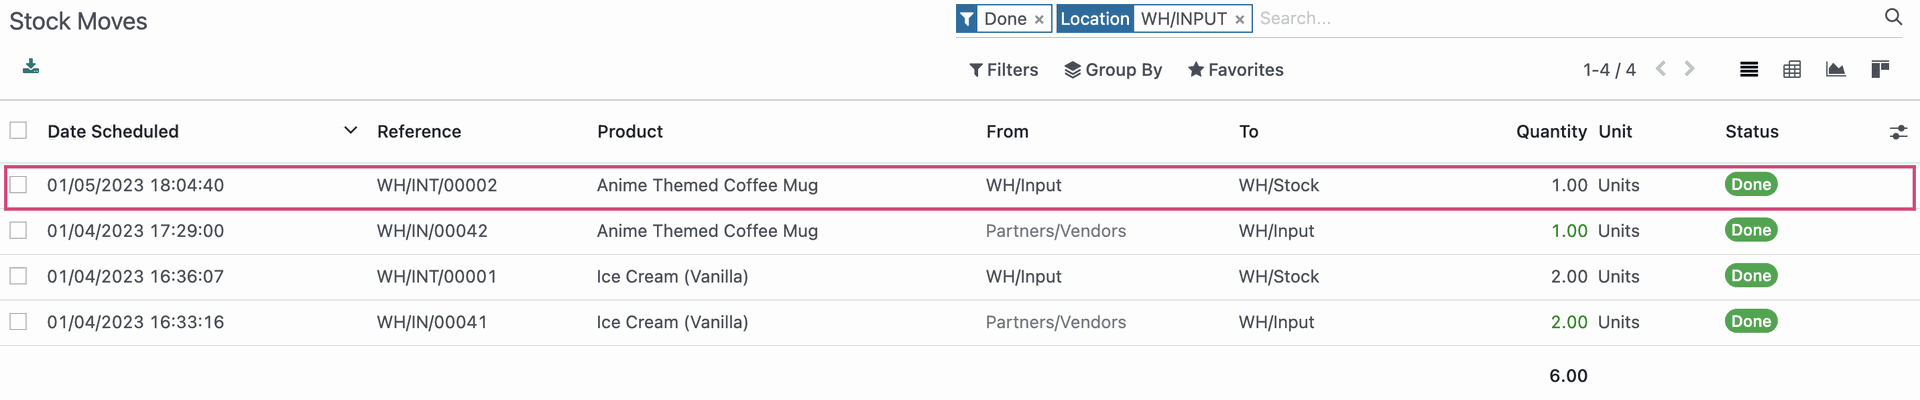
Finally, to see the product moves associated with this receipt, return to the inventory app.
Once there, go to Reporting > STOCK MOVES. Click on the product you received, this will open the grouped entries for the product you can see its product moves. From here, we can see that the received products went from the Vendors virtual location to the correctly specified Shelf that we assigned in the Putaway Rule.