Inventory : Barcodes: Barcode Configuration
Purpose
The purpose of this documentation is to explain how to configure your Odoo database to effectively use barcodes in Odoo 15. We will cover setting up the Barcode Scanner functionality in the Inventory application, configuring barcodes on products, and configuring barcodes on locations.
Process
To get started, navigate to the Apps application.
Once there, use the search bar to search for "Barcode." On the Barcode kanban card that appears, click Install.

When installation is complete, you will be ported to your Odoo homescreen. Next, navigate to the Inventory application.
To get started, navigate to the Apps application.
Once there, use the search bar to search for "Barcode." On the Barcode kanban card that appears, click Install.
When installation is complete, you will be ported to your Odoo homescreen. Next, navigate to the Inventory application.
Once there, go to Configuration > Settings. Under the Barcode heading, check the box for Barcode Scanner, then click save.
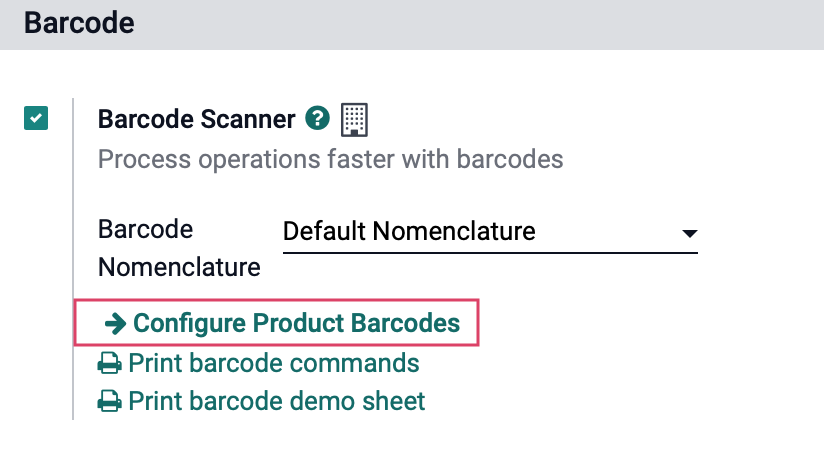
To configure product barcodes, click Configure product barcodes.
Configuring Product Barcodes
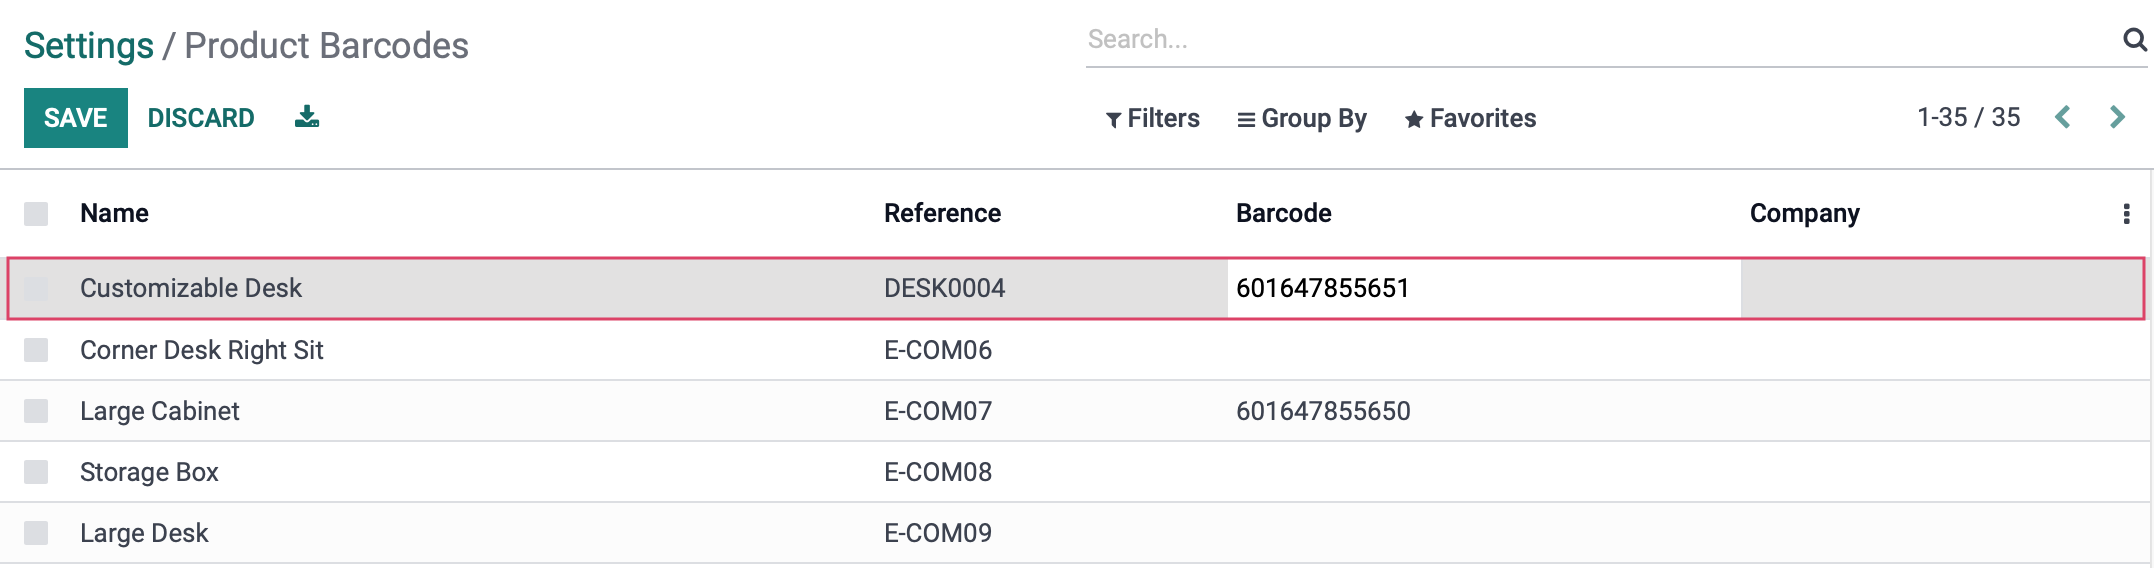
You will be brought to a page of products. You can click into the Barcode field for any product, then use your barcode scanner to input the code. You may also add it manually with your keyboard.
Important!
Assigning Barcodes to Product Variants
If you wish to assign a barcode to a product that is a variant, DO NOT assign it to the product template. You must instead locate the product variant from the list and assign the barcode directly to the variant.
Good to Know!
Printing Product Barcodes
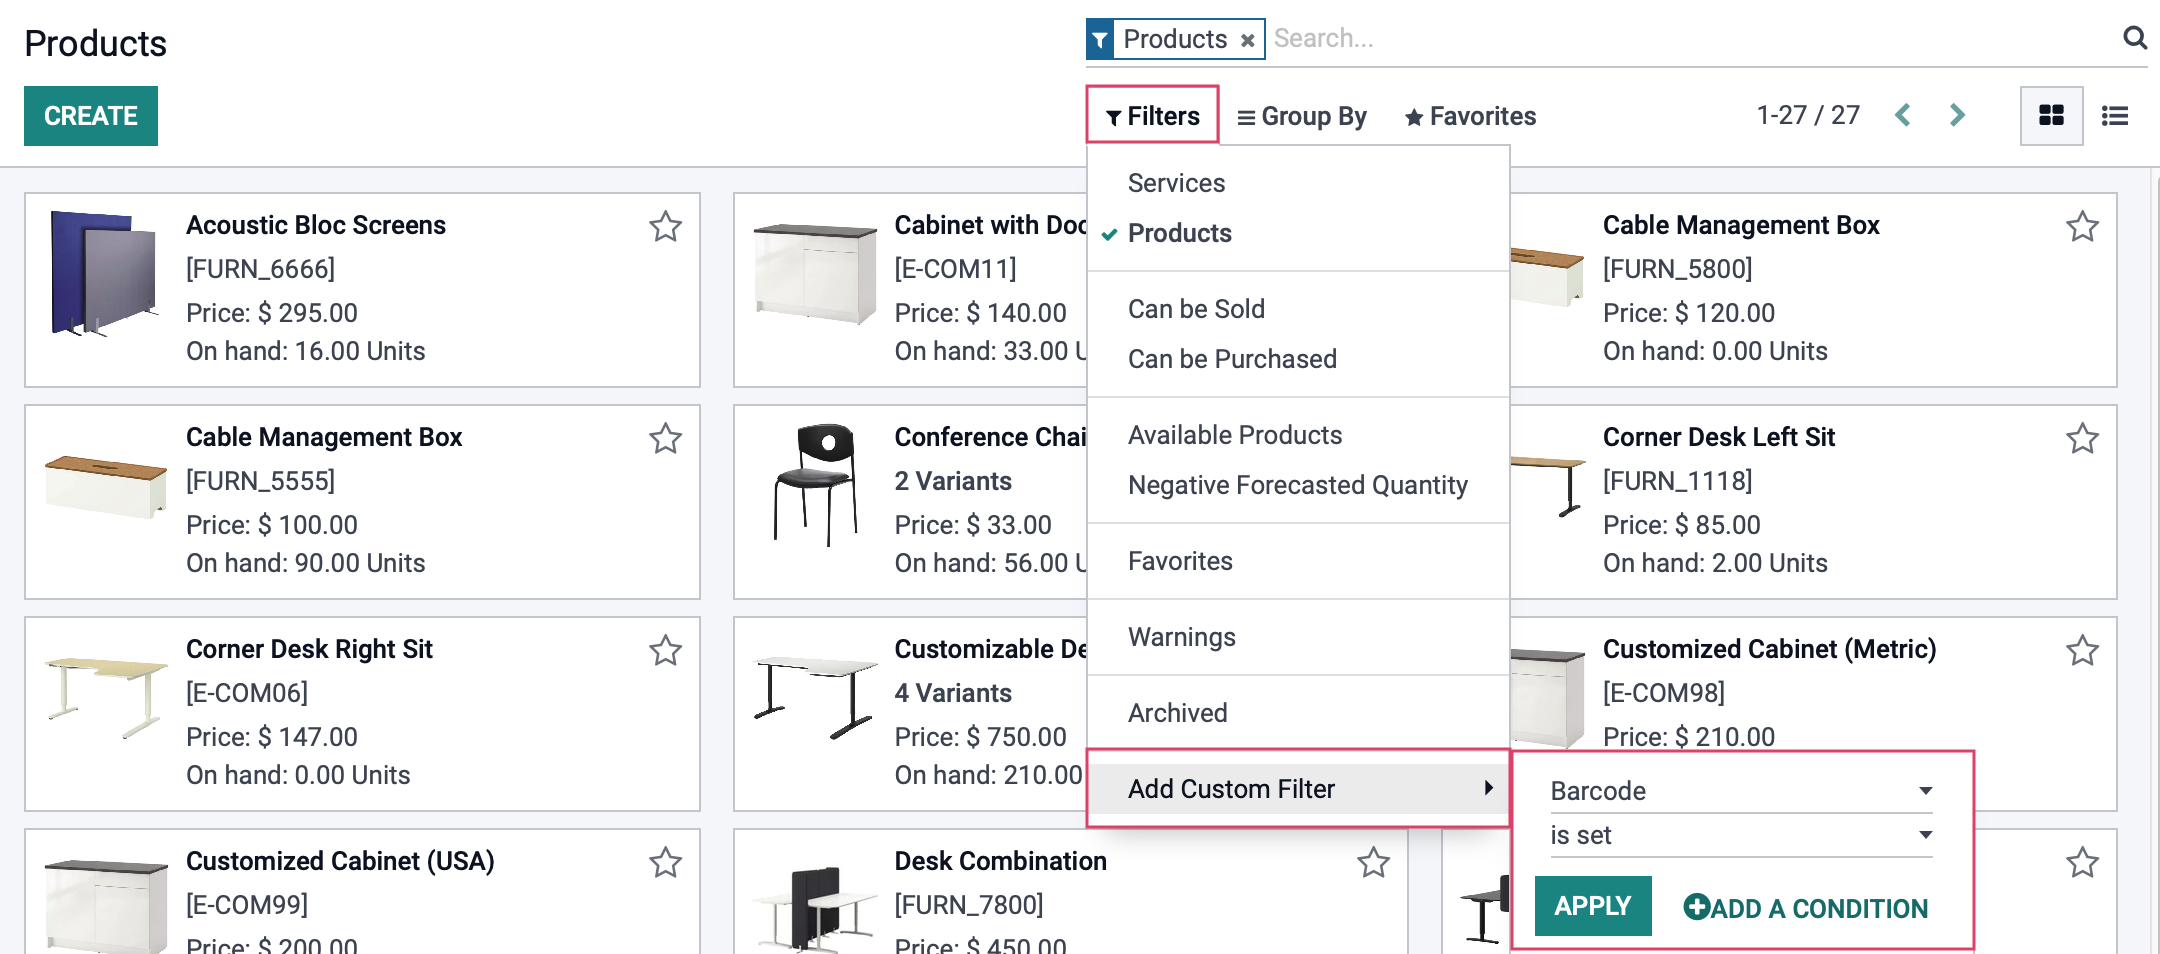
You are able to print the Product Barcodes for one or more products. From the Products> Products menu item, add a Custom Filter to your search with the parameters being Barcodes is set, then click apply.
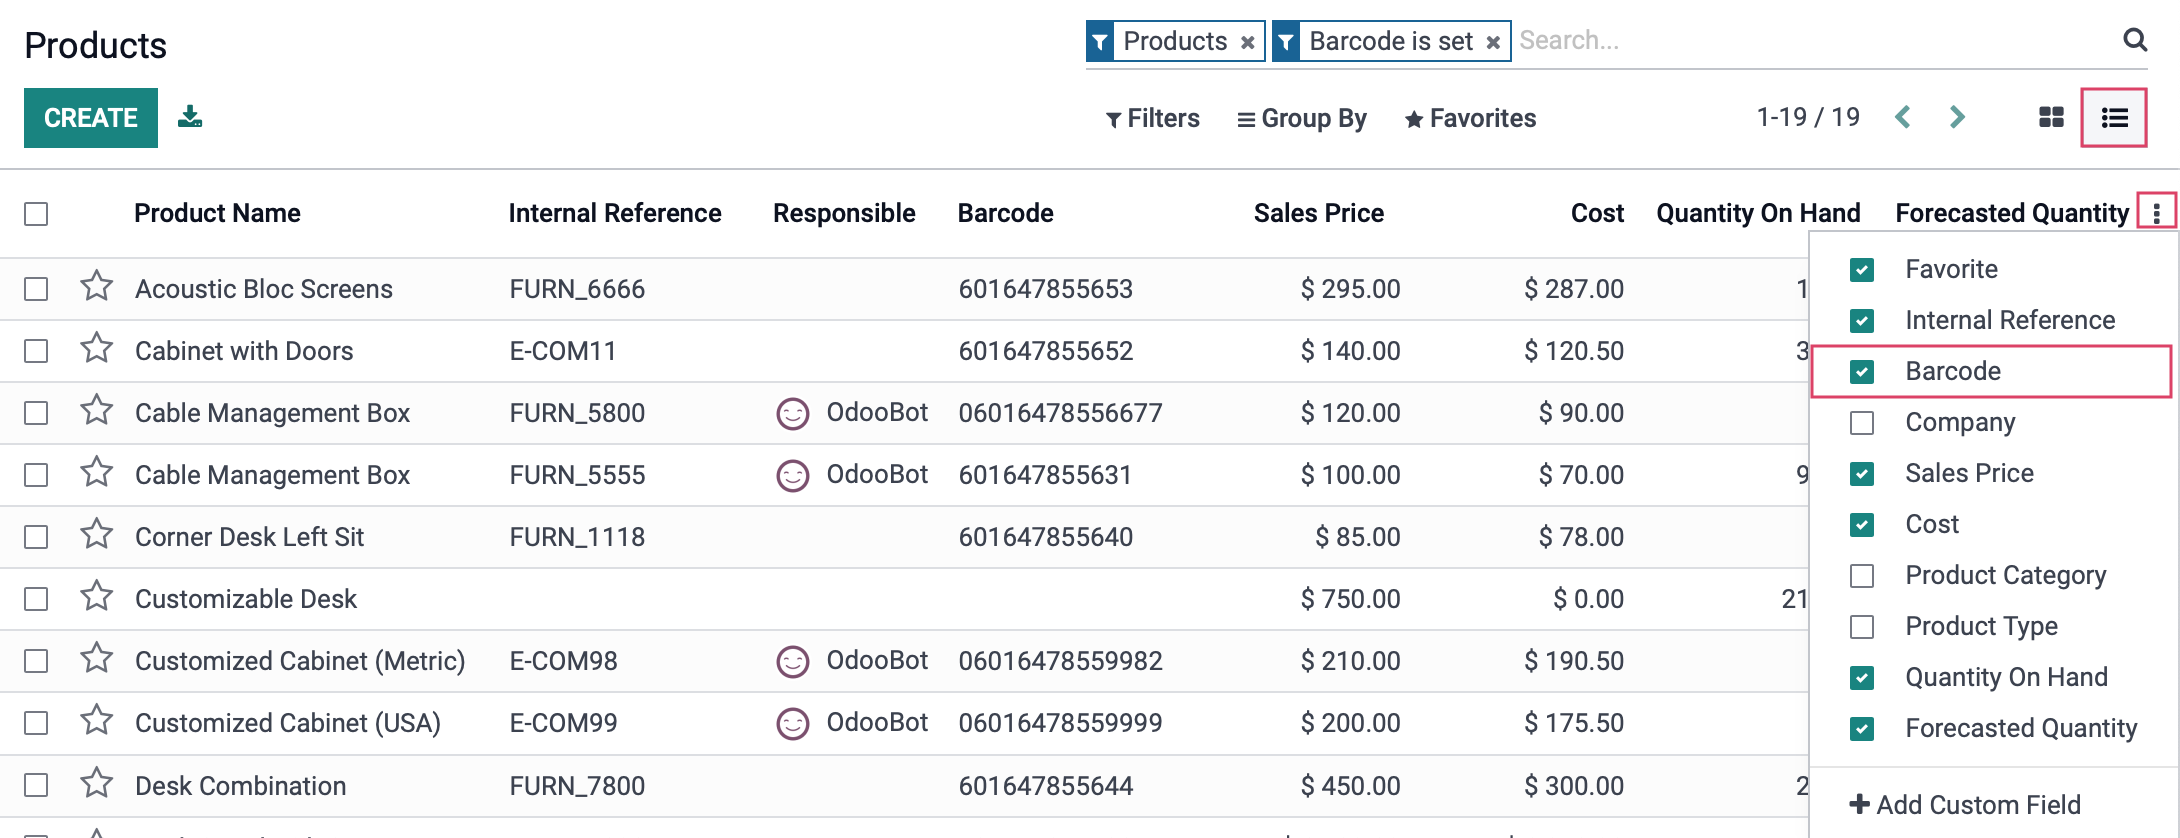
Then, switch to list view. If you do not see the column for Barcodes, you may have to click the ellipsis and then enable the column to display.
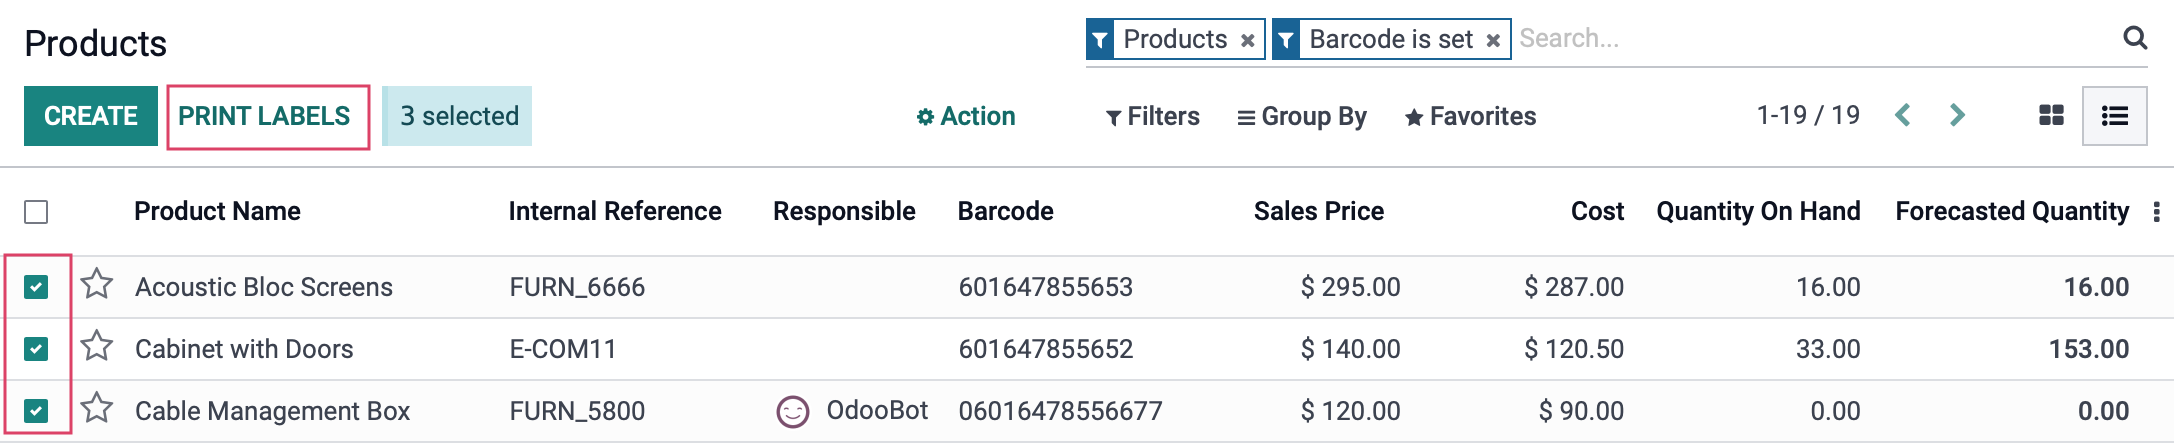
Now, check the products whose barcodes you wish to print. Then, click Print Labels.
A new modal window will appear, allowing you to set the quantity and size label you would like to print. Click confirm once you have made your selections.
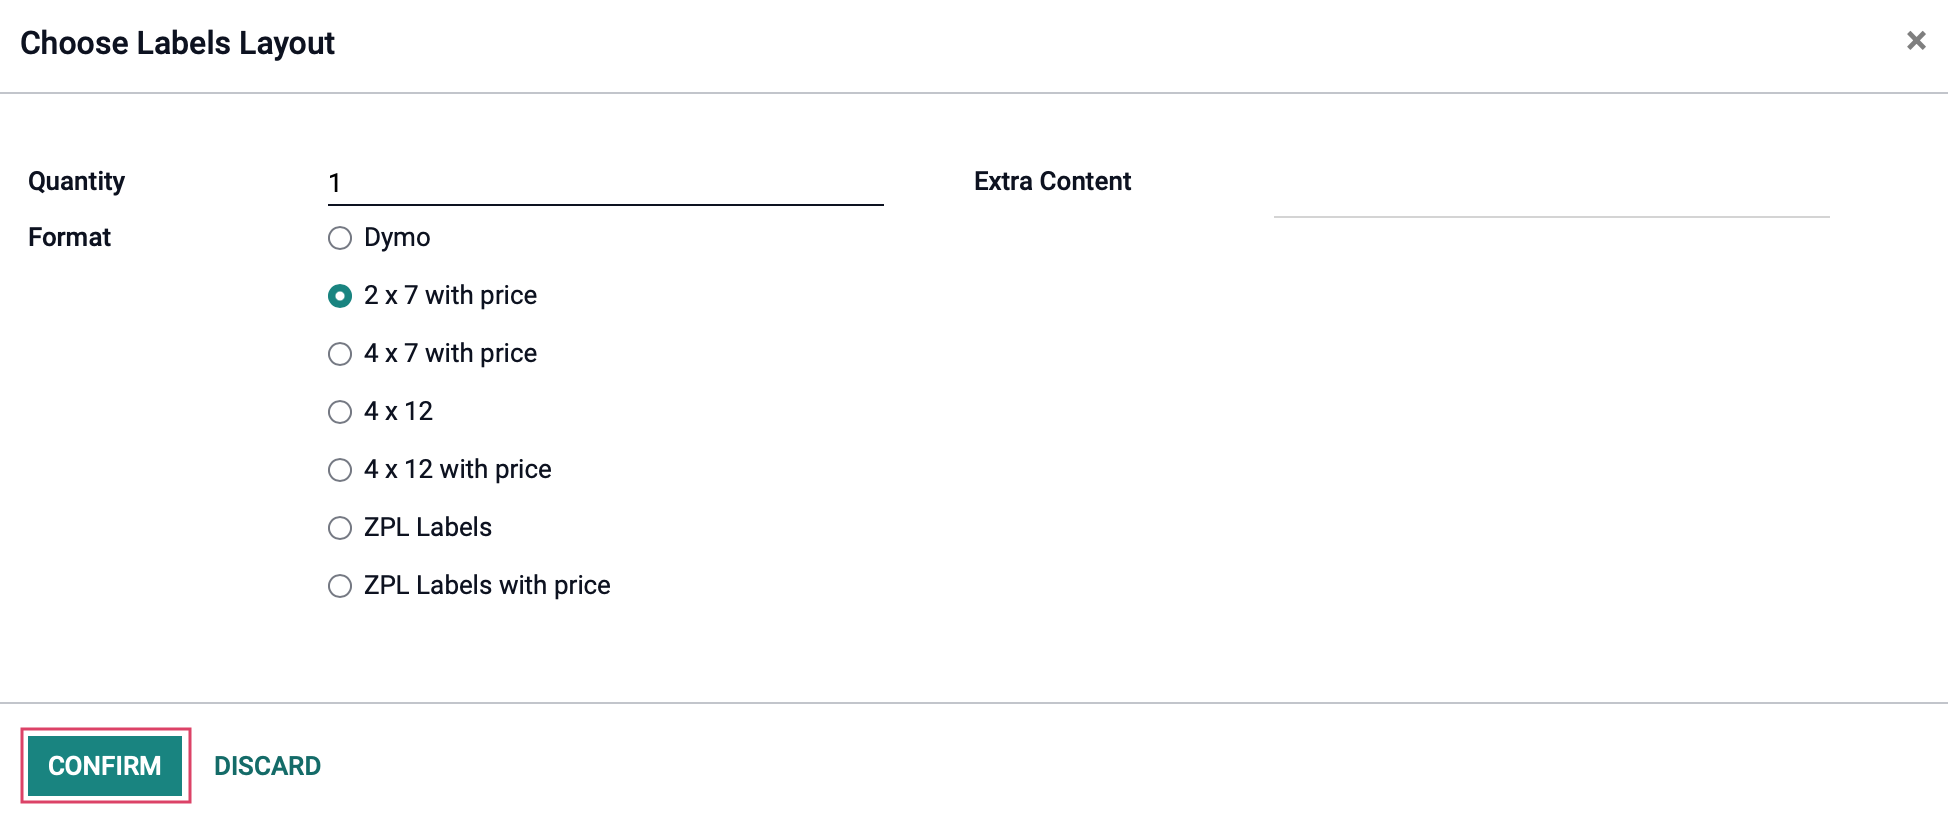
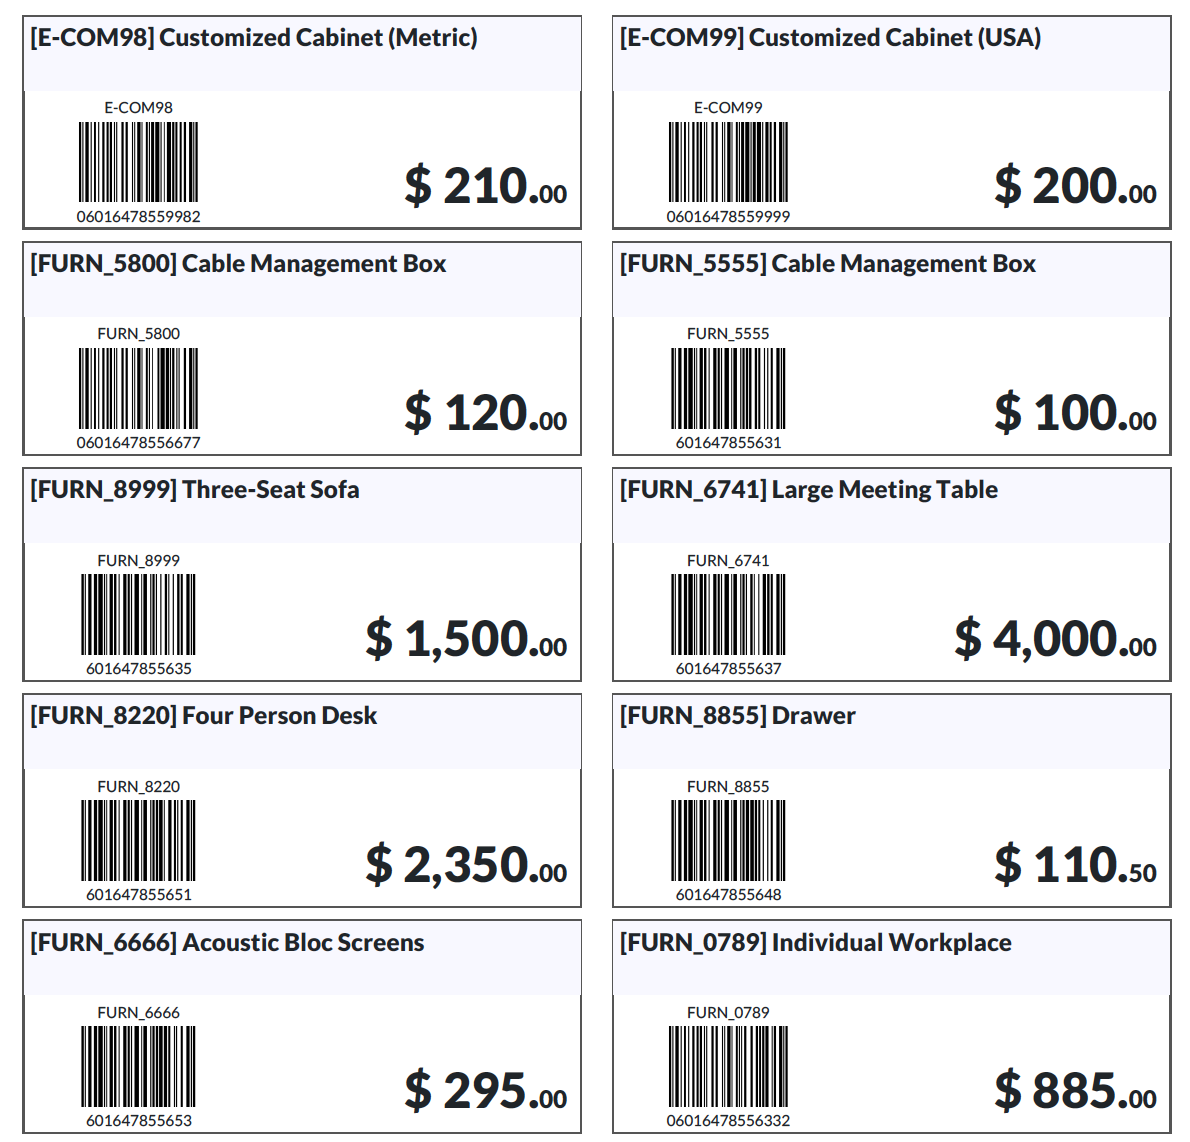
This will download a PDF to your computer that looks like the following:
Configuring Location Barcodes
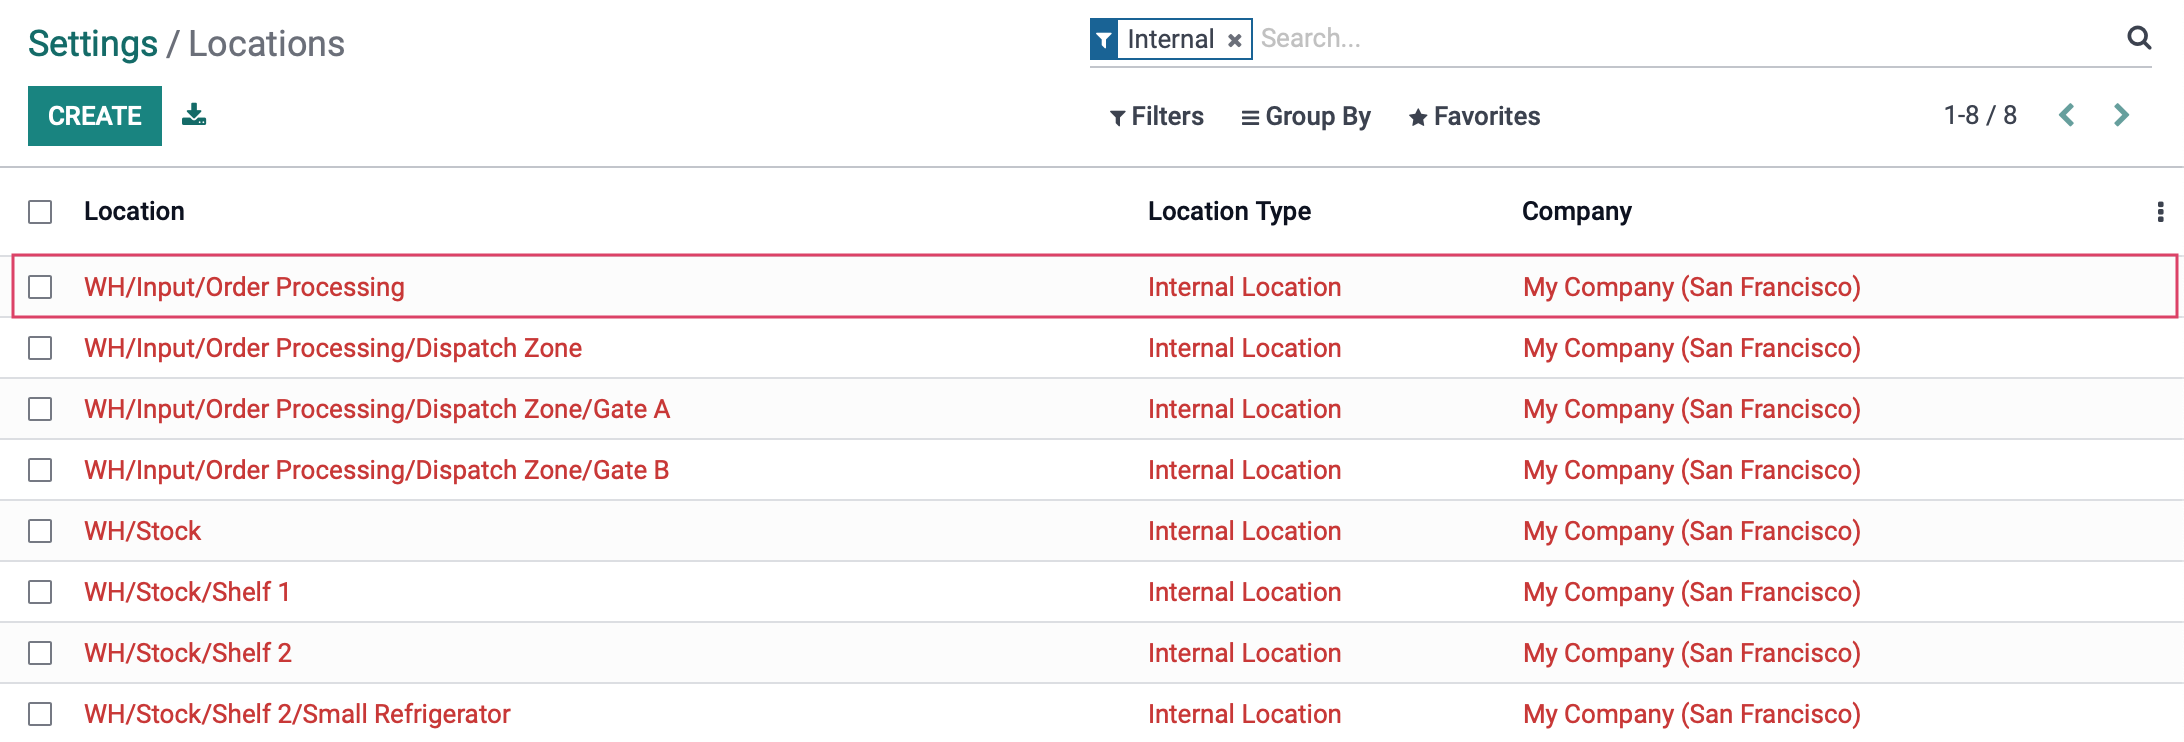
You are also able to assign barcodes to locations within your warehouse. To do this, click Configuration > Locations.
From the list of locations, select the one to which you wish to assign a barcode.
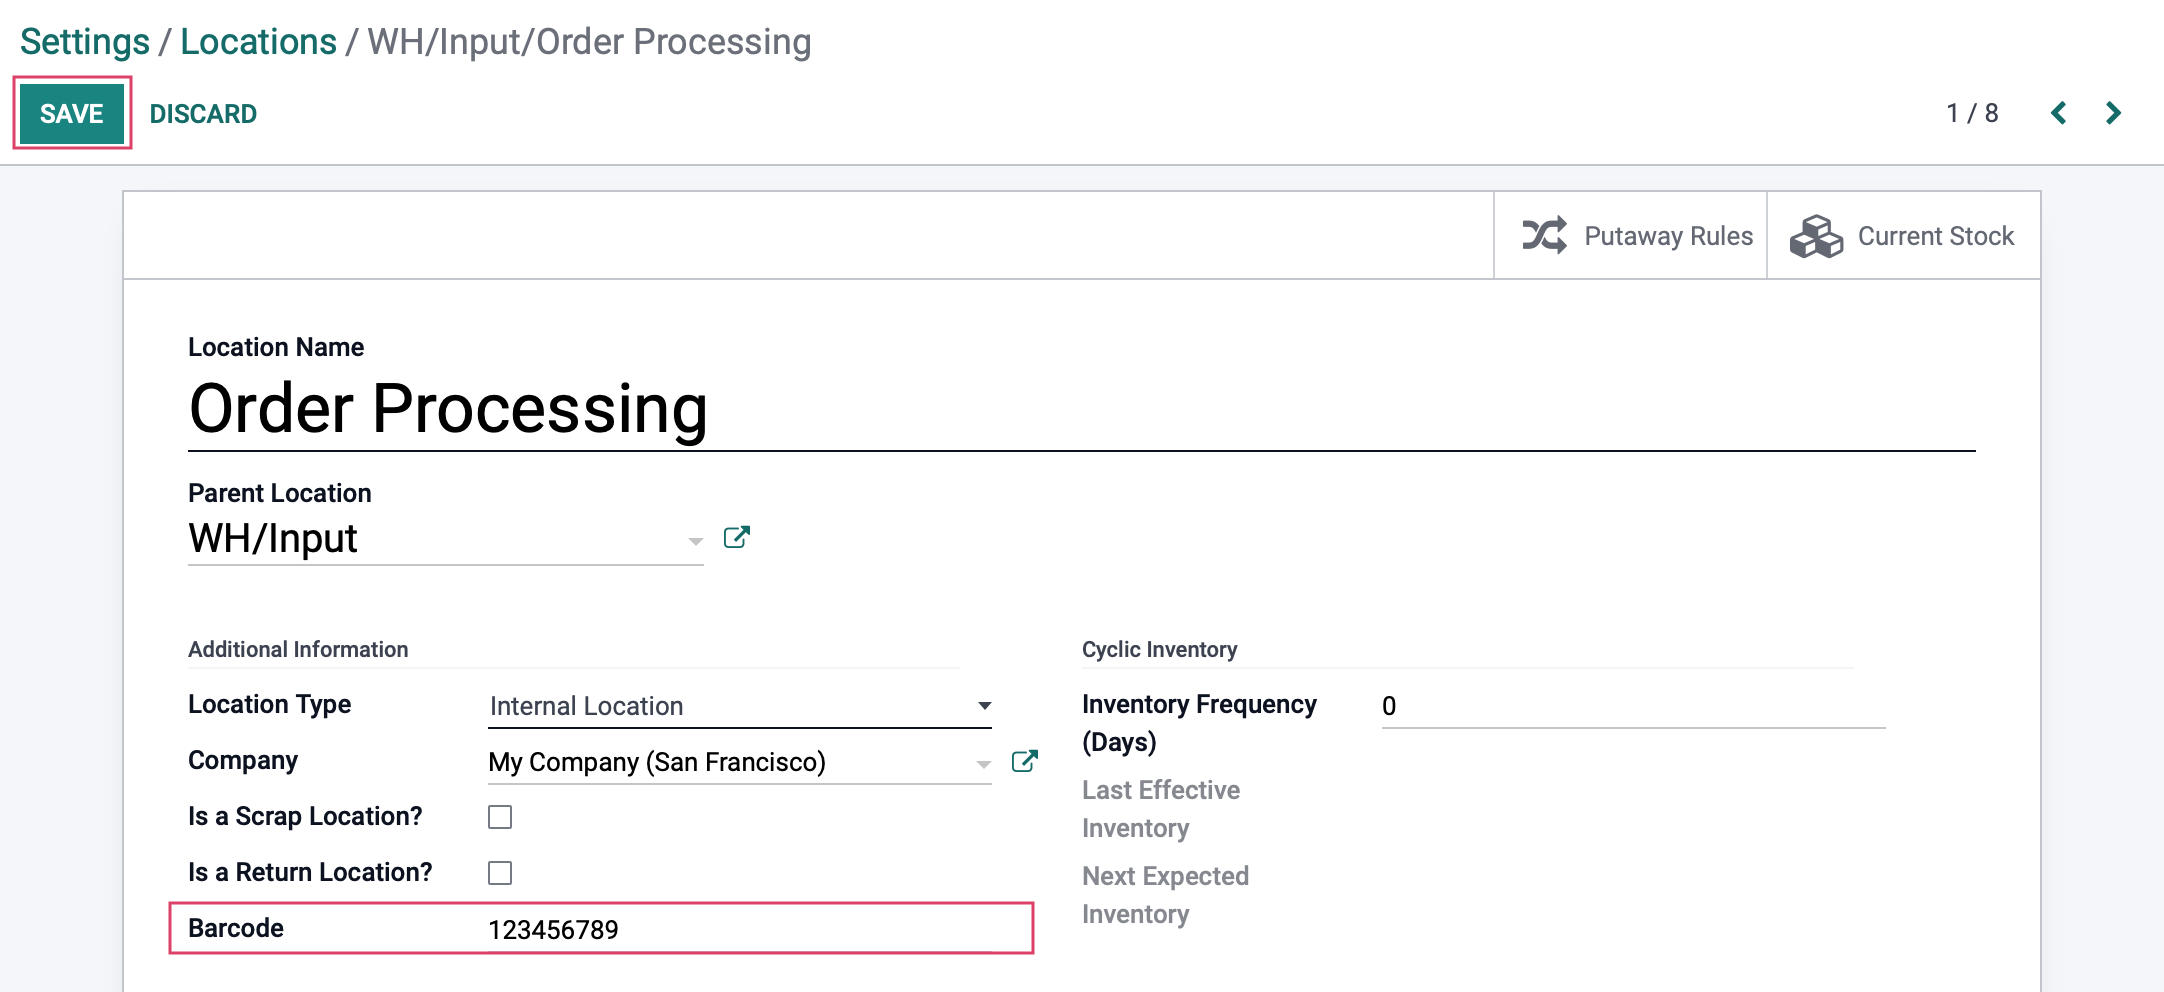
On the location template, click edit. Then, enter a barcode in the Barcode field. When done, click save.
Good to Know!
Printing Location Barcodes
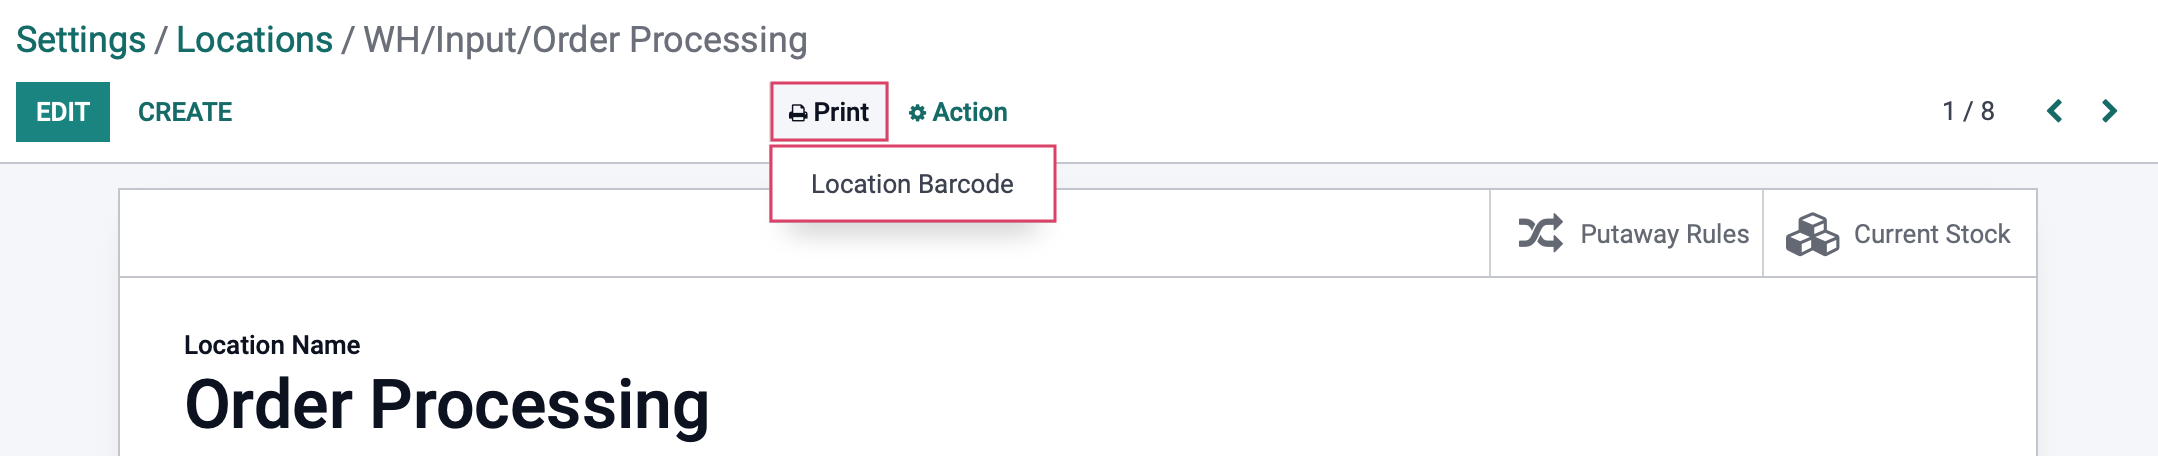
When you have assigned a barcode to your location, you can print it out to affix it to the location. To do this, go to the Location template. Click Print > LOCATION BARCODE. Odoo will download a PDF containing the barcode.
The barcode will display like this:
To make the most of PDF space and/or real paper, from the locations list view, you can select multiple locations, and follow the same Print>Location Barcode as above to have multiple Location Barcodes in one place..
