Accounting: Configuration: Setting up a New Bank Account
Purpose
The purpose of this documentation is to walk you through configuring and syncing your bank accounts with the Odoo 13 Accounting application.
Processes
To get started, navigate to the Accounting app.

Create a Bank Journal
The first step in adding your bank account is to set up a Bank Journal. To do so, click Configuration > Invoicing > Journals. Once there, click Create.

Next, you'll see a modal window asking for further details. Fill the general fields out as follows.

Journal Name: It's common to name the journal after the bank it's recording (e.g. Fidelity)
Type: Select Bank as the type.
Company: This will auto-populate with the company you're working in.
Under the Bank Account tab:

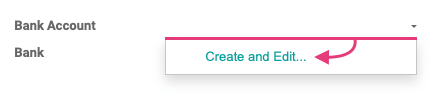
Bank Account: Click Create and Edit to add a new account.
This brings up another modal window where you'll enter details about this specific account.
Account Number: Enter the bank account number.
Company: This will auto-populate with the company you're working in.
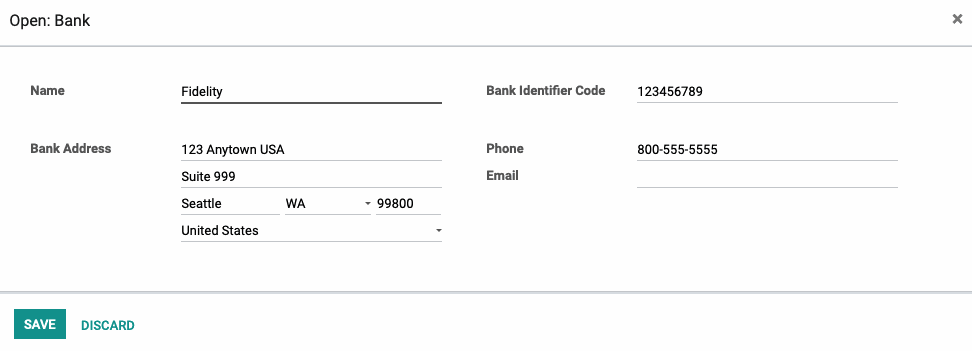
Bank: Enter the bank name. If it's not on the list, click CREATE AND EDIT. This brings up another modal window where you'll enter the contact details for this bank, as well as the BIC, which is often used for wire transfers.
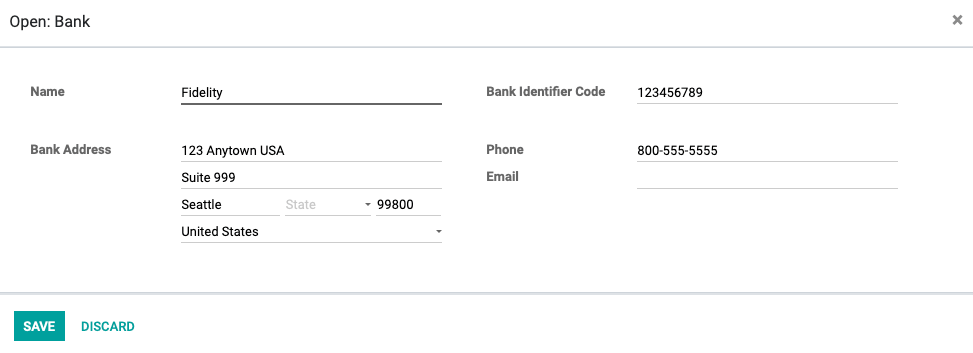
Name: Name of the bank or financial institution.
Bank Identifier Code (BIC): Often called a SWIFT or BIC code, you'll need to request this from your bank or find it online.
Bank Address: Enter the bank's mailing address.
Phone: Enter the bank's customer service phone number.
Email: Enter the bank's customer service email address.
When you're done, click Save to return to the previous window and complete the remaining fields:
ABA/Routing: Enter the bank's routing number.
Currency: Select the default currency for the account.
Account Holder Name: The name of the person or entity the bank account is under.
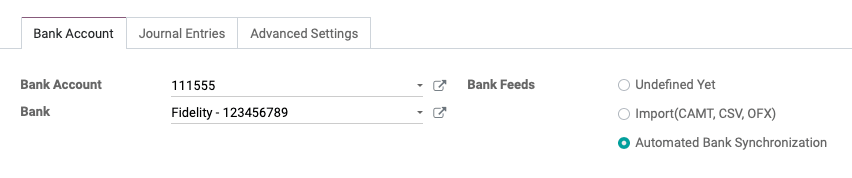
Click Save again to return to the Journal configuration page. You'll now see that the Bank field has been populated with the information you've entered in previous windows.
Bank Feeds
Undefined Yet: If this is selected, it means you will be entering your bank statement lines manually.
Import (CAMT, CSV, OFX): If this is selected, then you will need to import your bank statements once issued from your bank in the necessary format.
Automated Bank Synchronization: If this option is selected, you will have the ability to link your bank account to Odoo and schedule synchronizations at various time intervals to create your bank statements.
Under the Journal Entries tab, fill out the remaining fields:

Short Code: Enter a code to refer to this bank by.
Next Number: Enter the next number to be used on an invoice for this account.
Default Debit Account and Default Credit Account: These have been populated with entries Odoo has created on your behalf to reflect this new bank account.
Currency: Select the currency this account uses.
Under the Advanced Settings tab:
Posting
Post At
Payment Validation: If this option is selected, then all entries in this Journal will be left in a draft state until Payment Validation has occurred, at which point, the Entries will be posted.
Bank Reconciliation: If this option is selected, then all entries in this Journal will be left in a draft state until Bank Reconciliation has occurred, at which point, the Entries will be posted.
Payment Method Types
For Incoming Payments
Manual: Should be selected if you get paid by cash, check, or any other method outside of Odoo.
Electronic: Should be selected if you get paid automatically through a payment acquirer when a customer is buying or subscribing online (using payment tokens).
Batch Deposit: Should be selected if you intend to process several checks at once to submit to your bank.
SEPA Direct Debit: This only applies to the European Union and allows you to directly deposit to your bank via wire transfer.
For Outgoing Payments:
Manual: Should be selected to pay bills by cash or any other method outside of Odoo.
Checks: Should be selected to pay a bill by check and print it through Odoo.
Control-Access: Keep empty for no control. These settings can be left as-is, but are geared to keep your company in compliance by setting basic access rules.
Account Types Allowed: Select the account types allowed to access this Journal.
Accounts Allowed: Select accounts allowed to access this Journal.
Lock Posted Entries with Hash: Once enabled, the accounting entry or invoice receives a hash (encryption) and cannot be modified further.
Check Printing: Select Manual Numbering if your checks aren't preprinted with check numbers
When finished, click SAVE.
Important
Lock Posted Entries with Hash
Once enabled, this setting cannot be disabled so please be sure you understand its usage before enabling.
Connect a Bank Account for Synchronization
Next, we'll add a bank account to connect to this journal.
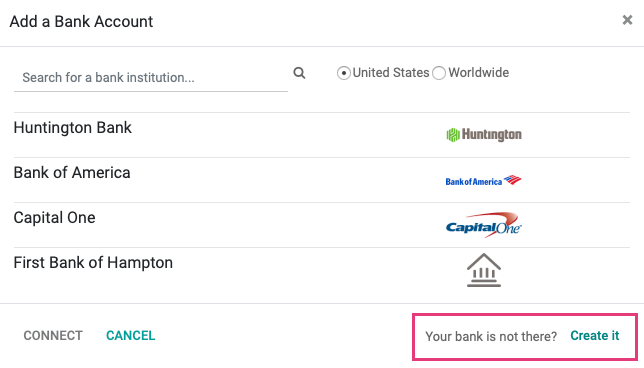
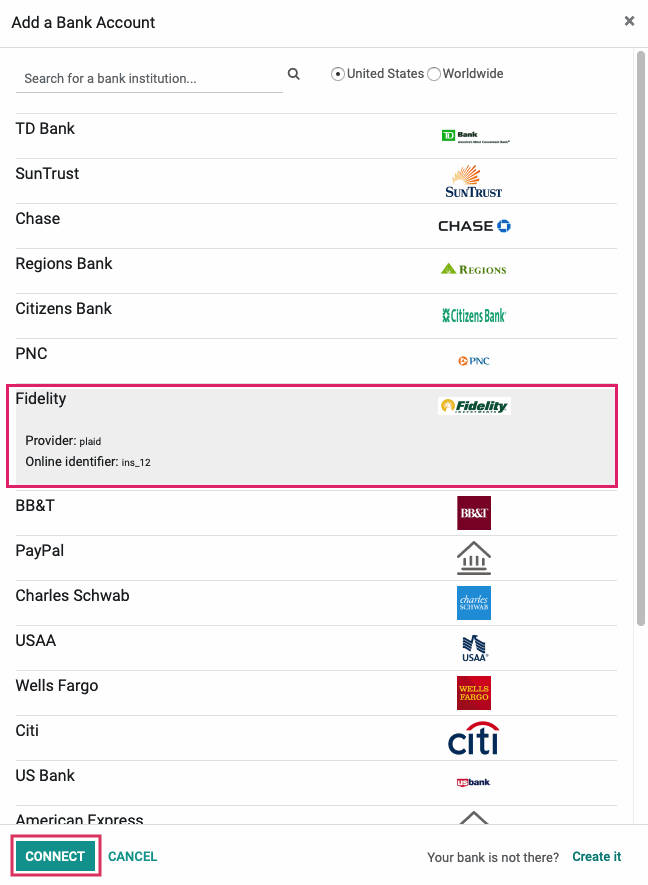
Click Configuration > Payments > add a bank account. This will bring up a modal window with a list of financial institutions. If yours is in the list, select the appropriate entry and click Connect.
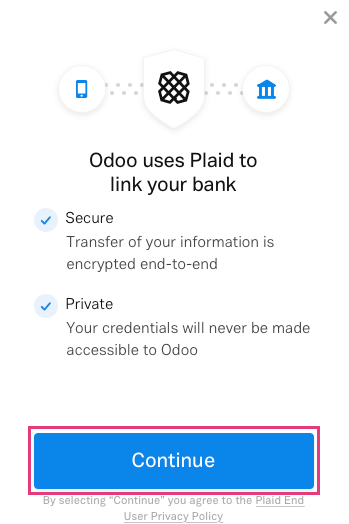
Odoo uses either Yodlee or Plaid to connect to financial institutions. When you connect, you'll see a wizard from one of those services that will walk you through the setup process. Our example shows the Plaid dialog. Click Continue.
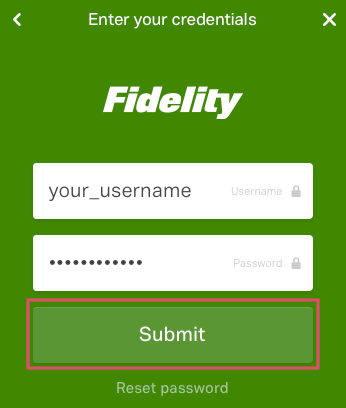
Enter the credentials to connect, then click Submit. You may be asked to verify your identity via email or text message, depending on the bank's policy.
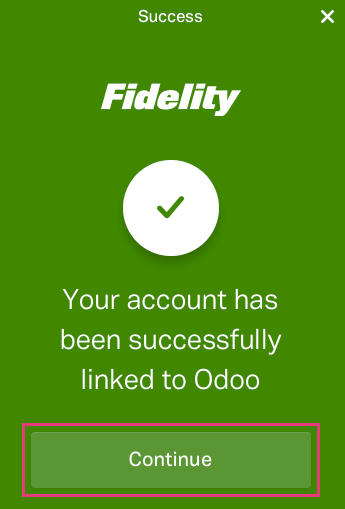
Once connected you'll see a Success message. Click Continue.
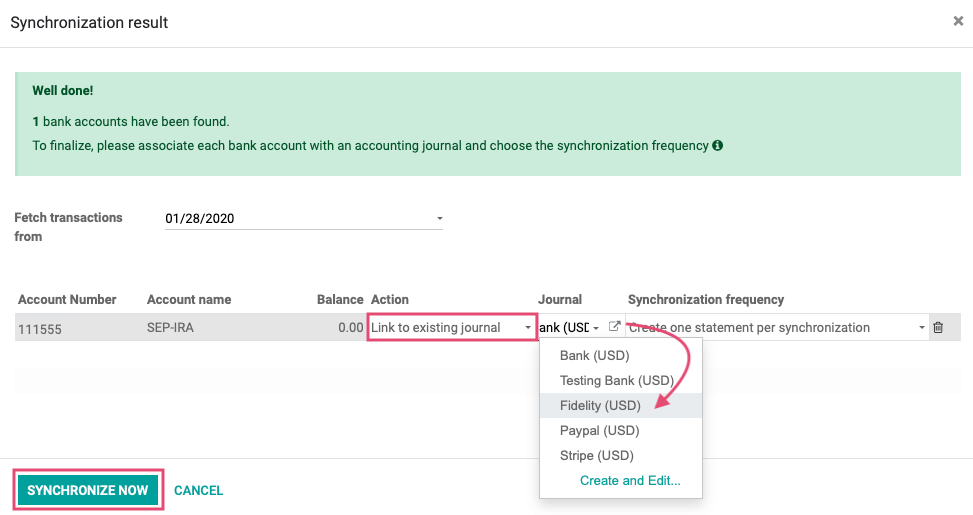
On the next screen, verify details and complete the fields as follows:
Fetch transactions from: Enter the date when you'd like Odoo to start pulling in transactions.
Action: Select Link to Existing Journal.
Journal: Select the journal you just created in the previous step.
Synchronization frequency: Select the frequency that this bank should be synchronized.
When you're ready, click Synchronize Now.
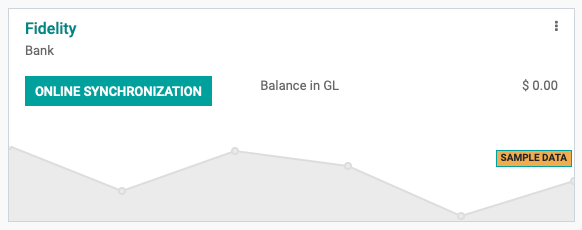
This will bring you to the accounting overview page where you'll see a new card added to the kanban view with the bank you just added.
Good to Know!
Manually Adding a Bank
If your financial institution doesn't show on the list of banks, you can add it manually by clicking Create it on the bottom-right of the modal window and follow on-screen prompts to add your account.