Accounting: Accounting: Management: Automatic Transfers
Purpose
This document covers the configuration and usage of Automatic Transfers in the Accounting application of Odoo 15. Automatic Transfers, as the name implies, are scheduled transfers you can set up in Odoo to help automate your bookkeeping processes. Transfers are calculated by percentage and not by dollar amount, and will move that percentage of the balance from the related period.
Process
To get started, navigate to the Accounting app.
Once there, go to Accounting > Management > Account Transfers. This brings you to a list of configured automatic transfers if any. To create a new one, click Create.
![]()
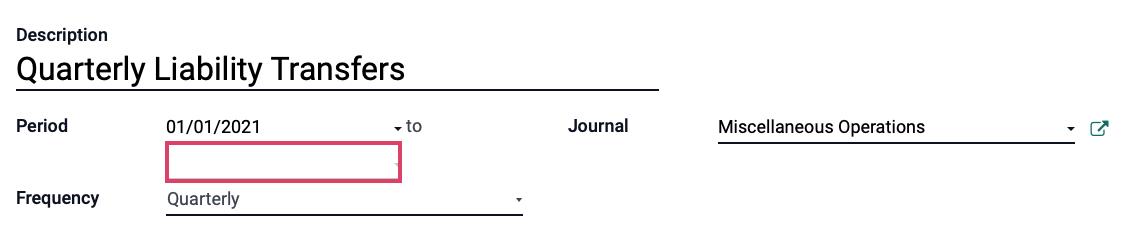
On the form that presents, enter the following information:
Description: Enter a name for your transfer.
Period: Select the date at which this transfer should begin. The end date is optional; leaving it empty means it will continue until it is disabled.
Frequency: Select the frequency at which the transfer should occur.
Journal: Select the journal where this transfer should be recorded. Only journals set with type as 'Miscellaneous' are available.
Origin Accounts: Click add a line to add the source account for this transfer. This brings up a modal window where you can select one or more GL account. When you're ready, click Select to add them to the original form.
Automated Transfer: Click add a line to add destination accounts for this transfer. This opens a line in this section where you'll add the percentage of the transaction and the destination account. The totals may be less than, but not exceed 100%.
![]()
Next, click SAve, and then activate the transfer to see how it works.
![]()
Next, click compute transfer.
![]()
If we click the Transfer smart button, we can see the resulting records.
![]()
Select a scheduled transfer from the list. Note that these transactions will remain in draft until they are posted.

Good to Know!
If an ending date is not entered, the system will only create entries through the current period when you click compute.