Accounting: Accounting: Journals
Purpose
The purpose of this documentation is to outline the configuration and use of journals in Odoo. We will review the different journal types, their unique configuration options, and how to change the entry sequence for your journals.
A journal is where you record all transactions of the same type, in chronological order. For example, a Sale journal would list all of your customer invoices and refunds that occurred in order of creation thanks to a sequence number.
The entry sequence of a journal determines the way in which your journal entries are numbered.
Processes
To get started, navigate to the Accounting application.
Journal Types
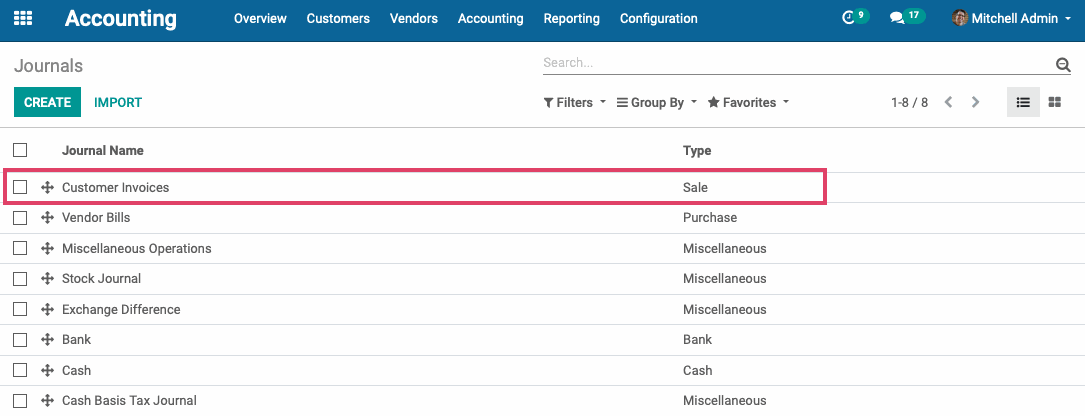
Once there, click on Configuration > journals.
You will see a list view of all journals. From here you can modify, remove, and create journals as needed.
For configuration example purposes, select the the pre-defined Customer Invoices journal from the list.
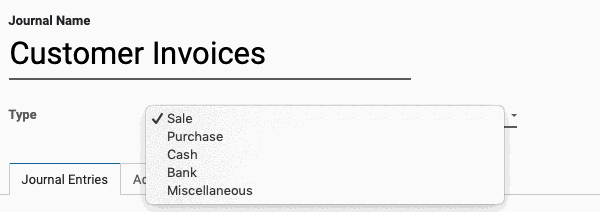
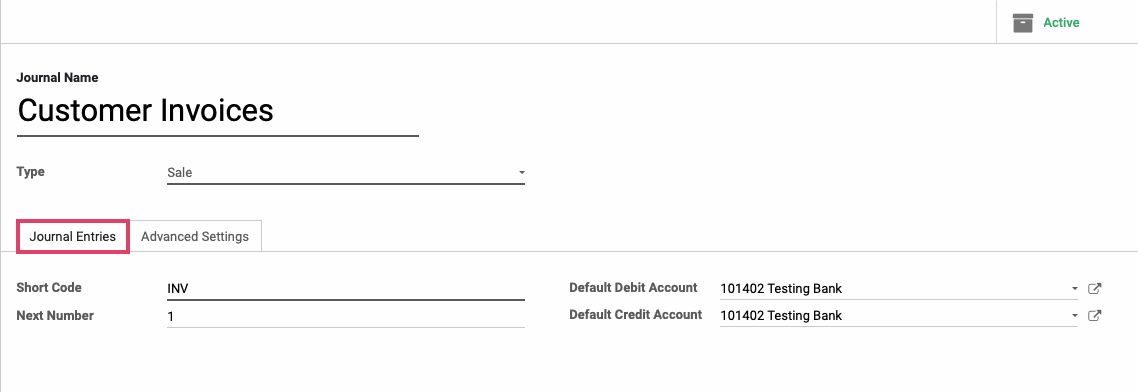
On the Customer Invoices details page, the first field you will see is the journal Name, in this case Customer Invoices.
Right below it is the journal Type, which is Sale. There are 5 journal types in Odoo:
Sale: Post recorded customer invoices.
Purchase: Post received vendor bills.
Cash: Where you keep track of petty cash and daily cash transactions, as well as received customer payments.
Bank: Post your bank statements and track customer payments, vendor payments, and all other transactions recorded by your associated bank account.
Miscellaneous: Post miscellaneous entries, like payroll or all of your corrections. This journal is used for anything that doesn't fit into the above journal types. Miscellaneous Journals do not have any advanced settings.
In the Journal Entries tab for all journal types, you will see the following:
Short Code: A journal's Short Code is used to easily identify a journal and track the journal entries and journal items that are posted to it. Journal short codes are heavily used throughout Odoo. This journal's short code is INV.
Next Number: The next sequence number that will be used for the next invoice.
Default Debit Account: Is only mandatory for bank journals. Whatever account is selected here will be the default account that will be listed on the debit side of your journal entries.
Default Credit Account: Is only mandatory for bank journals. Whatever account is selected here will be the default account that will be listed on the credit side of your journal entries.
Configuring Sale Journals
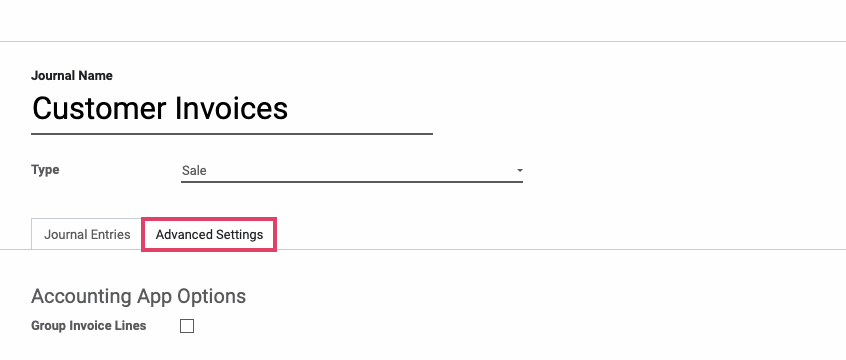
Each Journal type has different options that you can configure in the Advanced Settings tab.
For Sale journals, you have the below configuration:
Group Invoice Lines: When Group Invoice Lines is selected, Odoo will attempt to group accounting lines when generating them from invoices.
Configuring Purchase Journals
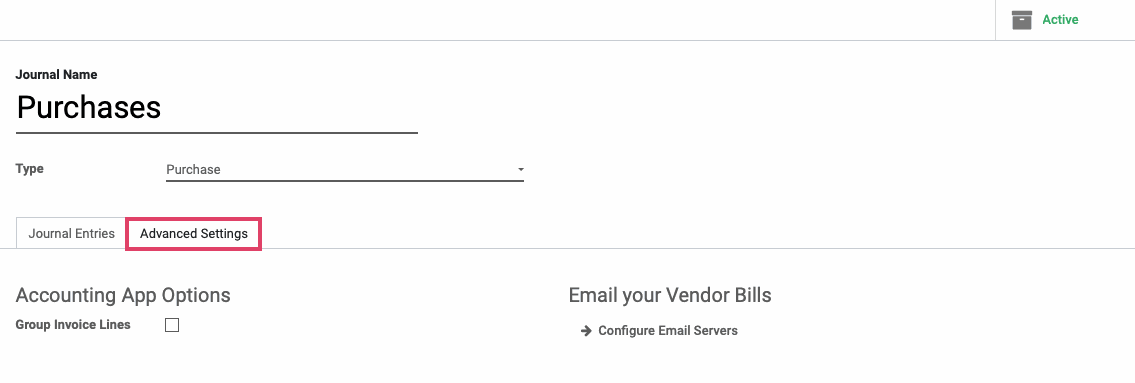
Each Journal type has different options that you can configure in the Advanced Settings tab.
For Purchase journals, you have the below configuration:
Group Invoice Lines: When Group Invoice Lines is selected, Odoo will attempt to group accounting lines when generating them from invoices.
Email Your Vendor Bills: If you configure an email alias for your Purchase journal, you can email yourself vendor bills to a unique email alias and they will automatically generate a Vendor Bill entry for the journal. We will cover email server configuration in a separate document.
Configuring Cash Journals
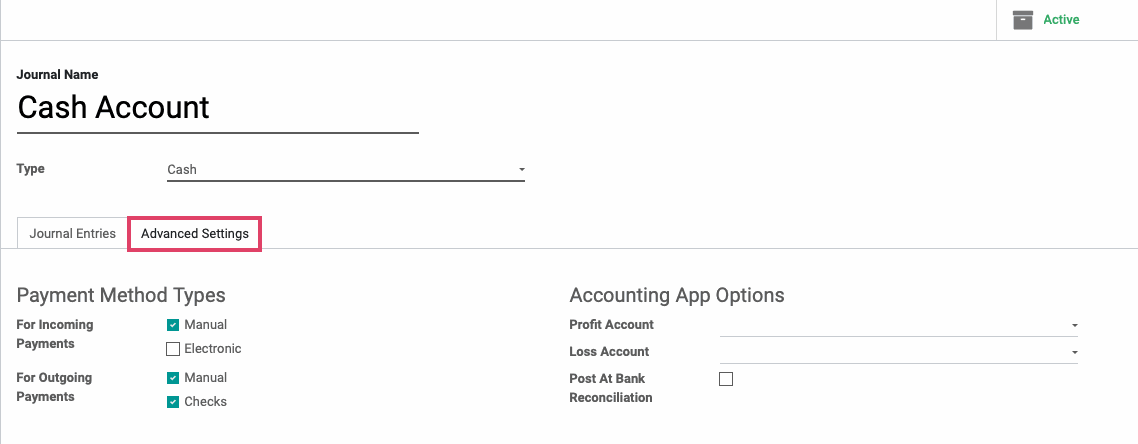
Each journal type has different options that you can configure in the Advanced Settings tab.
For Cash journals, you have the below configuration:
For Incoming Payments:
Manual: Should be selected if you get paid by cash, check, or any other method outside of Odoo.
Electronic: Should be selected if you get paid automatically through a payment acquirer when a customer is buying or subscribing online (using payment tokens).
For Outgoing Payments:
Manual: Should be selected to pay bills by cash or any other method outside of Odoo.
Checks: Should be selected to pay a bill by check and print it through Odoo.
Profit Account: When the end balance of a cash register or drawer is higher than what the system computes, this account can be used to log the difference.
Loss Account: When the end balance of a cash register or drawer is lower than what the system computes, this account can be used to log the difference.
Post At Bank Reconciliation: If this option is selected, then all entries in this journal will be left in a draft state until Bank Reconciliation has occurred, at which point, the Entries will be posted.
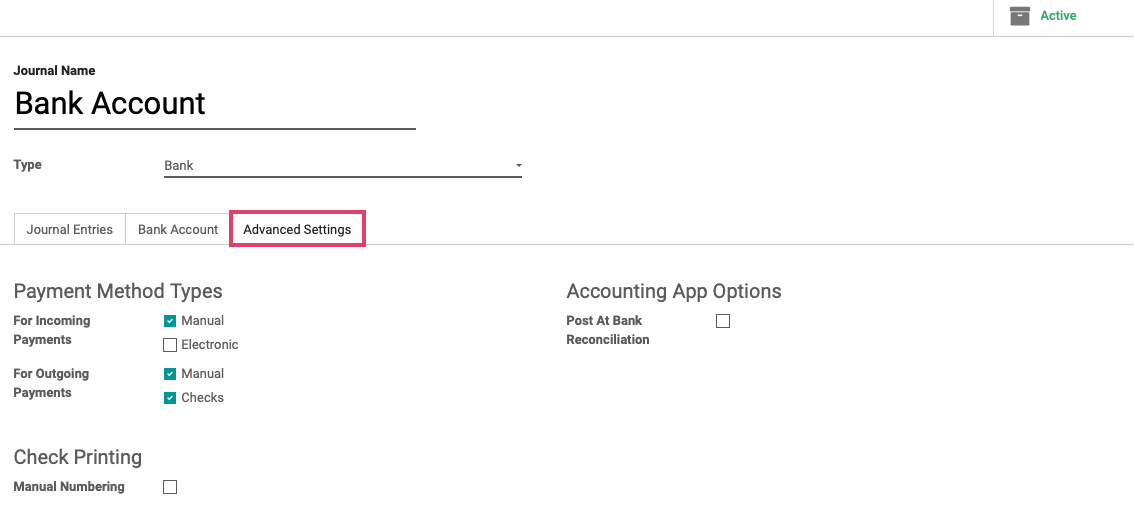
Configuring Bank Journals
Each journal type has different options that you can configure in the Advanced Settings tab.
For Bank journals, you have the below configuration:
For Incoming Payments:
Manual: Should be selected if you get paid by cash, check, or any other method outside of Odoo.
Electronic: Should be selected if you get paid automatically through a payment acquirer when a customer is buying or subscribing online (using payment tokens).
For Outgoing Payments:
Manual: Should be selected to pay bills by cash or any other method outside of Odoo.
Checks: Should be selected to pay a bill by check and print it through Odoo.
Manual Numbering: This allows you to print your own check numbers, and enforce their sequential nature by inputing the next number on the journal.
Post At Bank Reconciliation: If this option is selected, then all entries in this Journal will be left in a draft state until Bank Reconciliation has occurred, at which point, the Entries will be posted.
Bank journals also have a Bank Account tab. This is where you will link your associated bank account to this journal and configure how you want your bank statements to synchronize with Odoo.
On this tab, you will have the below options. We will go over each one.
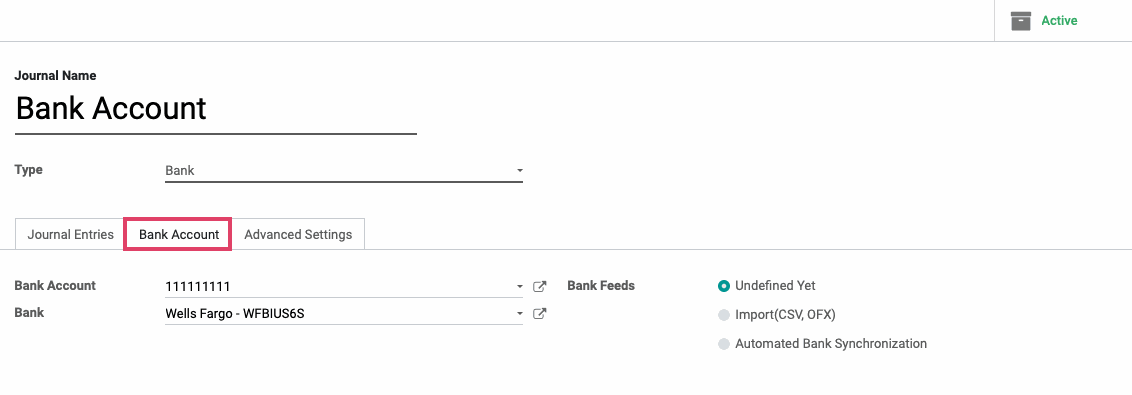
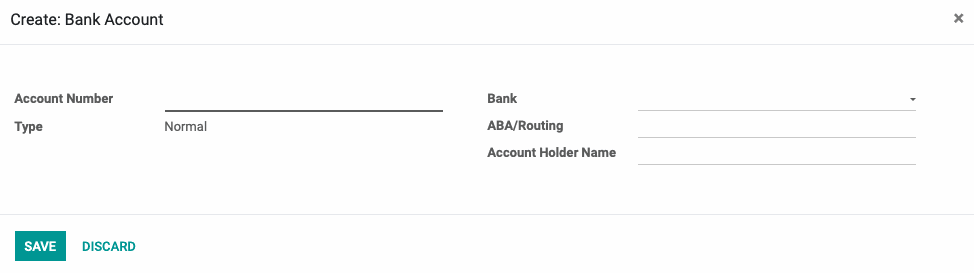
Bank Account: Select your desired bank account from the drop down menu.
If you have not inputted your bank account yet, you can select Create and edit and fill in the details on the pop-up window as shown below. Note: that this is mostly informational, but could be used when doing exports.
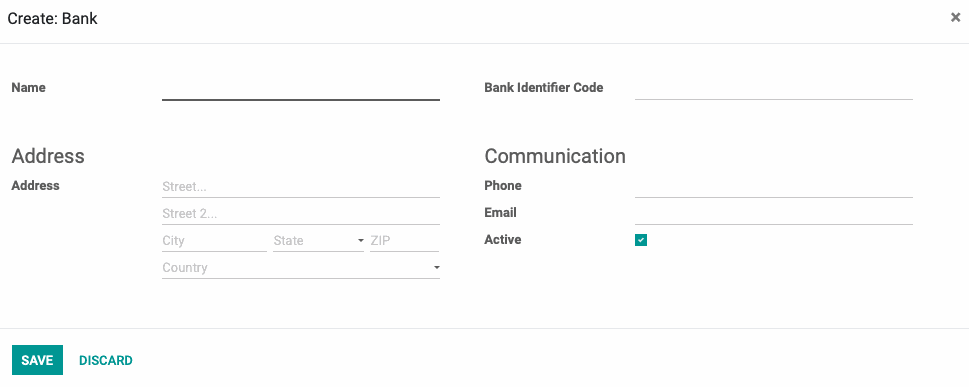
Bank: Select the bank that your account is associated with from the drop down menu.
If you have not entered your bank's details yet, you can select the create and edit button from the drop down menu and enter the details into the pop-up window as shown below.
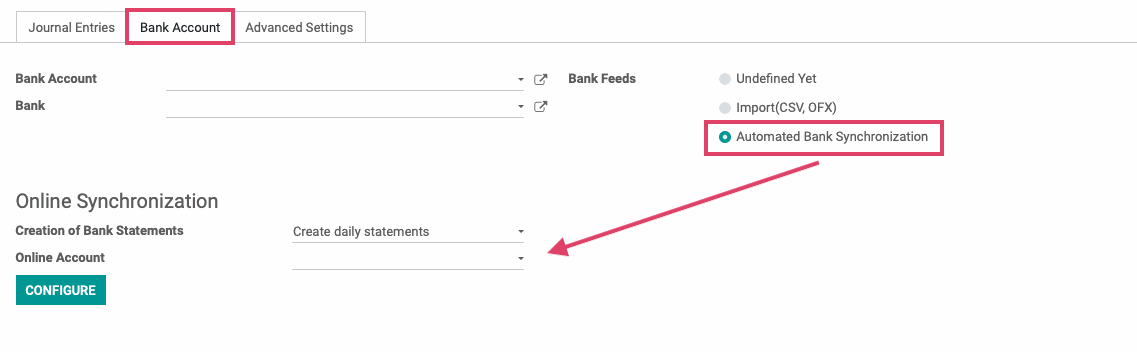
Bank Feeds: This is how you define the way in which you will import your Bank Statements for reconciliation.
Undefined Yet: If this is selected, it means you will be entering your bank statement lines manually.
Import (CSV, OFX): If this is selected, then you will need to import your bank statements once issued from your bank in the necessary format.
Automated Bank Synchronization (Enterprise Feature): If this option is selected, you will have the ability to link your bank account to Odoo and schedule synchronizations at various time intervals to create your bank statements. To create your Online Account, select your time interval from the dropdown menu and then select Configure. This will launch a wizard where you can connect your online bank account.