Accounting: Configuration: Payment Terms
Purpose
This documentation outlines how to set up and use Payment Terms in the Odoo 14 Accounting app.
Payment terms designate the schedule to pay the full balance of an invoice. You can apply payment terms for both your customers and vendors.
You can set payment terms on a contact, sale order, invoice, purchase order, or vendor bill.
Process
To get started, navigate to the Accounting app.
Creating a Payment Term
Once there, click on Configuration > Invoicing > Payment Terms.
Here you'll see a list of existing payment terms, which you can view and edit. To create new payment terms, click Create and complete the form as follows.
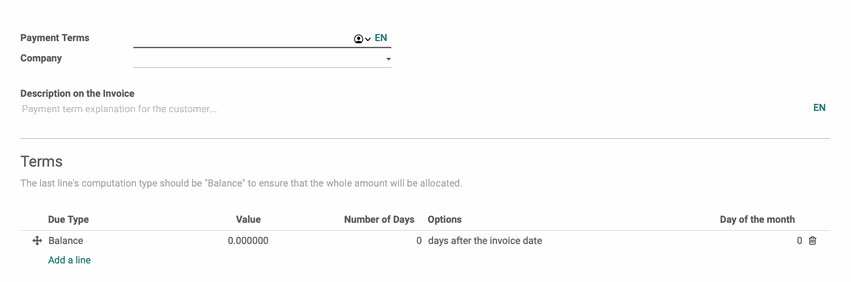
Payment Terms: The name of your payment terms. Typically summarizes the payment schedule for that payment term.
Company: This field displays in a multi-company environment. You can leave the field blank to apply to all companies, or make a selection to apply to one company only.
Description on the Invoice: You can input a description of the payment terms conditions in more detail in the description so that your customers will understand the conditions to complete payment.
Terms: These lines represent the schedule for a set portion of the invoice's amount. To set the terms, you will need to add a new line for every condition.
To add a new line, click ADD A LINE and a modal will appear with the below options:

You'll then see a new form where you'll outline your first payment term. We'll go over each option below.
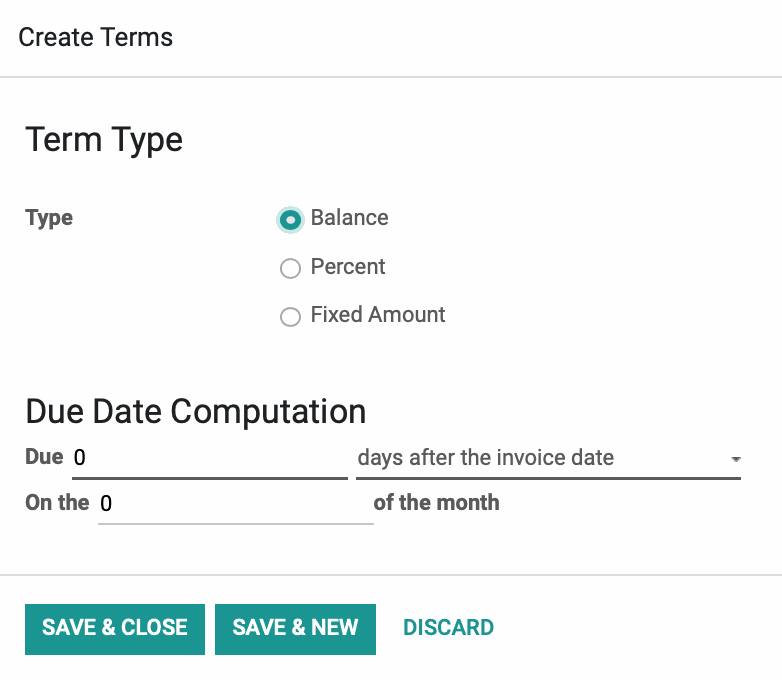
Type: There are three types of terms that you can use to construct your payment terms. The type is the amount that is due for this line.
Balance: The total remaining balance to be paid. You will enter the value of the balance once you close the modal.
Percent: Input a percentage of the total balance to be paid based on the total amount of purchase.
FixedAmount: Input a fixed dollar amount.
Due Date Computation: This is where you input when the amount you specified above is due. You'll have three options:
Due __ days after the invoice date: This defines how many days a payment is due based on the invoice date.
On the __ of the month: This allows you to select a specific ordinal day of the month in which this payment is due (e.g. 1st, 15th, 30th).
Due the __ of the following month: This defines the ordinal day of the following month when the payment is due (e.g.1st, 15th, 30th).
Due the __ of the current month: This defines the ordinal day of the current month when the payment is due (e.g.1st, 15th, 30th).
Once you have these fields set, you can click SAVE & CLOSE if you only need one line. If you need multiple lines, you can click SAVE & NEW to save your existing line and get a new line to appear without leaving the modal.
You can also order your payment lines by using the icon (Only accessible when in Edit mode in the Payment Term). It's important that the down payment, if any, is on the top of the list and the Balance entry is at the bottom.
Once you have your payment terms set and in the desired order, click SAVE.
Important!
End With a Balance
When creating a payment term with multiple lines, it is crucial that the last one is for the Balance. This is to ensure the invoice will be paid in full and you won't be left with only a partial payment, or an overpayment.
Layaway Example
For our example, we've created a layaway plan which requires a 25% down payment and 25% every 30-days for 3 months.
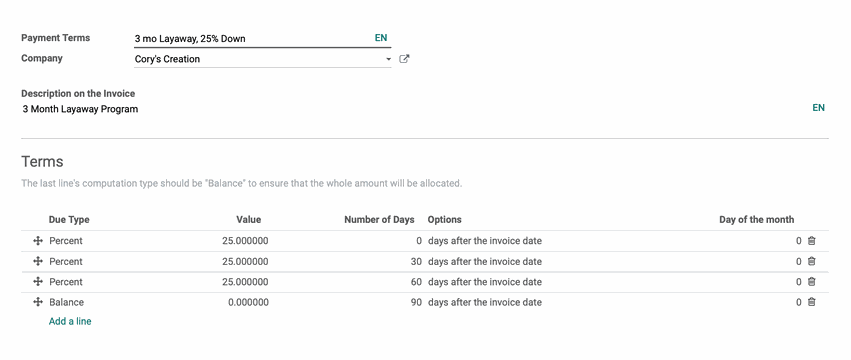
Important areas to note:
The down payment is the first entry. It shows that 25% of the total price is due 0 days after the invoice is created (i.e. same day).
The next payment is the second entry. It shows that 25% of the total price is due 30 days after the invoice is created.
The next payment is the third entry. It shows that 25% of the total price is due 60 days after the invoice is created.
The final line is a call for the Balance. We could have simply added another 25% line, but sometimes the totals don't amortize into equal amounts. Configuring the Balance as the final line ensures you'll be paid the appropriate amount.
Applying Payment Terms
Applying Payment Terms On Contacts
You may have certain customers that you have an agreement with on their payment terms. Once you've created the Payment Terms that will apply, you'll need to then apply it to their contact record to ensure the terms apply to sales moving forward.
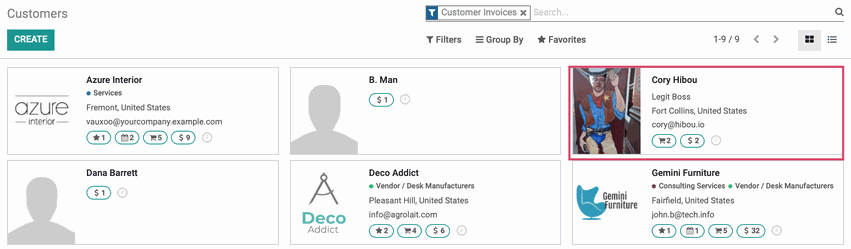
To do so, click CUSTOMERS > CUSTOMERS. From the list of partners, select the contact to set the payment terms for.
Click Edit then navigate to the Sales & Purchases tab. On this tab, you'll see if your contact is a customer, vendor, or both and can apply payment terms to the contact as needed.
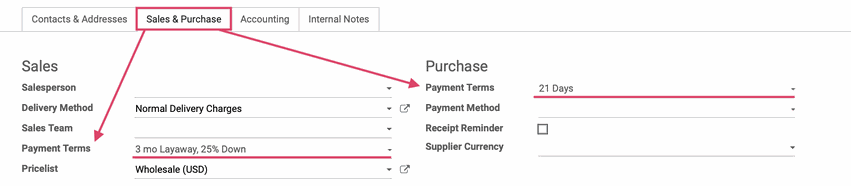
When you're done, click SAVE.
Set Payment Terms on Quotations & Sales Orders
If you'd like to set Payment Terms per sale, then you'll want to do so through the Quotation or Sales Order itself. To get started, navigate to the Sales app.
Once there, click create to make a new Sales Order.
Set the customer you are generating the Sale Order for. If there are any payment terms associated with the customer, they will display automatically in the payment terms field. This can be changed manually if needed.
If the customer does not have payment terms set for them, you can choose the correct payment terms from the drop-down menu.
Proceed with creating the rest of the Sales Order or Quotation, then hit SAVE and confirm when ready.

Applying Payment Terms On Invoices
If you'd like to set Payment Terms on a customer invoice, first navigate to the Accounting app.
Next, go to CUSTOMERS > INVOICES, then create a new invoice by clicking CREATE.
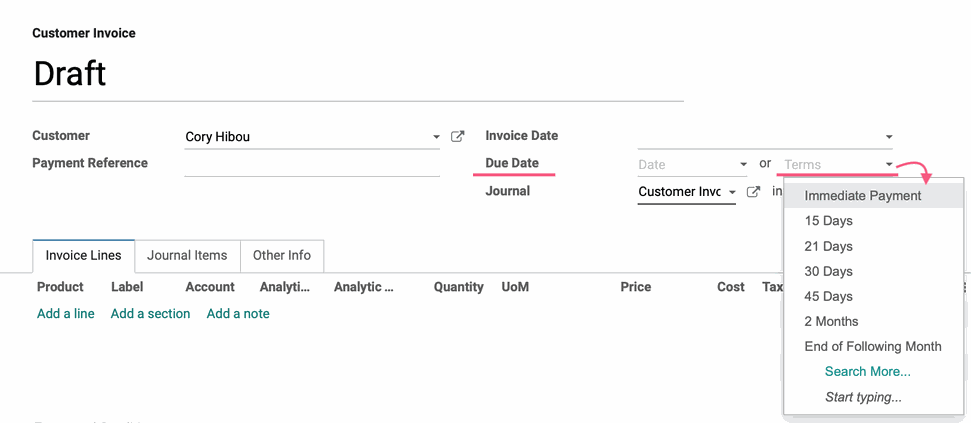
Set the customer you are generating the invoice for. If there are any payment terms associated with the customer, they will display automatically in the payment terms field. This can be changed manually if needed.
If the customer does not have payment terms set for them, you can choose the correct payment terms from the drop-down menu.
Proceed with creating the rest of the invoice, then click SAVE and post when ready.
Applying Payment Terms on Purchase Orders
If you're making a purchase from one of your vendors that has payment terms, Odoo lets you define those terms as well, to keep your payments on track.
To define payment terms on a purchase order, first navigate to the Purchase app.
Once there, click create to make a new Purchase Order.
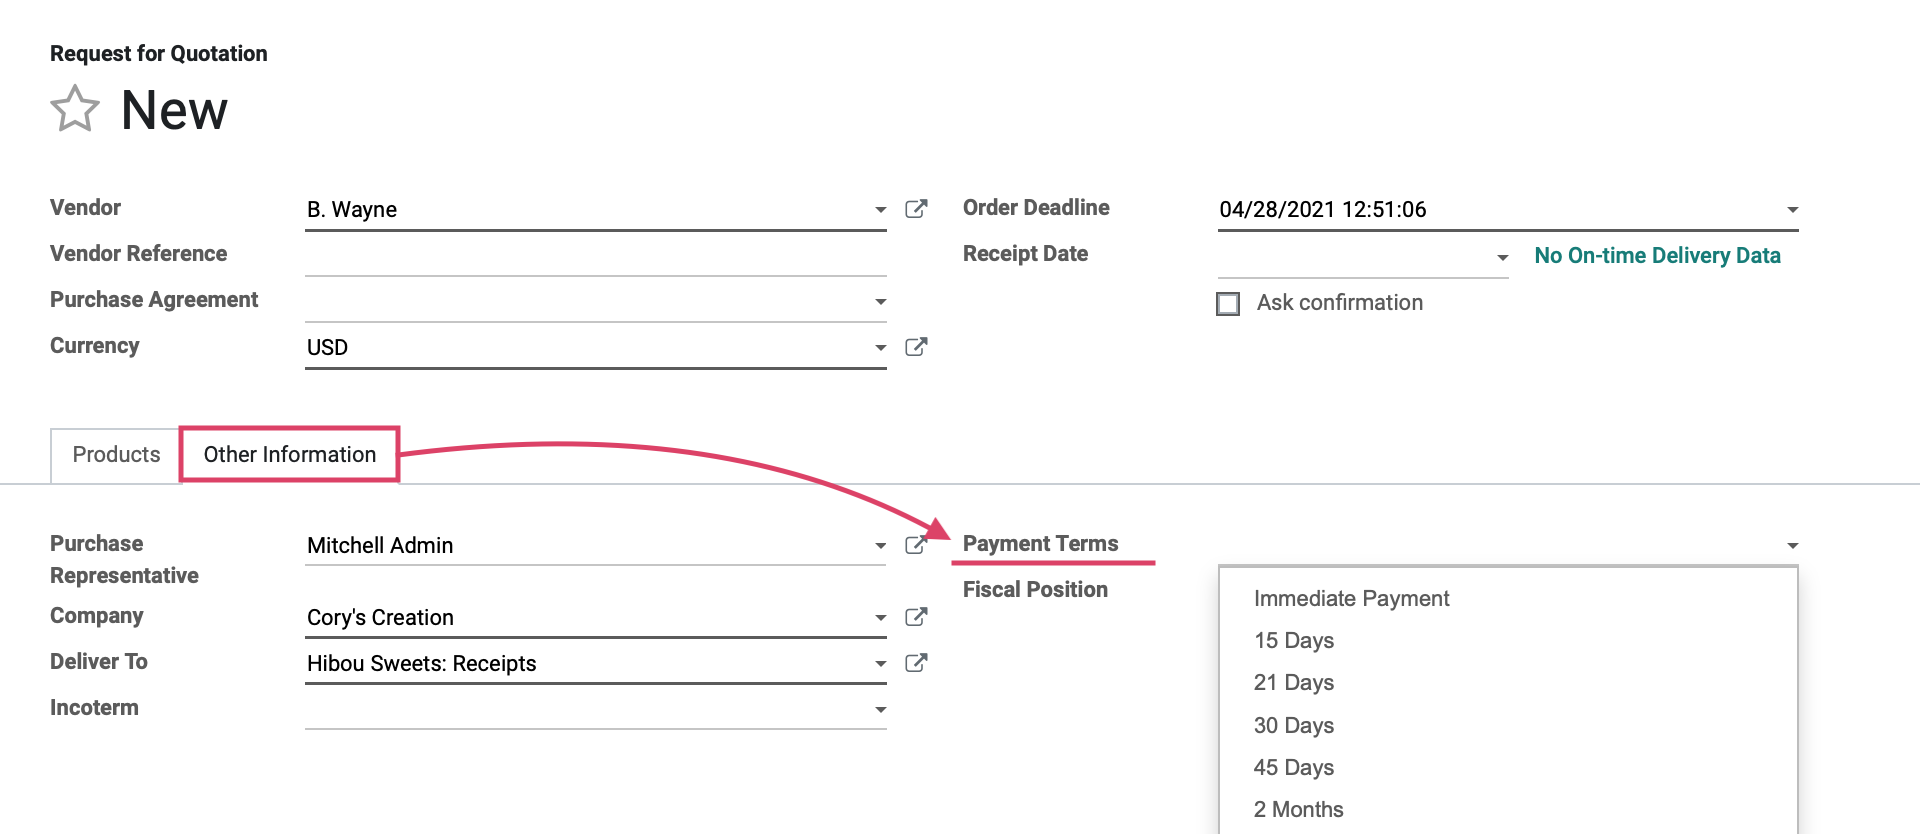
Set the vendor you are creating the Purchase Order for, then navigate to the Other Information tab and you'll see the Payment Terms field. If there are any payment terms associated with the vendor, they will display automatically in the payment terms field and can be changed as needed.
If the vendor does not have payment terms set for them, you can choose the correct payment terms manually.
Fill in the remaining details for the Purchase Order. When ready, click SAVE, CONFIRM ORDER, or SEND BY EMAIL.
Applying Payment Terms on Vendor Bills
If you'd like to set Payment Terms on a vendor bill invoice, first navigate to the Accounting app.
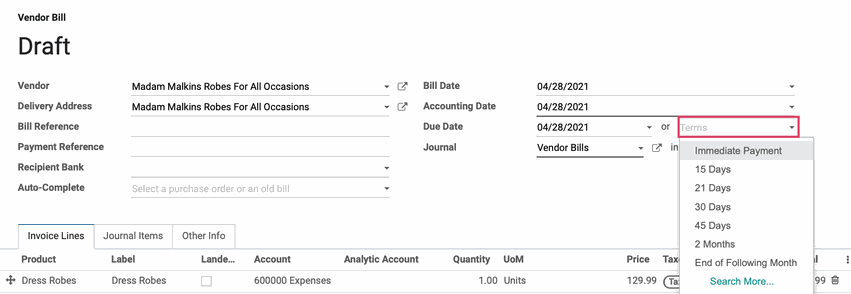
Next, go to Vendors > Bills and click create to make a new vendor bill.
Set the vendor you are creating the vendor bill for. If there are any payment terms associated with the vendor, they will display automatically in the payment terms field. This can be changed if needed.
If the vendor does not have payment terms set for them, you can choose the correct payment terms manually.
Proceed with creating the rest of the vendor bill. When ready, click Save or post.
Payment Terms and Reporting
Aged Receivable
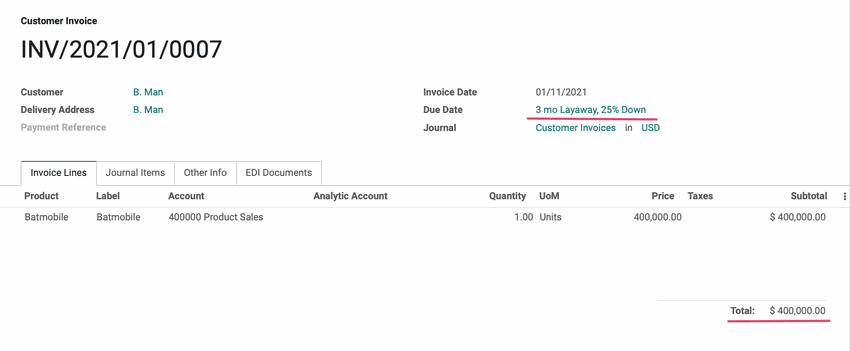
We've created a Sales Order for a customer on the Layaway plan we created earlier in this document. The total purchase price is $400,000. They have agreed to pay us 25% today, then 25% at 30 days and 60 days, then at the 90-day mark they will pay the balance. This is what the invoice looks like:
To review Aged Receivables, navigate to the Accounting app.

Once there, navigate to Reporting > Partner Reports > Aged Receivable.
Here you can see that Odoo has created three invoices due at the agreed intervals under the customer, not including the payment made on the day the order was made:

Aged Payable
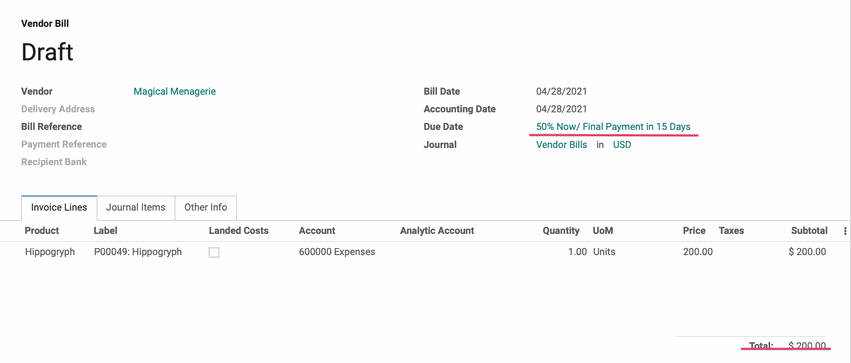
We've purchased a Hippogryph from our vendor Magical Menagerie. The total is $200.00 and we have agreed to pay 50% upon ordering, then the final payment in 15 days. This is what the vendor bill looks like:
To review Aged Payables, navigate to the Accounting app.
Once there, navigate to Reporting > Partner Reports > Aged payable.
Here you can see that Odoo has created vendor bills due under the appropriate vendor. The first is the day the order is placed, the final is due in 15 days.

Incoterms in Accounting
Incoterms is an abbreviation of International Commercial Terms, its sole purpose is to facilitate the transaction between two parties exporting and importing goods regarding international and global trade. There are 11 Incoterms, each one defines the distribution of responsibilities and obligations of the involved parties.
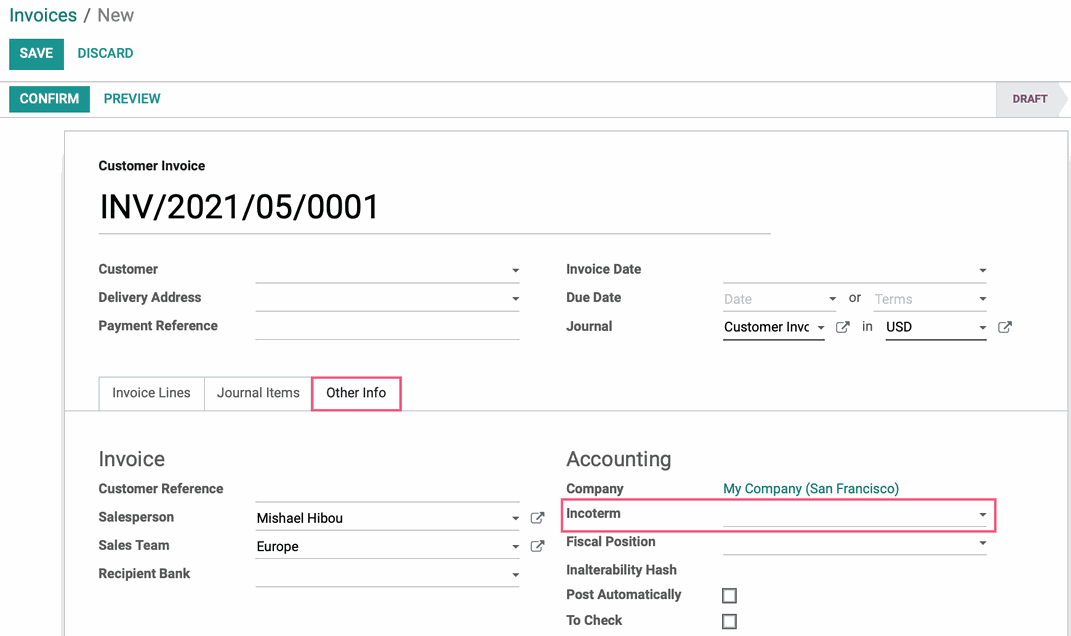
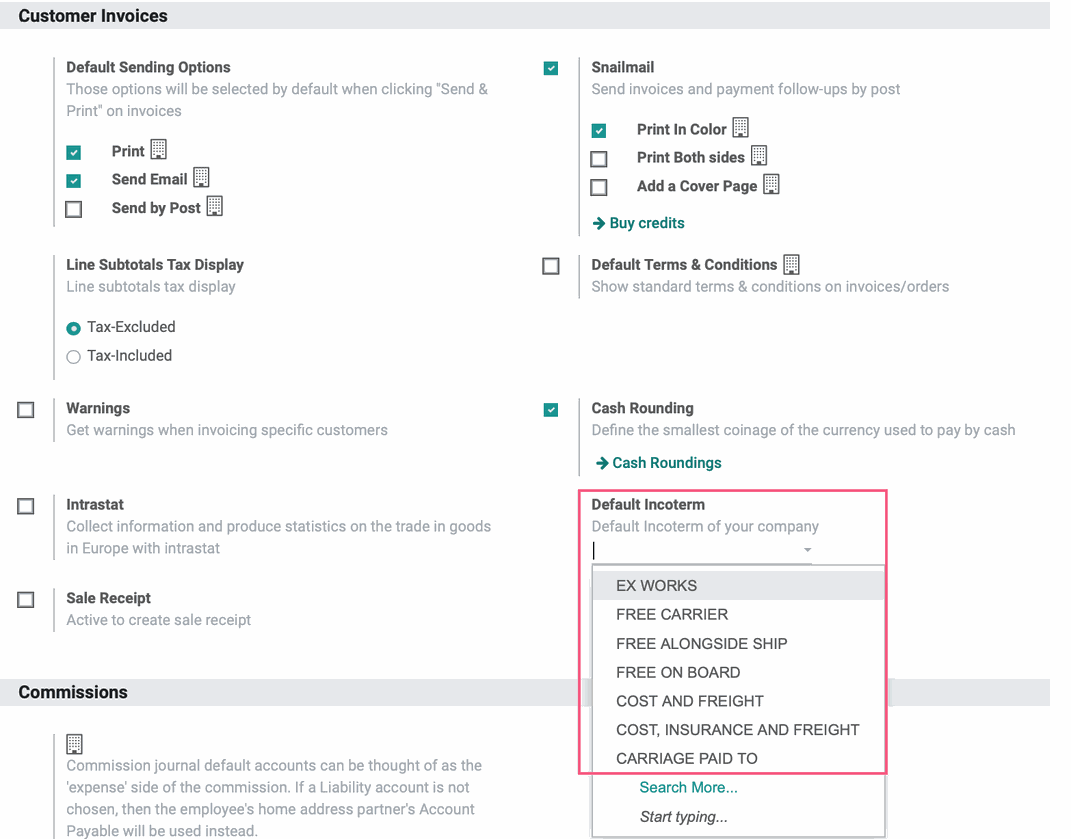
In the Accounting app, navigate to Configuration > Settings. Under Customer Invoices, you may select a Default Incoterm for your company.
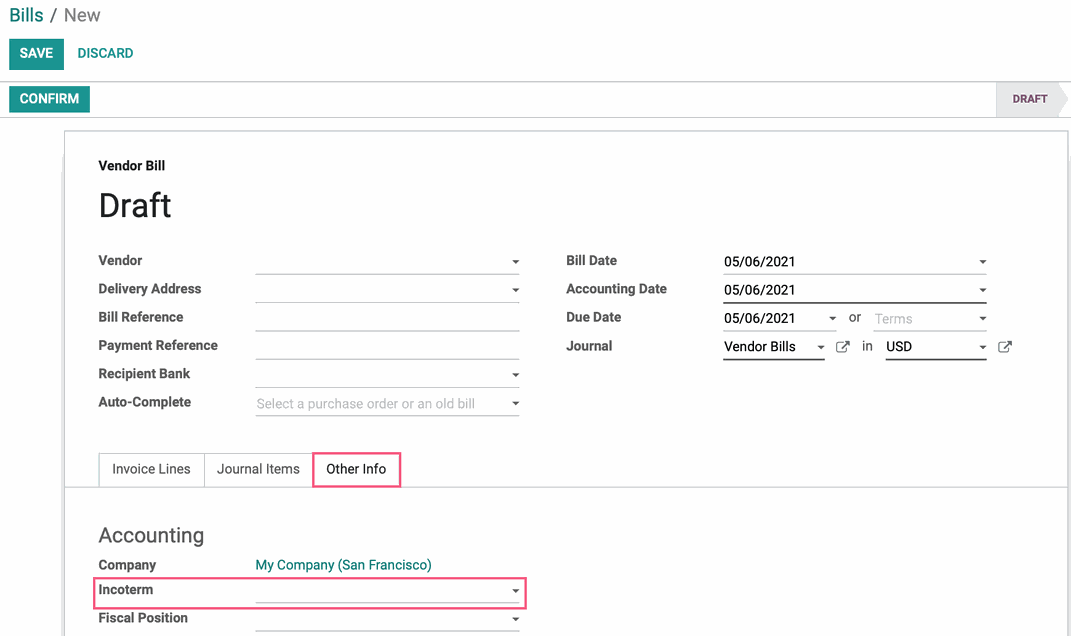
Use Incoterms in a Vendor Bill
Navigate to Vendors > Bills and click Create. Under the Other Info tab you will have the ability to manually set the Incoterm, if you have already set a default Incoterm, this field will be pre-selected Incoterm.