Accounting: Accounting: Journals: Customer Payments
Purpose
This document will walk you through how payment journal entries are created in Odoo 13, and how to set the accounts that those payment journal entries will impact. We will show examples of both sending payment to a vendor and receiving payment from a customer as well as how to create payments manually.
Process
To get started, navigate to the Accounting app.
Journals and Accounts
The accounts that will be impacted by registering payments will always be taken from the journal's default debit/default credit accounts and the partner's Accounts Receivable/Accounts Payable (AR/AP) accounts listed on their contact.
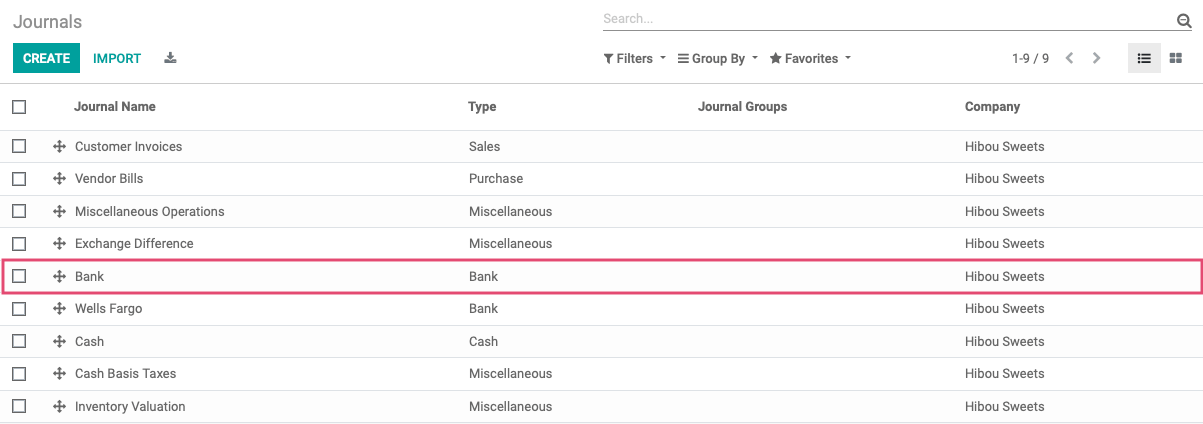
We will look at the journal's accounts first. Navigate to the journal that you want to post your payment to by clicking Configuration > Invoicing > Journals.
In this example, we will post a payment to our Bank journal.
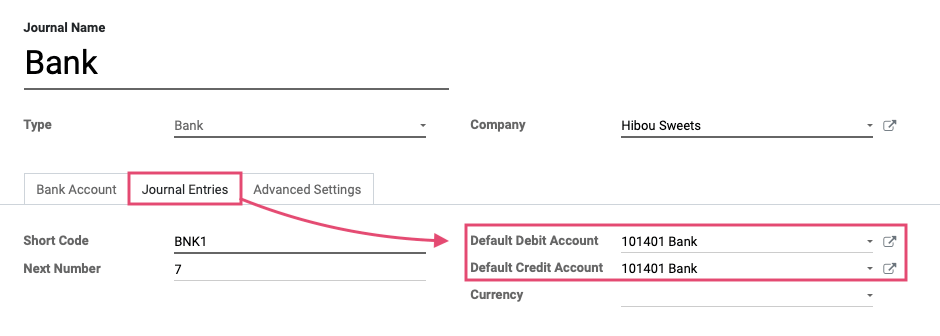
Like all journal entries, the account used on a transaction will depend on whether a payment is being sent or received. When sending payments, the default credit account on the journal will be used. For receiving payments, the default debit account on the journal will be used.
For this Journal, both AR and AP accounts are set to "Bank".
The other half of the journal entry will be determined by the accounts listed on the partner's AR/AP found on their contact record.
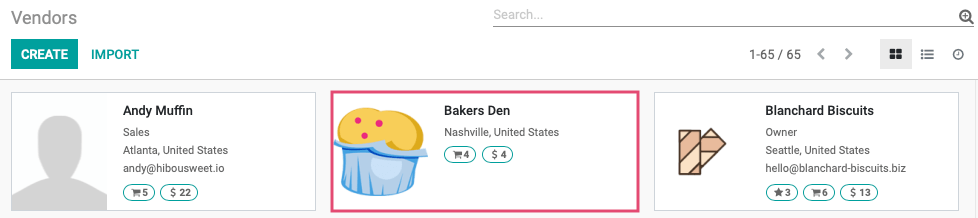
To access your vendors, navigate to Vendors > Vendors. To access your customers, navigate to Customers > customers.
Choose the partner that you want to associate with your payment. In this example, we are looking at a vendor.
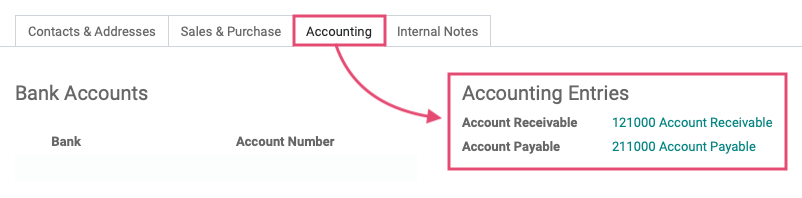
Navigate to the accounting tab for the partner. The accounts listed as their Account Receivable and Account Payable will be used for payments associated with this partner.
Incoming customer-type payments use the partner's Account Receivable. Outgoing vendor-type payments use the partner's Account Payable.
When you are receiving money, the AR/AP account will be credited. When sending money, the AR/AP account is debited.
Manually Create a Vendor Payment (Outgoing)
Click Vendors > Payments, then click create.
This will bring you to the following form. This example is a payment we're sending to a vendor, Bakers Den.
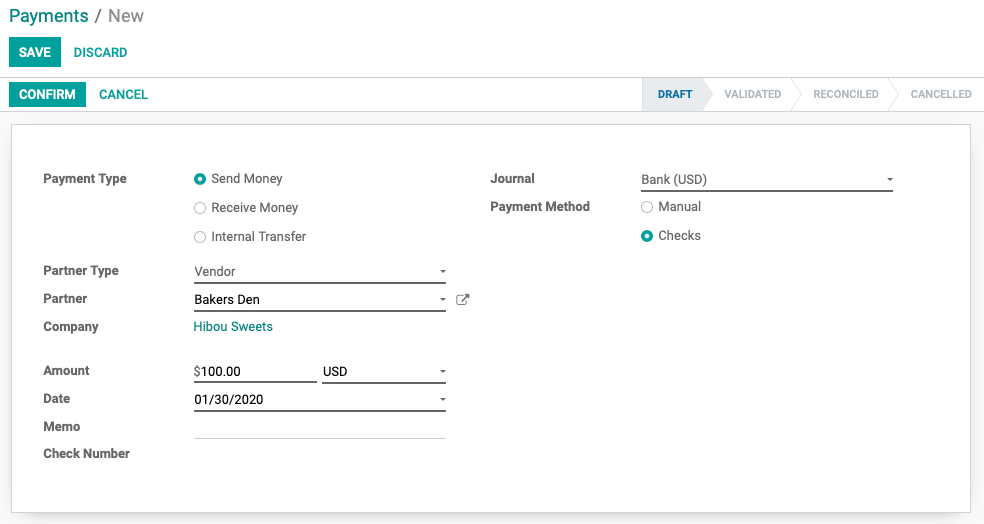
Payment Type: Select Send Money to indicate an outgoing payment.
Partner Type: "Vendor" will be preselected.
Partner: Select the vendor you'll be sending payment to.
Company: This field is hard-coded with your company name.
Amount: Input the payment amount and currency.
Date: Select the date that the payment should be recorded on.
Journal: Select the Journal that the payment will be posted to.
Payment Method
Manual: This means that the payment was sent or received by a method outside of Odoo like a credit card payment or PayPal receipt.
Check: This means that a check was used to make or receive this payment and can be recorded within Odoo. If you use check printing within Odoo, you can have Odoo print the check for this payment. When selected, the following fields display in the previous section.
Memo: Input a reference for the payment, we recommend using the vendor bill number associated with this payment.
Check Number: The check number will be added by Odoo.
Journal Entry Sent Payment
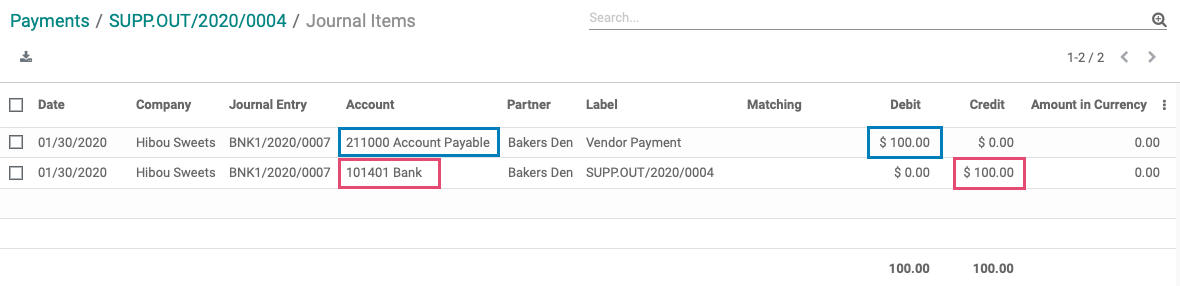
Once your payment is confirmed, we can review the journal entry that was created by clicking on the Journal Items smart button at the top right of the confirmed payment.
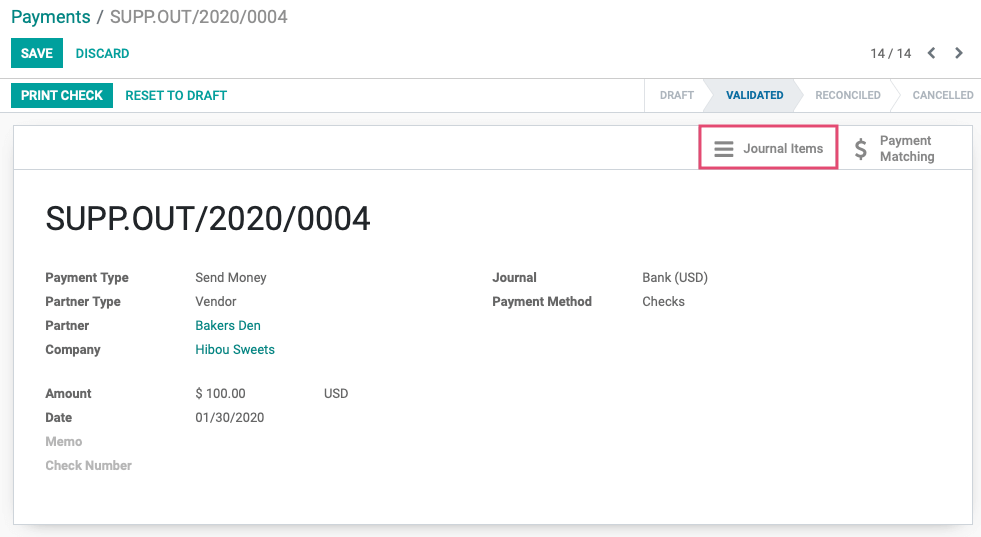
Here you can see that we credited $100.00 from the account that was listed as the Credit Account on our Bank journal and we debited the account that was listed as the default Debit Account on the vendor's accounting tab.
Manually Create a Customer Payment (Incoming)
Click CUSTOMERS > Payments, then click create.
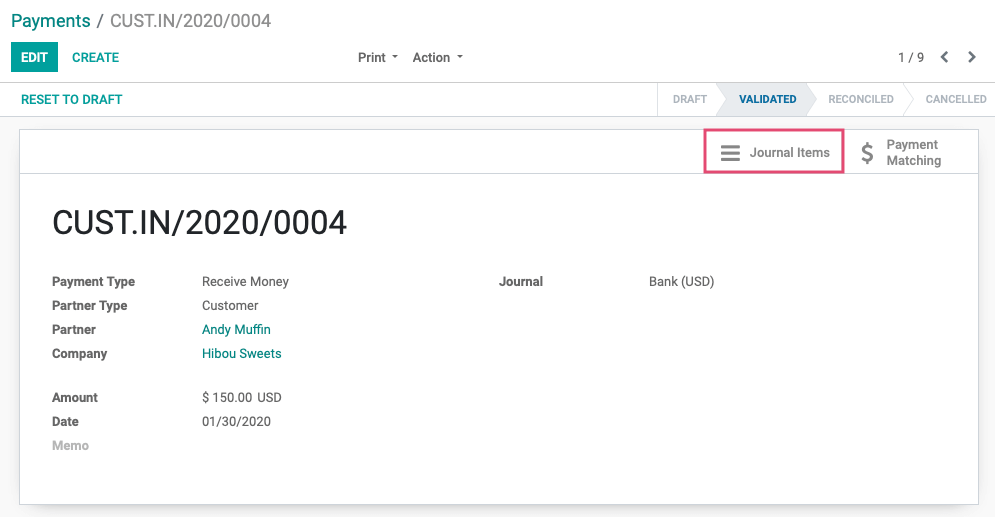
This will bring you to the following form. This example is a payment we're receiving from a customer, Andy Muffin.

Payment Type: Select Receive Money to indicate an incoming payment.
Partner Type: "Customer" will be preselected.
Partner: Select the customer the payment is coming from.
Company: This field is hard-coded with your company name.
Amount: Input the payment amount and currency.
Date: Select the date that the payment should be recorded on.
Journal: Select the Journal that the payment will be posted to.
Memo: Input a reference for the payment, we recommend using the invoice number associated with this payment.
Journal Entry Received Payment
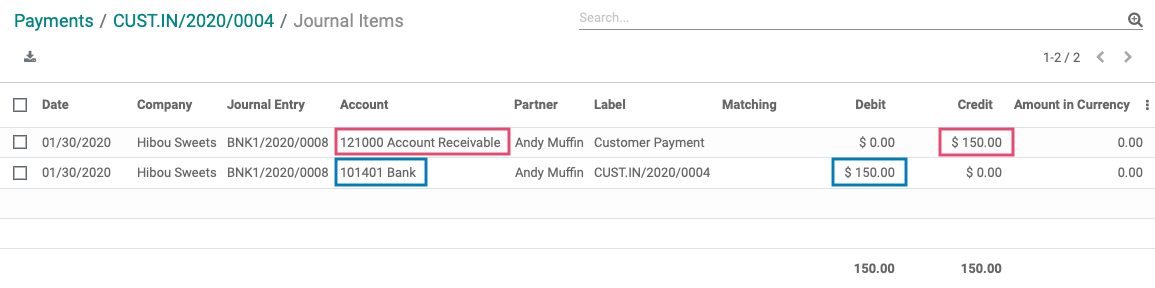
Once your payment is confirmed, we can review the journal entry that was created by clicking on the Journal Items smart button that will appear at the top right of the confirmed payment.
Here you can see that we credited $150 from the account that was listed as the Account Receivable on the customer's AR/AP and we debited the account that was listed as the default debit account on the Bank Journal.