Accounting: Configuration: Setting up a New Bank Account
Purpose
This documentation walks you through configuring and syncing your bank accounts in the Accounting application of Odoo 15.
Process
To get started, navigate to the Accounting app.
Create a Bank Journal
The first step in adding your bank account is to set up a bank journal. To do so, click Configuration > accounting > Journals. Once there, click Create.

This brings you to a form where you'll complete the following fields:
Journal Name: It's common to name the journal after the bank it's recording (e.g. Fidelity). If you have more than one account with a particular bank/financial institution, you may wish to add additional detail in the name (e.g. Fidelity - Operating, Fidelity - 0420, etc.)
Type: Select 'Bank' as the type.
Company: If you're in a multi-company database, this field will display and auto-populate with the company in which you are currently working.
Under the journal entries tab:
Accounting information
Bank Account: This is the account in the General Ledger. If you have already created a specific GL account for this, you may enter it. If not, you can leave this field blank and the system will populate it automatically after the configuration is complete and/or the Journal is saved.
Suspense Account: This is the account that bank statement transactions will be posted to until the final reconciliation. Odoo will auto-populate this field with the existing suspense account.
Profit Account: This is used to register a profit when the ending balance of a cash register differs from what the system computes.
Loss Account: This is used to register a loss when the ending balance of a cash register differs from what the system computes.
Short Code: Enter a code to refer to this bank. It will be used as the first section of the label for entries recorded into this journal. You may enter up to five characters, including spaces.
Currency: If you are set to use only one currency, you may leave this field empty, otherwise select the currency this account uses.
Bank Account Number
Account Number: Enter a new account number if you wish to add a new bank, or select an existing bank. Once the account number is added, you'll have the opportunity to select an existing bank account, or create a new one
Bank Feeds: This defines how the bank statement is registered.
Undefined Yet: If this is selected, it means that you will me entering in your bank statement lines manually.
Import (CAMT, CSV, OFX): If this is selected, you will need to import your bank statements once issued from your bank in the necessary format.
Automated Bank Synchronization: If this option is selected, you will have the ability to link your bank account to Odoo and schedule synchronizations at various time intervals to create you bank statement.

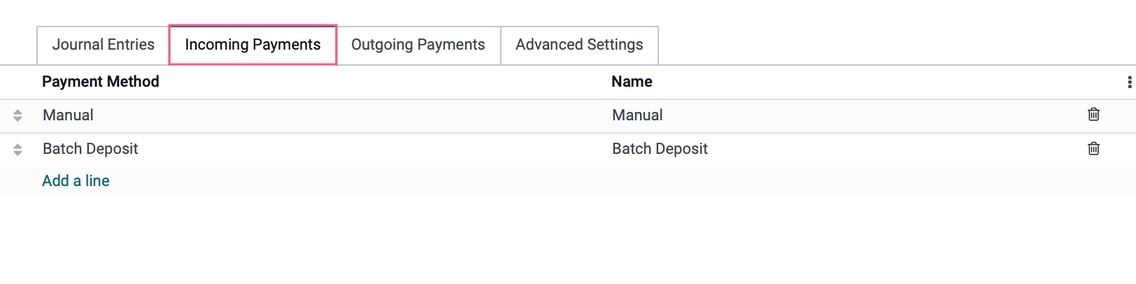
Under the Incoming Payments tab:
Payment Method: You will have a few preselected for you, but may add by clicking in this column on the first open row to display the dropdown list of choices. Common choices include:
Electronic: Select to process electronically using a payment token (e.g. credit card).
Manual: Select to process payments outside of Odoo (e.g. cash).
Batch Deposit: select to process payments via batch deposit.
Name: This will fill the default name of the incoming Payment Method, but may be edited.
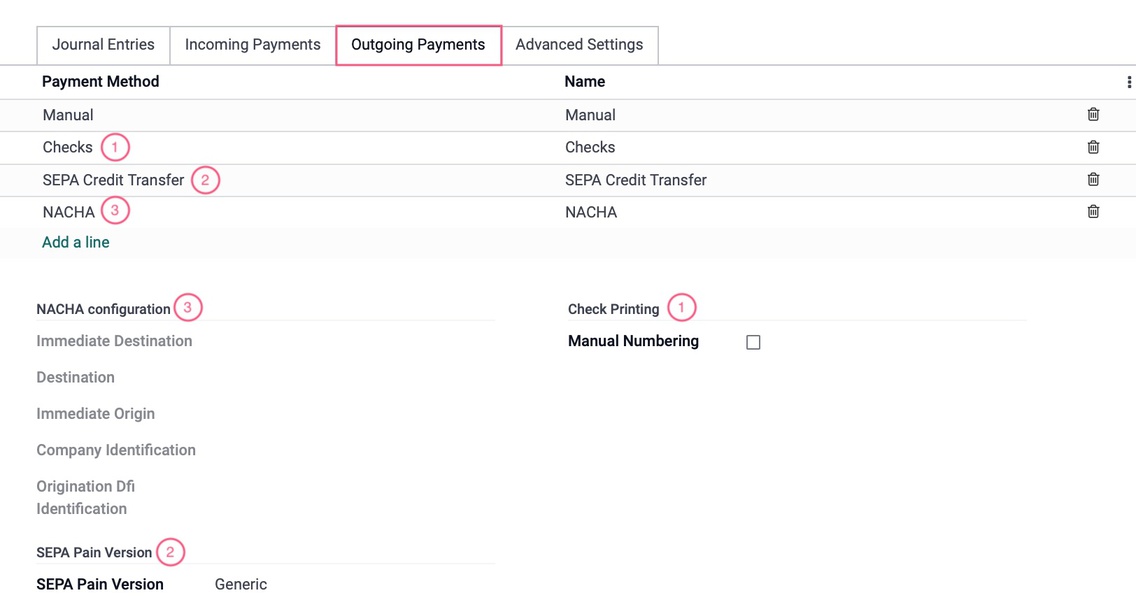
Under the Outgoing Payments tab:
Payment Method: You will have a some preselected for you, but may add by clicking in this column on the first open row to display the dropdown list of choices. Common choices include:
Manual: Select to make payments outside of Odoo (e.g. cash).
Checks: Select to make payments with check.
SEPA Credit Transfer: Pay in the SEPA zone by submitting a SEPA Credit Transfer file to your bank. The module account_sepa is necessary.
Name: This will fill the default name of the outgoing Payment Method, but may be edited.
Additional sections appearing beneath the list are based on the payment methods selected. The fields therein are specific to each. You can see this in the example below for "Checks", "SEPA Credit Transfer", and "NACHA".
Check Printing
Manual Numbering: Select this if your check print stock is not numbered. When selected, the Next Check Number field will display where you'll enter the next check number.
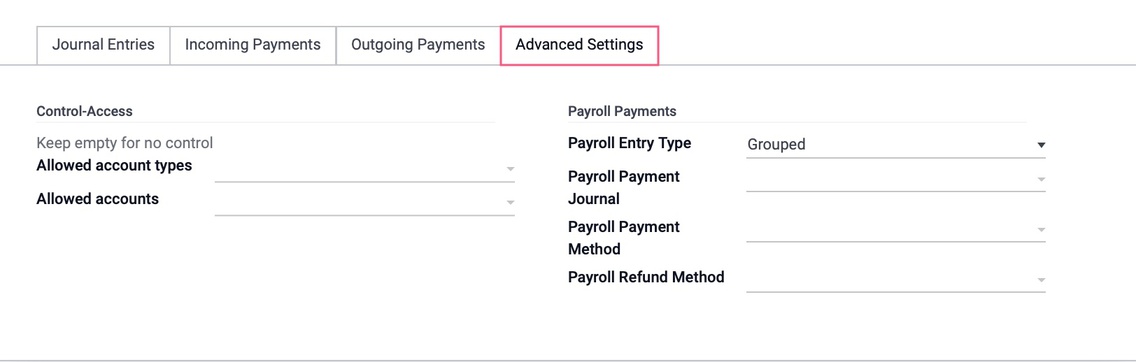
Under the Advanced Settings tab:
Control-Access Keep Empty for No Control: These settings can be left as-is, but are geared to keep your company in compliance by setting basic access rules.
Account Types Allowed: Select the account types allowed to access this Journal.
Accounts Allowed: Select accounts allowed to access this Journal.
Lock Posted Entries with Hash (debug only): Once enabled, the accounting entry or invoice receives a hash (encryption) and cannot be modified further.
Payroll Payments: If you see this section, it's for setting up a payroll journal. To learn more on how to do this, please review out Payroll Workflows: How to Run Payroll document.
When finished, click SAVE.
Connect a Bank Account for Synchronization
Next, we'll add a bank account to connect to this journal.
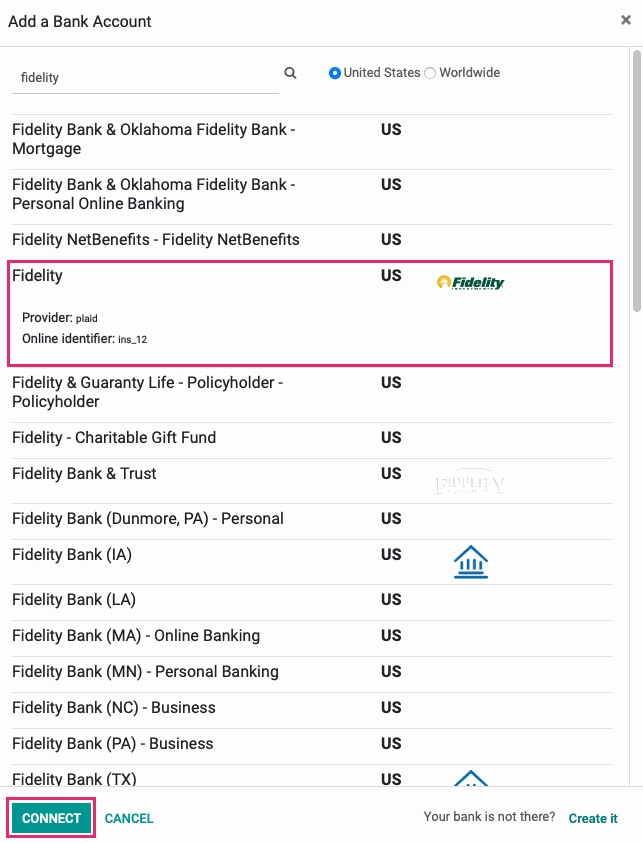
Click Configuration > banks > add a bank account. This will bring up a modal window with a list of financial institutions. If yours is in the list, select the appropriate entry and click Connect. To help with the choices, enter the name of the financial institution, and toggle between your country ("United States" in this example) or "Worldwide".
*If you do not see your bank listed (even after scrolling down through the list), skip ahead to the section for "Adding a Bank Account Manually".
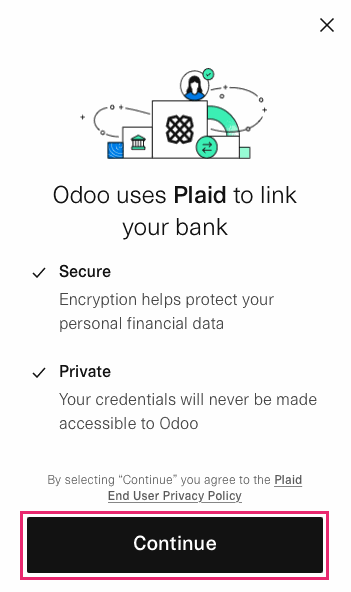
Odoo uses either Yodlee or Plaid to connect to financial institutions. When you connect, you'll see a wizard from one of those services that will walk you through the setup process. Our example shows the Plaid dialog. Click Continue.
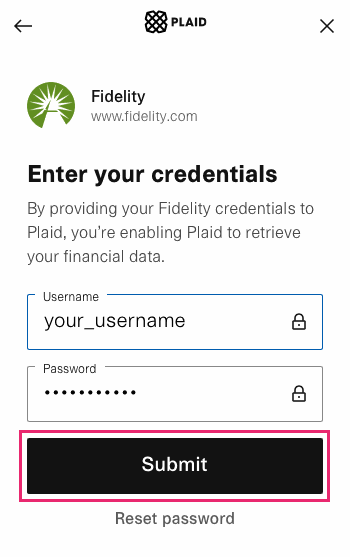
Enter the credentials to connect, then click Submit. You may be asked to verify your identity via email or text message, depending on the bank's policy.
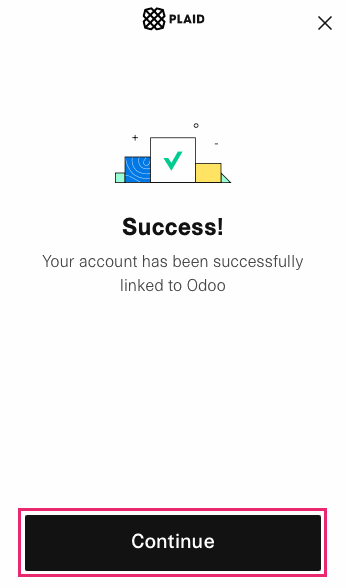
Once connected you'll see a success message. Click Continue.
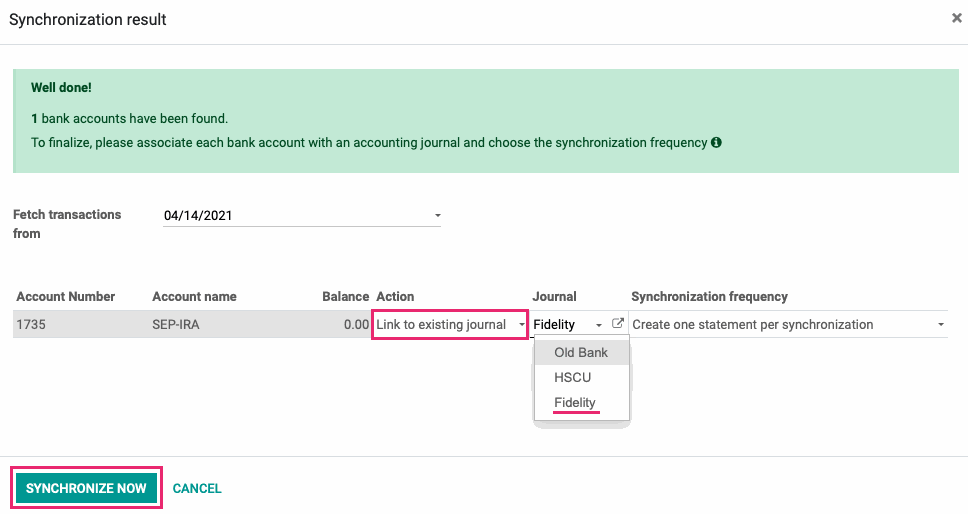
On the next screen, verify details and complete the fields as follows:
Account Number: This field is auto-populated based on the account you've connected. It cannot be changed.
Account Name: This field is auto-populated based on the account you've connected. It cannot be changed.
Balance: This field is auto-populated based on the account you've connected. It cannot be changed.
Fetch transactions from: Enter the date when you'd like Odoo to start pulling in transactions.
Action: Select Link to Existing Journal.
Journal: Select the journal you just created in the previous step.
Synchronization frequency: Select the frequency that this bank should be synchronized. You have the following options:
Create one statement per synchronization
Create daily statements
Create weekly statements
Create bi-monthly statements
Create monthly statements
When you're ready, click Synchronize Now.
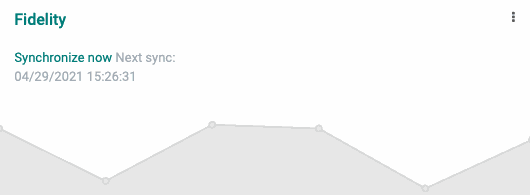
This will bring you to the accounting overview page where you'll see a new card added to the kanban view with the bank you just added.
Adding a Bank Account Manually
If you do not see your bank listed (even after scrolling down through the list), you can add it manually by clicking on Create It the bottom - right of the modal window.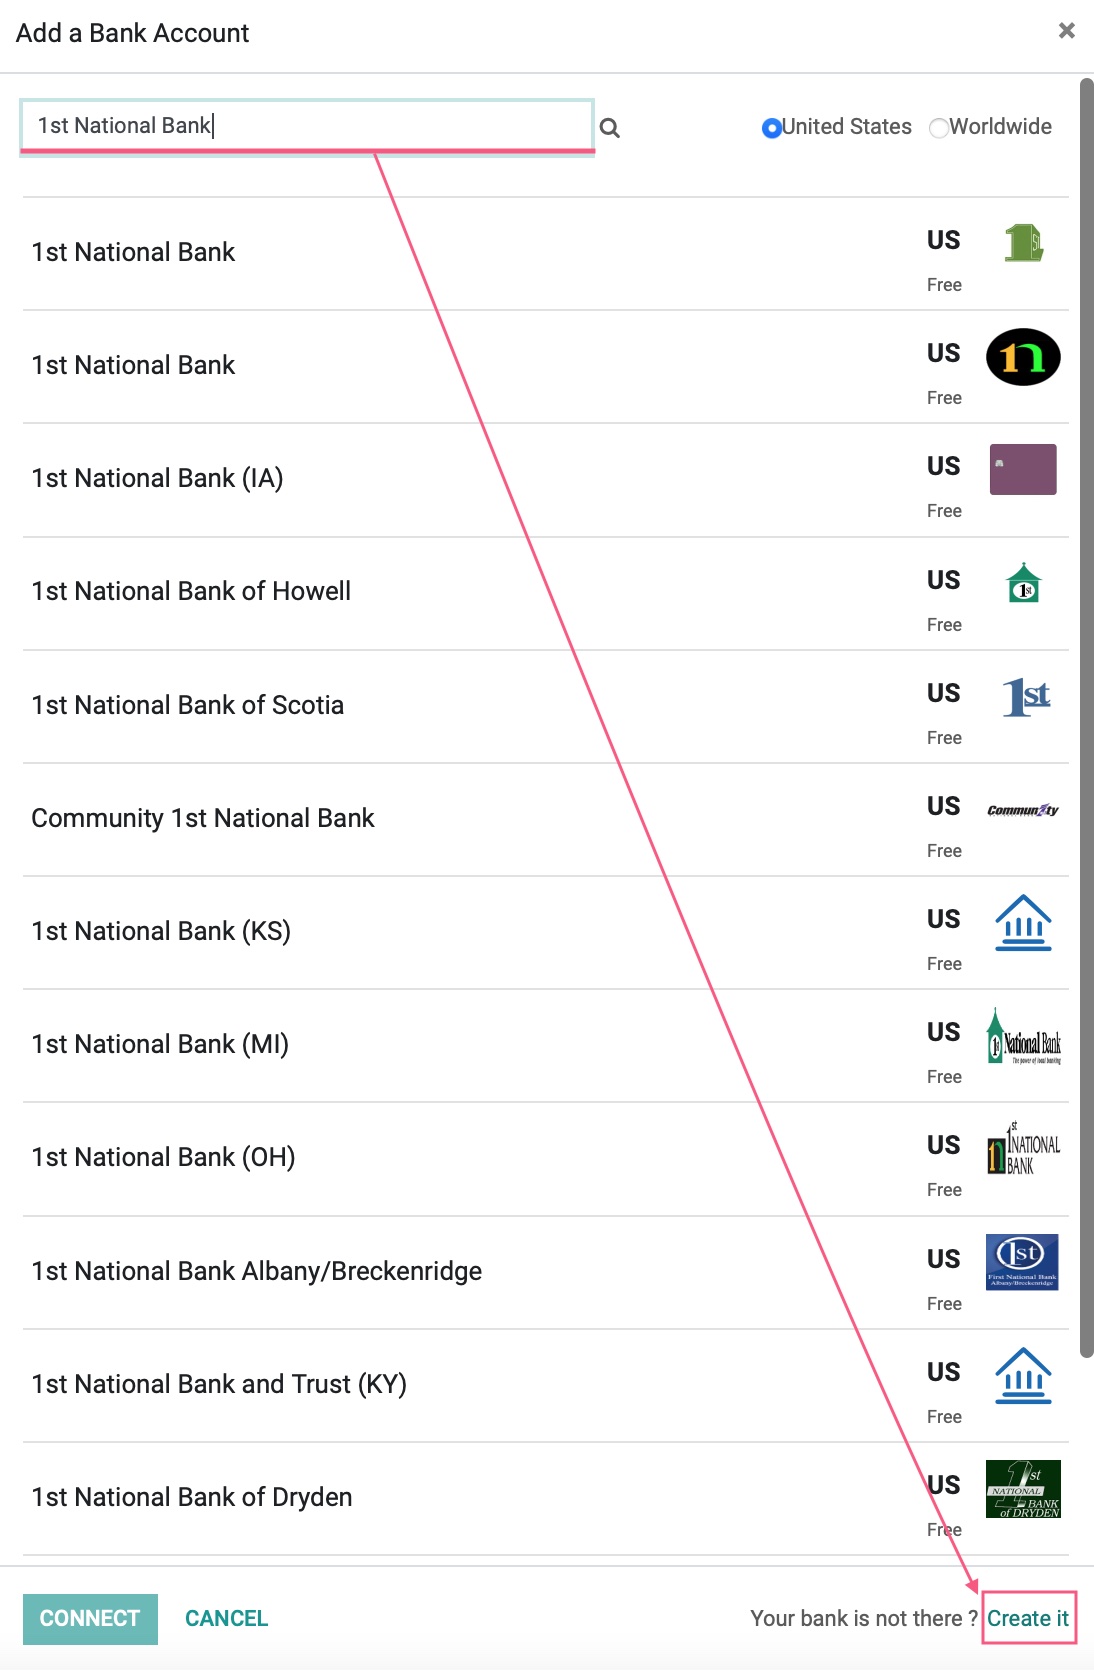
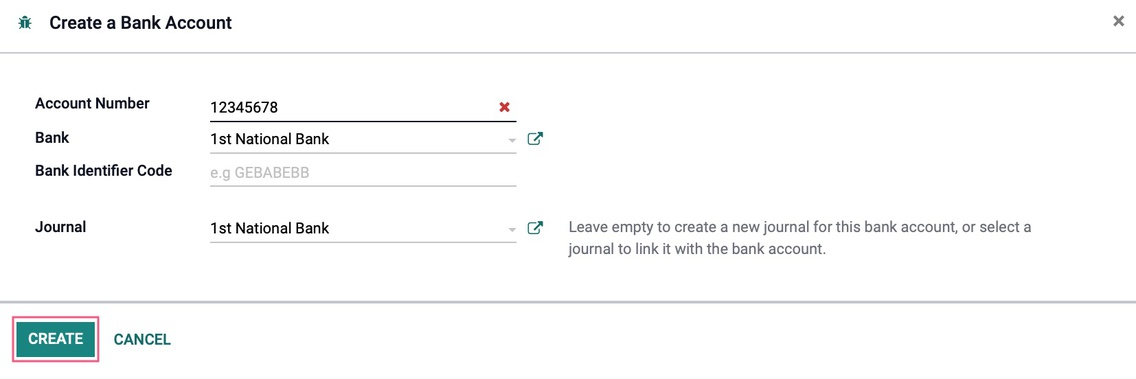
The Create a Bank Account modal window presented first.
Account Number: Enter your account number. If the system recognizes the number as valid, then you will see a green next to it, otherwise it will be a red . The number needs to be valid if importing bank feeds.
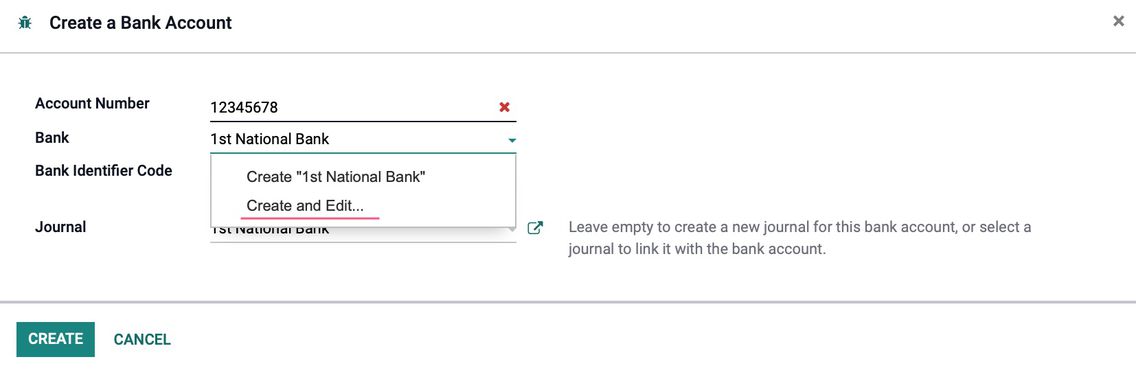
Bank: Enter the name of the financial institution, if it shows in the list below, then select it, otherwise choose "Create and Edit...".
Bank Identifier Code: This field is optional here, but necessary if importing bank feeds.
Journal: Select the journal to link it to the bank account. Otherwise, leave empty to create a new journal for this bank account.
If you have clicked Create and Edit... then you will see the following modal window where you can enter the pertinent details and click save.

This will take you back to the prior window. After making sure the information is correct, click create.
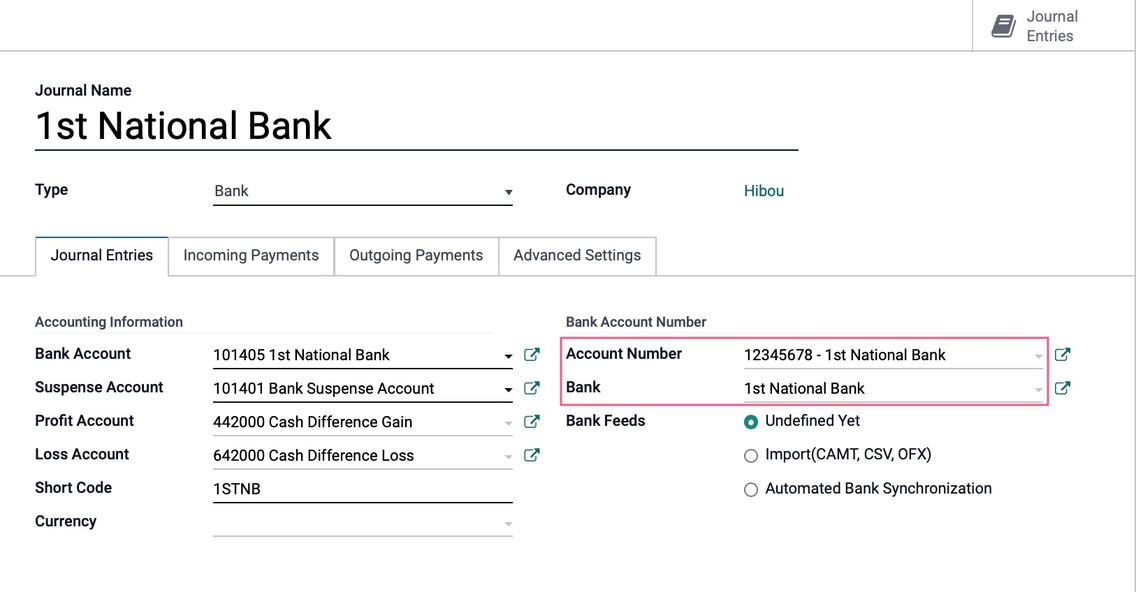
Go back to the Journal window and click Edit. Use the Account Number dropdown field and select the new bank account you just created. This will fill it and the Bank field just below it with the corresponding information. Click Save when done.
Good to Know!
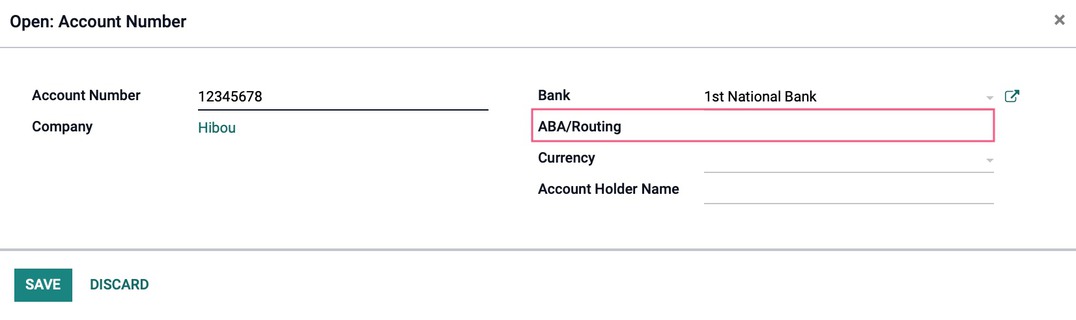
Bank Routing Numbers
If you would like to see, enter, or edit the routing number for your bank, go to your bank journal and click on the Account Number field to open a new modal window where you can edit the ABA/Routing number.