Accounting: Use Case: Analytic Accounting
Purpose
The purpose of this documentation is the outline the use cases and processes associated with Analytic Accounting in Odoo.
An Analytic Account contains accounting entries but is not bound to legal constraints, meaning you can create a Chart of Analytic accounts that is completely your own and do with it as you wish. Analytic Accounts are helpful for keeping track of specific costs and revenues. For example, you can make an Analytic Account called Administration where you can keep track of all your administrative costs. An analytic account consists of Analytic Entries, which are similar to journal entries. These are lines that give you a clear view of your analytic account's costs and revenues, and are generally created when various Odoo documents are validated. Analytic Entries can also be created manually.
Analytic Tags can be used to further refine analytic entries. For example, you could make tags for different teams in a department, you can then filter the list of analytic entries to view only those with a specific tag.
Processes
To get started, navigate to the Accounting application.

Configuring Analytic Accounting
Once there, click on Configuration > settings.
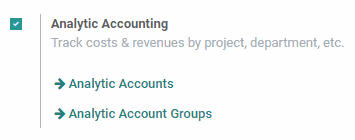
Search for 'Analytic' and check the box for Analytic Accounting. Then hit the Save button.
Creating an Analytic Account
On the top menu click Configuration and then Analytic Accounts.
You will see a list of all Analytic Accounts. Click the create button to create a new Analytic Account.
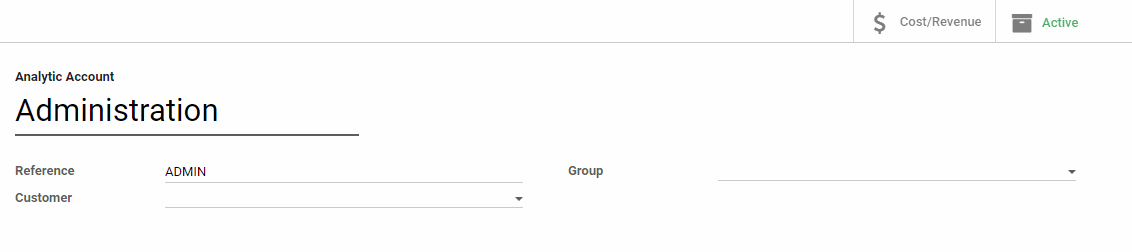
Give the Analytic Account a name. Optionally, give the Analytic Account a Reference, choose a customer from the Customer dropdown if you'd like to link it to a specific customer, and add it to a group for ease of filtering. When ready, hit the save button.
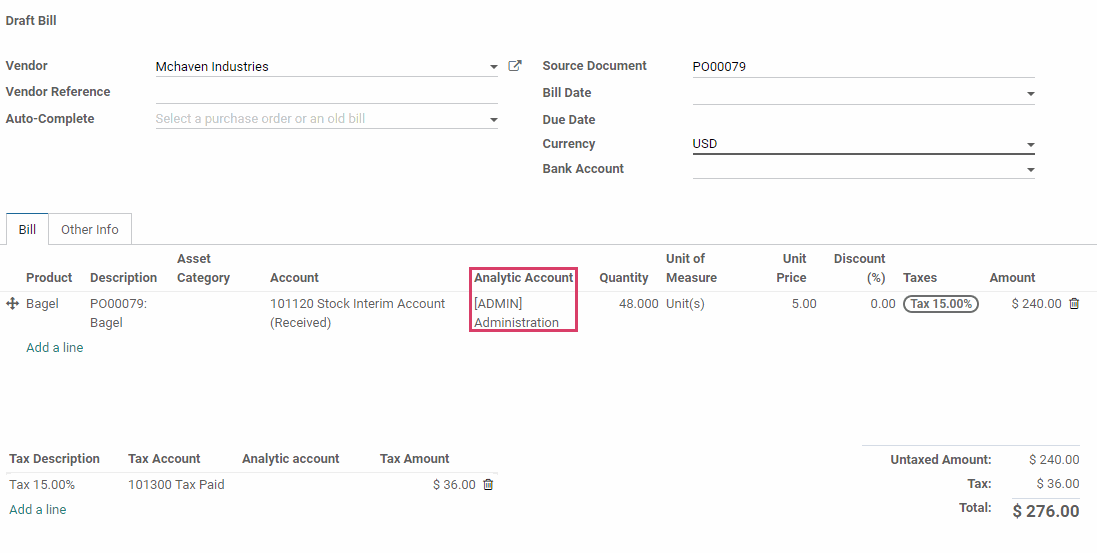
Generating an Analytic Entry
Making an Analytic Entry for an Analytic account is easy! Let's say, for example, you'd like to record the cost of a vendor bill in an analytic account. When adding a line item for the bill, simply choose the Analytic Account you desire from the dropdown menu! When you hit the Validate button, the analytic accounting entry will be generated along with the other accounting items.
Analytic Entries
To view all of the analytic entries, click on Accounting > ANALYTIC Items. You will see all of the Analytic Entries. and can group and filter them as you wish.

To take a look at the analytic entries of an analytic account, go back to the list of analytic accounts by clicking Configuration >Analytic Accounts then, click the desired account from the list followed by the Cost/revenue button.

You will see a list of all Analytic Entries for this analytic account, with the quantity and amount total summed on the bottom right.

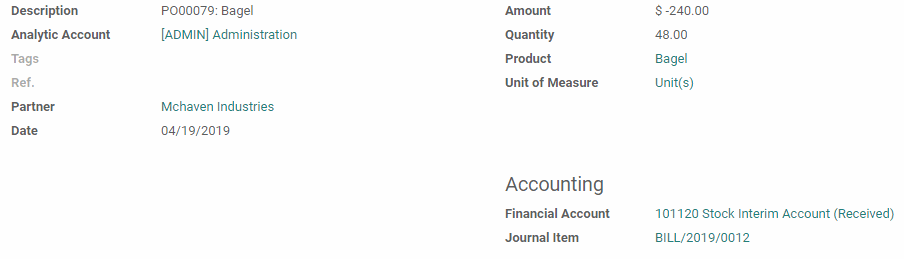
Click on an Analytic Entry to see it's details, which reflect what was entered on the original document created.
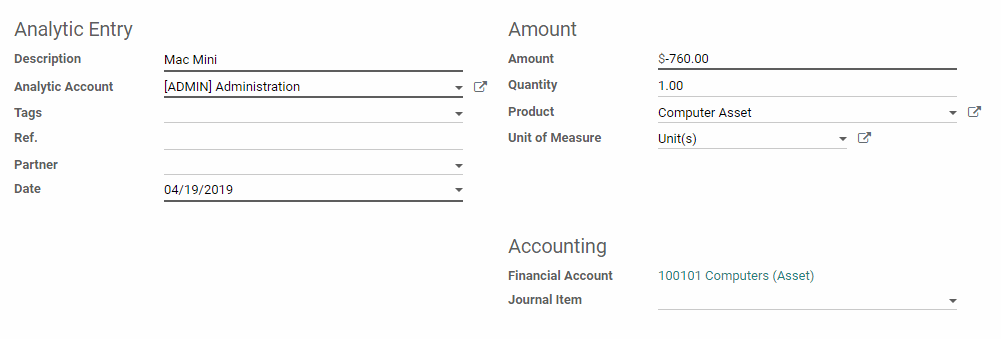
Manually Creating an Analytic Entry
In the accounting application, click Accounting > Analytic Items. Hit the Create button.
Give the Analytic Entry a name and select an analytic account from the dropdown. In order to link a Financial Account, select a Product from the dropdown menu on the right. Enter an amount, and fill in the other desired fields. When finished, hit the save button.