Accounting: Configuration: Chart of Accounts
Purpose
This documentation outlines the processes associated with a Chart of Accounts in the Accounting application of Odoo 16.
A Chart of Accounts is a listing of all accounts used in the general ledger of an organization. The Chart of Accounts should be tailored to reflect the actual operations of a company and an organization has the freedom to add or remove accounts, as needed, to better suit its needs.
Process
To get started, navigate to the Accounting app.
Configuring the Chart of Accounts
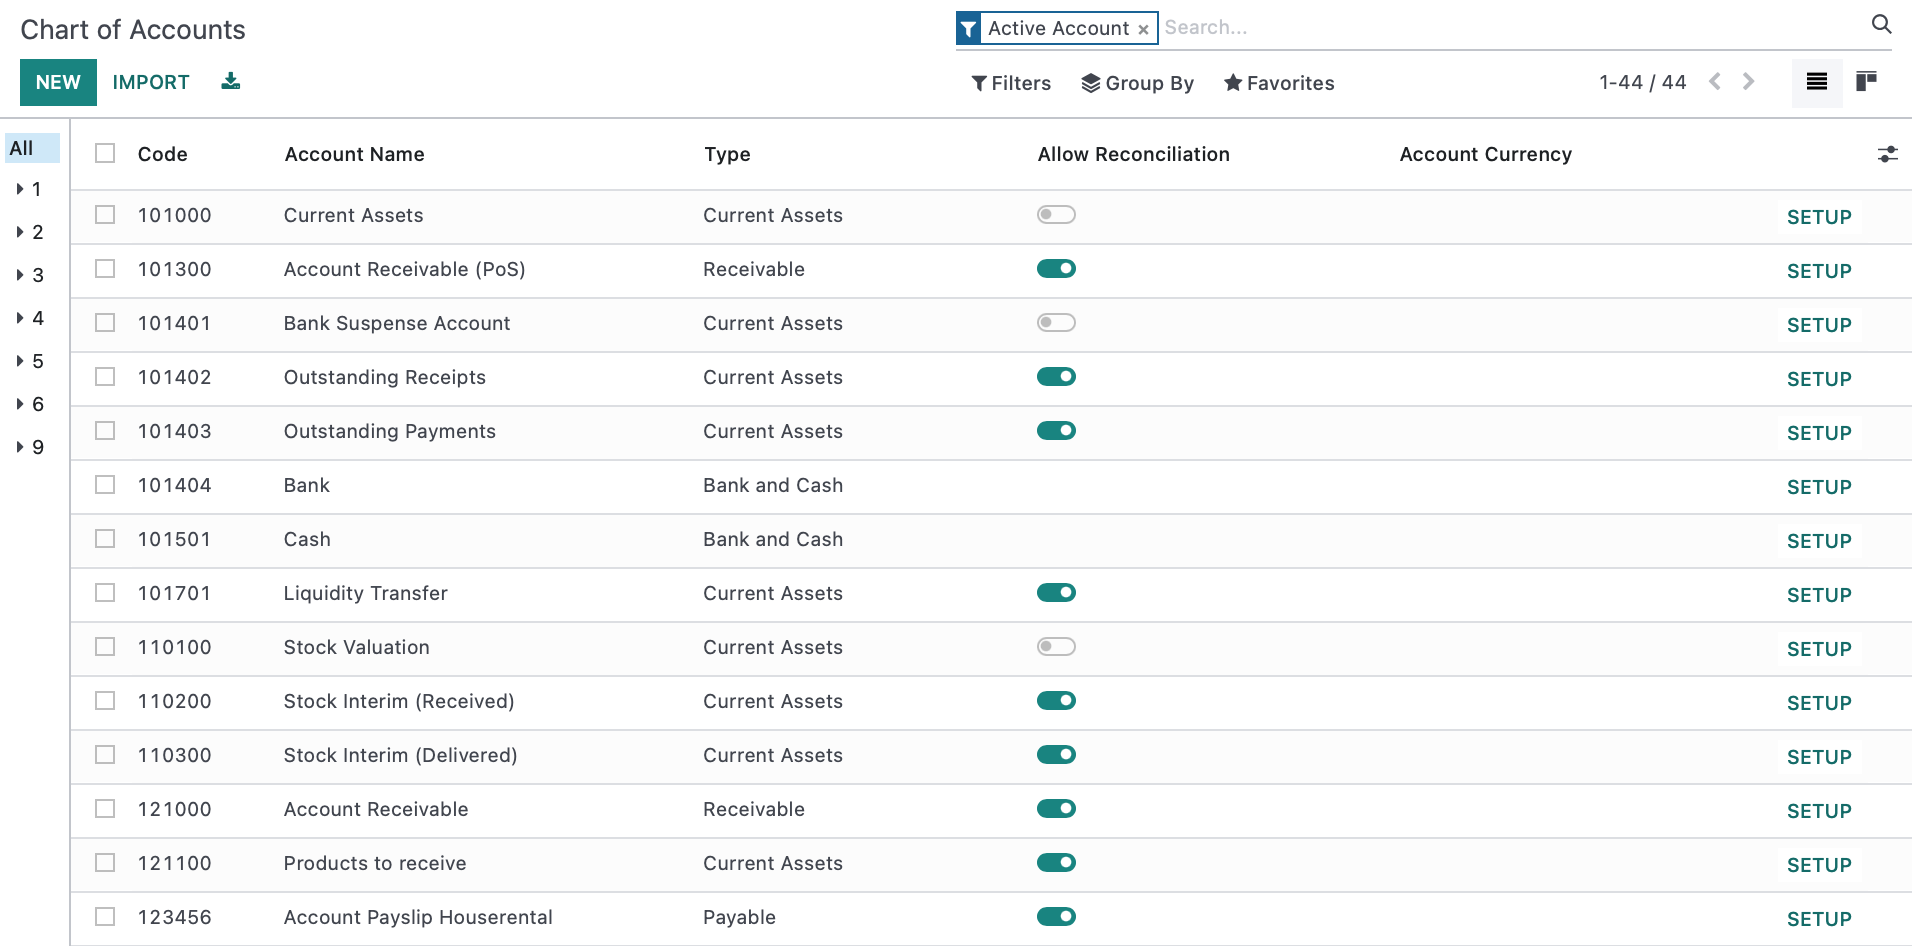
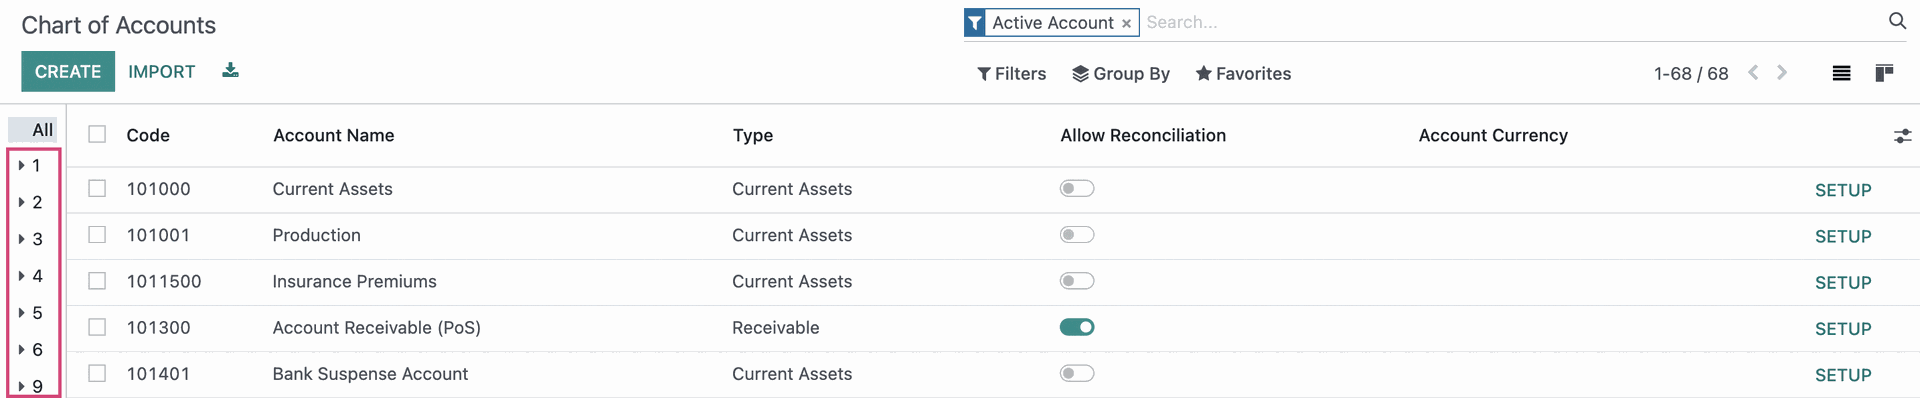
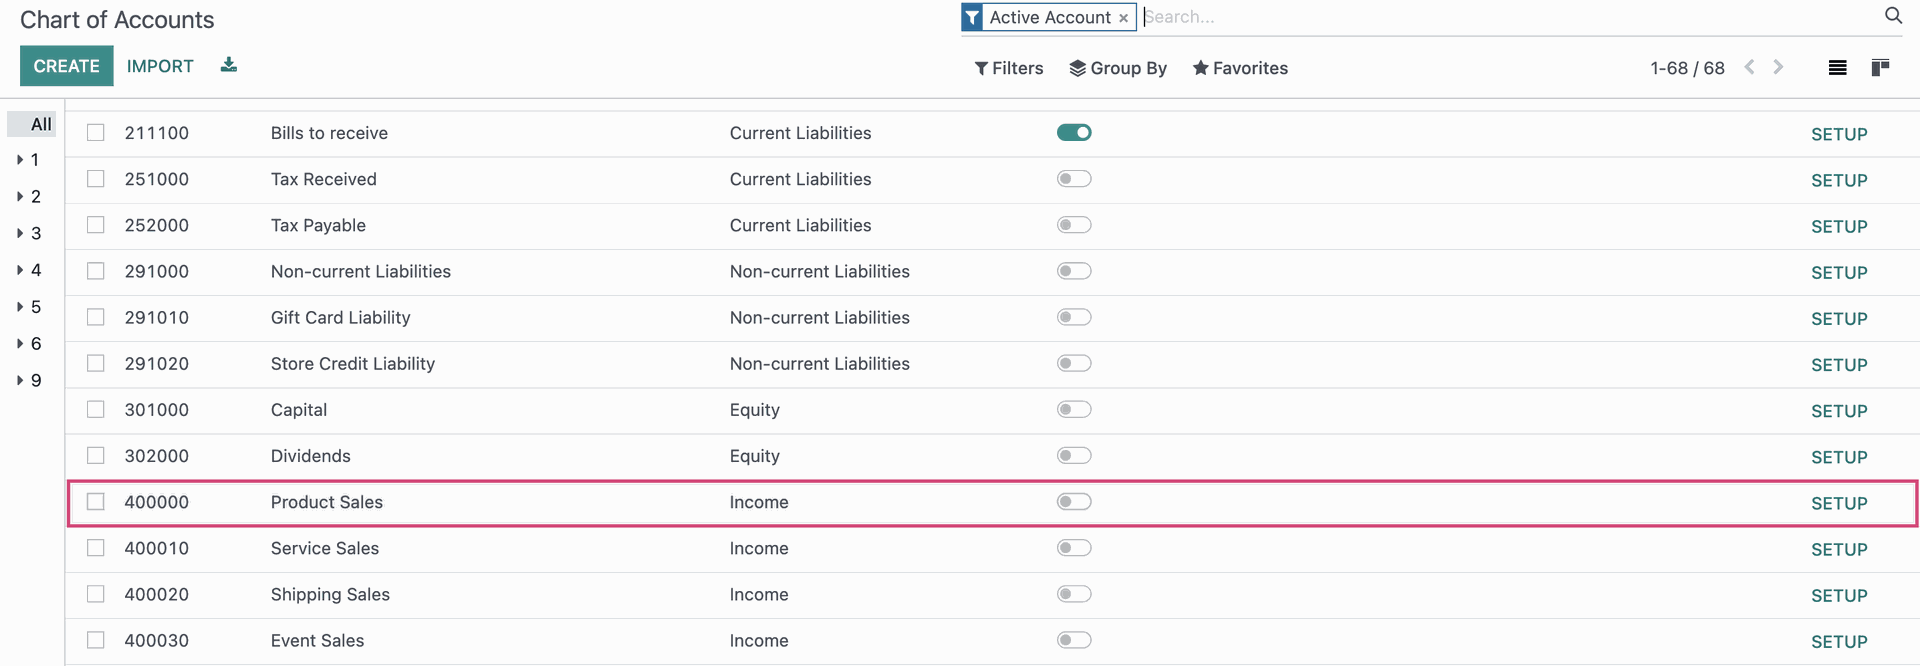
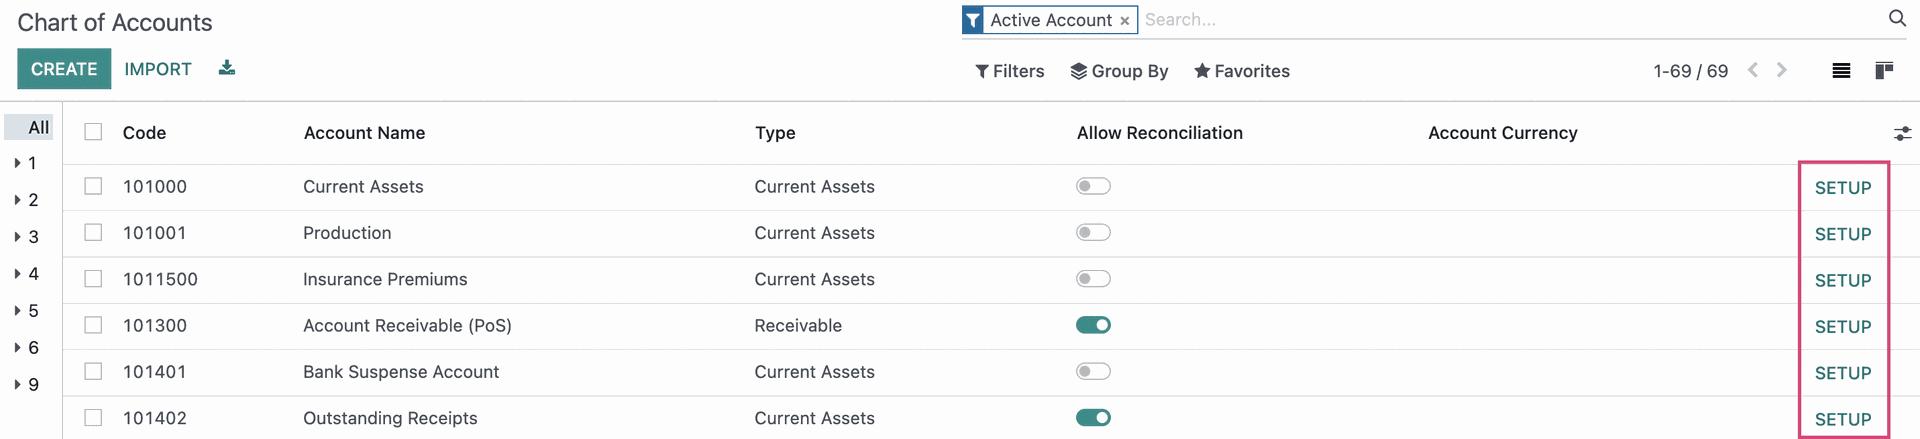
Click CONFIGURATION > ACCOUNTING > CHART OF ACCOUNTS. You will see a list view of all accounts. From here you can change, import, remove, and create accounts as needed.
Good to Know!
Why Is My Chart of Accounts is Empty?
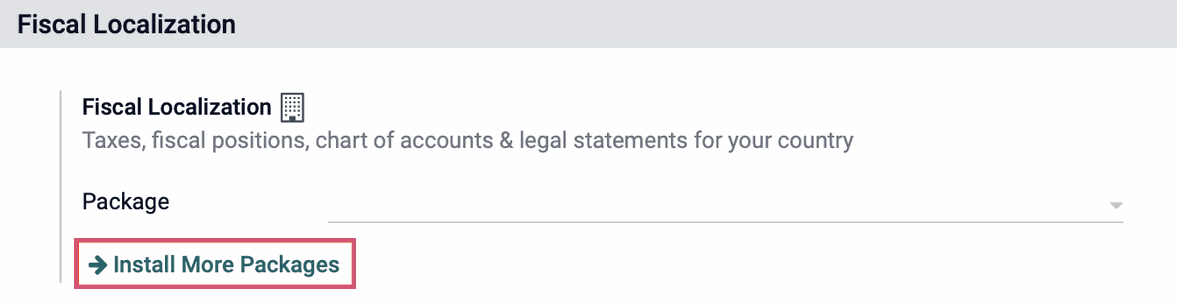
If you get to the Chart of Accounts page but see nothing listed, you'll need to go into Configuration > Settings and click Install More Packages. From there, install the default accounts for your country.
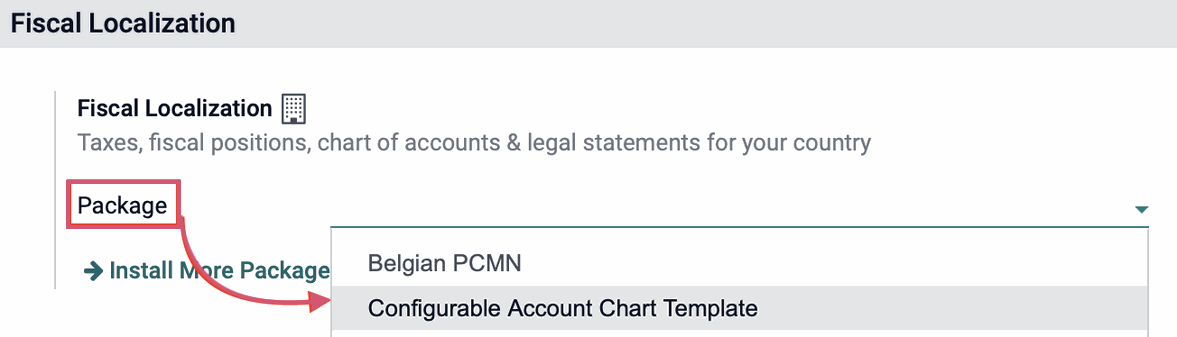
When you're done, go back to the settings page and, under Fiscal Localization, set the Package to "Configurable Account Chart Template".
Click SAVE. You should now see accounts listed in your Chart of Accounts.
Down the left-hand side, you have the ability to view numerical ranges using the index marks. For example, clicking 1 will expand indexing to the next character (10, 11, 12, etc.) allowing you to filter directly to the range you need.
Working with Default Accounts
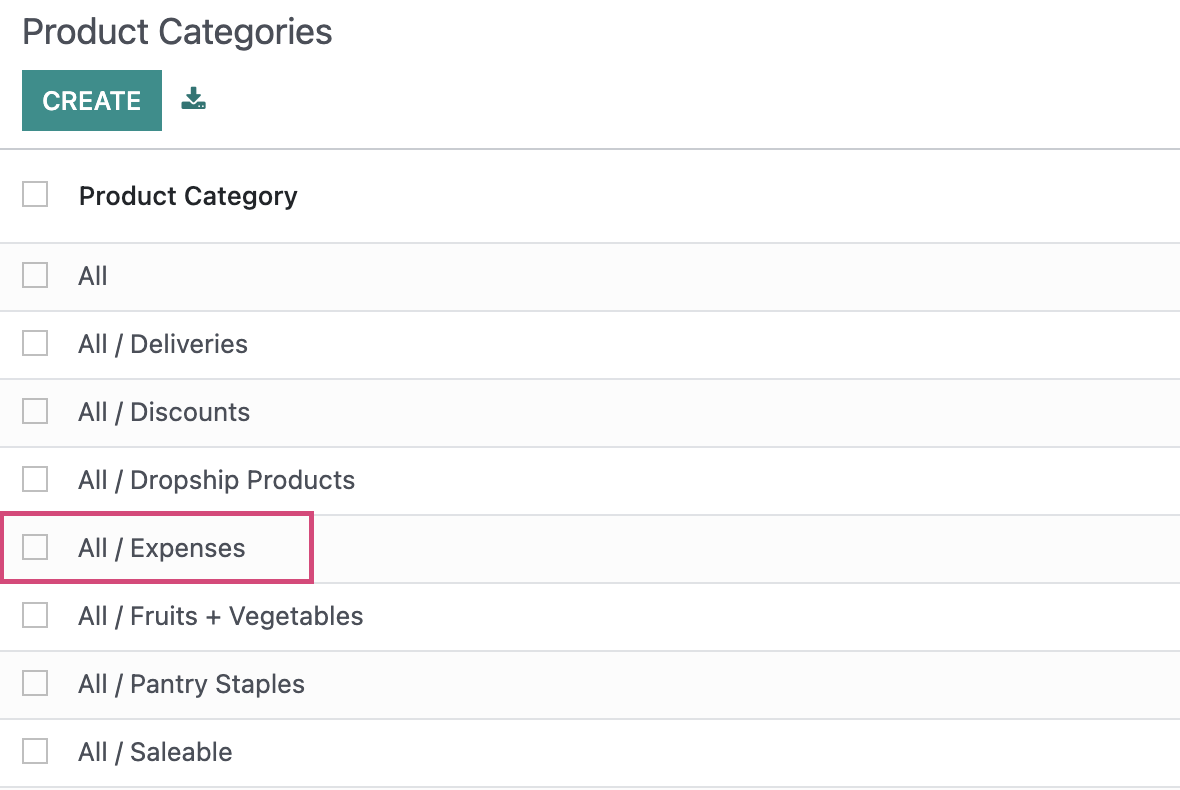
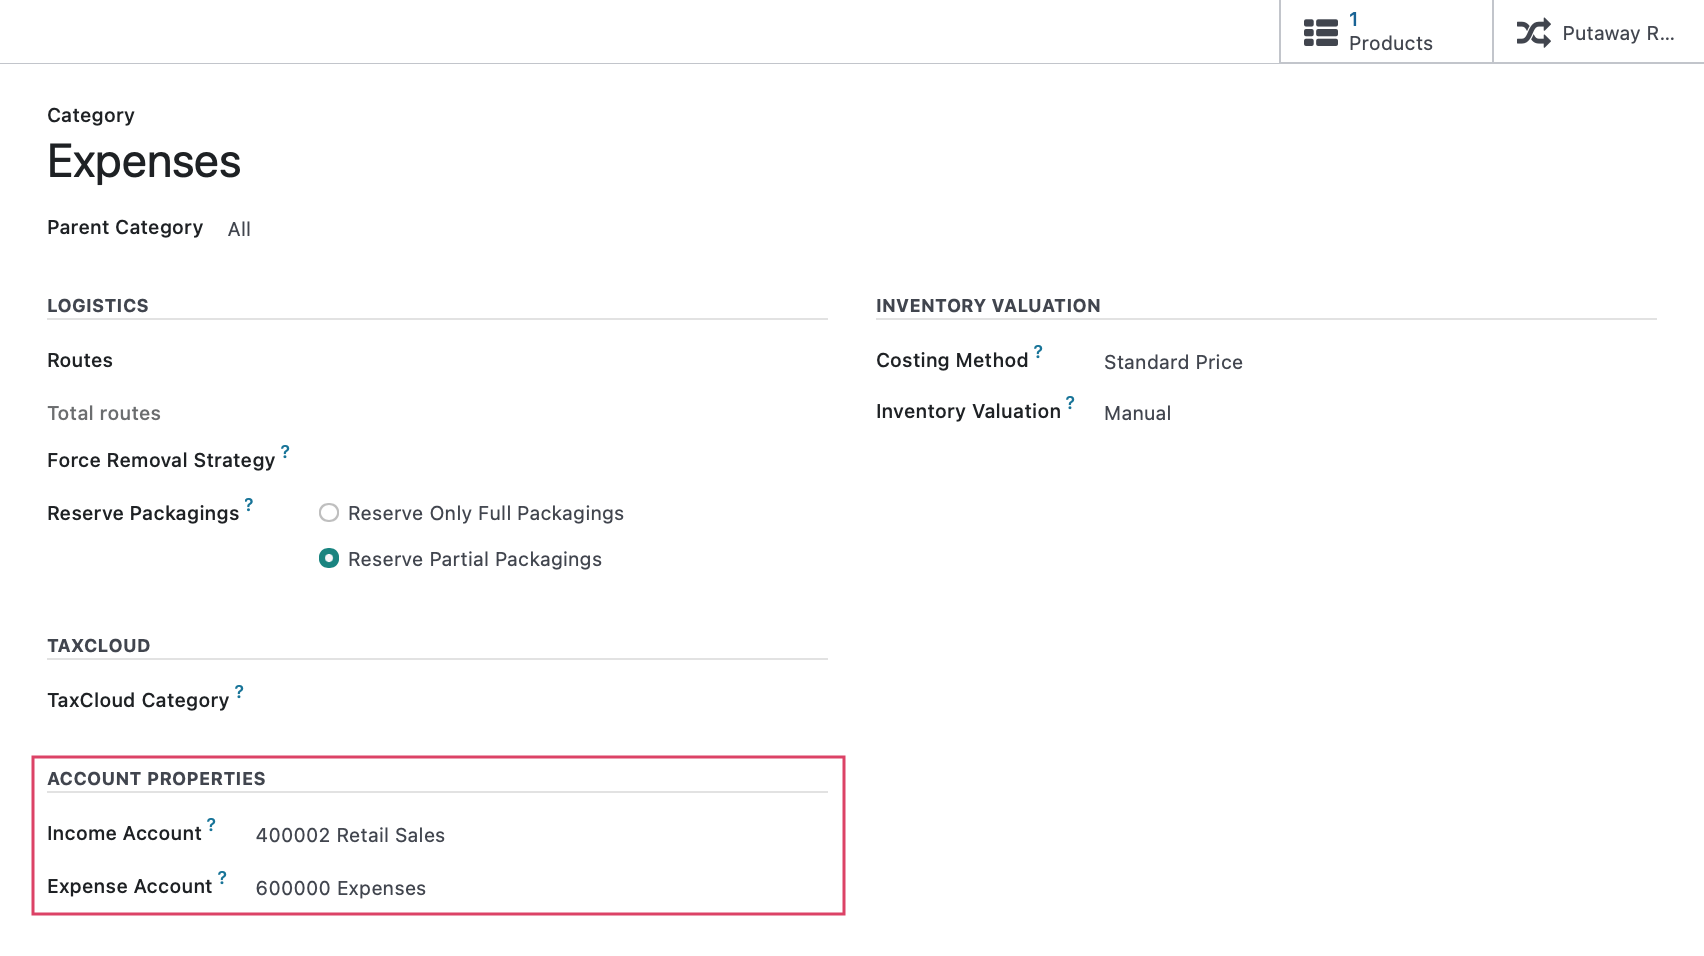
To give an idea of where you'll see these accounts used throughout Odoo, click configuration > Management > Product categories and select a category from the list.
At the bottom of this page, you'll see the Account Properties. The accounts listed in these fields are created and configured in the Chart of Accounts, and this category happens to use Odoo's default settings from the configuration.
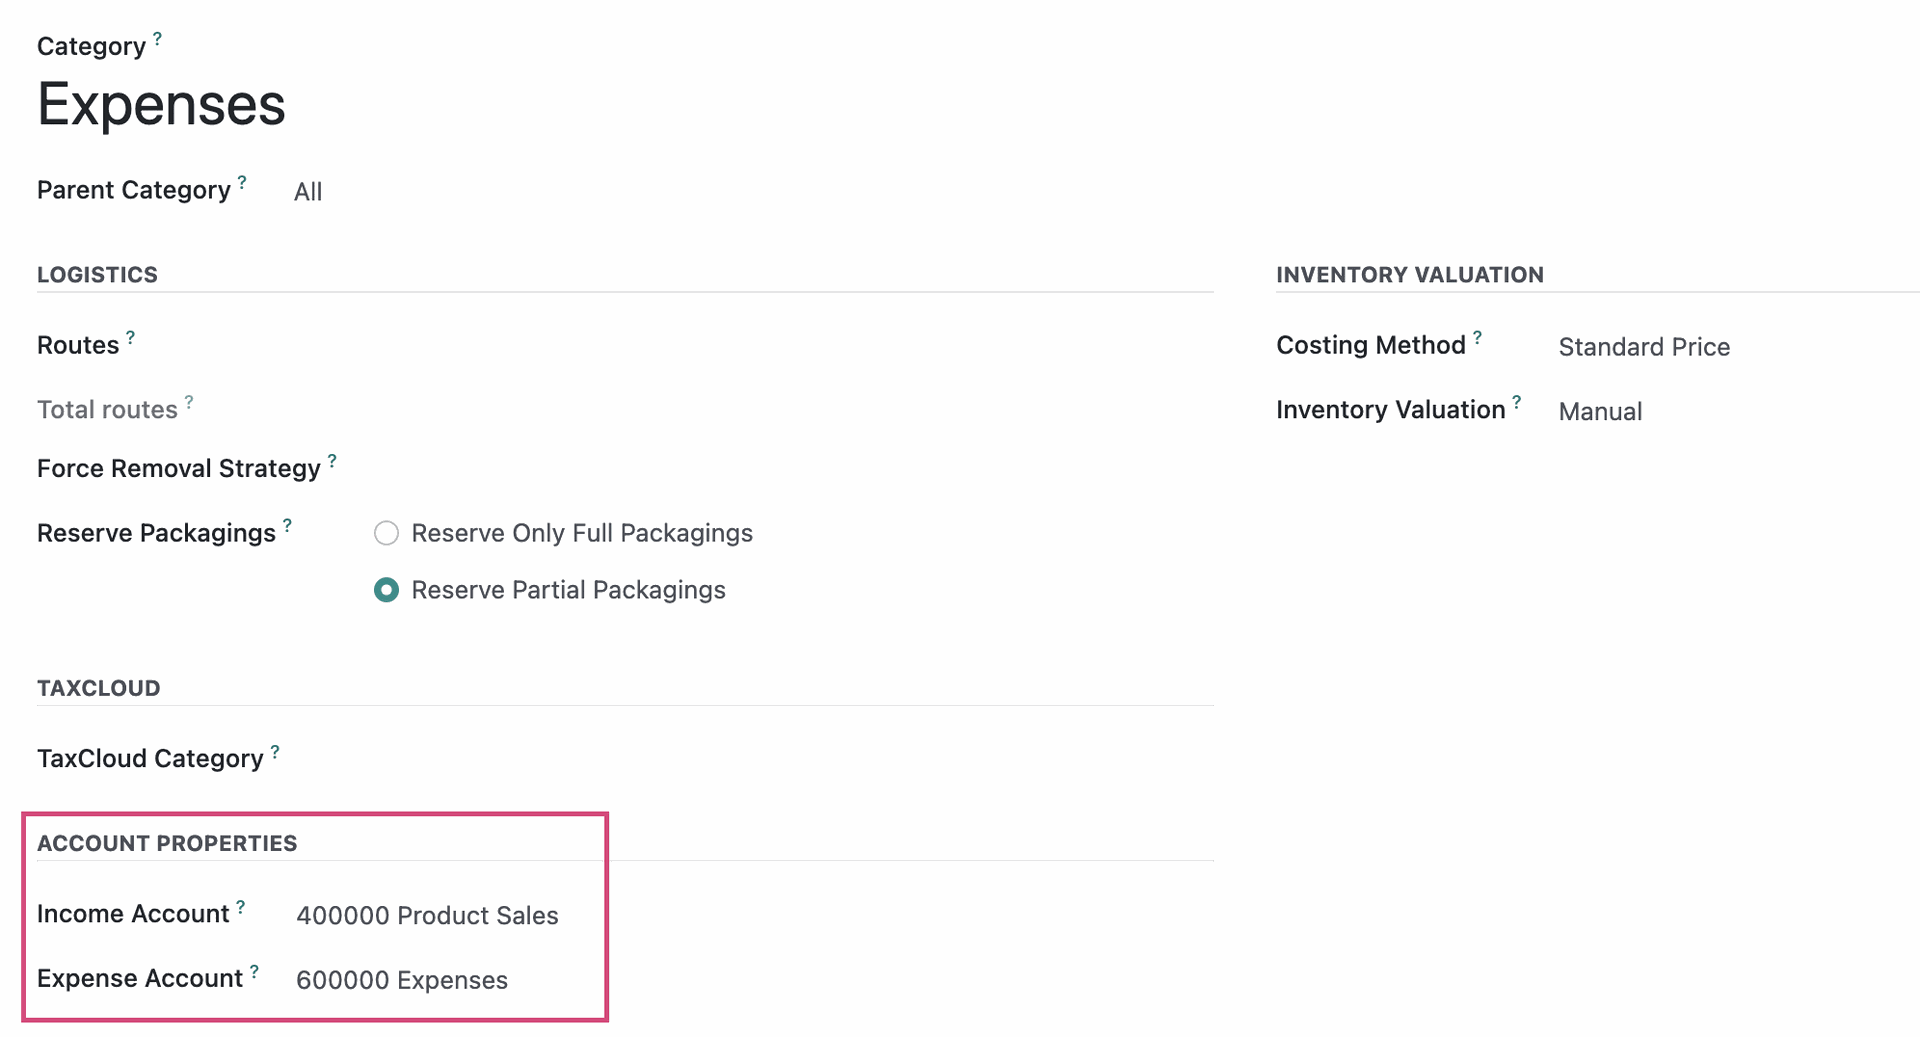
You can see the accounts under Account Properties, for example, are set to use generalized accounts: Product Sales & Expenses. These accounts have very basic settings that allow you to use Odoo relatively quickly without having to go into every product category and select all of your custom accounts.
Because Odoo has so many pre-configured accounts, it's best practice to determine the existing default account, then edit the account's number and/or name accordingly.
For example, Odoo's default Product Sales account is already mapped to all product categories and expense accounts within Odoo. By deprecating (disabling) this account and creating a new account, you'll then need to update all related categories and accounts affected by the change. To avoid this extra work, you only need to map your existing accounts to Odoo's default accounts.
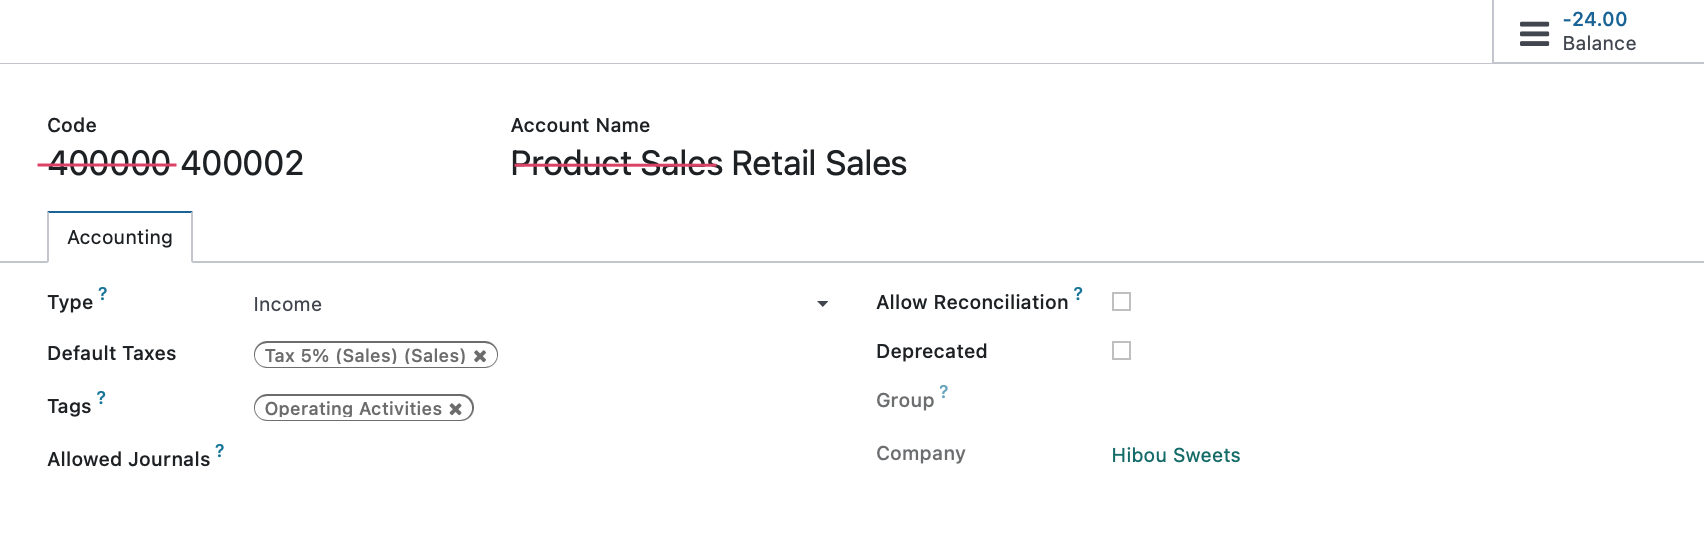
To get started, we'll click Configuration > Accounting > Chart of Accounts, then click SETUP to the right of Product Sales.
You can then edit the account to reflect your business's settings.
Now, when we go look at the same product category we opened above, we'll see the changes we've made. We accomplished this by simply editing a default account, and now there's no need to re-configure each category manually. This is a huge time saver!
Deleting an Account
Important!
Delete vs. Deprecate
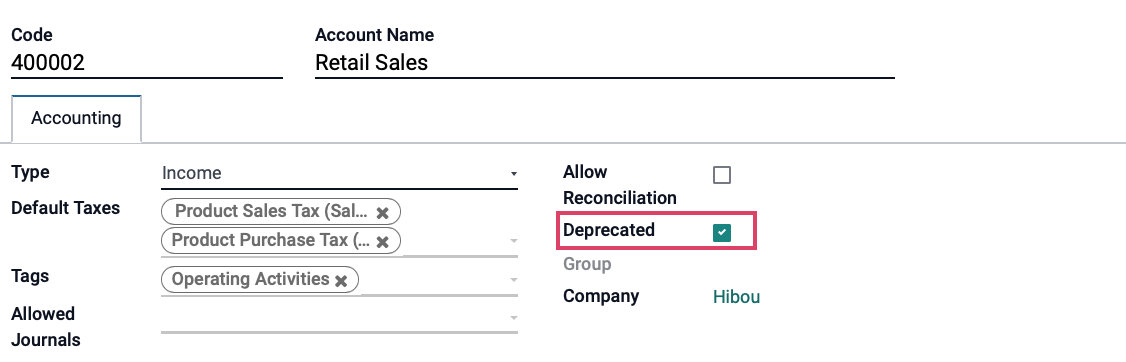
In a production environment with existing data, you should NOT delete an account. Instead, edit the account and, select the Deprecated checkbox.
Deprecated accounts will still show up in your list view of accounts unless you filter them out, but they can no longer be selected throughout Odoo.
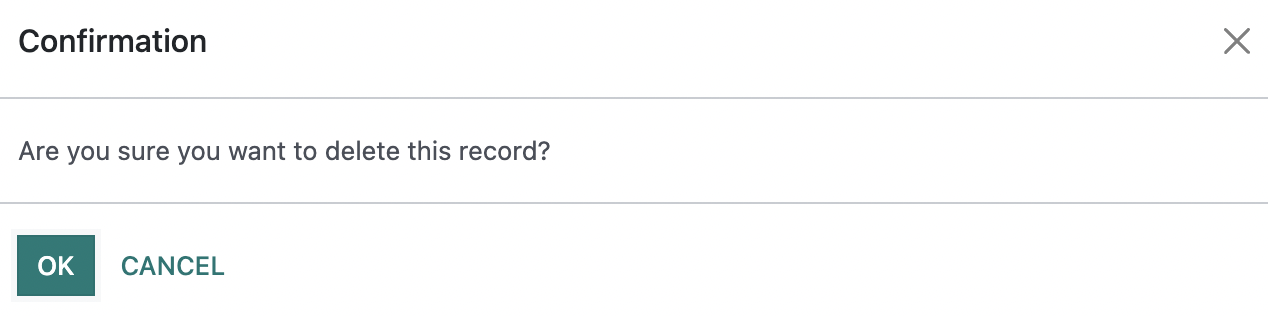
If you still wish to delete an account after reading the warning above, simply click the checkbox to the left of the account's code, in list view, then click Action > Delete.

You will see this message asking you to confirm your intention to delete it. You can click OK to continue.
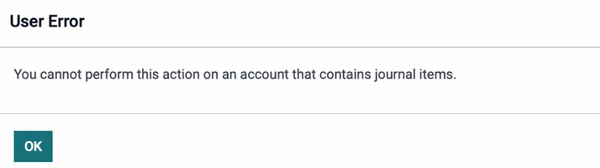
If an account has recorded journal items, you'll see the following message.
If an account is set as a default in the system, you'll see the following message. In this case, you will need to deprecate the account instead.
Creating a New Account
From the list view of accounts, click NEW. This opens a new line for you to add basic information:
- Code: A unique number that helps in the identification of the account type and may also be coded with further information. This is an alphanumeric fields that can also accommodate hyphens, decimals, and spaces.
- Account Name: The name of the account.
- Type: The type of account, which is detailed below in the 'Choosing an Account Type' section.
Allow Reconciliation: Check this box if this account allows invoices and payments matching of journal items. When enabled, it will display the RECONCILE button.
When you are done creating a new line, click SETUP.

From within the account, add any additional information.
- Type: This required field is used to define the financial reports on which the account will be included, and where the accounts will appear on those reports. Also, the fields listed in this window will change based on the type selected.
- Default Taxes: If default taxes should apply to this account, select them here. This will auto-populate based on your app configuration.
- Tags: Optional keywords that assist in custom reporting.
- Allowed Journals: Define which journal(s) this account can be used for. Leave it empty for all journals.
- Account Currency: If your system is set for multiple currencies, select what is appropriate for this account here.
- Allow Reconciliation: Checking the box here sets the account's entries as available to be reconciled (or matched) to other entries. This is used in reconciling bank statements, matching vendor payments to vendor bills, cash receipts to customer invoices, etc.
- Deprecated: Use this as an alternative to deletion to indicate the account is no longer in use.
- Group: If your system has been set up to use Account Groups, then this field will indicate into which account group this account falls as set by its account number. Account Groups assist in the organization and filtering your accounts, and will also create subsections on your financial reports.
- Company: If you have multiple companies set up, set the company to which this account belongs.

Choosing an Account Type
Choosing the correct Account Type is extremely important as they affect your overall reporting.
| Assets | |
| Receivable | Record funds owed to you (Example: For products or services delivered) |
| Bank and Cash | Record bank and cash transfer transactions |
| Current Assets | All assets that can be reasonably expected to be converted into cash within one year |
| Non-current Assets | Long-term investments where the full value will not be realized within the accounting year |
| Prepayments | An asset account that stores partial payments from customers that still owe money |
| Fixed Assets | Record assets and property that cannot be easily converted into cash (These will not be used up, consumed, or sold within the current accounting year) |
| Liabilities | |
| Payable | Record funds you owe (Example: Bills from suppliers) |
| Credit Card | A bank account that is considered to be a liability |
| Current Liabilities | Financial obligations that are payable within one year |
| Non-current Liabilities | Financial obligations that will not become due within the accounting year |
| Equity | |
| Equity | Record capital gains and losses (To measure the net worth of your business) |
| Current Year Earnings | Record net income or loss for your company within the current year (The difference between all revenues and expenses on an income statement) |
| Profit & Loss Income | |
| Income | Record income that comes from your company's main business (Example: Sales Revenue) |
| Other Income | Record income that does not come from your company's main business (Example: Interest) |
| Profit & Loss Expense | |
| Expense | Record outflow of funds to pay for goods and services your business uses |
| Depreciation | An expense that comes from a Fixed Asset account |
| Cost of Revenue | Record total cost incurred to obtain a sale and the cost of the goods or services sold, often referred to as 'Direct Costs' (Example: The cost of materials, equipment, or labor used in production) |
| Other | |
| Off-Balance Sheet | Useful for annual reporting annexes |
View Journal Items for Each Account
Navigate back to CONFIGURATION > Accounting > CHART OF ACCOUNTS and click SETUP next to an entry from the list.
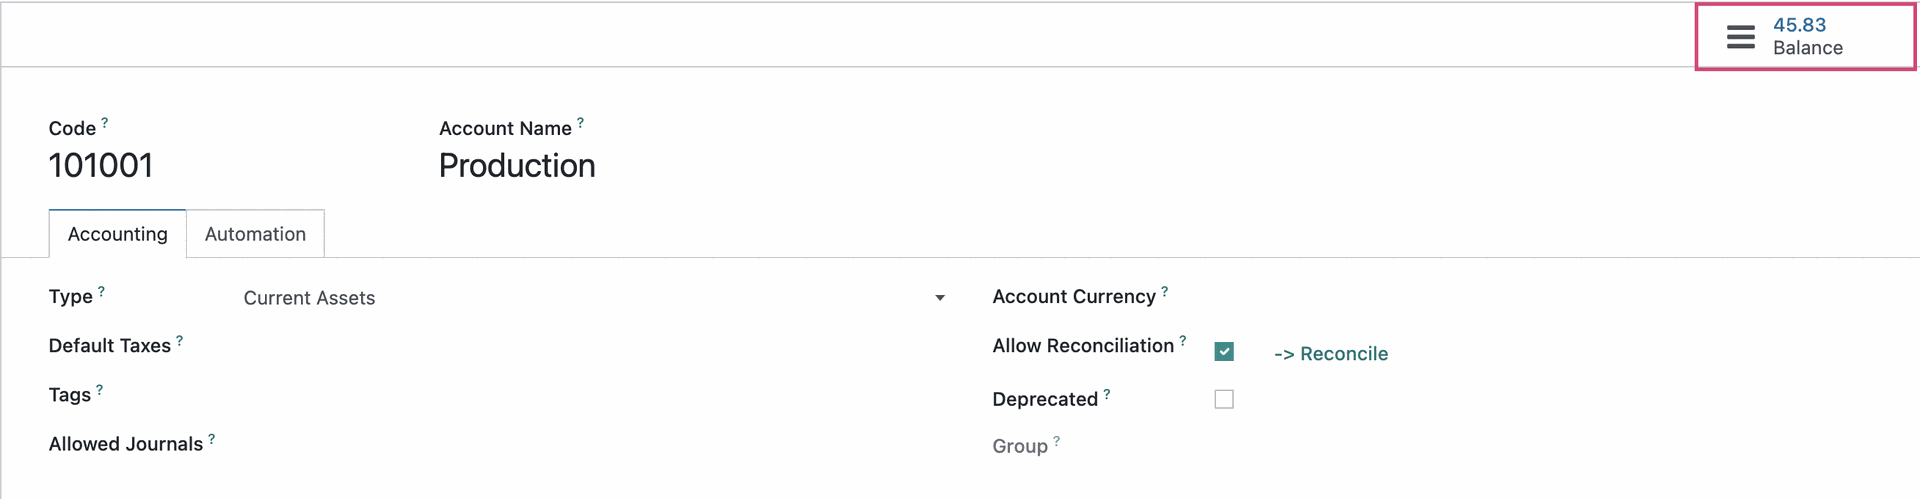
From within the Account record, you have the option to view Unreconciled Entries and Journal Items by clicking the Balance smart button.
Note that the current balance of this account is displayed on the smart button as well.
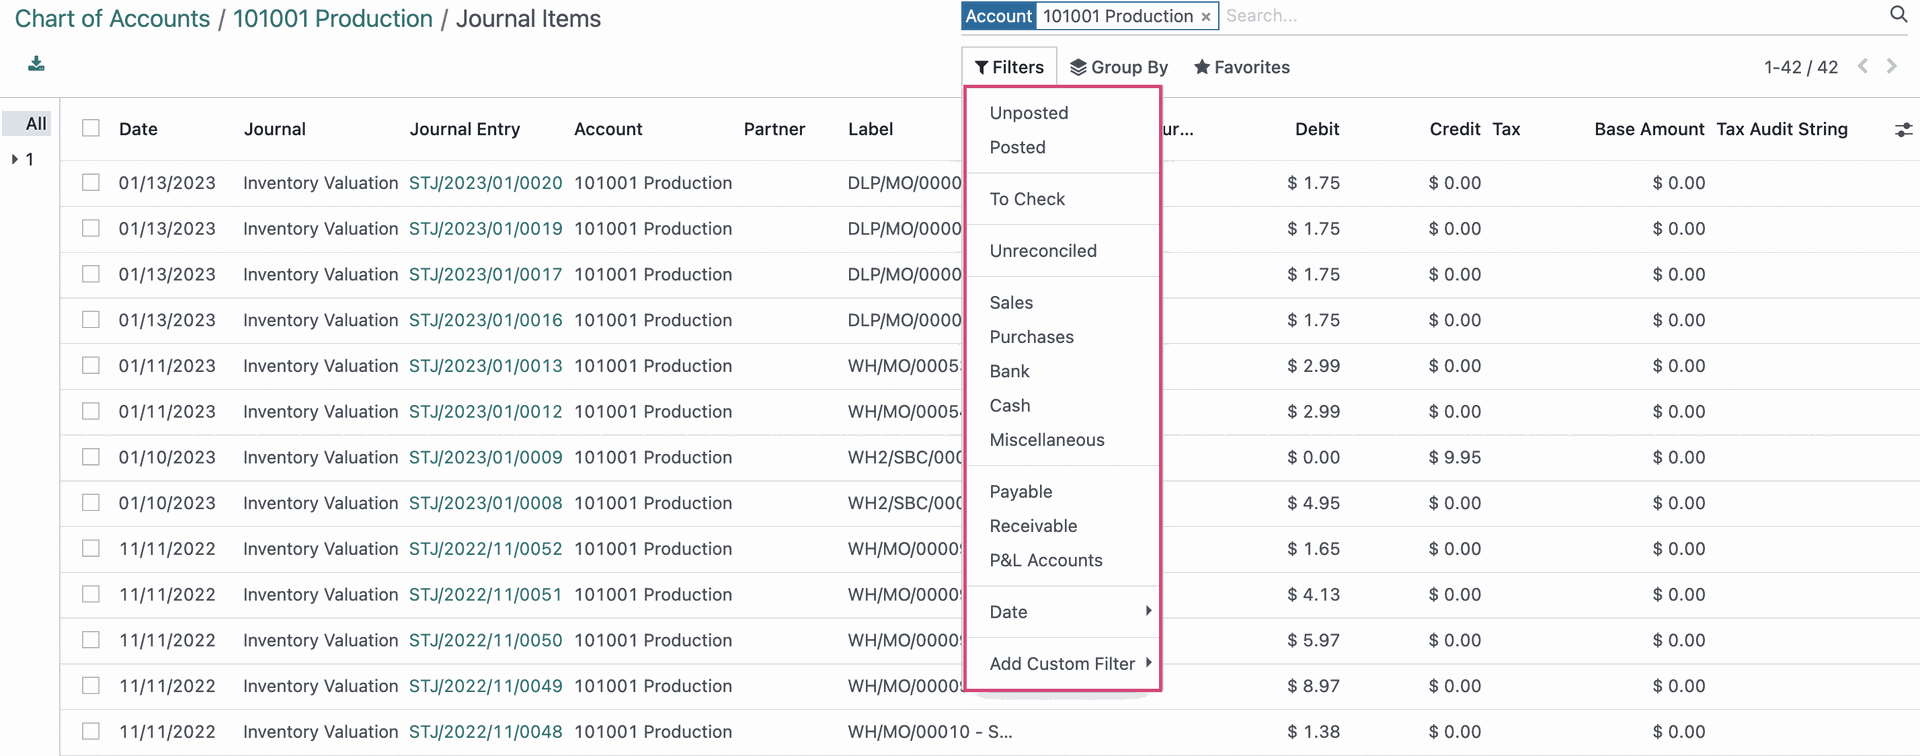
Once there you can use the Filters to narrow down your view. This helps when you want to see common results, such as Posted, UnPosted, Unreconciled items, etc.
Good to Know!
Stock Interim Accounts
Odoo has two preconfigured accounts that you may not recognize.
Stock Interim (Received): This account is to record goods received that are not yet billed.
Stock Interim (Delivered): This account is to record goods delivered that are not yet invoiced.
Because Odoo uses double-entry accounting, these act as temporary accounts to track stock in either of these scenarios.