Accounting: Use Case: Analytic Accounting: Projects + Analytic Accounting
Purpose
The purpose of this documentation is to describe the relationship between projects and analytic accounts in Odoo, and how they work together to provide additional reporting when configured correctly.
Getting Started
First thing's first, we want to ensure we have the Project module installed. To install it, navigate to the Apps application, search "Project" and click Install .

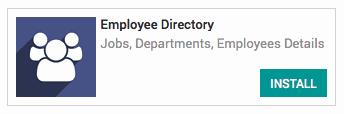
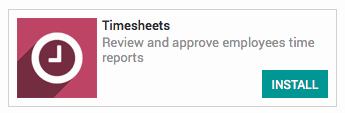
Odoo is also capable of adding analytic account lines to your analytic accounts using employee timesheets. To take advantage of this functionality you must also install both the Timesheets and Employee Directory applications.
Processes
To get started, navigate to the Accounting application.

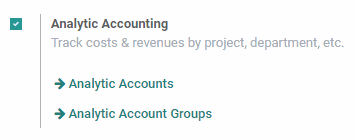
Once there, navigate to Configuration > Settings. Ensure that, under the Analytic Accounting section, the option for Analytic Accounting is checked.
Creating an Analytic Account from a Project
Now we need to navigate to the Project application.

Once there, click Create . Enter a project name, email and check the box for Allow Timesheets if you'd like for employee timesheets to be added to this project. Once done, click Create .
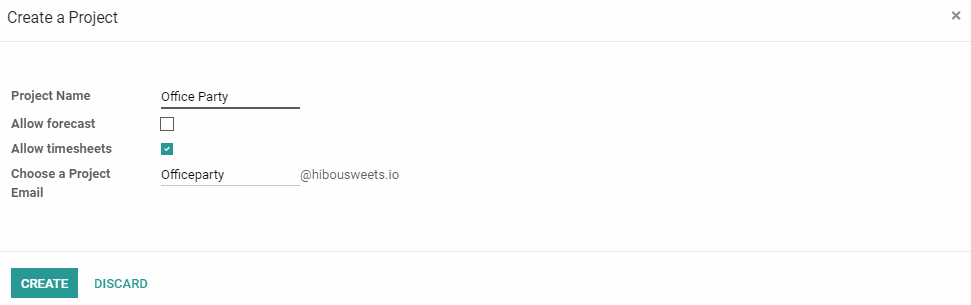
Since Analytic Accounting has been enabled in the configuration for Accounting, every time a project gets created a new Analytic Account will be created, allowing you to easily track the Cost and Revenue of any given project.
To view our new Analytic Account, we need to navigate back to the Accounting application and select Configuration > Analytic Accounts.
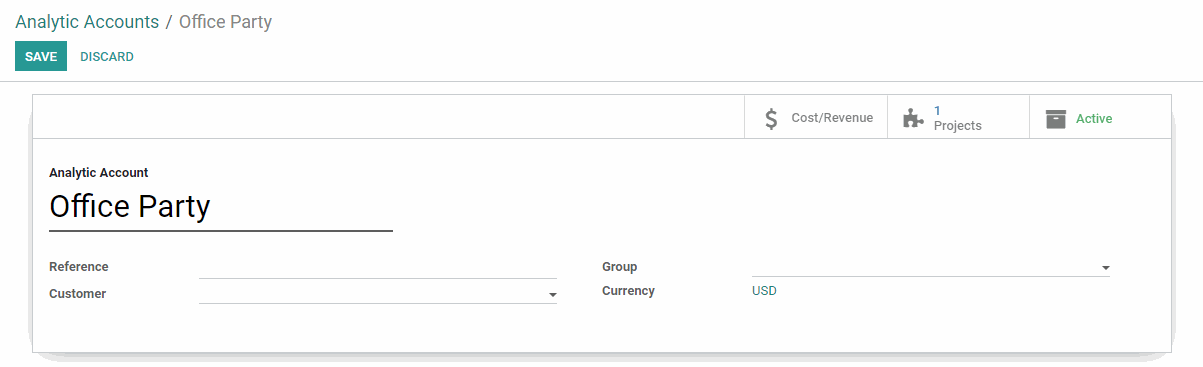
Here you will see a list of all of your Analytic Accounts, including one with a name identical to the one you gave your project. Click on the one that was created with your Project name to go to the Analytic Account form view. Here you can add a reference code, select a customer from a drop-down menu and add analytic tags by clicking Edit and then Save .
On the top right of the form there are two smart buttons in addition to the Active status button:
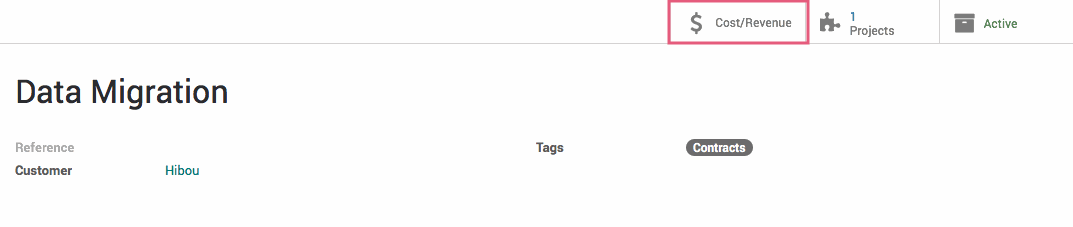
Cost/Revenue: View the Costs & Revenues (analytic account lines) for this account and create new ones manually.
Projects: Quickly access the project page from which this account was created
Configuring an Employee for Timesheet Usage
In order to use timesheets on projects for our analytic accounting reports, we must first configure the employee properly. Navigate to the Employee Directory application.

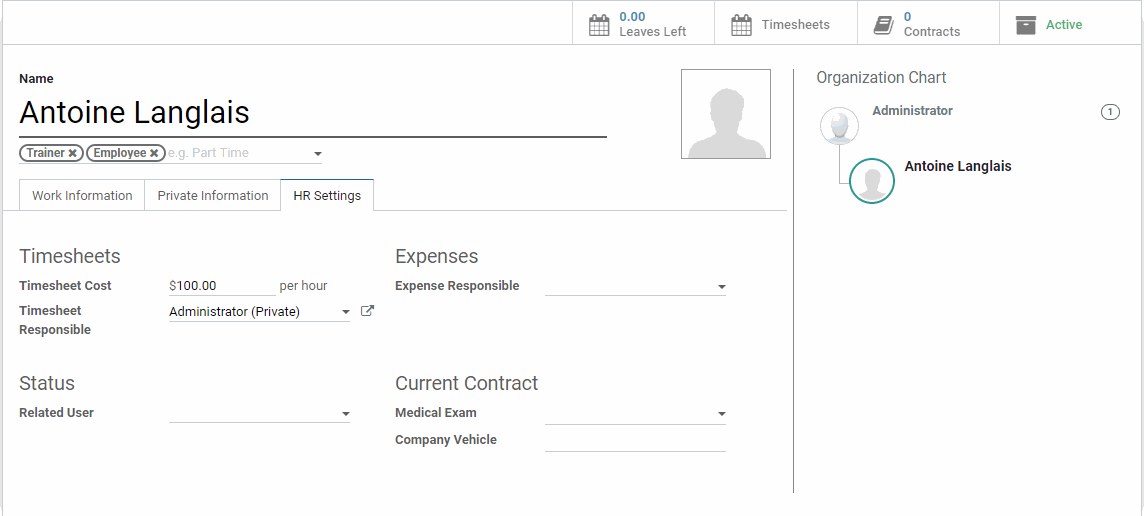
Once there, click on the employee that will be adding timesheets to projects. In the HR Settings tab in the Timesheets section you will find the Timesheet Cost field. This is where you will enter the hourly cost of the employee. Click Edit and enter a Timesheet Cost for the employee. When finished, click Save .
Good to Know!
If the Timesheet Cost is not entered on an employee record, the Cost for this employee's timesheet entires on an Analytic Accounting entry will be $0.00.
Timesheet Entries on an Analytic Account's Cost & Revenue
After an employee has added timesheet entries to a project, it's simple to view the effect on the project's analytic account. Navigate to the Accounting application, then select Configuration > Analytic Accounts. Select the Analytic Account for the project and then click on the Cost/Revenue smart button.
Here you can see all the Credits and Debits associated with this account, including the Debits from the timesheet entries. This Includes the dates of the entries, the descriptions from the entries themselves, the "Quantity" which is the time entered on the entry, and the amount, which was configured on the employee. At the bottom, you can see the total Cost/Revenue for the account as well as the total hours that have been spent on the project.
