Accounting: Configuration: Setting up a New Bank Account
Purpose
The purpose of this documentation is to walk you through configuring and syncing your bank accounts with Odoo's Accounting application.
Processes
To get started, navigate to the Accounting application.
Configuring Your Bank Account
To access your bank accounts, navigate to configuration > bank accounts.
You will see a list view of all of your bank accounts. You can open an existing bank account by clicking on it, or create a new one by hitting the CREATE button.

Fill in a name for your bank account. Then select the dropdown menu next to Bank Account and select the Create and Edit button.
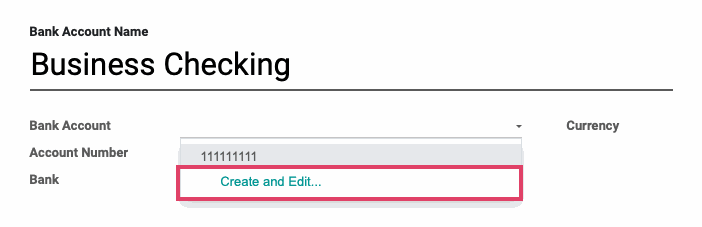
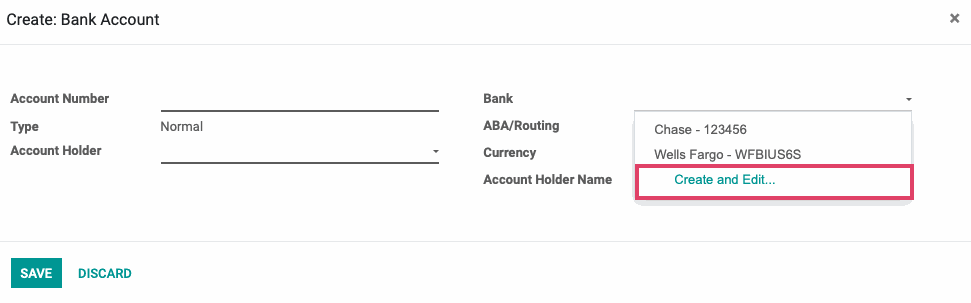
A new pop up window will appear that will allow you to input the basic details of your bank account.
Account Number: The account number associated with the account you're entering.
Account Holder: Associate the accounting to a contact as the account holder.
Bank: To create a new bank account, you will also need a Bank entered into Odoo to associate the bank account to.
If you have not entered your bank's details yet, you can select the CREATE AND EDIT button from the drop down menu. Note: that this is mostly informational, but could be used when doing exports.
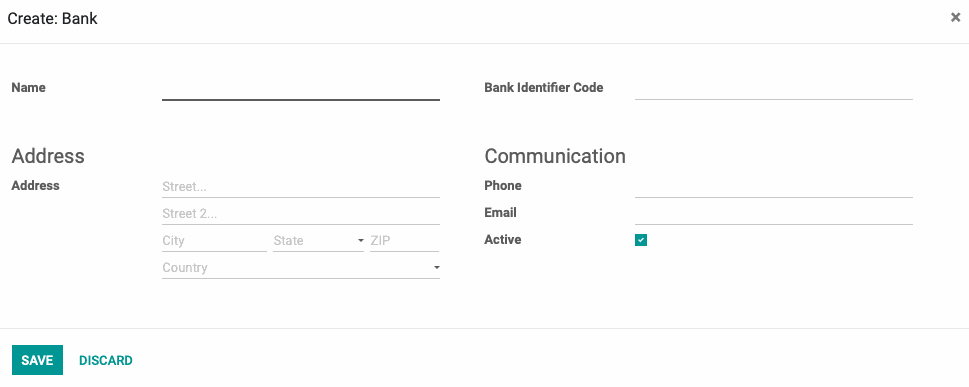
Enter your bank's details into the pop-up window that will appear:
Name: Name of your bank; is a required field
Bank Identifier Code: Commonly referred to as it's BIC or Swift
Address: Address of your bank
Communication (Contact Information): Phone number and email address of an associate at the bank that can be reached.
When ready, click save and you will be returned to the Bank Account creation modal. Fill in the remaining details:
ABA/Routing: The routing number associated with your bank account.
Currency: The currency used in your account.
Account Holder Name: Input the full name of the account holder.
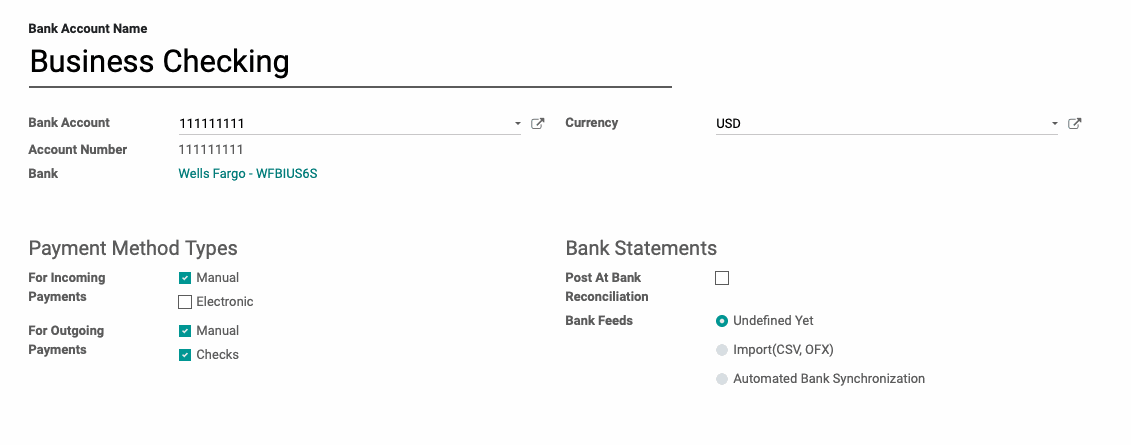
When ready, click save and you will be returned to the main Bank Account creation page to fill in the remaining details for how this bank account will be treated within Odoo.
For Incoming Payments:
Manual: Should be selected if you get paid by cash, check, or any other method outside of Odoo.
Electronic: Should be selected if you get paid automatically through a payment acquirer when a customer is buying or subscribing online (using payment tokens).
For Outgoing Payments:
Manual: Should be selected to pay bills by cash or any other method outside of Odoo.
Checks: Should be selected to pay a bill by check and print it through Odoo.
Post At Bank Reconciliation: If this option is selected, then all entries in this Journal will be left in a draft state until Bank Reconciliation has occurred, at which point, the Entries will be posted.
Bank Feeds: This is how you define the way in which you will import your Bank Statements for reconciliation.
Undefined Yet: If this is selected, it means you will be entering your bank statement lines manually.
Import (CSV, OFX): If this is selected, then you will need to import your bank statements once issued from your bank in the necessary format.
Automated Bank Synchronization (Enterprise Feature): If this option is selected, you will have the ability to link your bank account to Odoo and schedule synchronizations at various time intervals to create your bank statements. To create your Online Account, select your time interval from the dropdown menu and then select CONFIGURE. This will launch a wizard where you can connect your online bank account. We will cover this in more depth below.
When finished, hit the save button.
Synchronizing Your Bank Account With Odoo
To Synchronize your bank account with Odoo, select 'Bank Synchronization' for the Bank Feeds field in the Bank Statements section on the Bank Account form.
After making this selection, a new Online Account field will appear beneath the Bank selection field, near the top of the form.
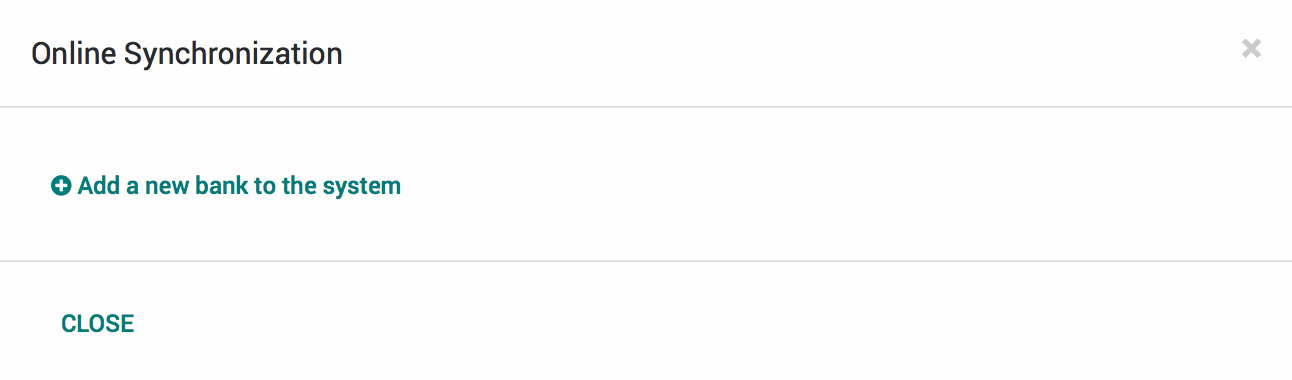
Hit the CONFIGURE button and a pop up modal will appear.

Click the Add a new bank to the system link.
A search bar will appear. Enter your bank's name and click the magnifying glass on the right. After a few moments, you will see a list of banks matching your search criteria.
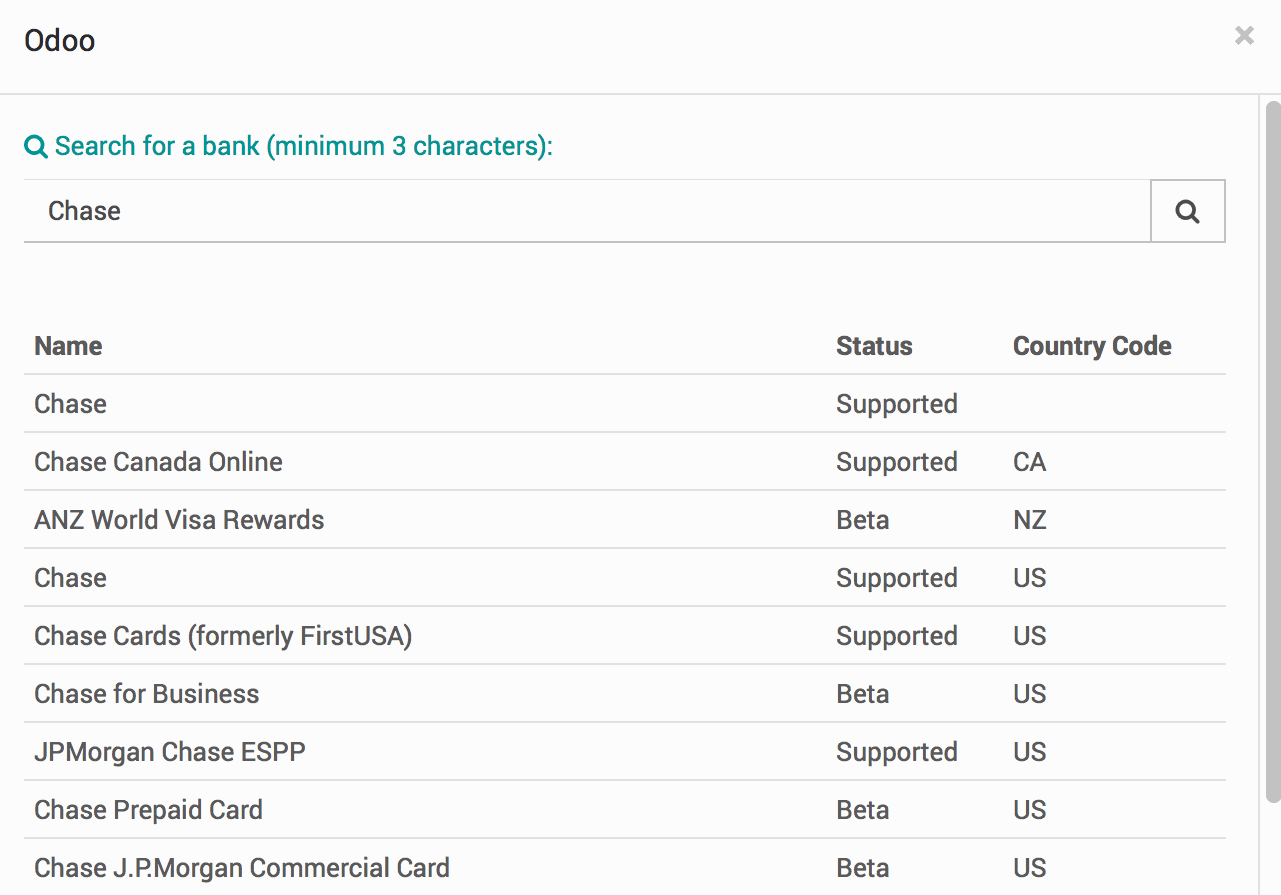
Click on the bank that has a matching name, a status of 'Supported' and includes your country in the Country Code. You will then see the name and website URL for the selected bank.
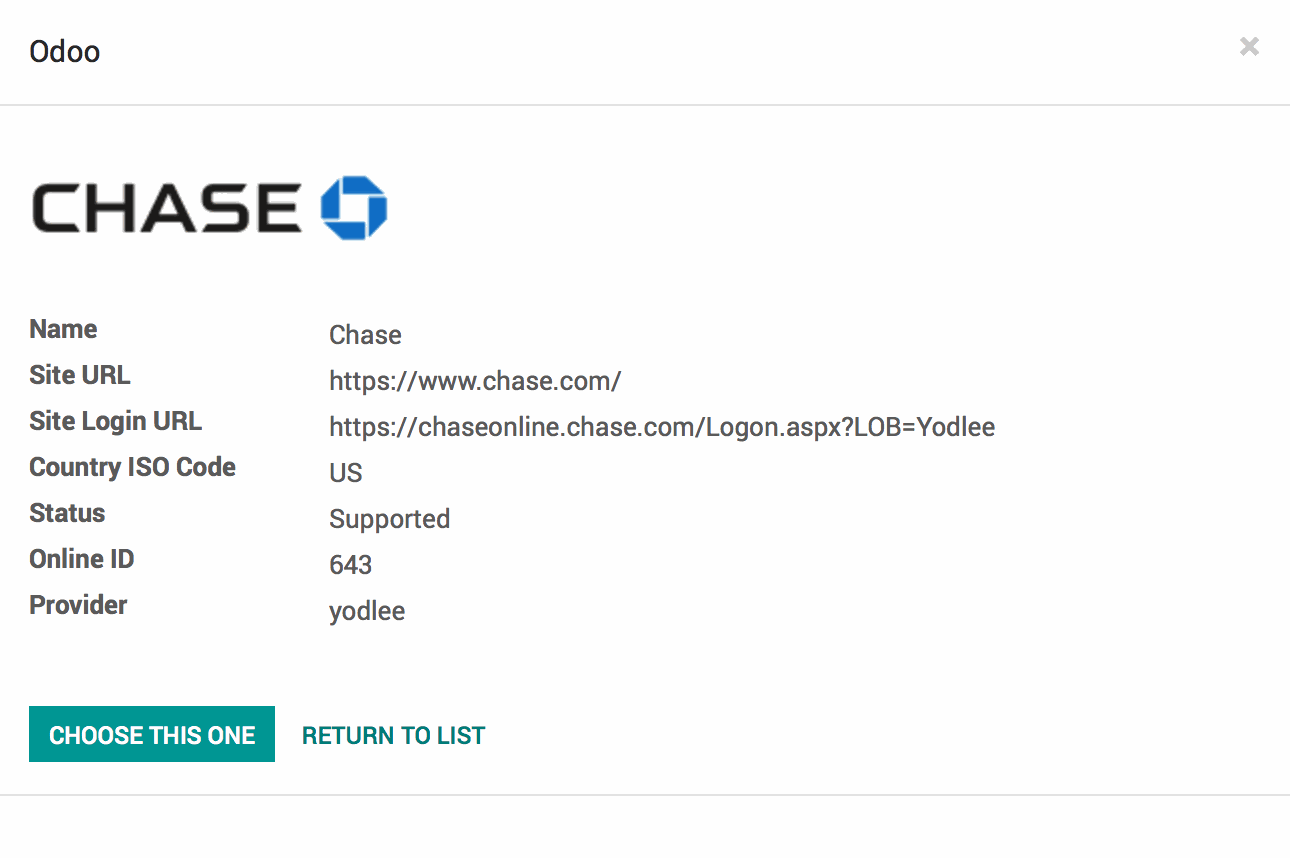
Confirm that the Website, name and country code are correct. When ready, hit the Choose This One button.
Odoo will then ask for the User ID and Password for your online bank account. After entering your online account information, click the Continue button.
A loading screen will commence. Note that this process may take up to several minutes.
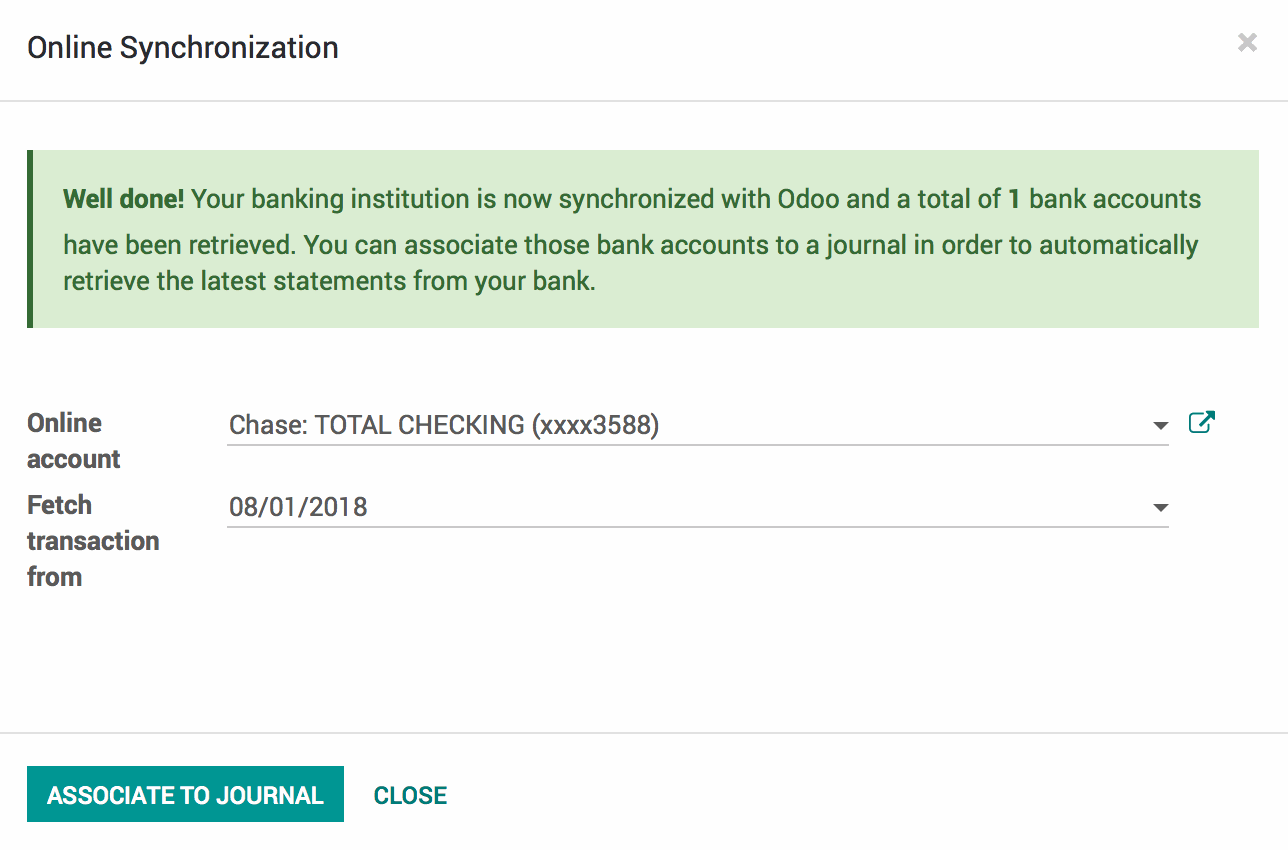
When finished, a green success message will display, along with a dropdown field for Online Account. Select the account you wish to associate with the journal from the dropdown menu.
Once the account is selected a new field, Fetch Transaction Data From, will appear. Choose the starting date for keeping track of transactions within Odoo. When finished, click the Associate to Journal button.
Odoo will return you to the Accounting application's main screen.
Click on Configuration then Bank accounts . Once there, click on the bank account you just configured and you will see your Online Account field has been updated. You have successfully synced your online bank account with Odoo!
