Accounting: Customers + Vendors: Customers: Follow-up Levels
Purpose
This document covers Payment Follow-Ups used within the Accounting app in Odoo 15. Follow-ups are an easy-to-use tool to help encourage your customers to pay their bills. Odoo 15 allows you to create your own Follow-up Levels.
Process
To get started, navigate to the Accounting app.

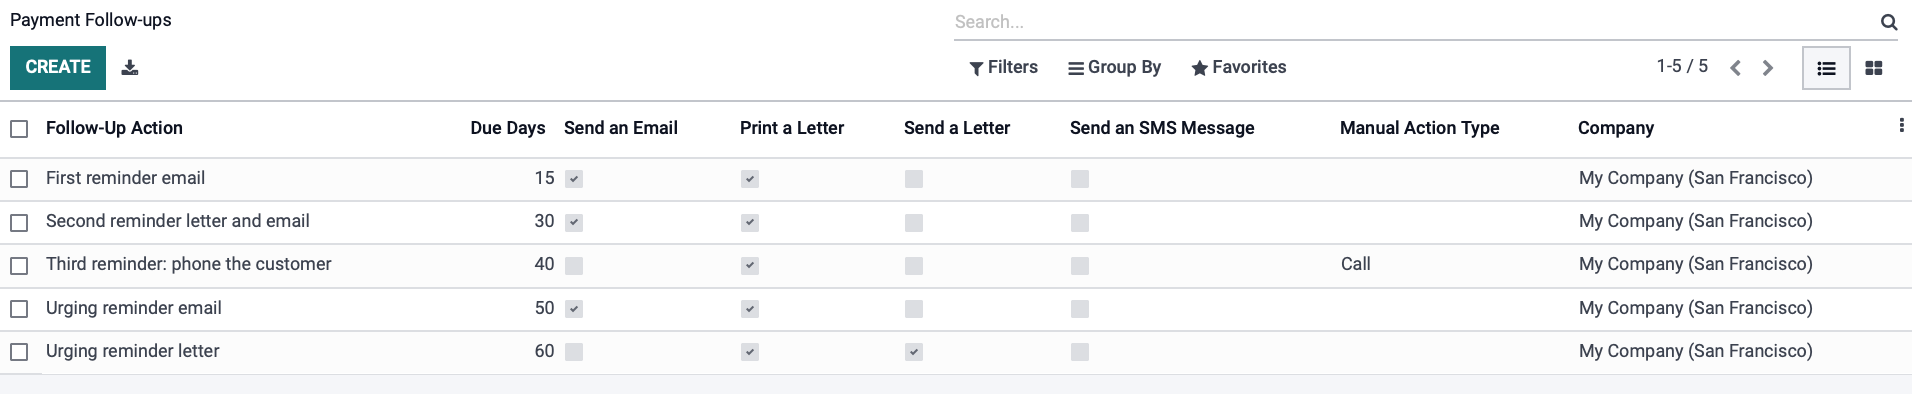
Click on Configuration > Invoicing > Follow-up Levels. This brings us to the following page which shows us the pre-set Follow-up Report levels. From here, you can configure each level by checking the corresponding boxes, or, select and click the level you would like to edit by clicking on the name of the level.
Create A Follow-Up Level
Click CREATE.
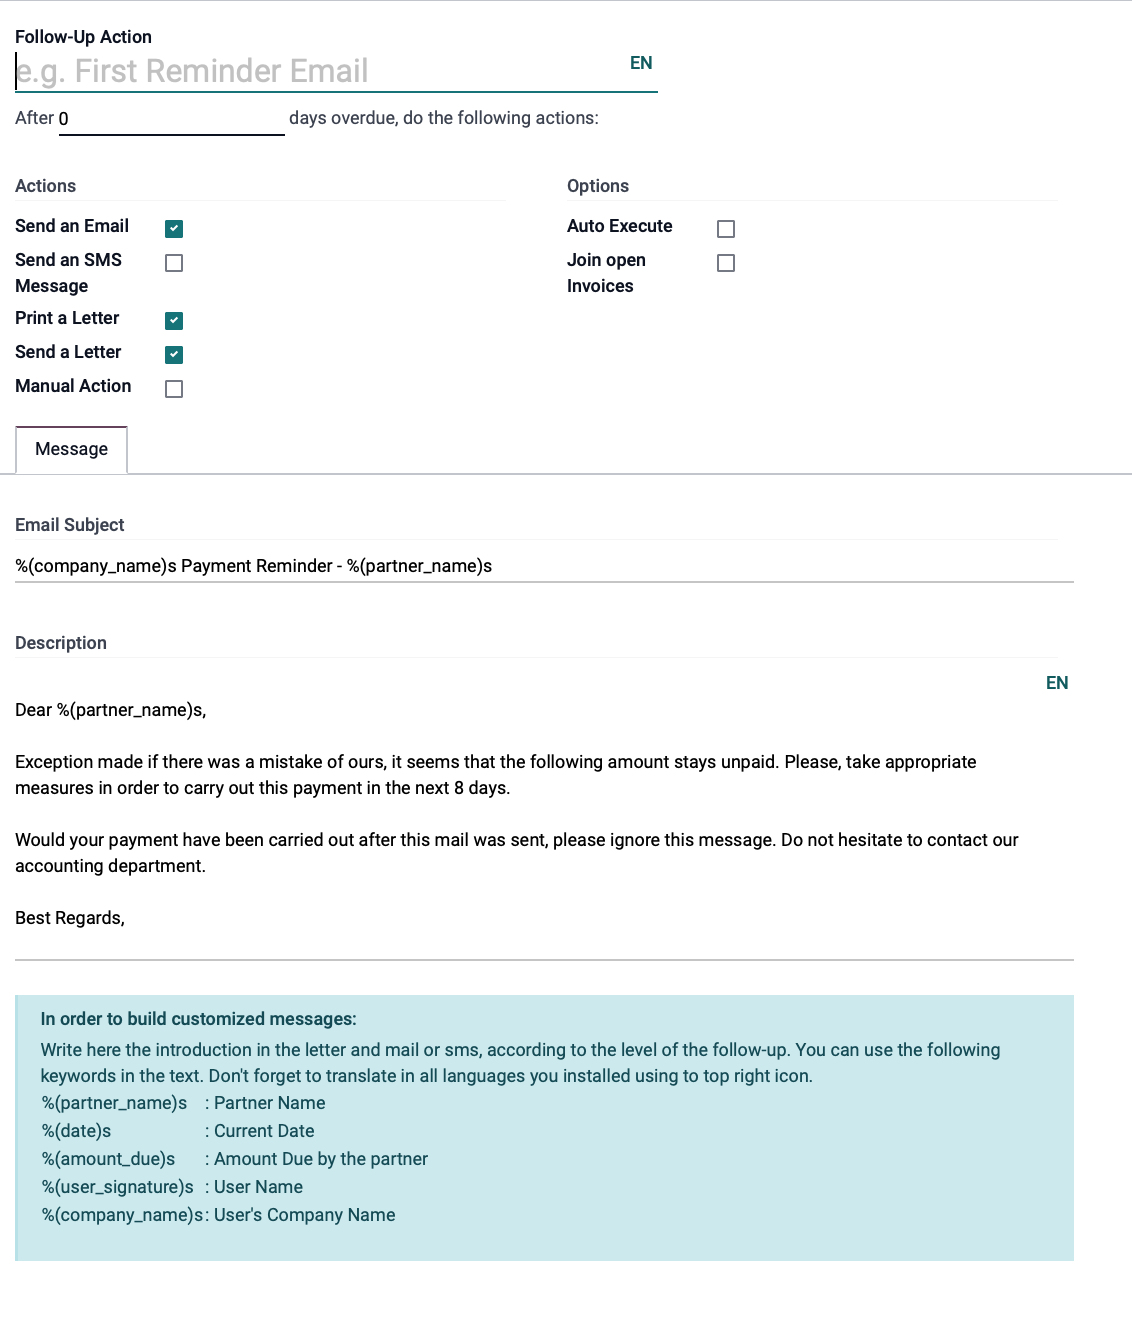
Name of Follow-up Action: Name your Follow-up Level
After ____ days overdue, do the following actions: Number of days past due you would like your actions to occur.
Actions:
Send an Email: When processed, this will send a message to the customer's email address on file.
Send an SMS Message: When processed, this will send an SMS text message to the customer's phone number on file.
Print a Letter: When processed, this will print a PDF for your records.
Send a Letter: When processed, this will send a physical letter to the customer's address on file.
Manual Action: When selected, a new tab appears at the bottom of the page. See the picture below.
Options:
Auto Execute: Selecting this will remove the Actions for Print a Letter and Manual Action. Selecting this option will trigger the Action type based on the number of days overdue you input in that field.
Join Open Invoices: Selecting this option will attach a PDF of all open invoices with your follow-up notice unless the invoice has not previously been provided to the customers.
Important!
To use the Join Open Invoices option, all invoices must have already been submitted to the customer. If you have not provided an invoice to the customer before attempting to use the option, it will not work!
On the Message tab, you can edit the pre-filled text or leave it as is. Don't forget to at minimum replace "%(partner_name)s" with the customer's name, and include your own below "Best Regards!"
Default Follow-Up Levels
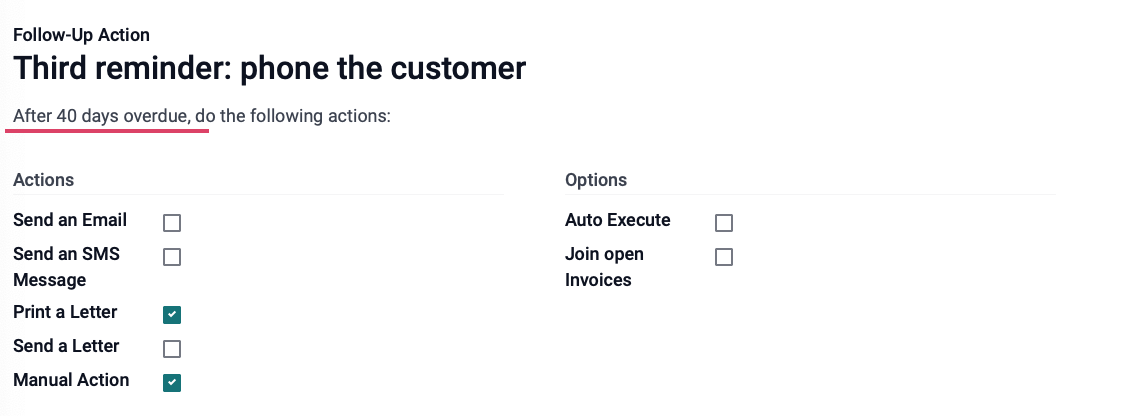
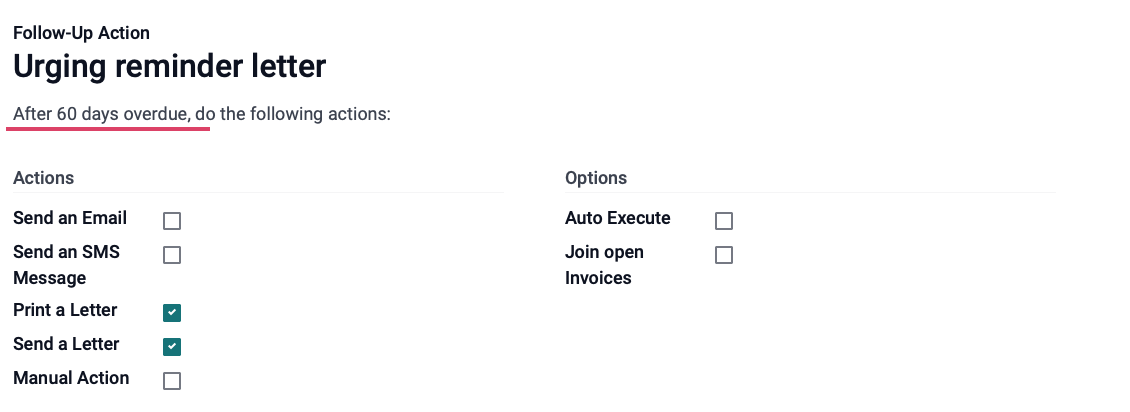
Now that we have shown you how to create your own Follow-up level, we will show the pre-set levels and quickly cover each one. Each level has the same options, however, the configurations are slightly different. We will not go over every single option, but rather summarize the outcome of each level's configurations.
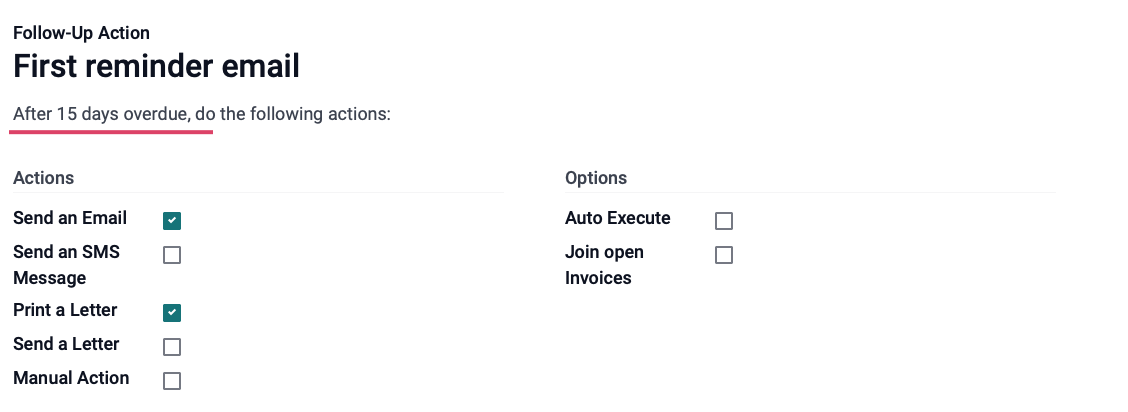
The First reminder email configuration, shown above, will simply send an email to the customer and print a PDF of this reminder for your records once the payment is 15 days overdue.
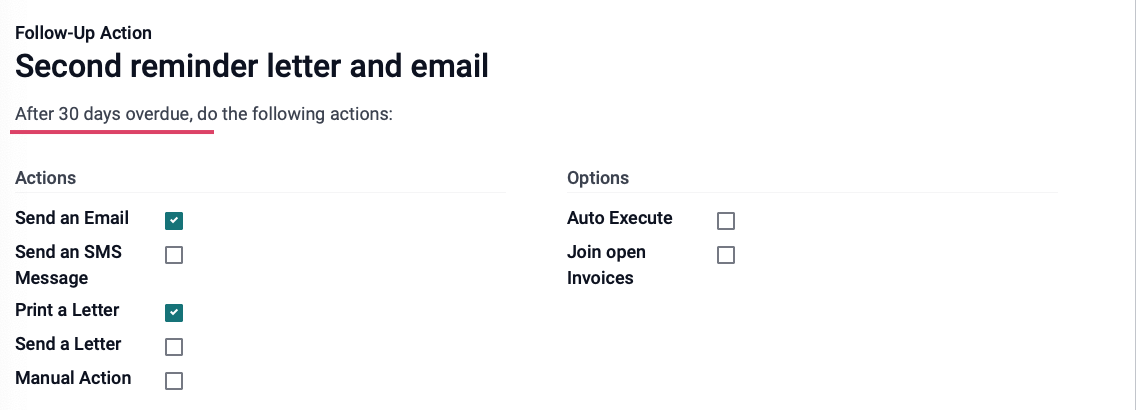
The Second reminder letter and email configuration will send a second, slightly stronger worded email (This is editable) as well as print a PDF for your records when the payment is 30 days overdue.