Hibou Odoo Suite: Return Merchandise Authorization (RMA)
Purpose
This documentation outlines the processes and use cases associated with Hibou’s Return Management Authorization (RMA) application for Odoo.
User-friendly and highly customizable, RMAs allow you to do everything from swapping defective merchandise for customers, to returning damaged goods to vendors. The template-driven nature of RMAs means that each RMA of a certain type will be setup the same way every time. This creates a straightforward and seamless experience, as there are minimal processes to keep in mind when creating an RMA.
Process
First thing's first, we want to install the module! To do so, navigate to the Apps application.
![]()
Once there, search for 'Hibou RMAs'. When ready, click the ACTIVATE button.
If you wish to associate sale orders with RMAs, navigate back to the Apps application and search for 'Hibou RMAs for Sale Orders'. When ready, click the ACTIVATE button.

Good to Know!
The Hibou RMAs module requires the Inventory application. The Hibou RMAs for Sale Orders module requires the Sales application. However, if you do not already have these applications installed, Odoo will install them for you during these applications' installation!
Good to Know!
Warranty Details on the Product Template
Sales Return RMA Templates can be configured to work with Warranties. If you've installed "Hibou RMAs for Sale Orders", you'll find additional fields added to your product templates. To see these, open your Inventory app.
![]()
Then, go to Products > Products. Select a product and under the Sales tab, find the RMA Sales section.
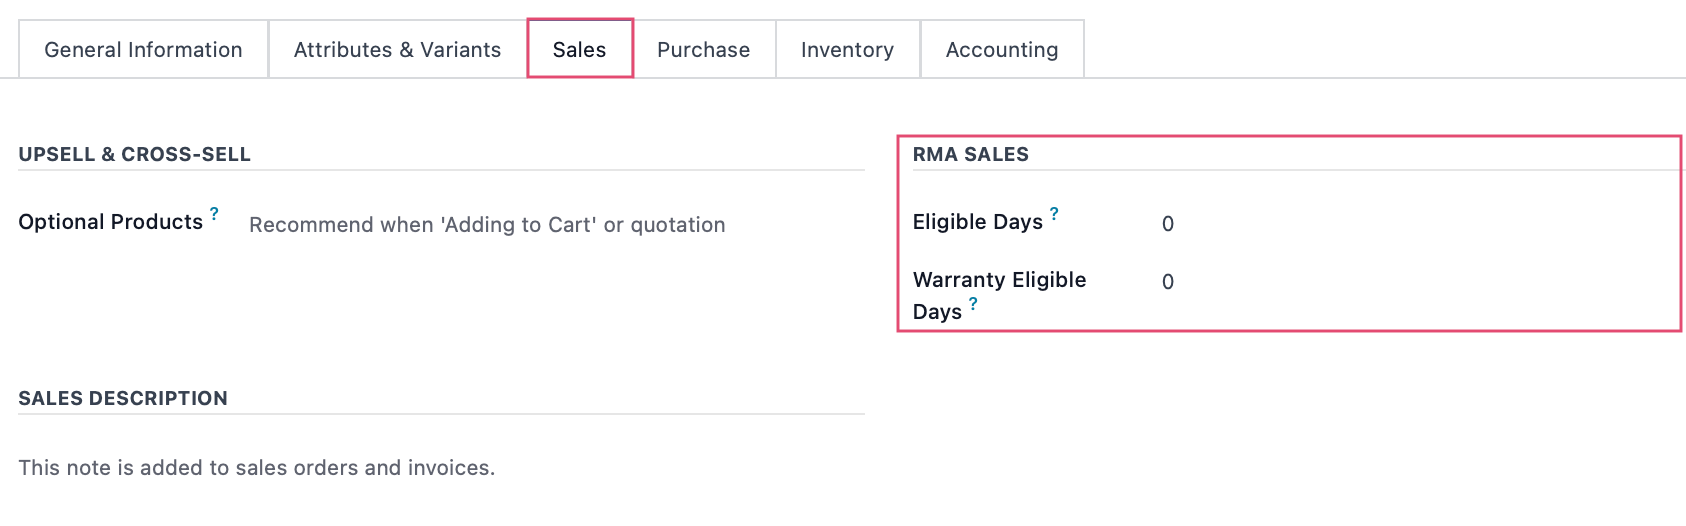
Eligible Days: This is part of the standard return policy and represents the period of time from the Sale Order confirmation date that a customer can return the item.
Warranty Eligible Days: This is part of the Warranty Return Policy and represents the period of time from the Sale Order confirmation date that a customer can return the item when a warranty applies.
Field Values:
0: This is the default and allows returns, indefinitely.
-1: Indicates the item cannot be returned.
Any other number represents the actual number of days.
To get started, navigate to the RMA application.
Setting Up an RMA
Here you will see a list of all of your RMAs. Click NEW.
Fill in the following information:
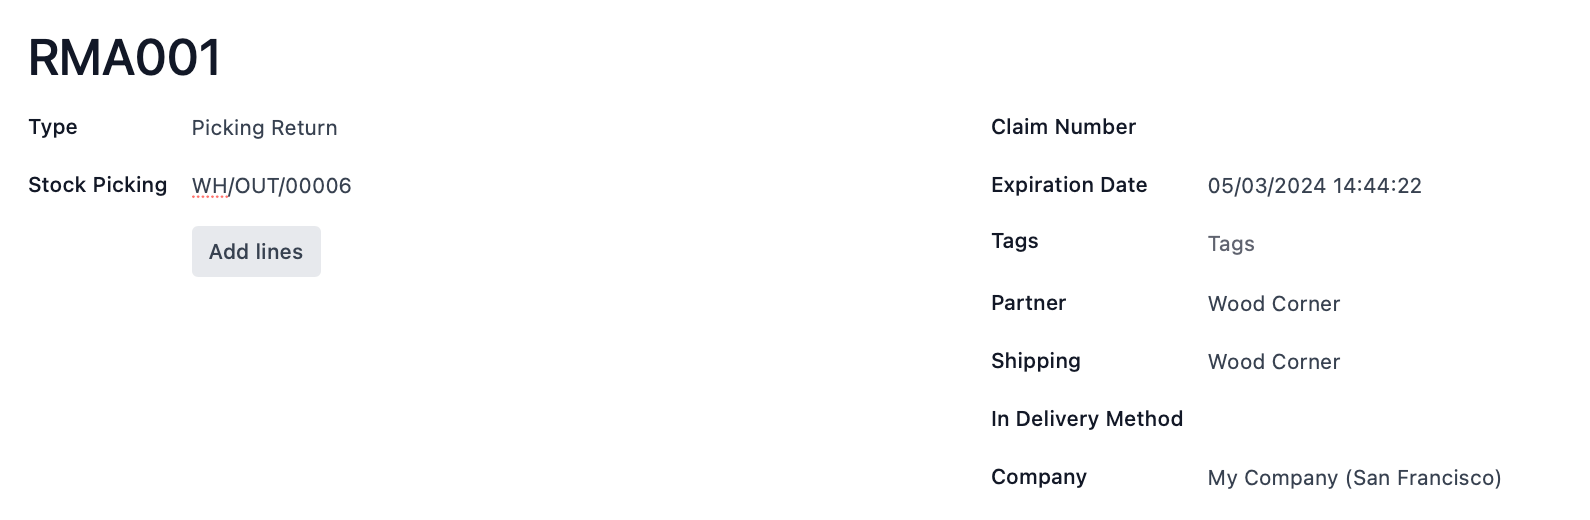
Type: Select the RMA template. The next field name is dependent on the type of document the selected RMA applies to. For more on how to configure RMA templates, we have our RMA Templates documentation.
Sale Order/Stock Picking: Select the sale order or picking that the RMA is being created for.
Claim Number: If there is a Claim Number associated with this RMA, enter it here. This is not a required field.
Expiration Date: If there is an expiration date on the selected RMA template, a date will be automatically calculated. If there is not an expiration date on the selected RMA template, you can fill one in manually or leave empty. This is not a required field.
Tags: Select one or more tags, allowing you to more easily group, filter, and report on RMAs. This is not a required field.
Partner: The main partner on the associated document is automatically assigned based on the sale order or stock picking that is selected.
Shipping: The shipping partner on the associated document is automatically assigned based on the sale order or stock picking that is selected.
In Delivery Method: If this template is configured to receive returns, this field will indicate the shipping method to be used for that shipment.
Out Delivery Method: If this template is configured to send replacements, this field will indicate the shipping method to be used for that shipment.
Company: This will pre-populate with your company.
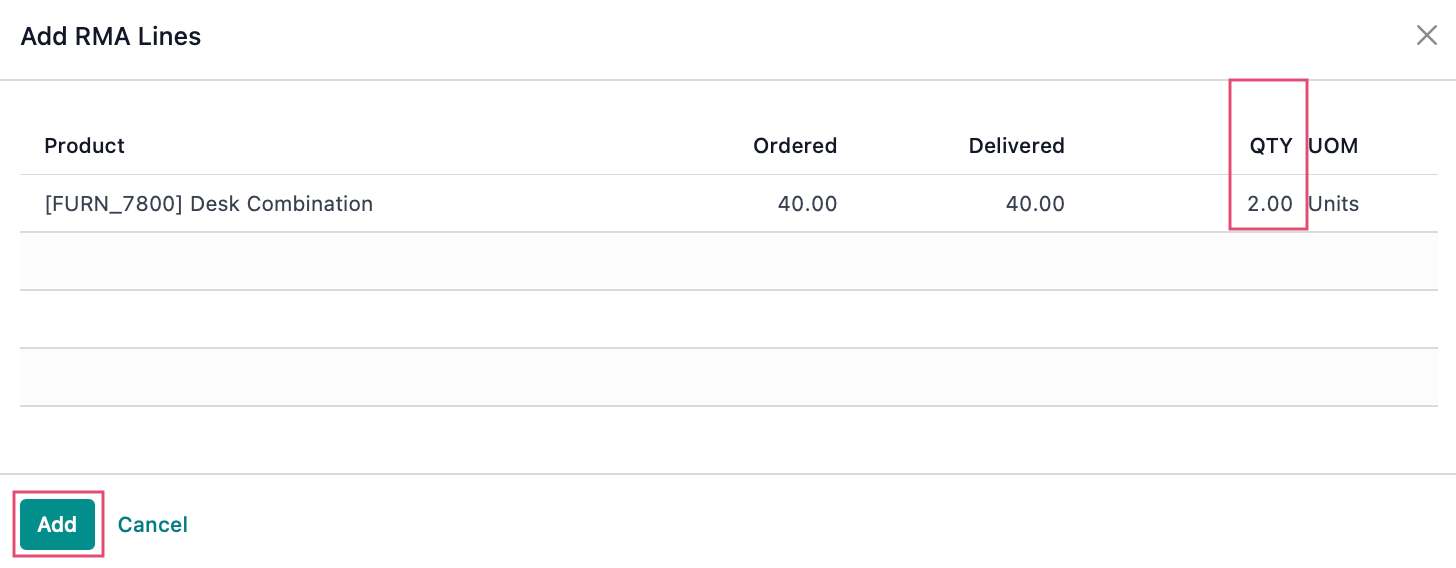
Click Add Lines. This will present you with a modal that displays all products that are on the selected document.
For a sale order RMA, the following columns will be displayed for reference:
Ordered: The ordered quantity from the sale order.
Delivered: The delivered quantity associated with the sale order. In general, you should not return more than was delivered.
Invoiced: The invoiced quantity associated with the sale order.
For a stock picking RMA, the following columns will be displayed for reference:
Ordered: The ordered quantity from the stock picking.
Delivered: The delivered quantity associated with the stock picking. In general, you should not return more than was delivered.
For each product you are returning, increment the Qty column. When all products that you would like to return have been incremented, hit Add.
The product(s) selected will be added to the RMA Lines tab at the bottom of the record.

Review the RMA and, when everything looks correct, click Confirm. Once the RMA is confirmed, the appropriate inbound and/or outbound pickings will be created based on the configuration of the RMA template.
Managing RMAs
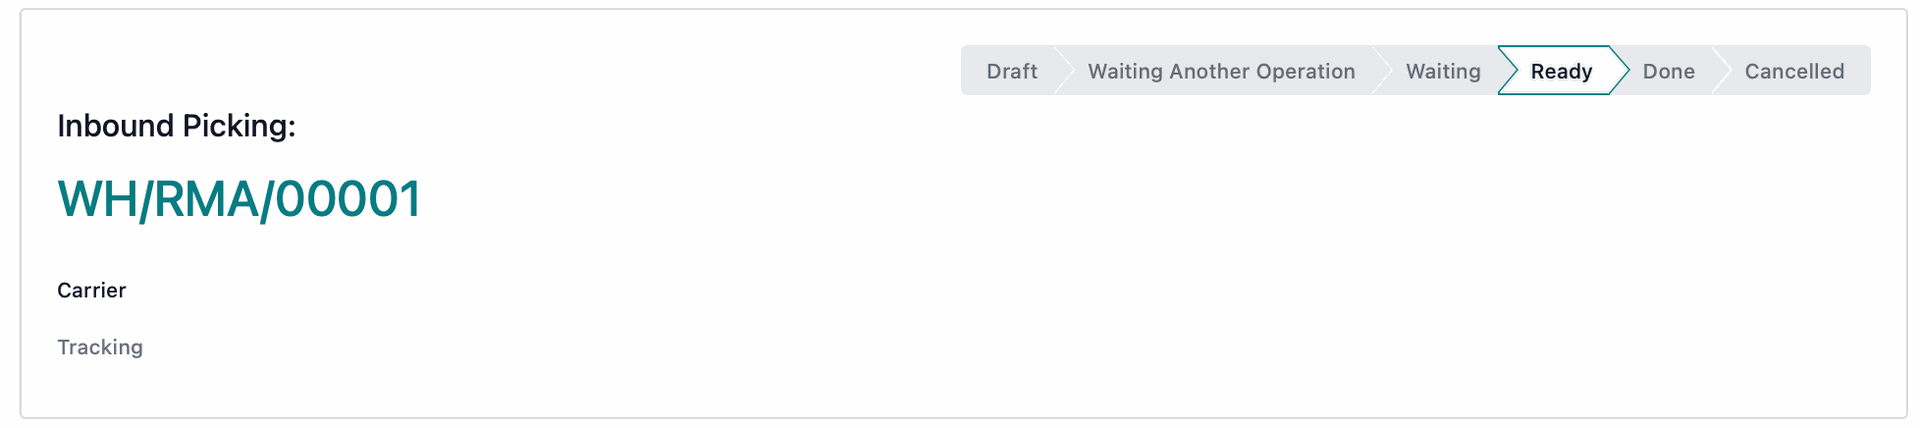
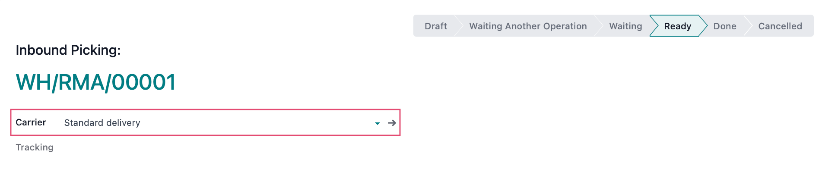
If not set by the template, you may still add a carrier and tracking number to the pickings by editing and adding details and saving the RMA.
For inbound pickings, this is a good way to indicate the method by which a customer is shipping products back to you and provide tracking for the inbound shipment once available.
For outbound pickings, this is a good way to indicate the method by which the replacement products should be shipped out. In general, you will not want to pre-fill a tracking number for outbound pickings.
Good to Know!
Sending Pre-Paid Shipping Labels to Customers
Note: This feature requires a specific configuration. Interested in sending pre-paid shipping labels to customers? Contact us today!
If you are providing a pre-paid shipping label to the customer to send back defective or under warranty products, click Generate Label.
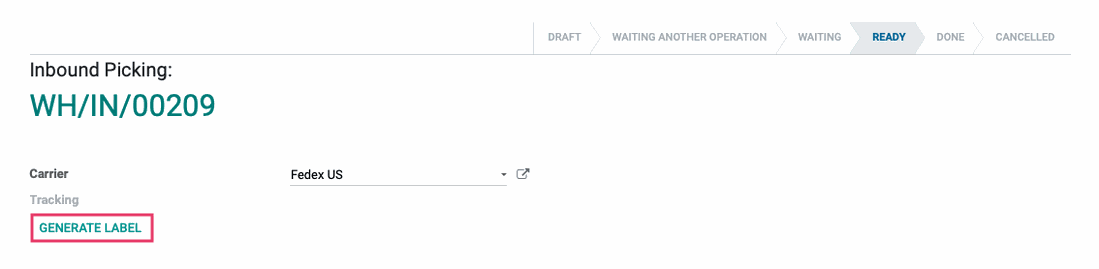
A link will be generated, which can then be copied to share with a customer. This link will provide the customer with a PDF label that can be printed from a regular printer.
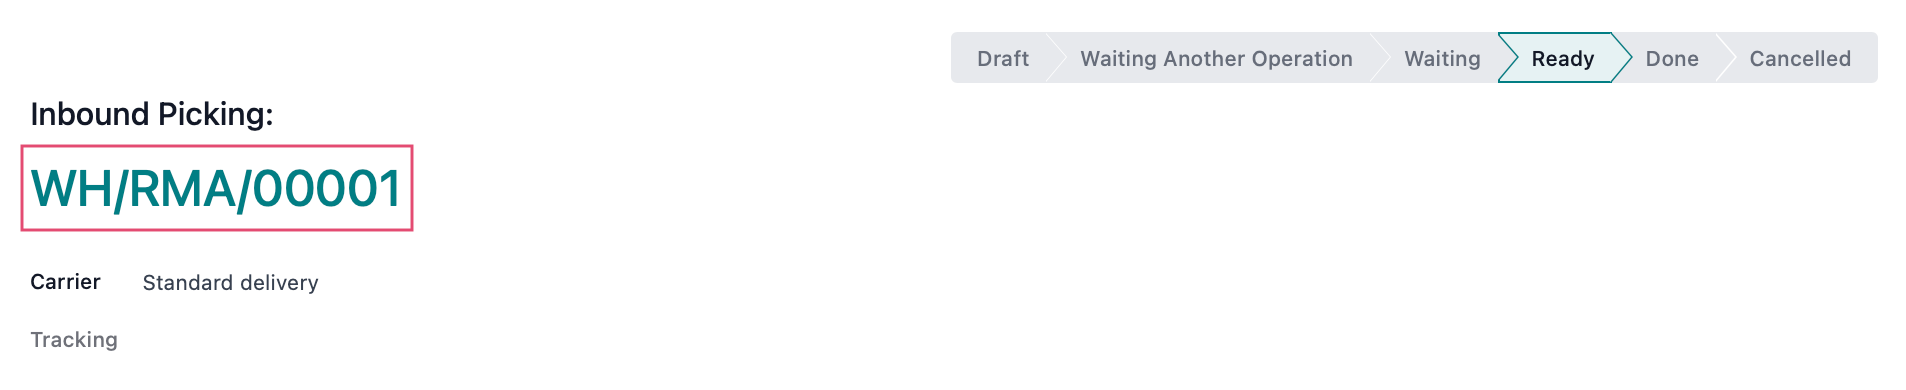
Once the RMA has been generated, you can send a Customer Note from the RMA to let the customer know their RMA number and provide a link to their pre-paid shipping label, if applicable.
Inbound Shipments
When returned products arrive, the appropriate receipt picking can quickly be accessed from the RMA.
To quickly jump to a picking, click on the picking link.
Once on the incoming picking, the Done quantity should be edited to the actual number received. Additionally, if applicable, serial numbers should be assigned. Complete the incoming picking, per your organization's process.
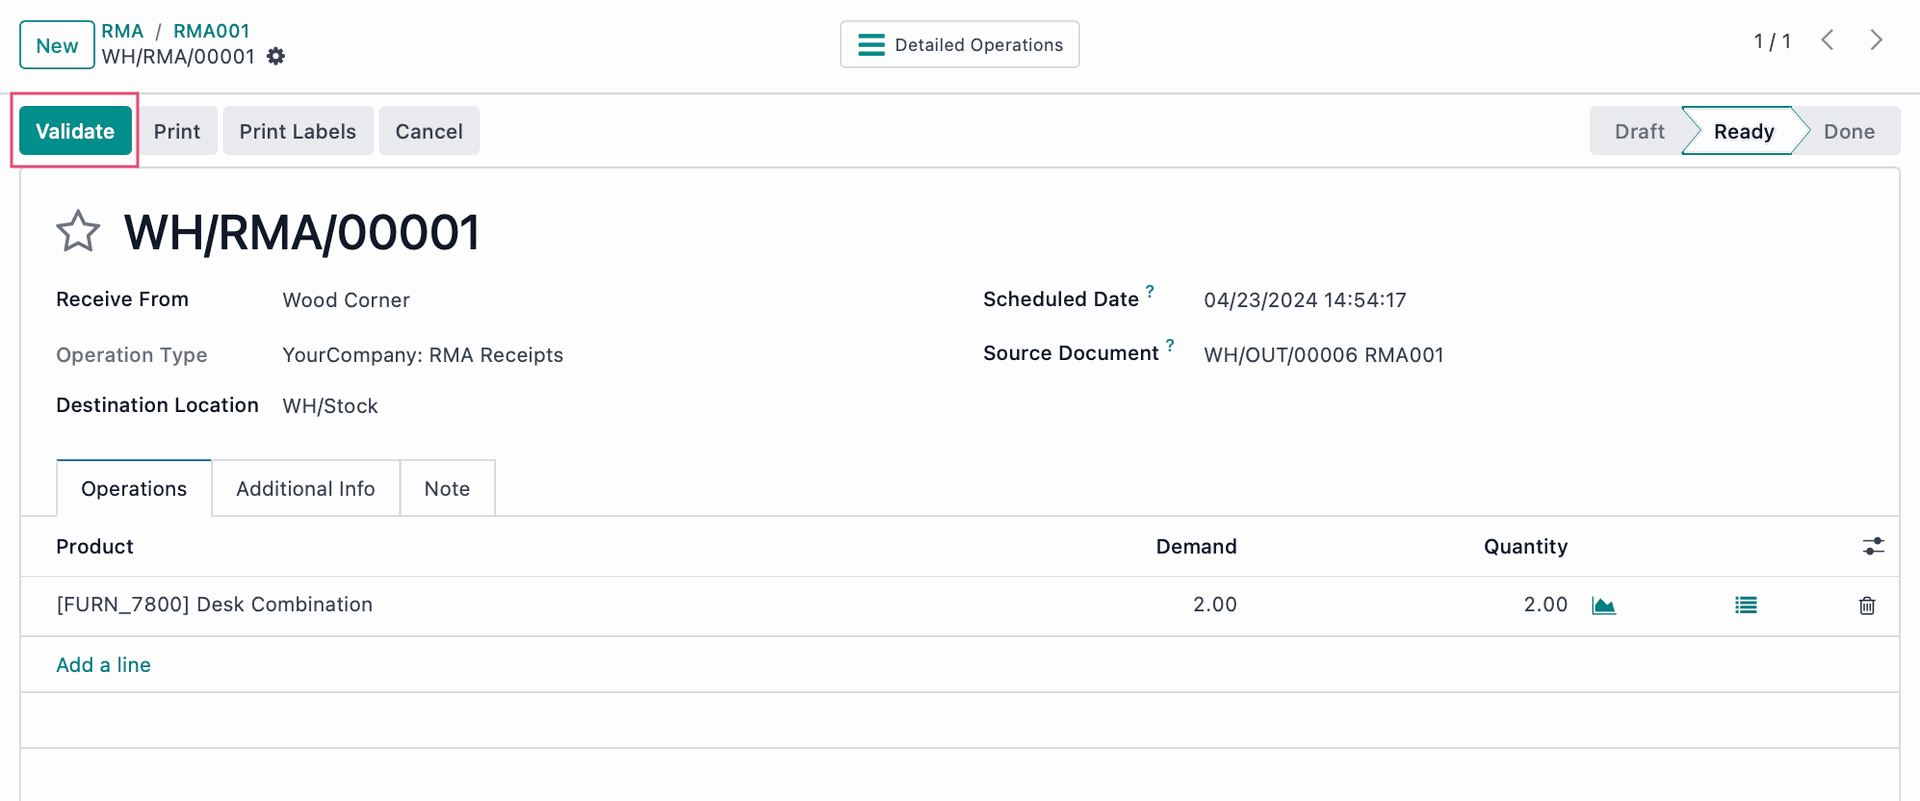
This will complete the stock moves to the appropriate locations, based on the template's configuration. When complete, the status of the inbound picking will be "Done".

Outbound Shipments
When sending out replacement products, the outbound picking will be available as a delivery order immediately after the RMA is confirmed. The outbound picking may be completed immediately or you may indicate on the outbound shipment to hold on processing until the returned products are received.
Good to Know!
Holding Outbound Shipments
There may be times when you do not wish to allow the outbound shipment to be shipped immediately. For example, you may require confirmation that the original product has been picked up by a shipping provider and is on its way back to you before a replacement product is sent out.
In these cases, it is possible for a "HOLD" delivery carrier to be set as the carrier on the template. This will prevent someone from processing the picking without first changing the carrier, which can be overridden at the picking or on the RMA.
To quickly jump to a picking, click on the picking link.

Once on the outbound picking, the Done quantity should be edited to the actual number shipped. Additionally, if applicable, serial numbers should be assigned. Complete the outgoing picking, per your organization's process.
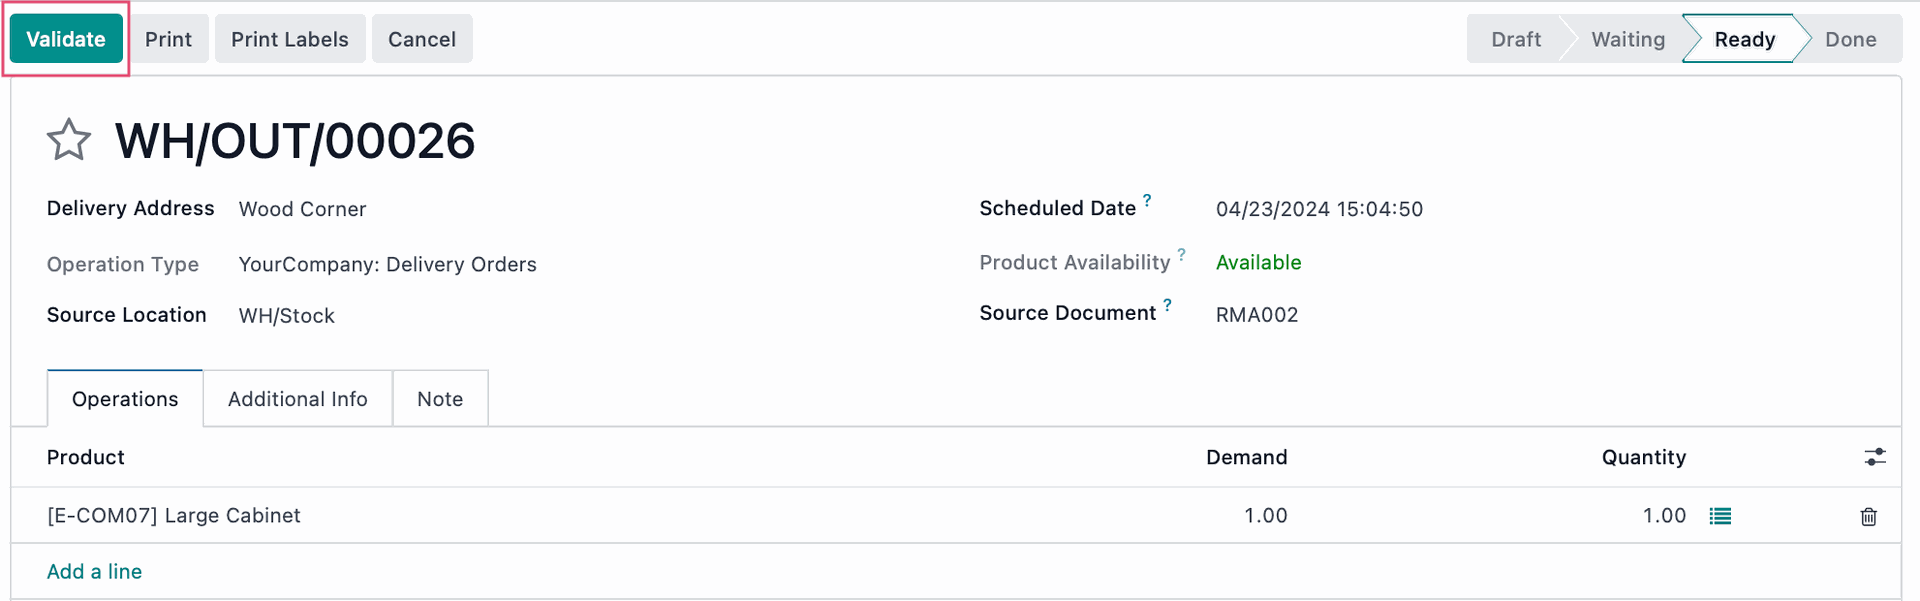
This will complete the stock moves to the appropriate locations, based on the template's configuration. When complete, the status of the outbound picking will be "Done".

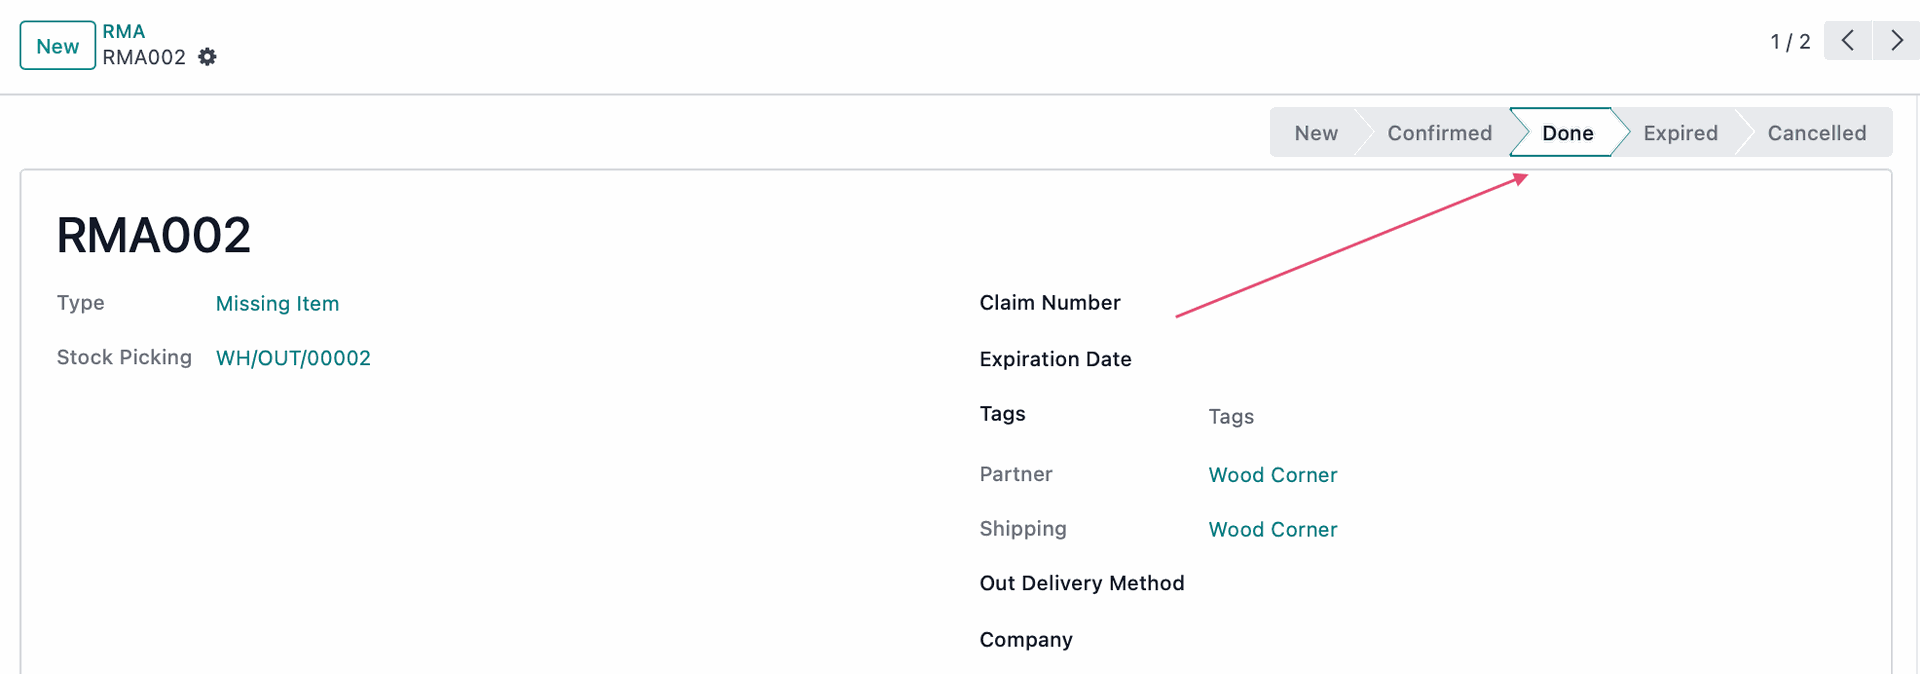
Completing the RMA
Once all pickings on the RMA are complete, click Done. This will move the RMA to the "Done" state, which can be filtered out for purposes of reviewing open RMAs.
After receiving the incoming shipment for an inbound-only RMA, if the RMA requires an invoice component (such as providing a refund to the customer), this can be completed now. If the refund is processed by someone in another department, you may schedule an activity for the appropriate person to complete the refund.
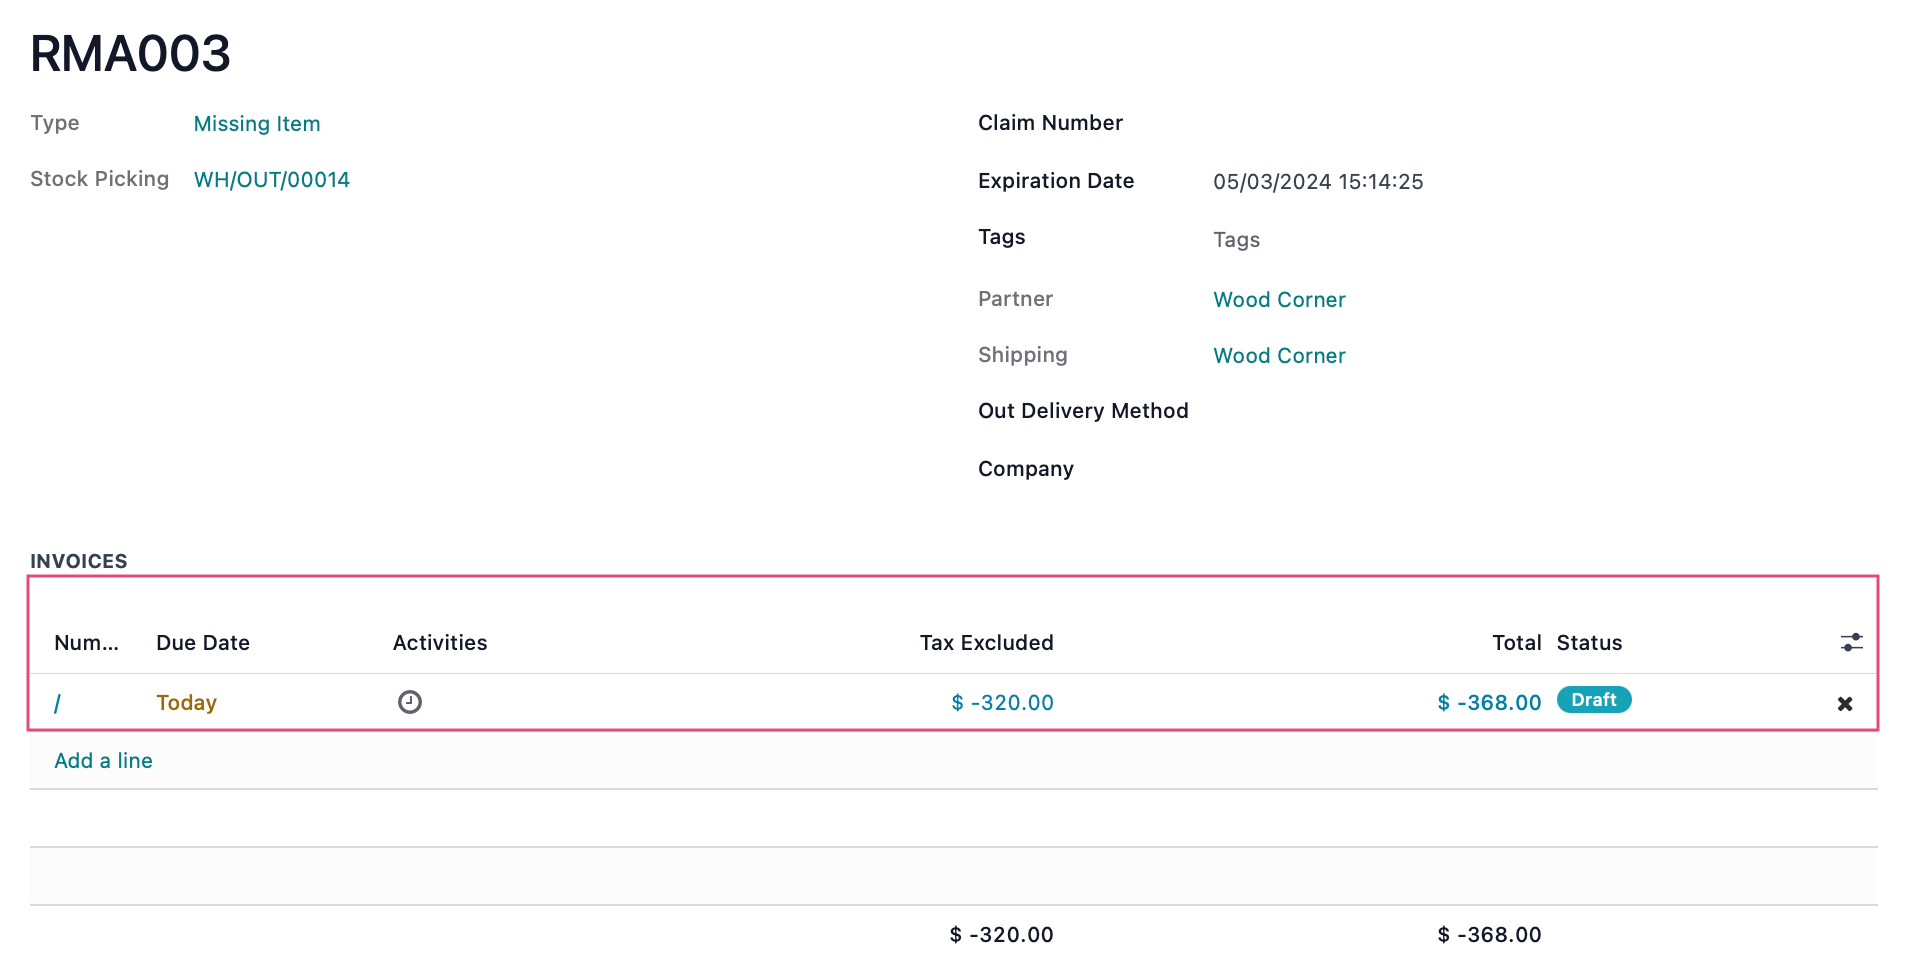
Invoices
Once the RMA has been moved to the 'Done' state, any Source Documents that have invoicing implications as a result of the RMA will produce a line in the Invoices section of the RMA record.
To post the invoice, click into it and a modal window will appear. Click Confirm.
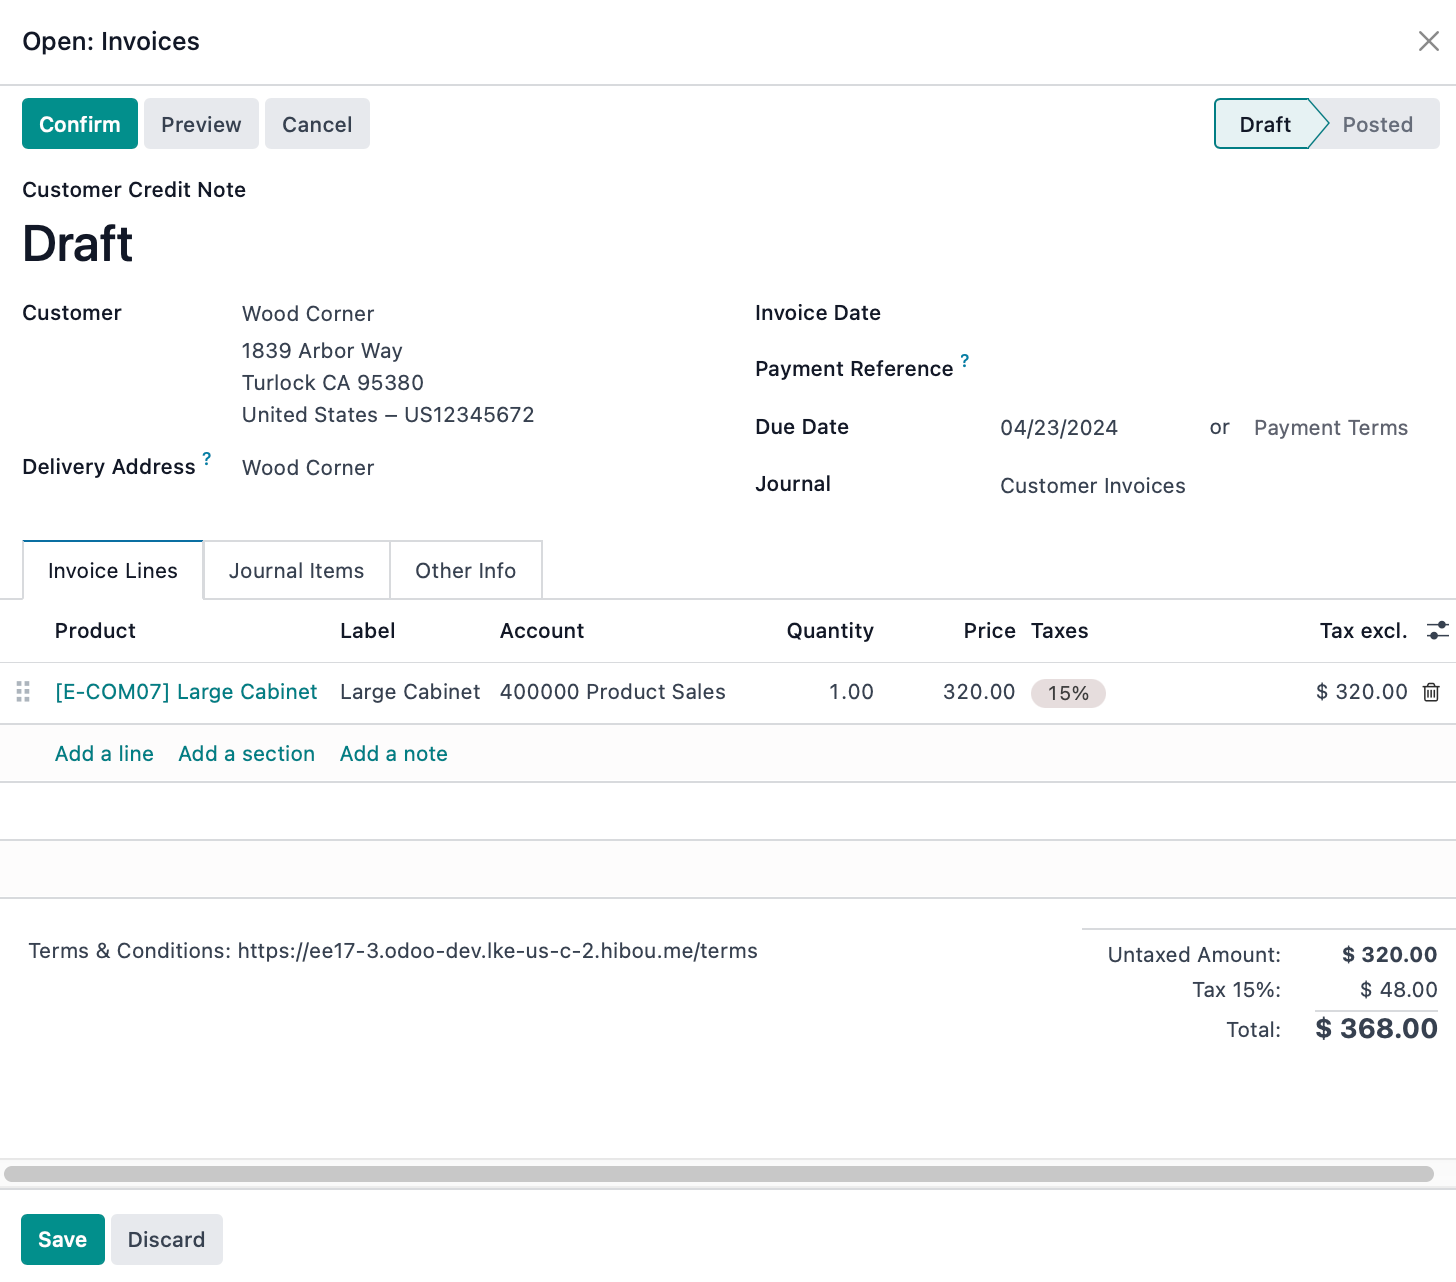
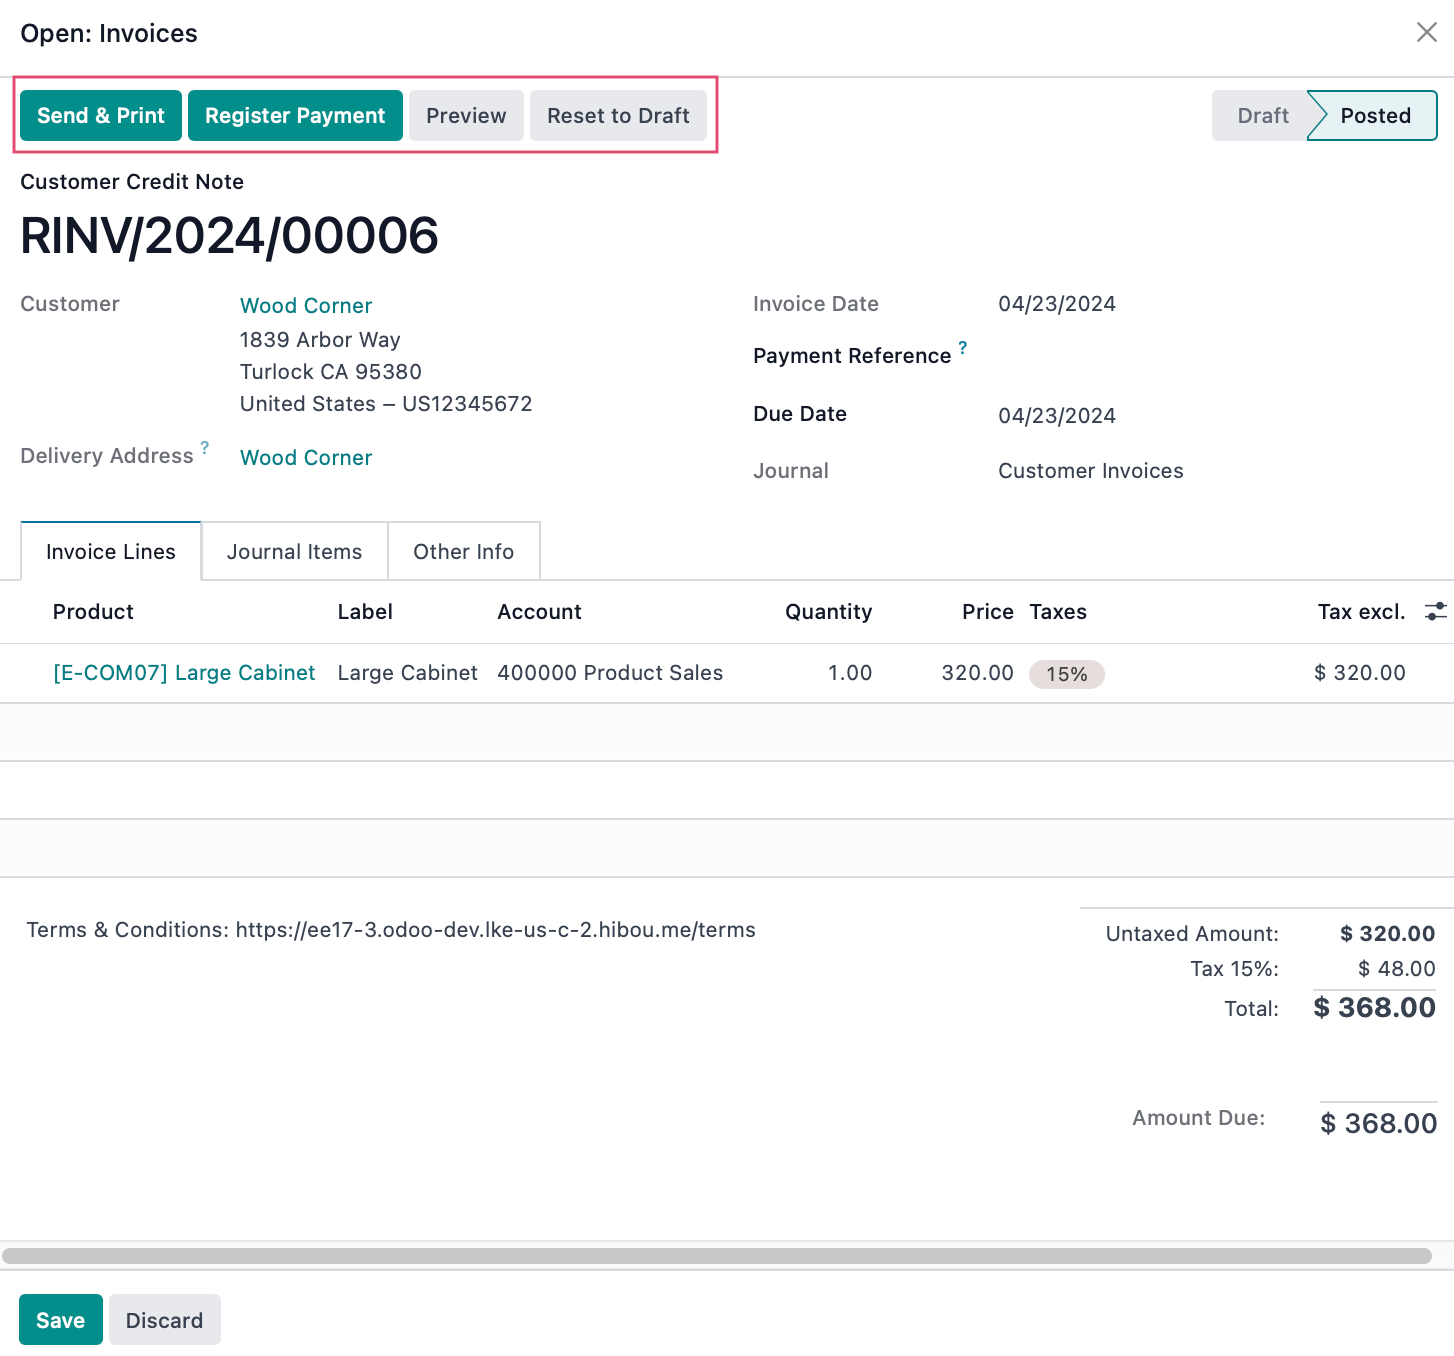
The re-invoice will turn into a Customer Credit Note where you can Send & Print, Register Payment , Previewor Set to Draft.
Important!
Re-invoicing on Purchase Orders
If you're in a scenario where you are returning a product to the vendor or if there is any other reason your RMA is configured to decrement a Purchase Order, you will not see the PO line ready to re-invoice in the Purchase App. You will only see the line ready for re-invoice in the Invoices section of the completed RMA.
Technical
Hibou's RMA application adds three new models: RMA Template, RMA Tag and RMA along with all of their views. Additionally, there is a wizard for adding lines from an existing picking when creating an RMA. The RMA model has various methods for creating IN/OUT pickings and stock moves.
Hibou's RMA Sale module adds Sale Orders to the usage selection for RMA templates as well as a Rma Sale Make Lines wizard that allows you add lines from an existing sale order when creating an RMA. Additionally, it adds methods to the RMA model to create IN/OUT pickings from sale orders.