Hibou Odoo Suite: Inventory Modules: GLS Netherlands Shipping
Purpose
The purpose of this document is to review the functionality of the GLS Shipping connector in the Enterprise Edition of the Hibou Odoo Suite.
Process
To ship your items through GLS you will need to install the GLS module.
Navigate to the Apps application.

Once there remove the Apps filter from the search bar and search for "GLS". When ready, hit the ACTIVATE button.

Getting Started
To get started, navigate to the Inventory application.
Once there, go to Configuration > Shipping Methods.
Click the NEW button. You can now create a new Delivery Method for the GLS service type you want to use.
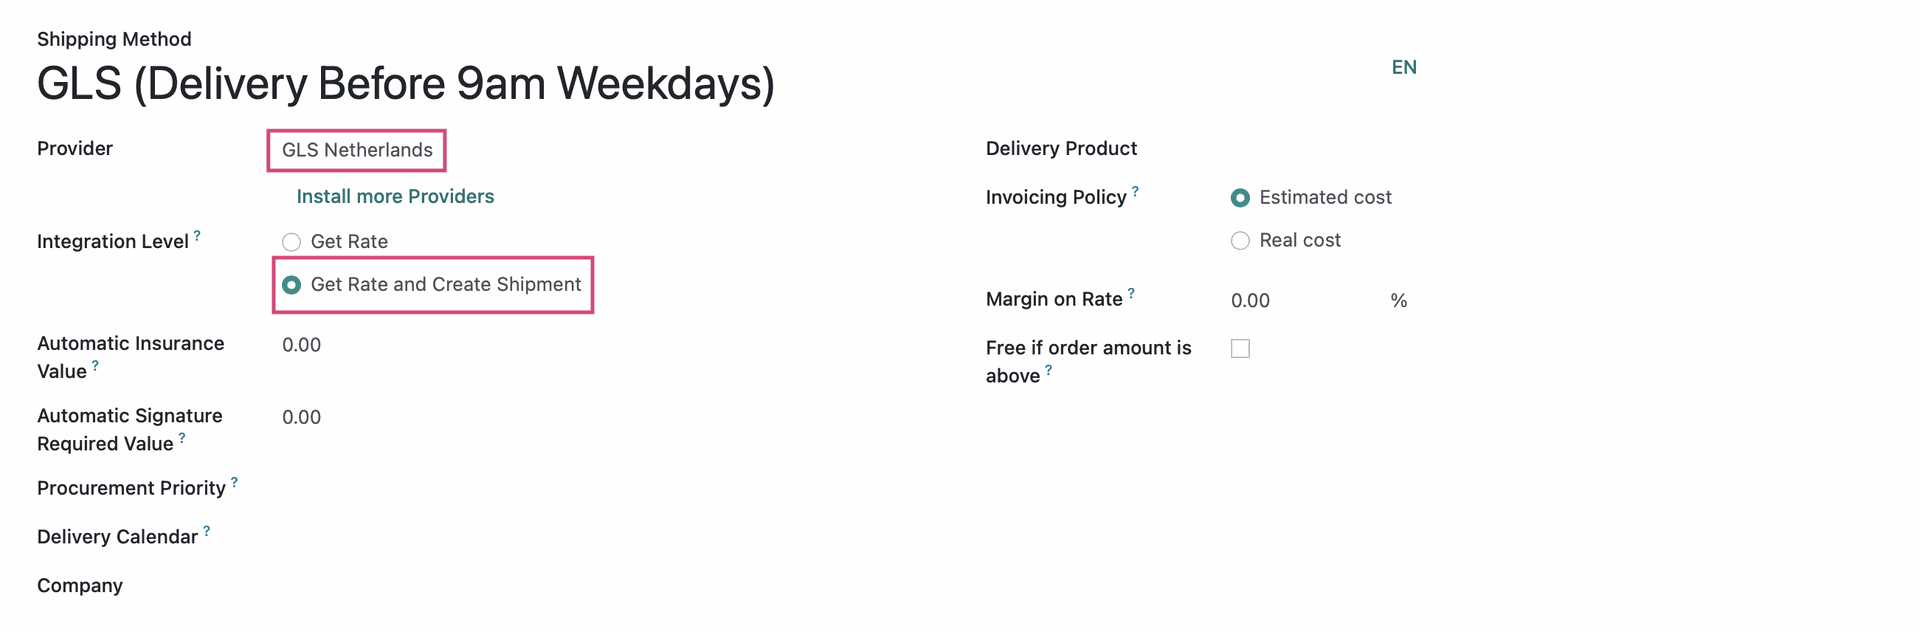
Fill in the information for the delivery method:
Name: This will be the name of the Delivery Method you will select from the dropdown menu on Sale Orders.
Provider: Under this section, you will see all of the shipping providers that you have installed connectors or modules for and we can see that GLS Netherlands is present.
Once we select GLS Netherlands as our provider, we can choose whether we want to Get Rate or Get Rate and Create Shipment.
Get Rate: Choose this option if you only want to fetch rates to add shipping charges onto sale orders.
Get rate and Create Shipment: Choose this option if you also want to print shipping labels in addition to getting a shipping rate.
You will also need to create a delivery product associated with this delivery method. Hit the Delivery Product dropdown menu and select the Create and Edit button. The following modal will appear and you will be prompted to fill in the below details:
Product Type: Leave this as a service product.
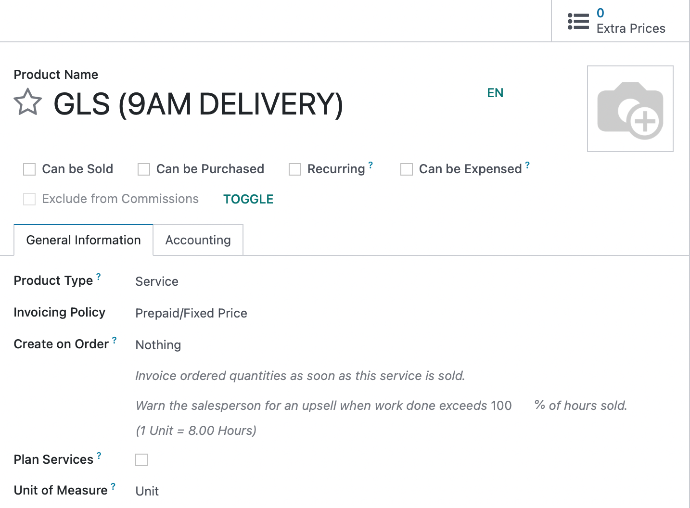
Once the correct fields are configured, hit Save & Close. The modal will close and delivery product you just configured will be selected.
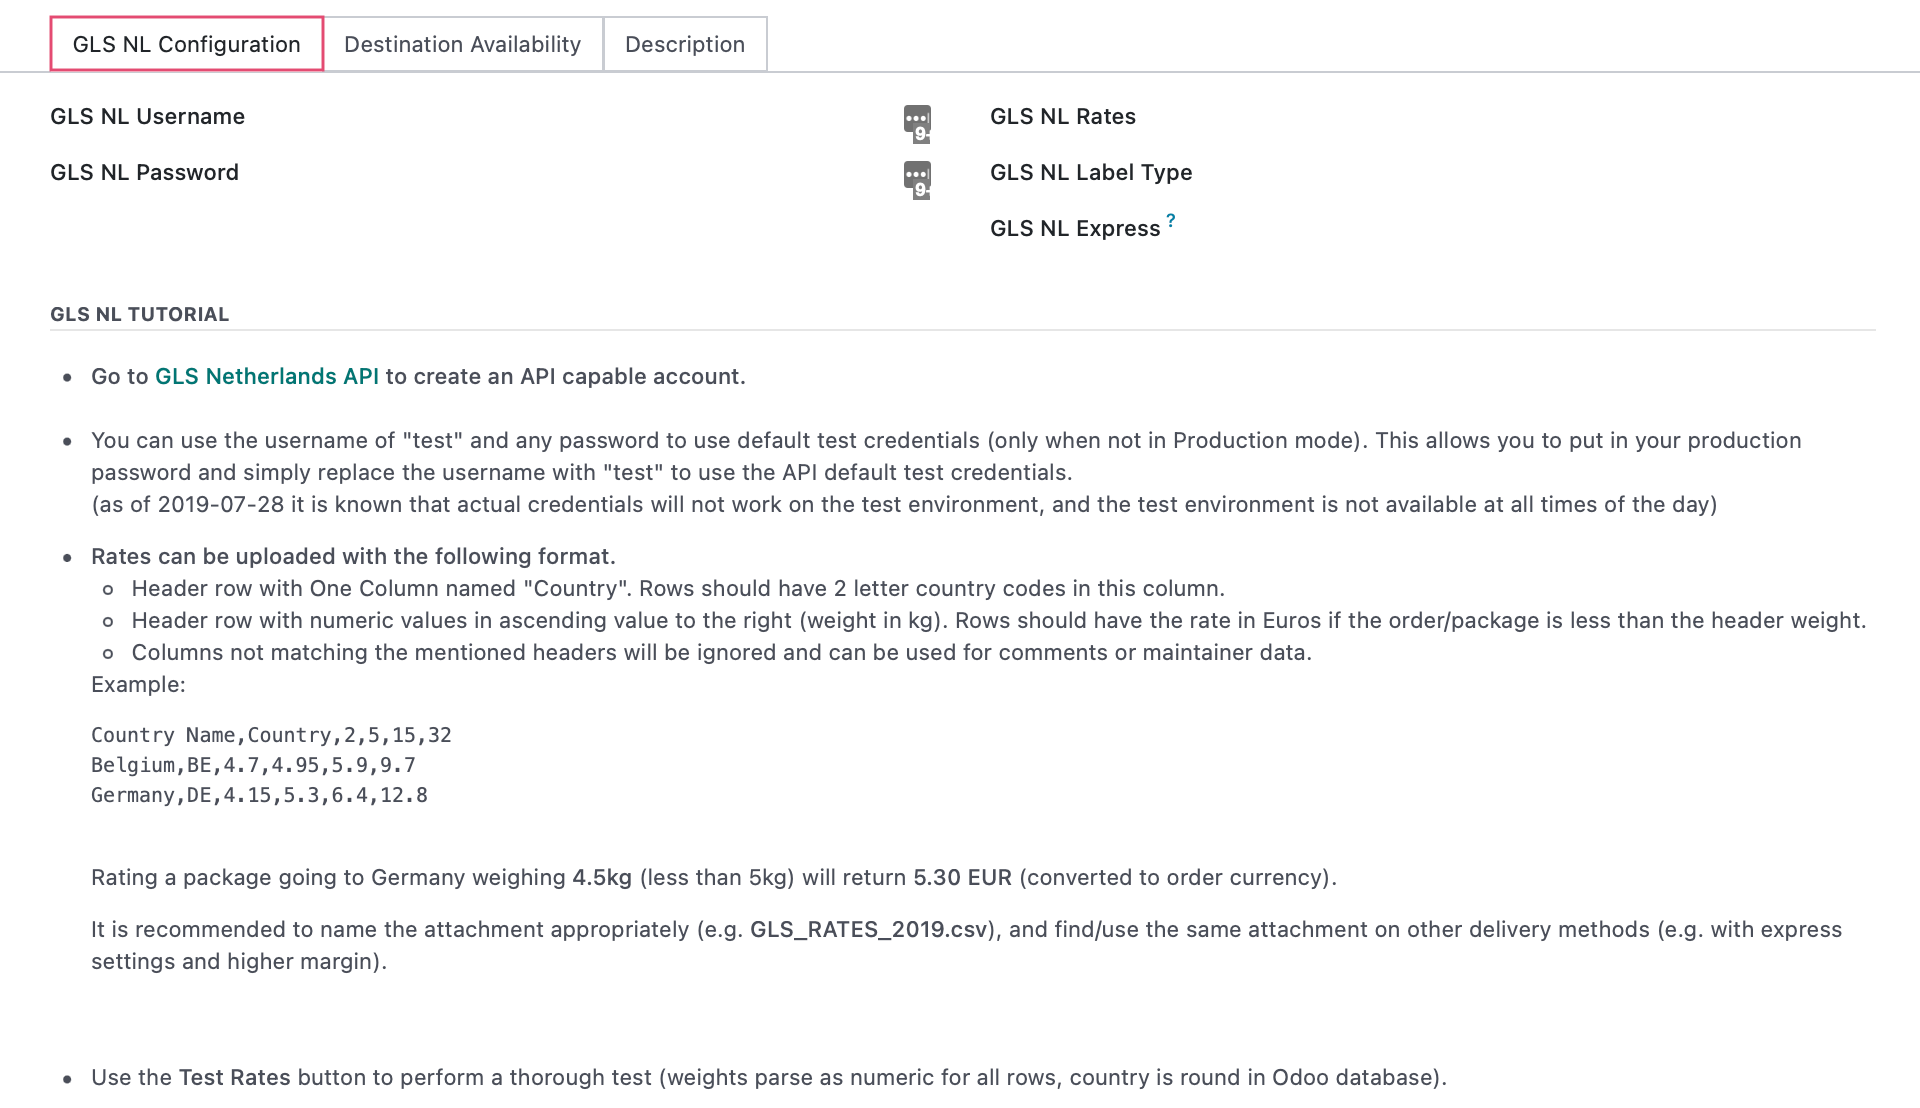
Password: Input your GLS account password. This will enable you to simply input your username with the live username once you are ready to switch from testing to a live environment.
GLS NL Rates: Select the Create and Edit... button from the dropdown menu and upload a CSV file that has the countries you want to deliver packages to, the weight thresholds of the packages you will be shipping, and the rates you will charge customers in euros for each weight threshold.
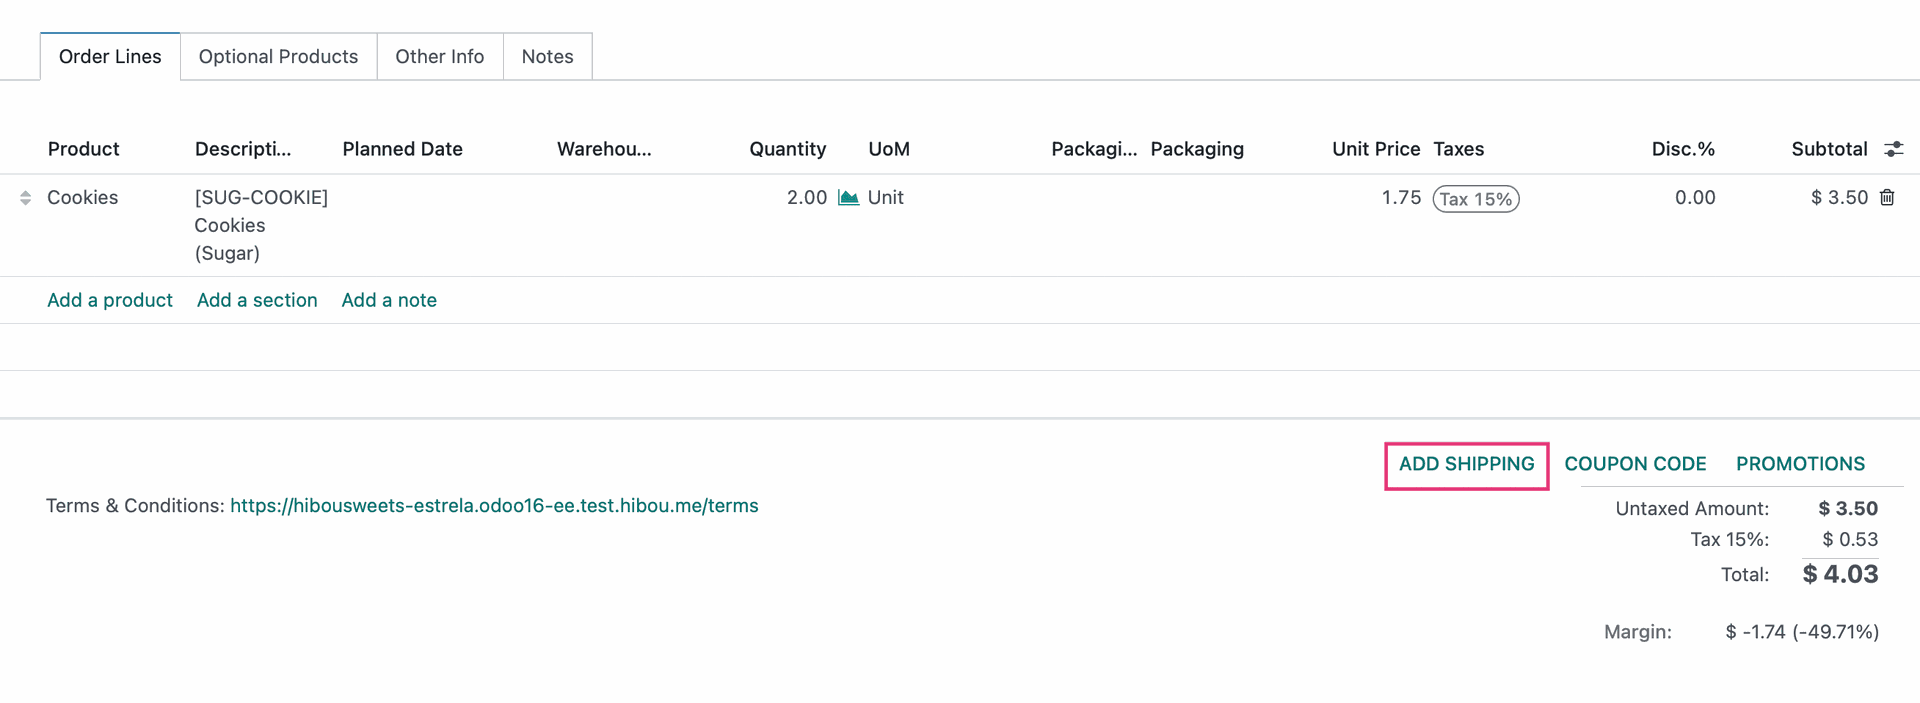
Once you have added a customer and your desired products to the sale order, click on the Add Shipping button.
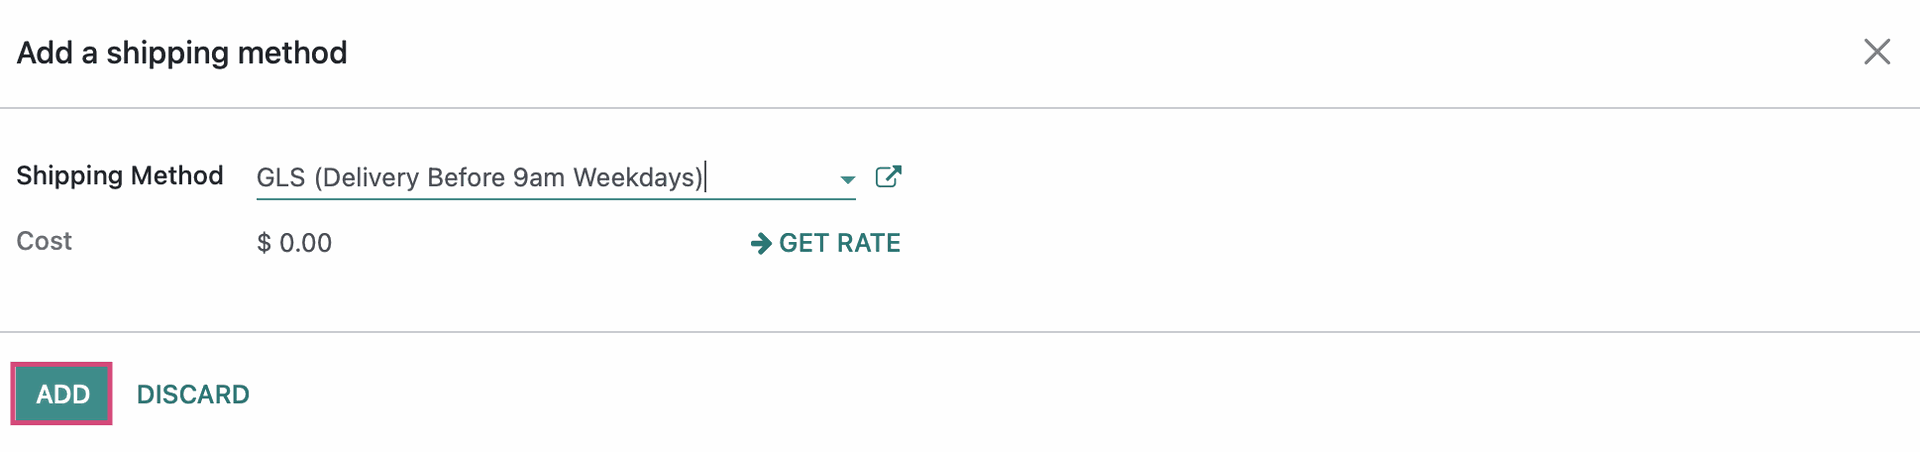
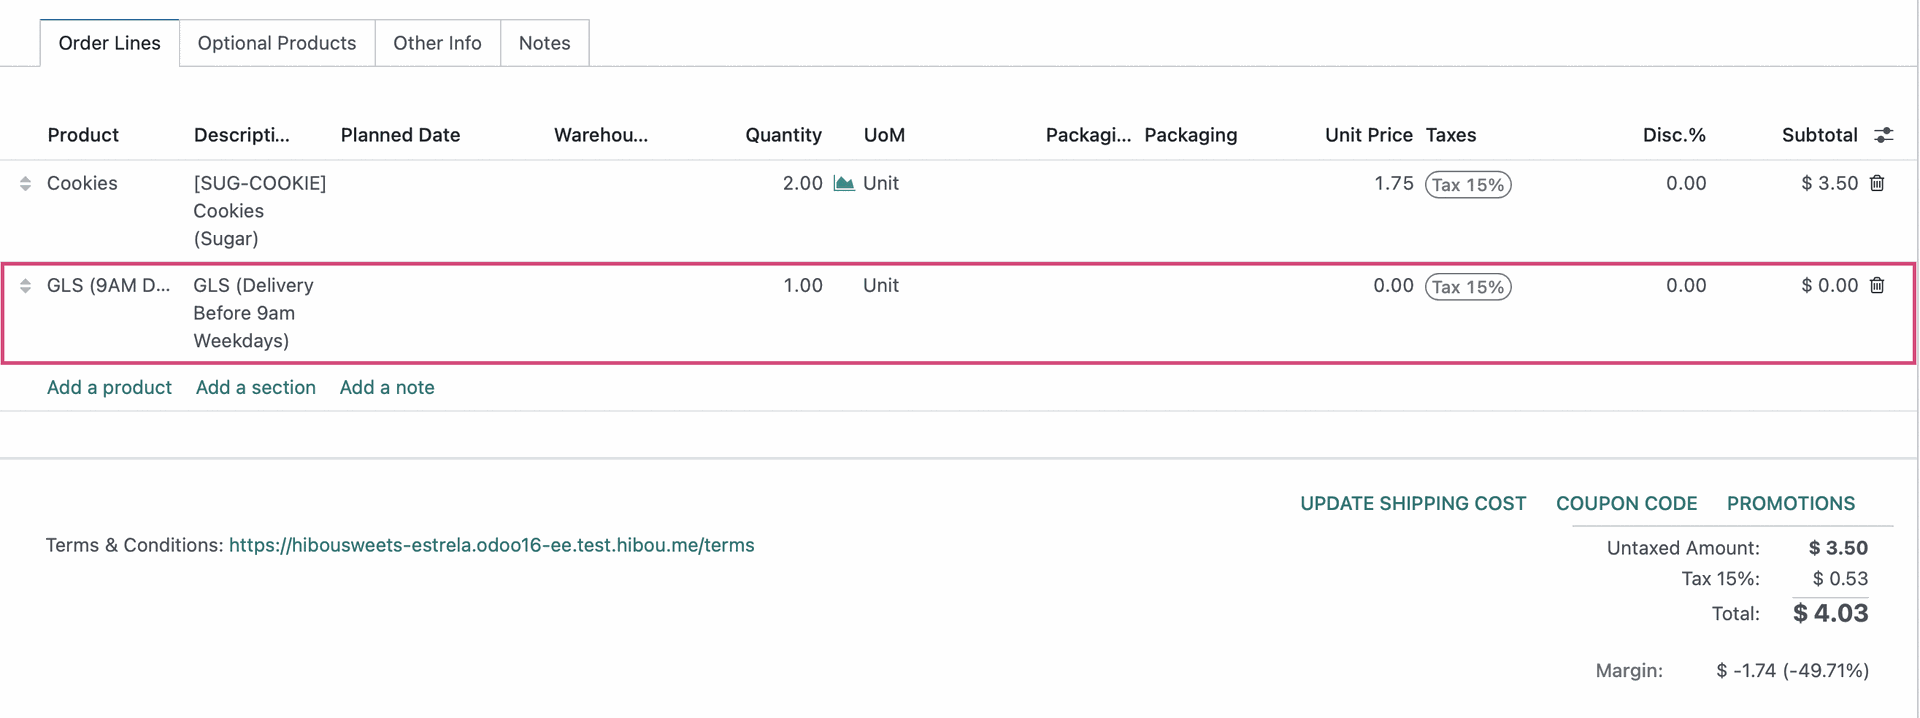
Then, click on the ADD button. You will also see that a line has been created for the shipping method.
When ready, hit Confirm.
Printing a Shipping Label and Generating a Tracking Number
Once your quotation has been confirmed. You will now see a Delivery smart button on the top right of your SO. Navigate to your Delivery transfer by selecting it.
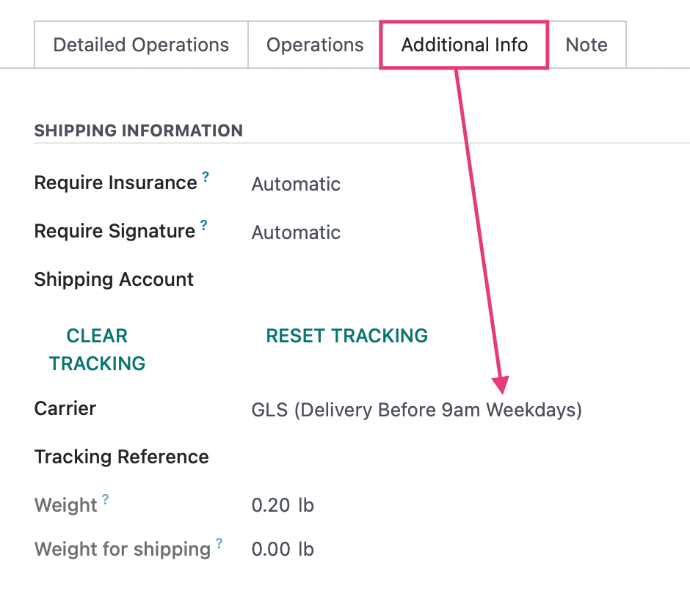
Once there, navigate to the Additional Info tab. In the Carrier field, the GLS service type connected to your delivery method should be inputted automatically.
Once your delivery is ready to ship, Validate the delivery order. You will see the tracking reference (your tracking number) will appear and in chatter, you will see the shipping label available for download and/or printing.