Hibou Odoo Suite: Return Merchandise Authorization (RMA): Return Merchandise Authorization (RMA): Core Return Template
Purpose
Because cores have their own mechanisms within the Hibou RMA application, they require templates with specific configurations. Depending on your configuration, with the installation of the Hibou Core RMA module, some related RMA Templates may be added. This document covers the settings of the Core Sale Return Template, and how to configure the template to suit your needs. Please refer to Return Merchandise Authorization (RMA): Templates for general template configuration.
Process
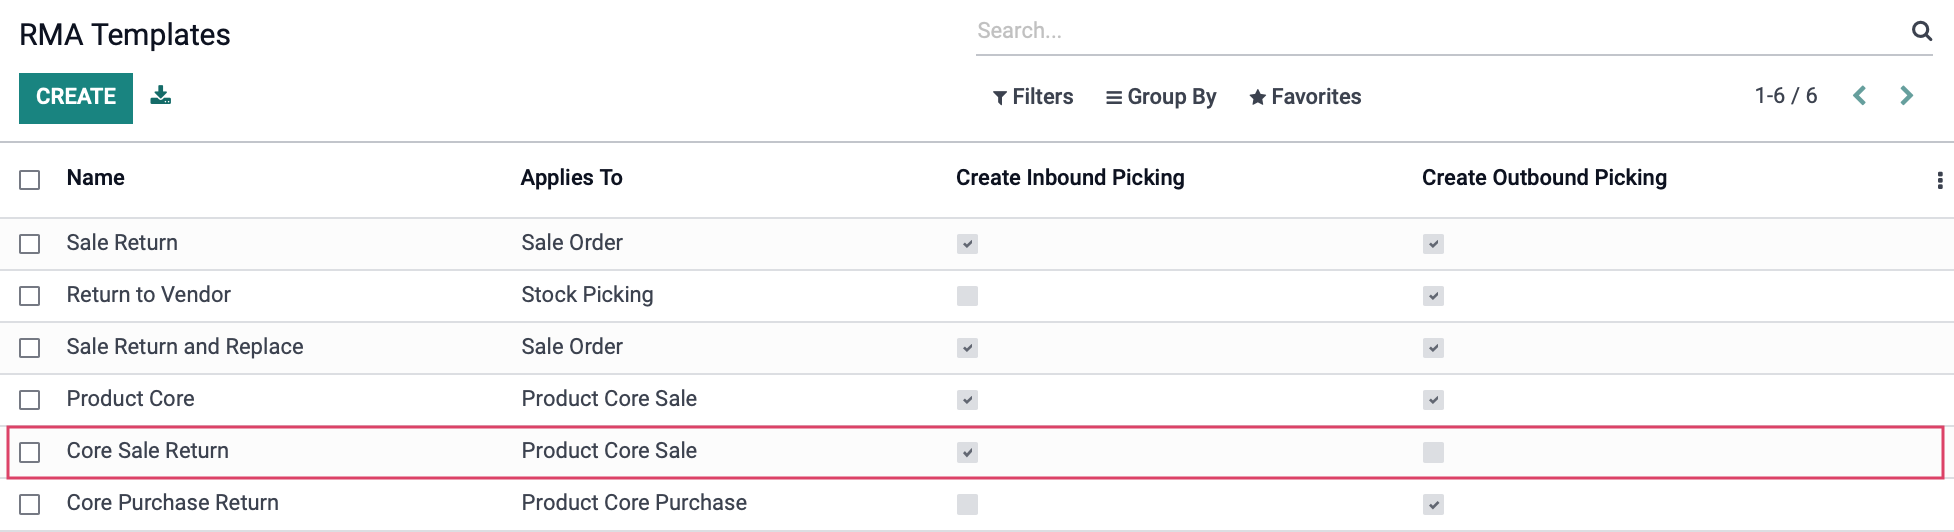
To get started, navigate to the RMA app.
![]()
Core Return Template
Once there, go to CONFIGURATION > TEMPLATES. Open the Core Sale Return template. Click EDIT to make any changes. If you do not see that template or would like to create a new one, click CREATE, then continue with the steps below.
Applies To: Select "Product Core Sale". To have a return, you must first have a sale on which to apply the return.
Expire in Days: Enter the number in days from the date the RMA is requested the customer must take action before it expires. If no pickings are created within the required number of days, the RMA will be moved to the Expired state.
Automatic Expire: If no pickings are created within the required number of days, the RMA will be moved to the Expired state automatically.
Allow on Portal: This setting allows customers to initiate an RMA from the customer portal on your website.
Invoice on Completion: This enables Odoo to generate a refund when the RMA is complete. This must be enabled in order for Core deposits to be refunded.
Next RMA Template: Select an RMA Template to trigger upon the completion of this template, if applicable.
Create Inbound Picking: This enables Odoo to create the inbound picking where the returned product will be processed.
Inbound Picking Type: Indicate the company and the type of picking (Receipt).
Inbound Source Location: Because the customer is returning the product, this should be set to a customer location.
Inbound Destination Location: Indicate the destination location in your warehouse for the returned product. We recommend having a specific location for these returns, so they are not added to your regular stock.
Inbound Carrier: You can set a default carrier that, with configuration, allows for sending printable, PDF labels to customers for returns in which the company covers return postage. Carrier and integration dependent.
Inbound Require return of picking: Leave this unchecked. It may seem reasonable to enable the Inbound Require return of picking setting; however, enabling this setting would require return of the exact product that was purchased. With Core RMA returns, the sold product is different from the returned product.
Inbound Procurement Method: Select the procurement method for the inbound picking. 'Take from Stock' will take from stock, while 'Apply Procurements' will be based on your company's particular procurement configuration.
Inbound Mark Refund: This will increment or decrement quantities on the documents associated with the return. Note that this is highly dependent on use case and it will not have an effect on the stock pickings themselves.

Because we're not shipping anything back to the customer, leave Create Outbound Picking unchecked.
Additionally, you can use the Internal Instructions and Customer Instructions tabs to add information for your team or the customer when a an RMA is submitted.


Click Save, when complete.