Hibou Odoo Suite: Human Resources (HR) Modules: HR Holidays Accrual - Payroll
Repository Versions:
Modules:
AGPL-3
Purpose
This documentation outlines the use cases and processes associated with Hibou's HR Holidays Accrual - Payroll module for Odoo.
This module allows you to set up a Leave Allocation that distributes to an employee upon the validation of their payslips.
Getting Started
The first step is installing the module. To do so, navigate to the Apps application.
Once there, remove the Apps filter from the search bar and search for 'HR Holidays Accrual - Payroll'. When ready, click Install.

Good to Know!
This module requires the Payroll app and the Hibou HR Holidays Accrual module. However, if you do not already have these installed, Odoo will install it for you during this module's installation.
Process
Navigate to the Leaves app.

Go to Managers > All > Allocations, then click Create.
Note that the title generated by Odoo upon opening this page may not match the accrual you'll be adding. This will update when you save the record.
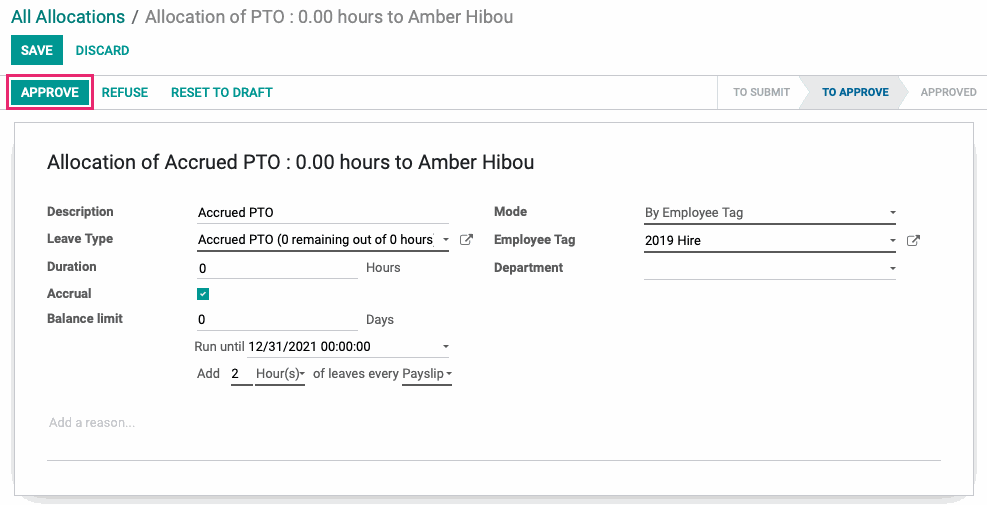
Complete the fields, as follows:
Description: Enter a short description for this allocation. This field is not required.
Leave Type: Select the Leave Type for this allocation.
Duration: This field should be left blank unless employees are to be granted a set amount of time off in addition to the 'Accrue by Pay Period' allocation.
Accrual: Check this box to enable accrual. This will display three additional fields:
Balance Limit: Enter the maximum number of days that may be accrued and held as a balance. Leave this at 0 for no limit.
Run until: If applicable, enter a date after which this accrual is no longer valid. Leave the field blank for no end date.
Add/Every: Select the quantity of time, then select the unit of time. Then, in the last editable field, select "Payslip".
Mode: Select your preferred method to select which employees will receive this accrual.
By Employee: This allows you to select one employee. When selected, you'll also need to select which employee to apply it to.
By Company: This allows you to allocate this accrual to all employees in a specific company if you're in a multi-company database. When selected, you'll also need to select which company to apply it to.
By Department: This allows you to allocate this accrual to employees in a specific department. When selected, you'll also need to select which department to apply it to.
Employee Tag: This allows you to allocate this accrual to employees with specific employee tags. When selected, you'll also need to select which tag(s) to apply it to.
Add a Reason...: Optionally, add a reason for the allocation.
When you're ready, click Approve, followed by Save.
The title will then update according to the data entered.
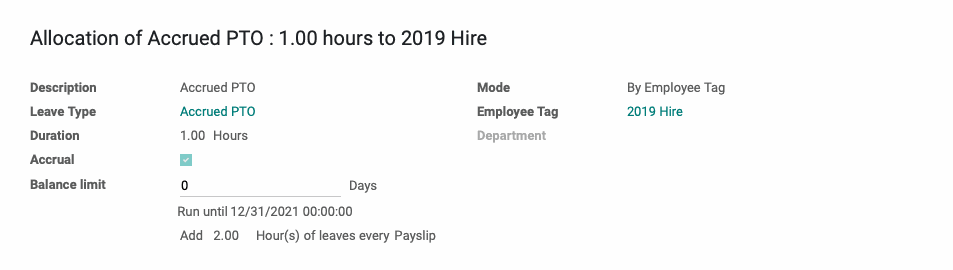
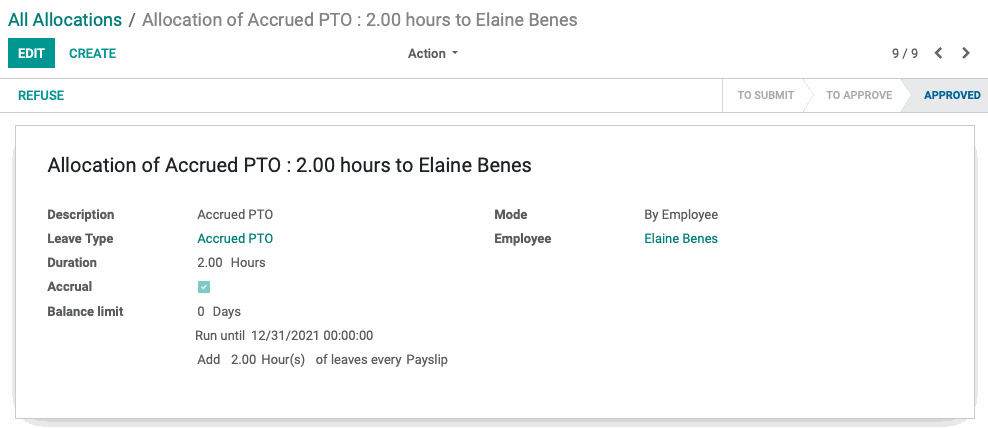
Now, when a payslip for an employee meeting the criteria you've selected is confirmed, there will be an approved allocation entry for them in Managers > All > Allocations.
Calculating the Allocation Per Pay Period
First, the number of hours you want the employee to accrue per year must be decided upon. This should be based on a full-time schedule (usually 40 hours per week).
Divide the number of hours to be accrued per year by the number of working days in the year. This will be the leave allocation amount for a single day.
Then, simply multiply this result by the number of days in your pay period. This will be the amount to enter in the Allocation Per Pay Period field.
Example: A normal employee works 40 hours a week and receives 40 hours of paid time off per year. We will say that the number of working days in a year is 260 (5 days a week multiplied by the 52 weeks that make a year). To get the amount per day, we divide 40 by 260. 40 / 260 is 0.1538, the number of hours accrued in a day. Let's say our pay period is every to weeks, which is 10 working days. 0.1538 multiplied by 10 is 1.538, the Allocation Per Pay Period.