Hibou Odoo Suite: Sales Modules: Sale Order Planner
Repository Versions:
Modules:
OPL-1
Purpose
The purpose of this documentation is to outline the use case and processes associated with Hibou's Sale Order Planner module. The Sale Order Planner module plans order dates based on available warehouses. This is made possible through the addition of a shipping calendar to a warehouse to plan delivery orders based on the availability of the warehouse or warehouse staff. It also adds a shipping calendar to individual shipping methods to estimate delivery based on the specific method's characteristics, like its shipping schedule.
Getting Started
To get started, navigate to the Apps application.
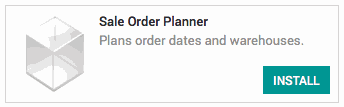
Once there, remove the Apps filter, and search for 'Sale Order Planner'.
Good to Know!
The Sale Order Planner module requires the Dates on Sales Order, Sale Sourced by Line, Partners Geolocation, Delivery Costs, and Resource modules. However, if you do not already have these modules installed Odoo will install them for you during this modules installation.
Process
Next, navigate to the Inventory application.

Adding a Shipping Calendar to a Warehouse
Once there, navigate to CONFIGURATION > WAREHOUSES.
From the list of warehouses, select the warehouse to which you wish to add a shipping calendar.

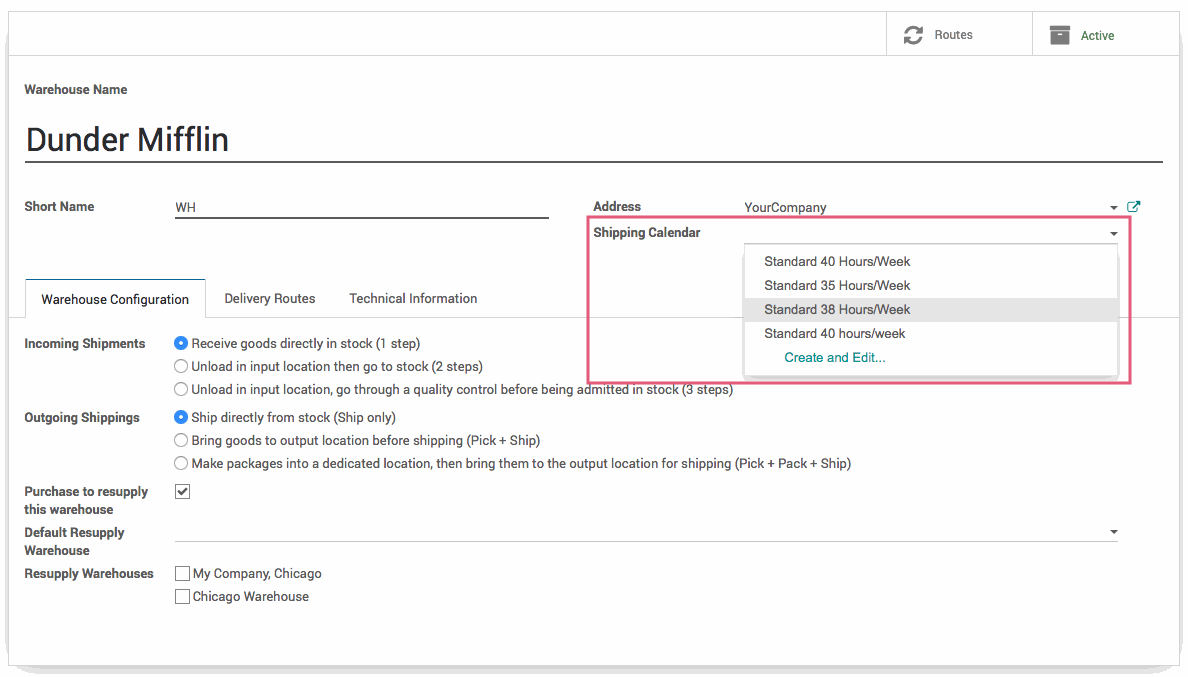
On the warehouse, click EDIT and select your desired Shipping Calendar from the Shipping Calendar drop-down menu. You can also select CREATE AND EDIT... from the bottom of the menu to make a new one.
When finished, hit the SAVE button on the warehouse.
Before navigating away from this record, you will need to retrieve the record ID for this warehouse from the URL. You need this so that you can set up the system parameters properly in a later step in this documentation.
View the URL; you will see the phrase "id=" followed by a number. 
That number is the record's number. Write this number down for all warehouses you apply a Shipping Calendar to, so you can use them when setting up your system parameters later.
Adding a Delivery Calendar to a Delivery Method
From within the Inventory application, navigate to CONFIGURATION > DELIVERY METHODS.
From the list of Delivery Methods, select the method to which you wish to add a delivery calendar. If you wish to create a new Delivery Method, click CREATE.

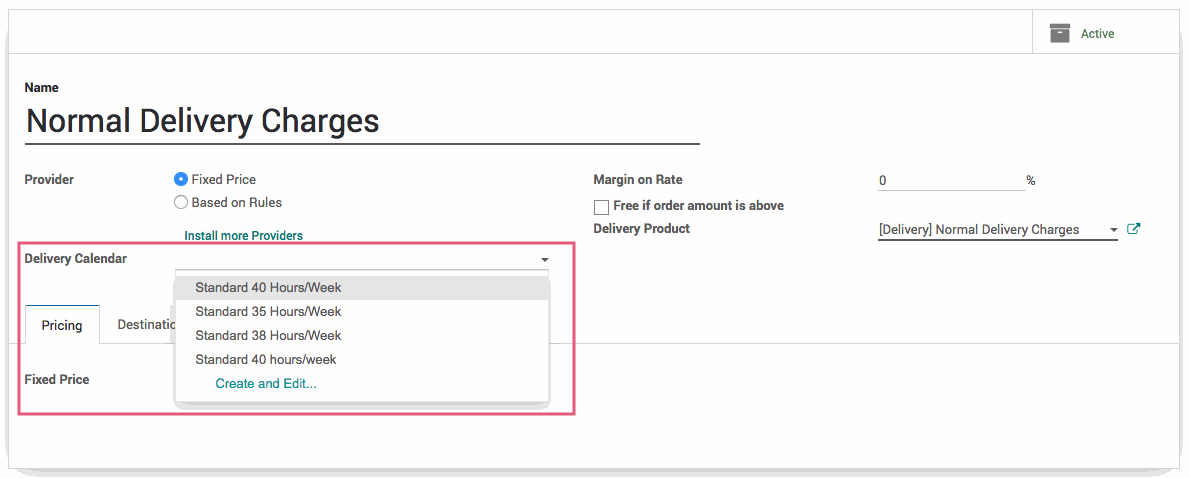
Click EDIT on the Delivery Method and select a Delivery Calendar from the Delivery Calendar dropdown menu. You can also click CREATE AND EDIT... from the bottom of the menu to make a new delivery calendar. Create this according to the instructions for creating a Shipping Calendar.
When you are satisfied with your Delivery Calendar, click SAVE.
Before navigating away from this record, you will need to retrieve the record ID for this delivery method from the URL. You need this so that you can set up the system parameters properly in a later step in this documentation.
View the URL; you will see the phrase "id=" followed by a number.

That number is the record's number. Write this number down for all delivery methods you apply a Shipping Calendar to, so you can use them when setting up your system parameters later.
Changing System Parameters
You will need to add two new system parameters in order for the Sale Order Planner to function properly.
To do this, get into debug mode. Do this by adding "?debug" after "web" in the URL.

Then, go to the Settings application.

Click the Technical menu from the top menu-bar. From the drop-down menu, select System Parameters. You may need to scroll down within the drop-down menu to see this option.
This will display all System Parameters. Click create.
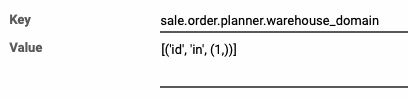
In the Key field, enter the following: sale.order.planner.warehouse_domain
In the Value field, enter the following: [('id', 'in', (enter the number(s) you retrieved from the URL on the warehouse record, separated by commas. If you are only entering one record number, add a comma after it))]
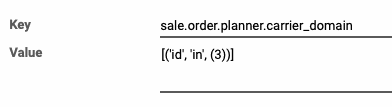
In the Key field, enter the following: sale.order.planner.carrier_domain
In the Value field, enter the following: [('id', 'in', (enter the number you retrieved from the URL on the delivery method record, separated by commas.))]
Click save. You can now create a Sale Order and use the Order Planner.
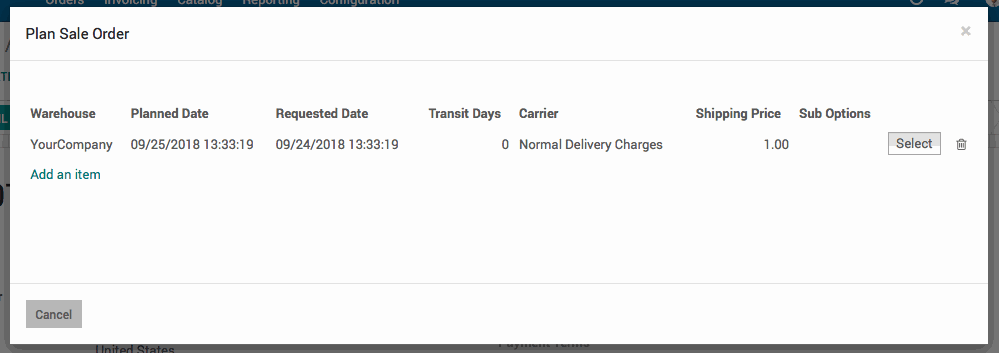
Planning a Sales Order
Navigate to the Sales application.

Technical
The Sale Order Planner module plans sales order dates based on available warehouses and shipping methods. It adds a shipping calendar field to warehouses in order to plan delivery orders based upon the availability of the warehouse or the warehouse stage. It also adds a shipping calendar field to individual shipping methods to estimate the delivery based on the specific method's characteristics.
There is also a new transient model (Wizard) `sale.order.planning.option` and views with the following fields:
`plan_id` Many2one field for the Plan
`warehouse_id` Many2one field for the Warehouse
`date_planned` Datetime field for the Planned Date
`requested_date` Datetime field for the Requested Date
`carrier_id` Many2one field for the Delivery Carrier
`transit_days` Integer field for the number of Transit Days
`shipping_price` Float field for the Shipping Price
`sub_opti
ons` Text field for the Sub Options JSON
`sub_options_text` computed Text field.