Hibou Odoo Suite: Inventory Modules: Warehouse Delivery Routes
Repository Versions:
Modules:
LGPL-3
Purpose
This document outlines the processes and use cases associated with Hibou's Warehouse Delivery Routes module.
Warehouse Delivery Routes allows you to define delivery routes per warehouse and then select those routes on a sale or delivery order. You can define warehouse routes on the Customer or Customer's Delivery address to pre-select the delivery route.
Getting Started
To get started, navigate to the Apps application.
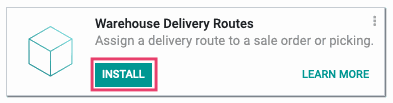
Once there, remove the existing filter and search for 'Warehouse Delivery Routes'. When ready, click INSTALL.
Good to Know!
The Warehouse Delivery Routes module requires both the Sales and Warehouse Management and the Warehouse Management: Batch Picking modules. However, if you do not already have these applications installed, Odoo will install them for you during these applications' installation!
Process
Next, navigate to the Inventory app.

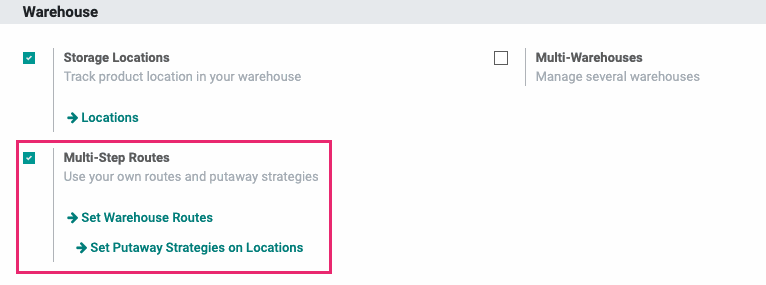
Click Configuration > Settings. Find find the Warehouse section, enable Multi-Step Routes, then click Save.
Creating a Delivery Route for a Warehouse
Next, click CONFIGURATION > Warehouse Management > WAREHOUSES. Here, we will find a list of all of the companies warehouses. Click on the warehouse you'd like to add a Delivery Route to, then click edit..
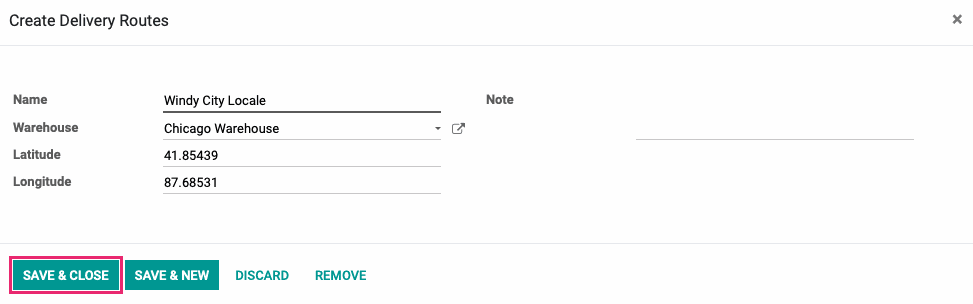
Under the new Delivery Routes tab that was added when this module was installed click Add a Line. This brings up the Create Delivery Routes modal window with the following fields.
Name: The name of this delivery route. This field is required.
Warehouse: The warehouse for this delivery route. This field is required and is pre-populated based on the warehouse you selected.
Latitude + Longitude: Enter the coordinates for this route.
Notes: Any internal notes for this delivery rote. This is an optional field.
If you're done, click Save & Close. Click Save & New to save this record and add another.
Add as many Delivery Routes as you need, then click Save on the Warehouse record.
Defining a Delivery Route on a Customer
To define a delivery route on a customer, navigate to the Contacts app.
Select the customer you'd like to delegate a delivery route for from the list of contacts, then click Edit. In the Sales & Purchases tab, there will be a new section "Delivery Routes". Select the desired delivery route(s) from the dropdown menu.
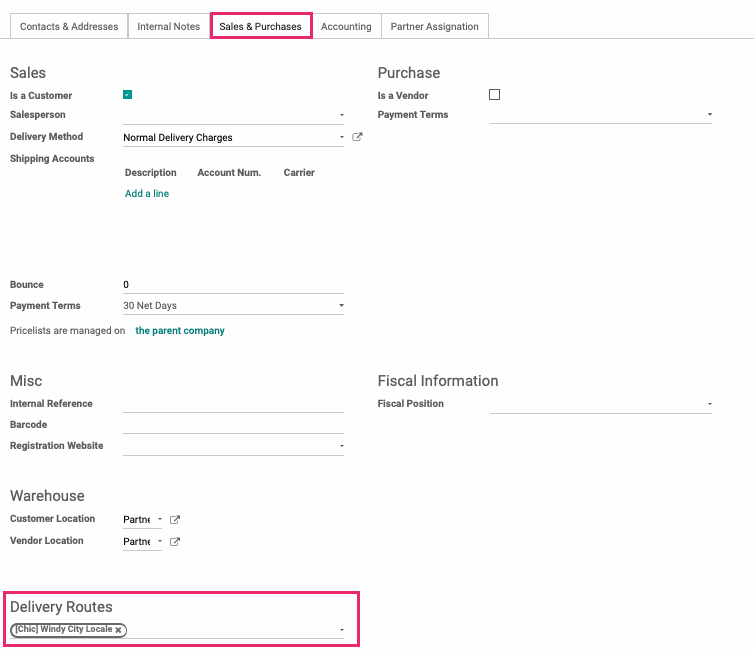
When finished, click SAVE. With this configuration, whenever a sales order is created for this customer, the delivery route will automatically be selected and filled in for you!
Selecting a Delivery Route on a Sales Order
When creating or editing a sale order, you will notice in the Other Information tab a new field in the Shipping Information group for Delivery Route. First, select a Warehouse, then select the Delivery Route from the dropdown list.

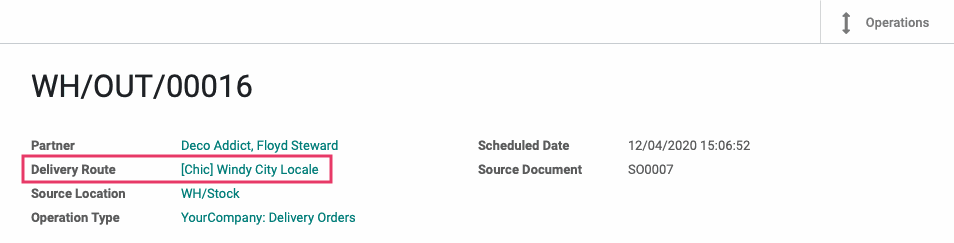
Delivery Routes + Pickings
After confirming a Sales order, the picking that gets created will also display the Delivery Route.
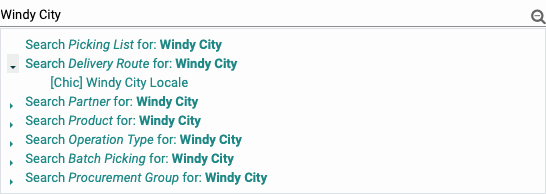
Additionally, you can search and filter pickings to just display those with a specific delivery route.
Technical
This module adds a new Warehouse Delivery Route model.
It additionally adds a One2many field `delivery_route_ids` to the Warehouse model and its form view, a Many2one field `delivery_route_id` to the Picking and Sale Order models and their form views, and a Many2many field `delivery_route_ids` to the Partner model and its form view. This allows users to define delivery routes per warehouse as well as pick the delivery route on the sale order or delivery order forms. Optionally users can define warehouse routes on the Customer or Customer delivery address to pre-select the delivery route on those aforementioned forms.