Project: Project Workflows: Using Timesheets with Projects
Purpose
This document will show you how to track time on your projects and then how to review that time on the Timesheets application of Odoo 15.
Process
To begin, navigate to the Project Application.
Adding Time to Tasks
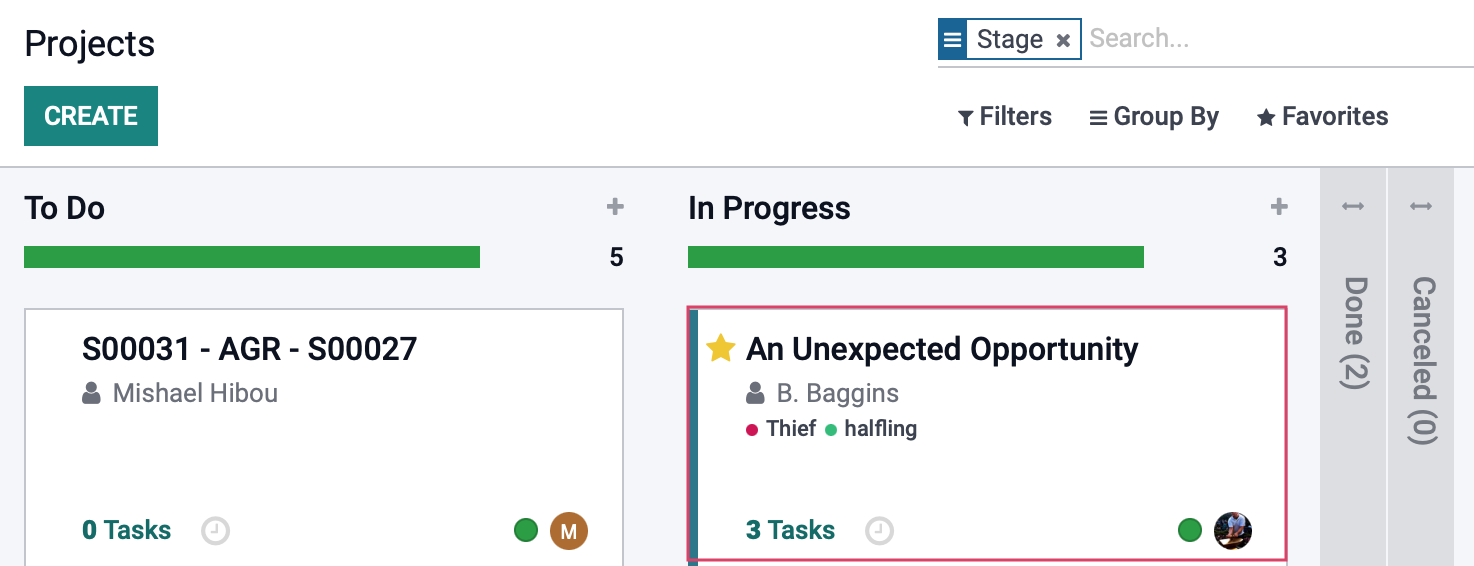
Once on the Project app, you'll see all of your projects. Select the one that you want to add time to. Then select the task that you want to track the time for.
Click edit on the task. Then navigate to the Timesheets tab.
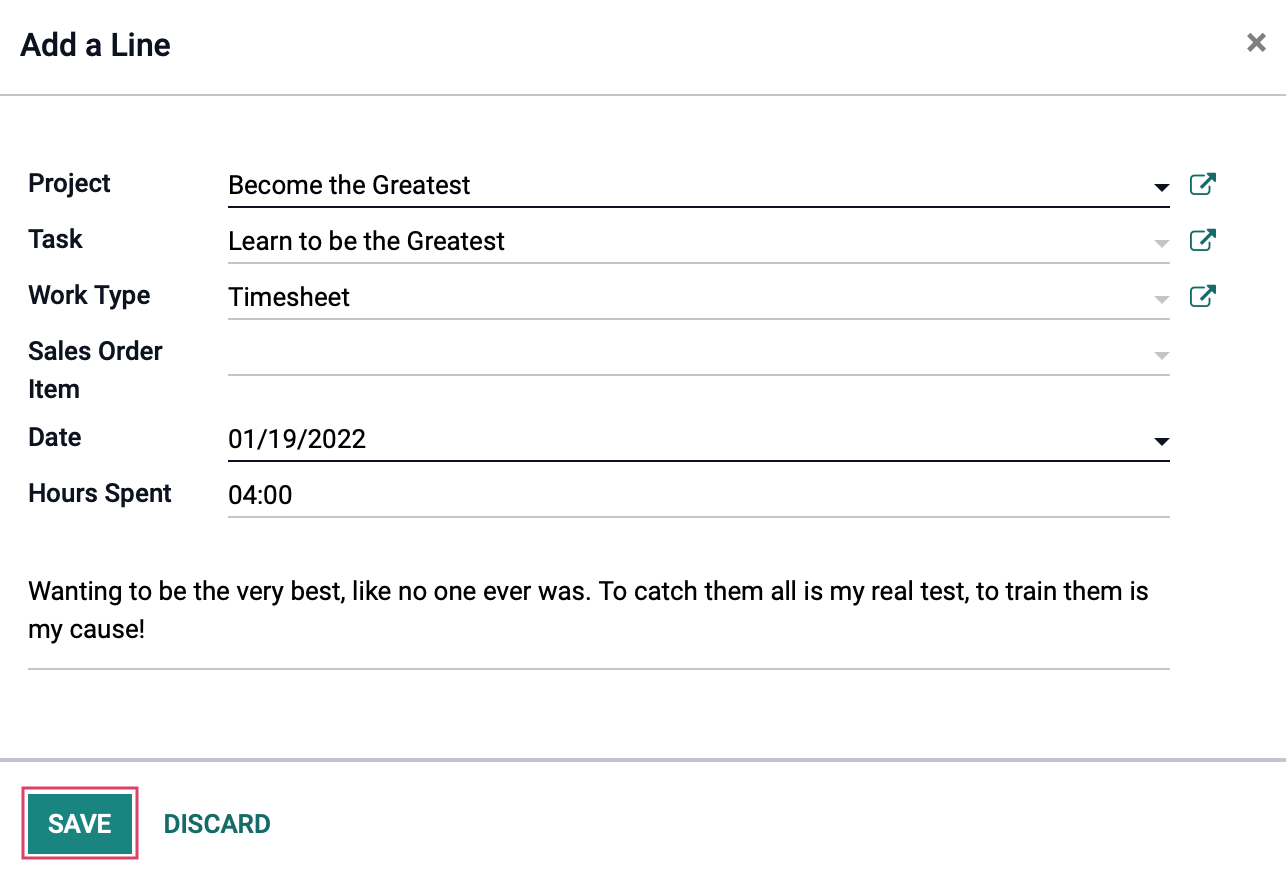
To create a new Timesheet entry, click the add a line button. You’ll see a dropdown calendar to choose a date that you want to log the timesheet entry for.
You can also select the employee that you want the timesheet entry to be applied to.
In the Description field, you can enter a description for the timesheet entry so that there is transparency and clarity for what you are logging the time for.
Next set the duration of the time that you are adding onto this task.
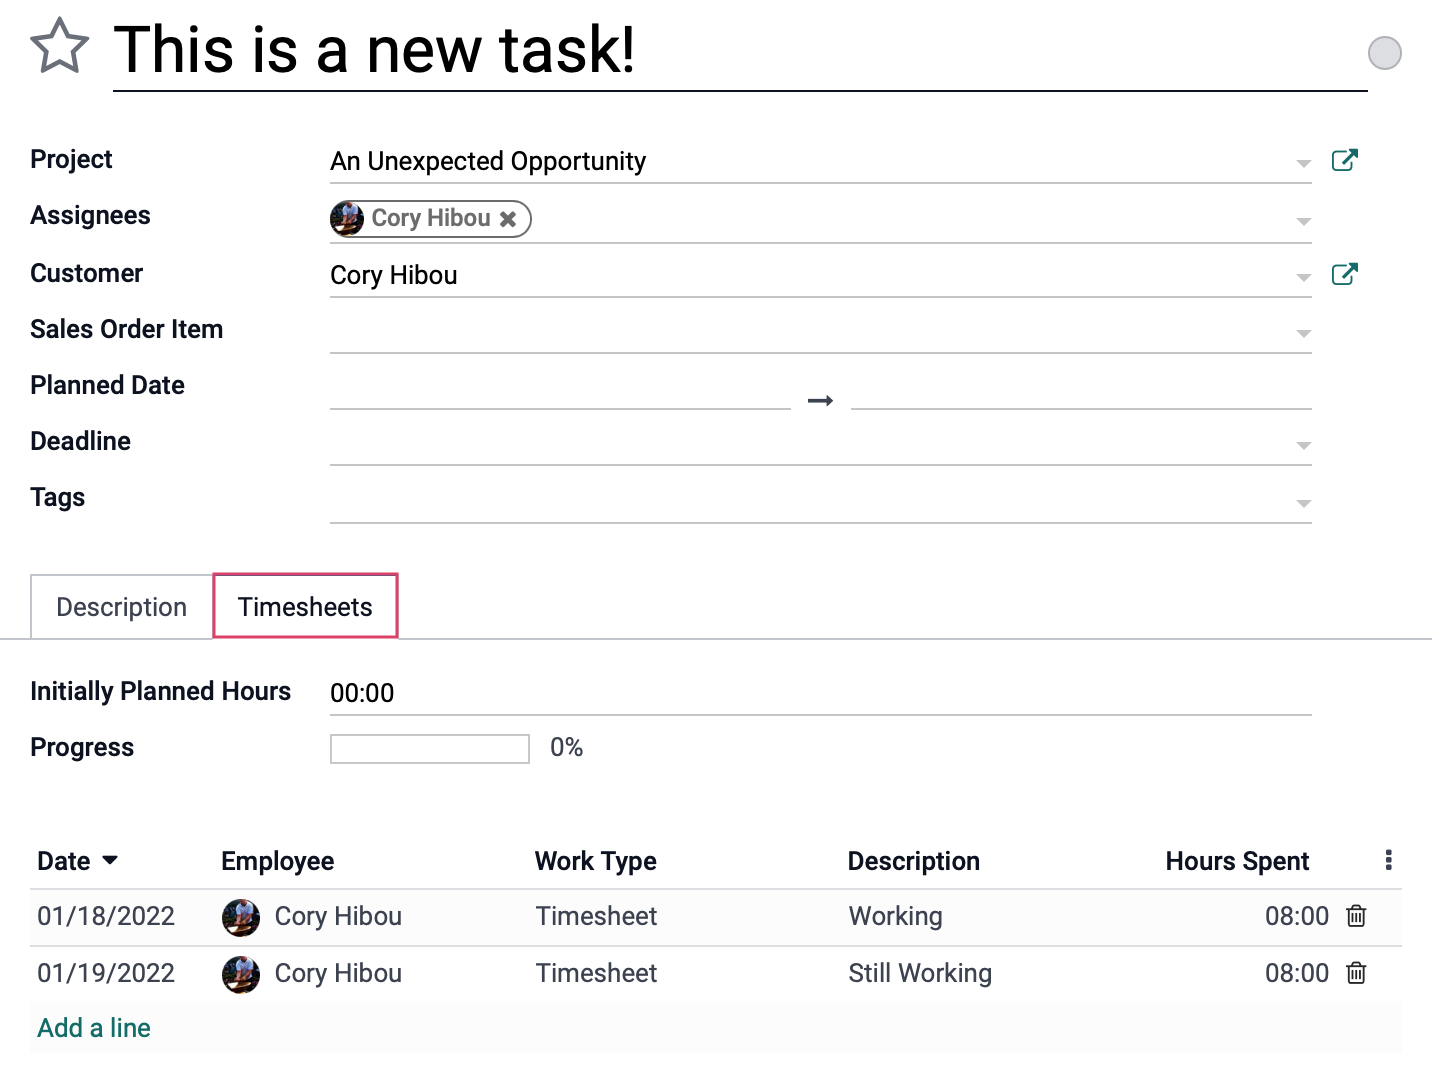
Once you’ve added the necessary timesheet lines, hit save and your time will be logged onto the task accordingly.
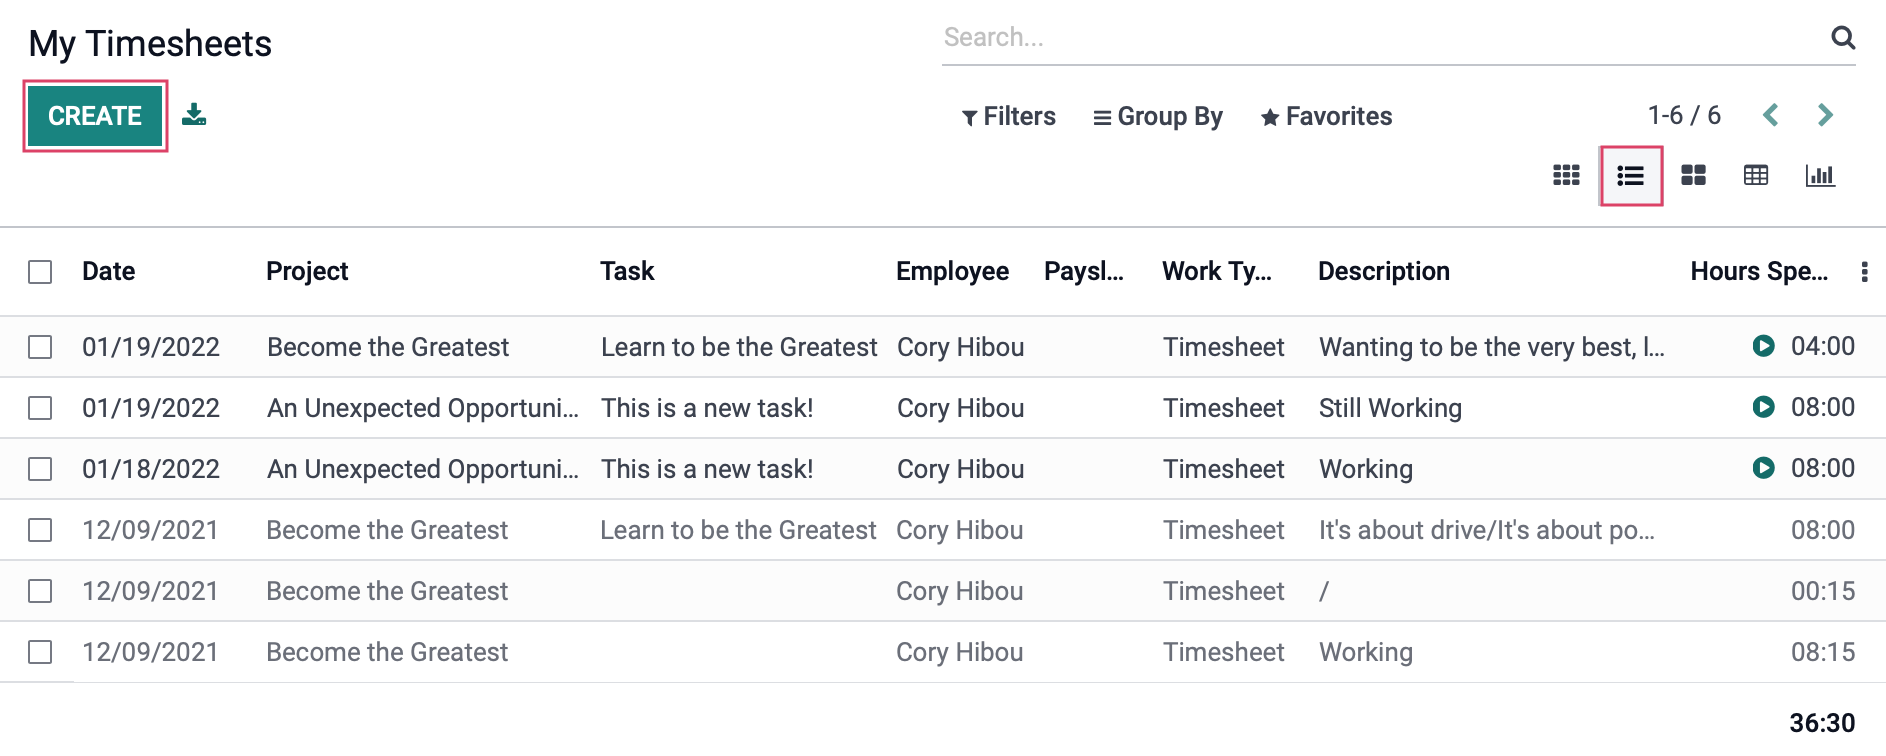
Reviewing Timesheet Entries in the Timesheets Application
To get started, navigate to the Timesheets application.
By default you’ll see your own timesheet entries for the current week. If you change your view to see your entries for the month, you’ll see all of the Projects and Tasks that you have time logged for already in a grid view.
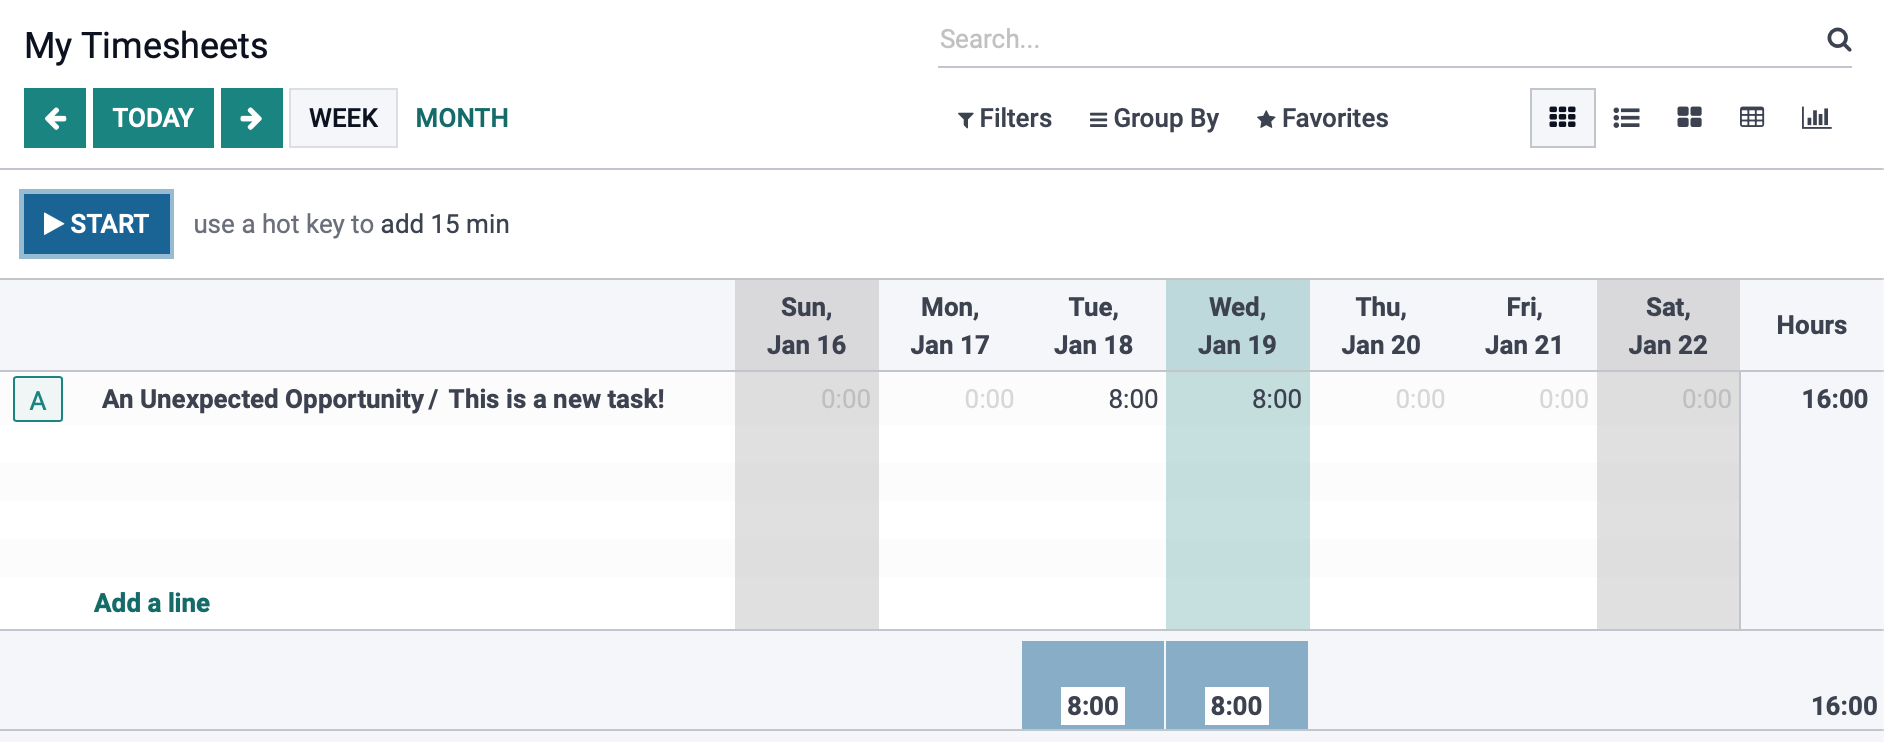
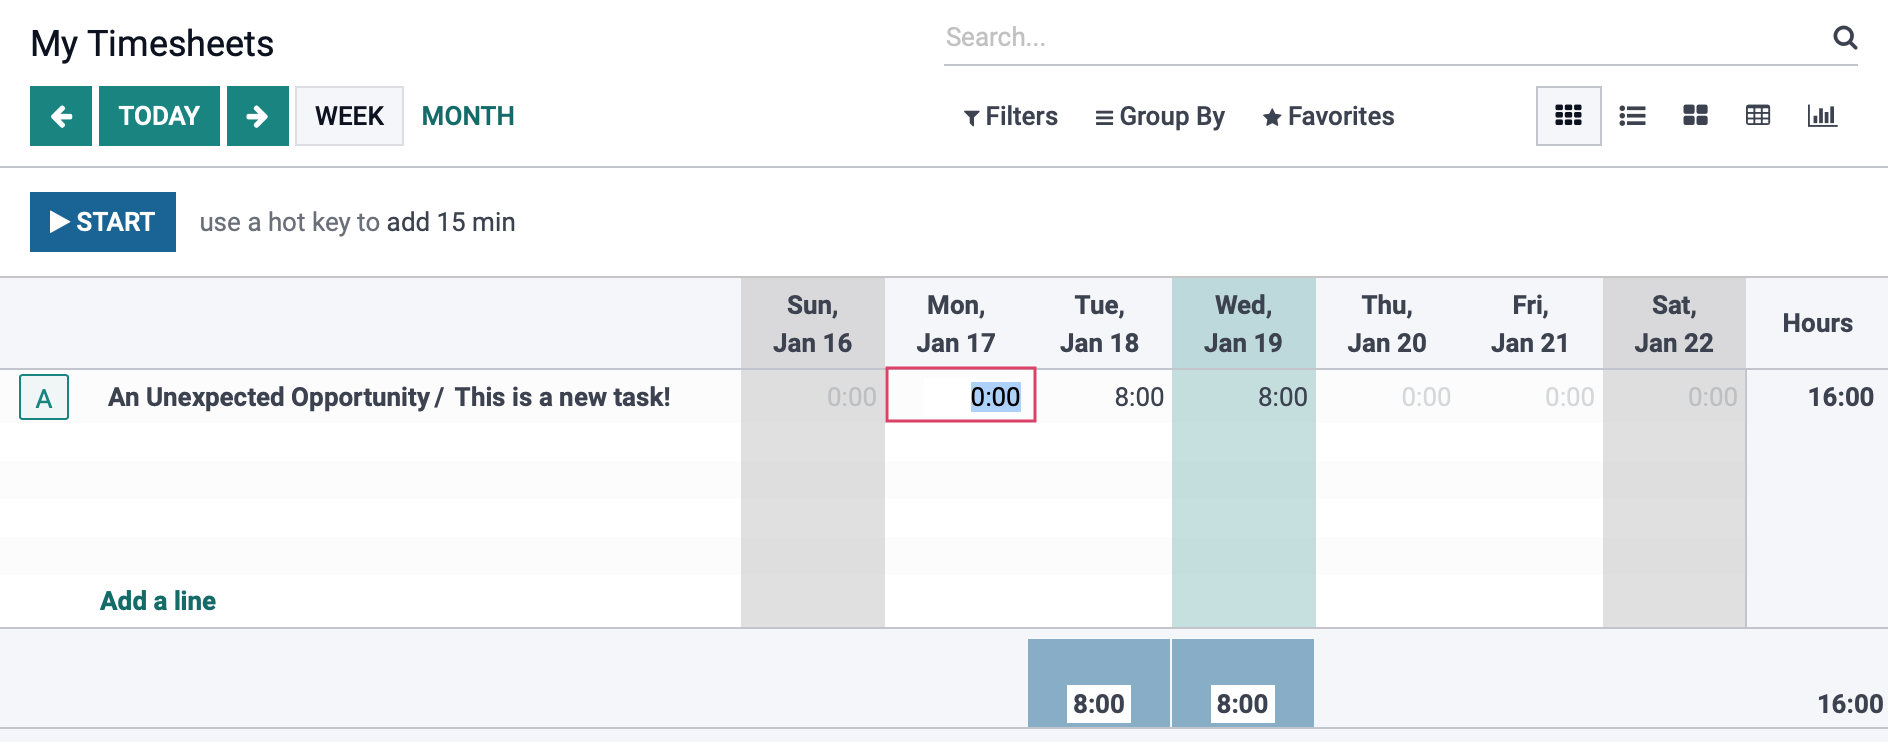
To create a new timesheet entry for any project or task that is already on your timesheet, simply click on the time sheet space that intersects with the date you want the entry to be for and enter the amount of time that you want to add.
If you need to add time to a task or project that is not already on your timesheet, click the Add a line button.
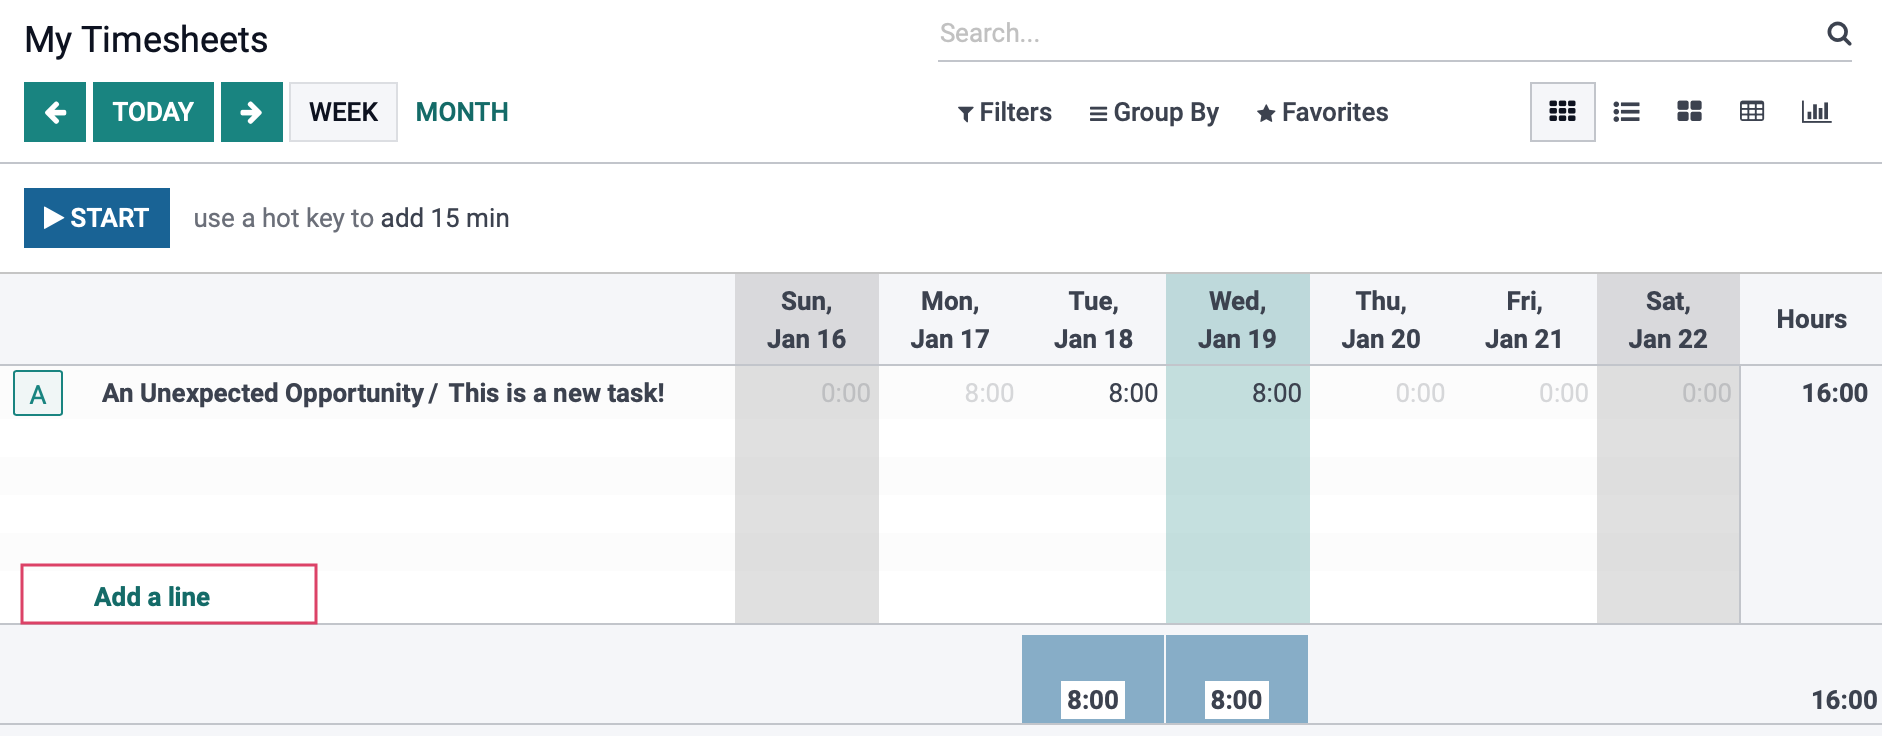
Select the Project, Task, and Employee that you want your timesheet entry to be associated with and click Save.
You will now see the project or task you just added on your timesheet and can add time to that task or project by inputting the time you need on the correct day, the same way as above.
Good to Know!
Adding time to your timesheets in the grid view will not allow you to add a description to your entries and it will also not allow you to add multiple entries for the same project on the same day as separate entries. You can accomplish both of these things by changing your view to the List view and adding entries by hitting the create button.
To learn more about using Timesheets, check out our Timesheets documentation!