Project: Configuration: Projects
Purpose
The purpose of this document is to give an overview of the information and features of the Projects application in Odoo 16.
Process
To get started, navigate to the Project app.
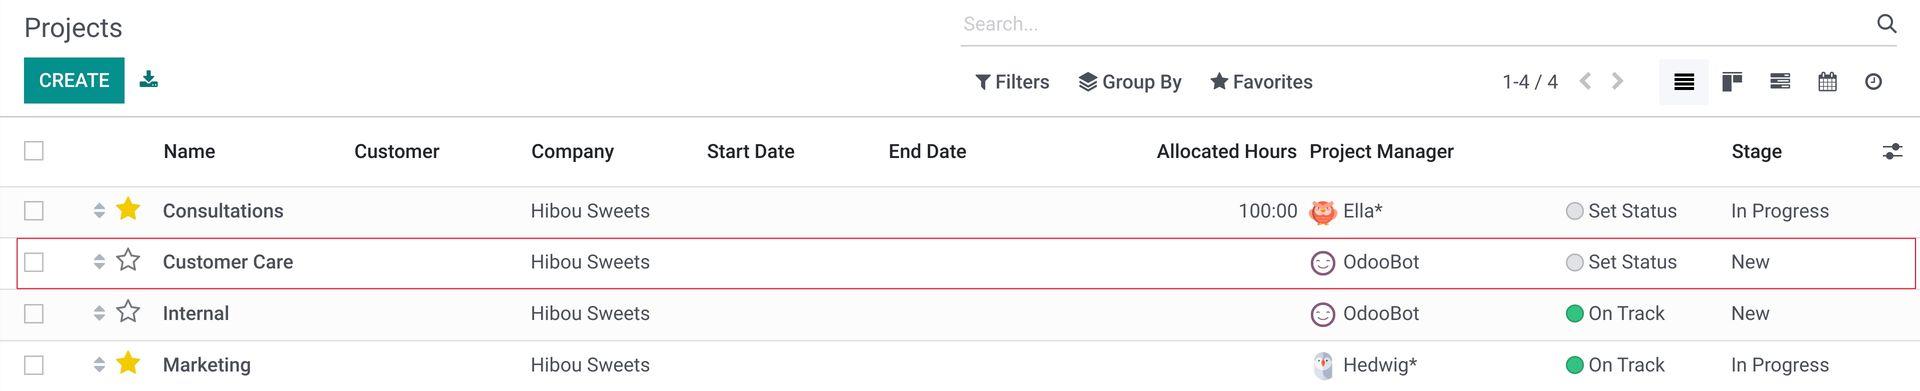
Click Configuration > Projects.
The data on this page is similar to the Projects overview page at a glance; however, its purpose is more focused on the project data and less on workflow.
Click on any record to bring up the details for a project.
Smart Buttons
On the top of this page, you'll see smart buttons for relevant data in Odoo associated with this project. Depending on your Project app configuration, these buttons may vary. Clicking each of these buttons will bring you to the respective page of information. Use the breadcrumbs at any point to jump back to the project, or the list of projects.
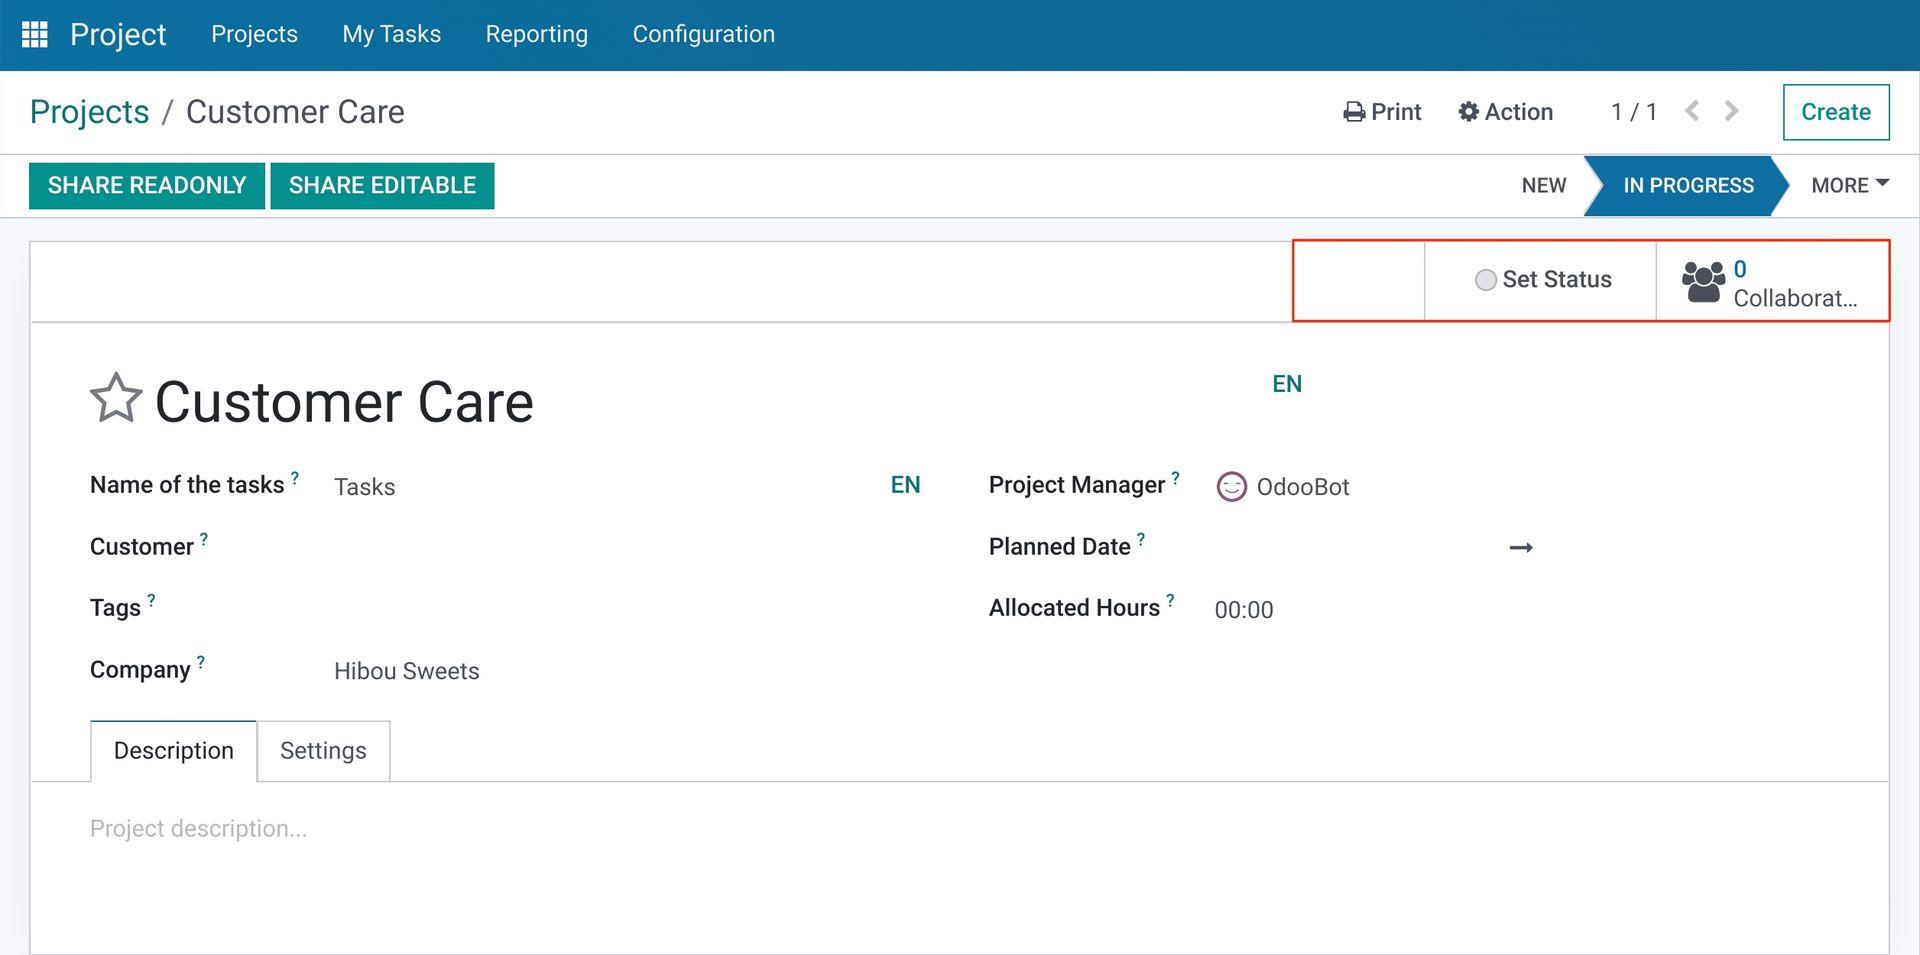
Project Data
The majority of the settings and details on this page were configured when the project was created. Click any field on this page to see the possible options.
General Settings
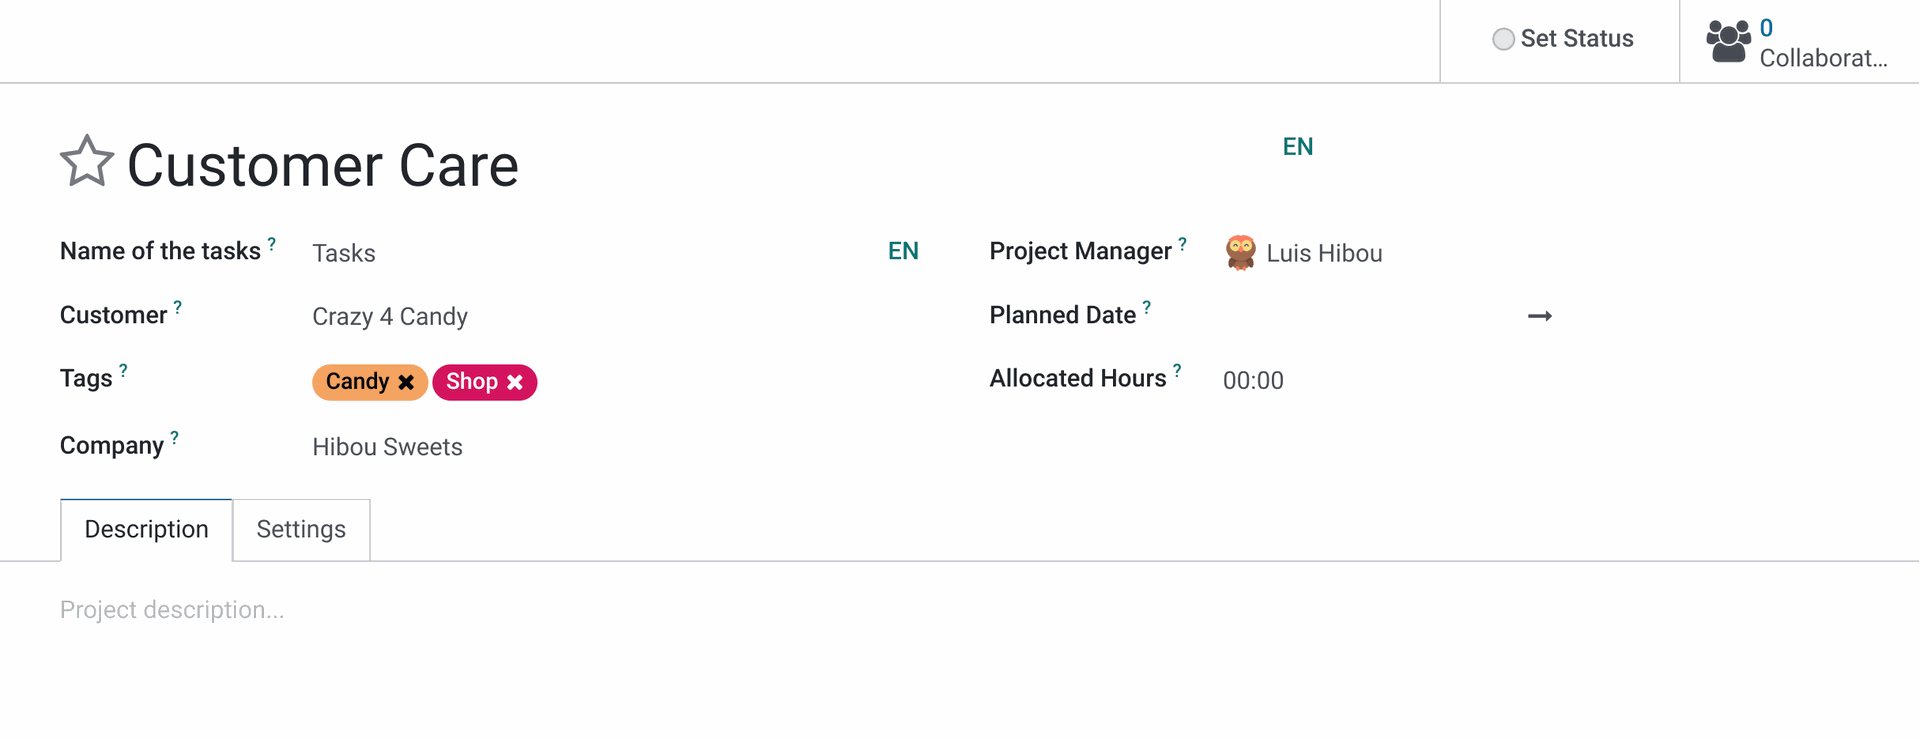
Name: The name of the project.
Name of the tasks: This defaults to "Tasks" but you can change it to reflect the type of project it is, such as "Steps".
Project Manager: The employee in charge of this project.
Customer: The customer this project is for.
Planned Date: Set a beginning and ending date for the project if you would like.
Tags: Any tags you wish to associate to the project for filtering purposes.
Company: The name of the company managing this project.
Under the description tab, you can enter an overall description of the project.
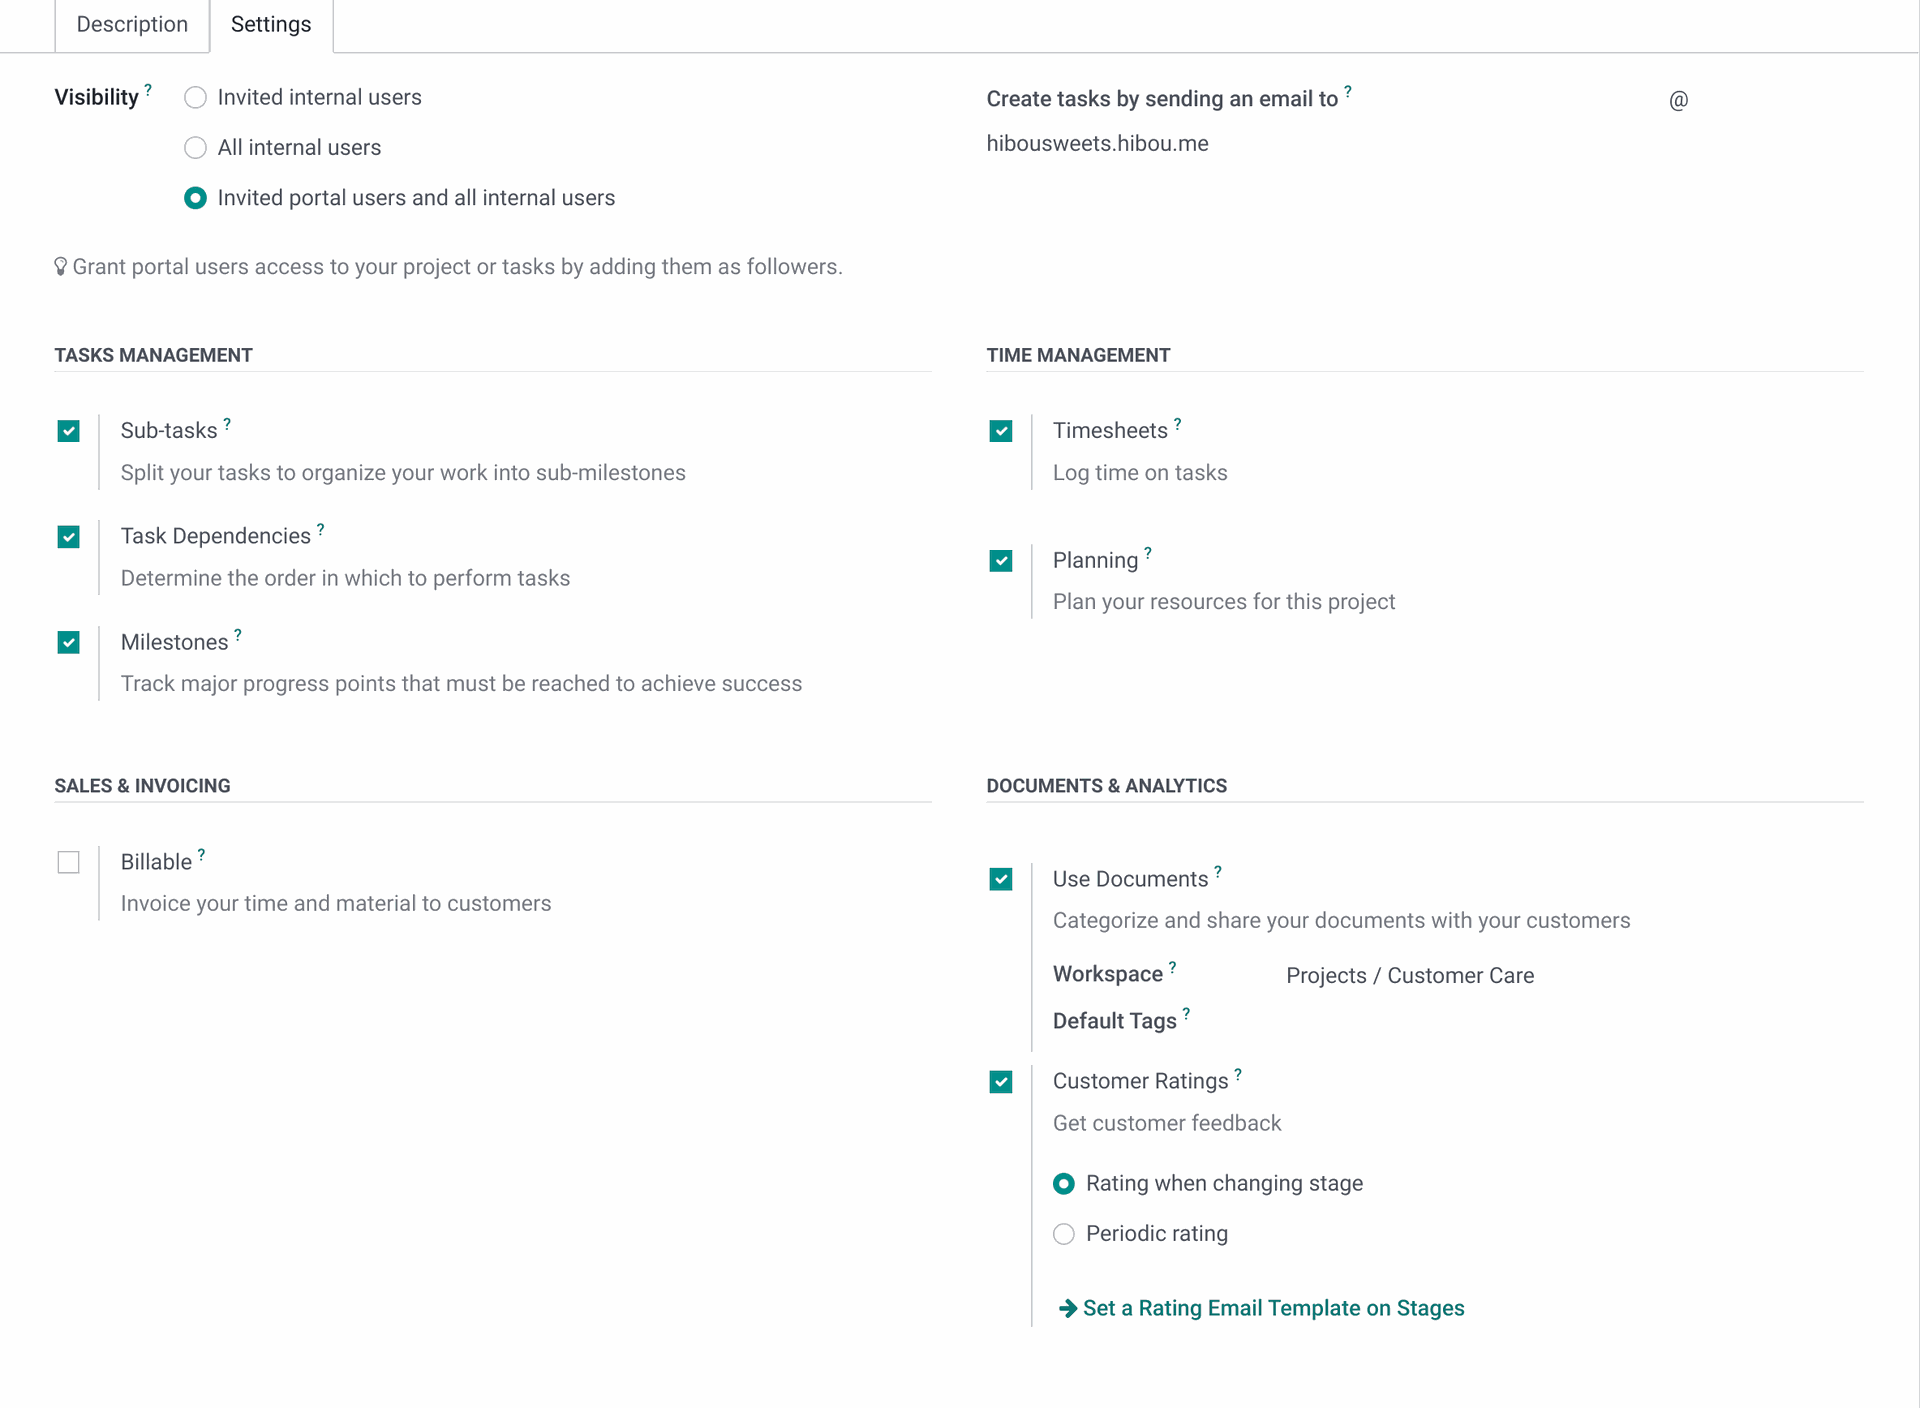
Under the Settings tab:
Visibility: Indicate who can see this project.
Invited Internal Users: Only employees who have this project Shared with them have access, covered below.
All Internal Users: If selected, any employee will have access.
Portal users and all internal users: If selected, all employees and those contacts with Portal Access will have access.
Create tasks by sending and email to: the name of the email alias if you want to catch emails for a certain email
Under Task Managment:
Sub-tasks: Enabling this option will allow you to split your tasks to organize your work into sub-milestones
Tasks Dependencies: Enabling this option will allow you to determine the order in which to perform tasks
Milestones: Enabling this option will allow you to track major progress points that must be reached to achieve sucess
Under Time Managment:
Timesheets: Enabling this option allows users to enter timesheets on tasks. See Using Timesheets with Projects.
Planning: Enabling this option will allow you to plan your employees or resources to be set on a project. See Using Forecasts with Projects
Under Sales & Invoicing:
Billable: Enabling this option will allow you to invoice your time and material to customers
Products on Tasks: This will allow you to keep track of products that are used to complete a task.
Extra Quotations: Enabling this will allow users to create new quotations for future work within the existing project.
Under Documents & Analytics:
Use Documents: Enabling this option will allow you to categorize and share your documents with your customers
Customer Ratings: Enabling this option allows customers to give ratings on tasks. For more information on ratings, read our Project: Ratings documentation.
.
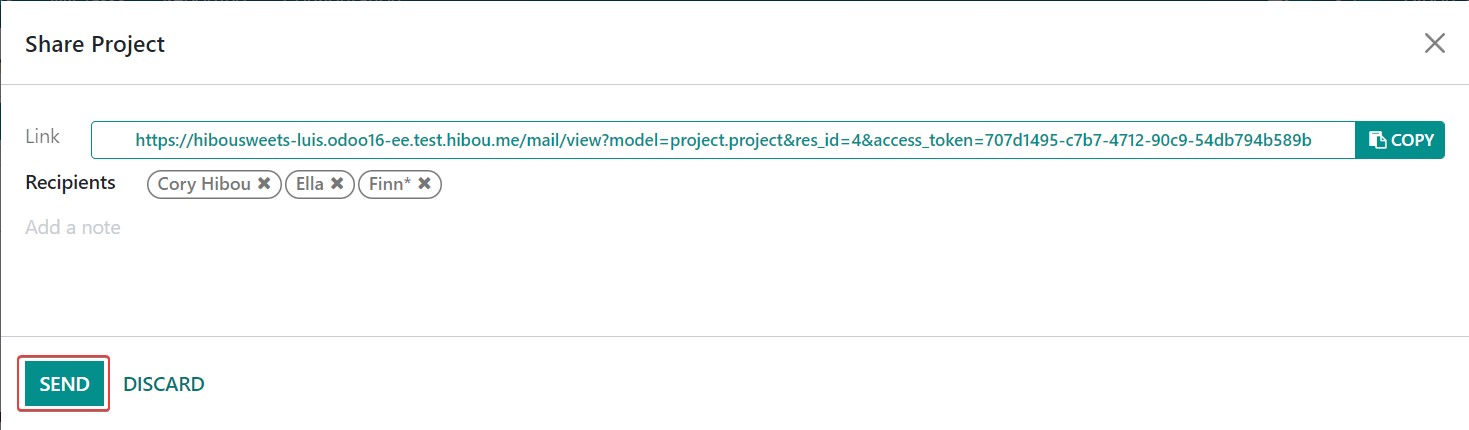
Share
V16 now has the ability to share with two different options: Share Readonly and SHARE editable. The buttons allow you to invite others to view the project without administrative permissions by either copying the link and sharing with them manually, or adding them as a recipient to the Share Document form.