Project: Project Workflows: Using Timesheets with Projects
Purpose
This document will show you how to track time on your projects and then how to review that time on the Timesheets application.
Process
To begin, navigate to the Project app.
Enable Timesheets
To utilize the Timesheets feature, make sure it's enabled in the Project app. To do so, click CONFIGURATION > SETTINGS, then under the Time Management section, enable Timesheets.

When done, click Save.
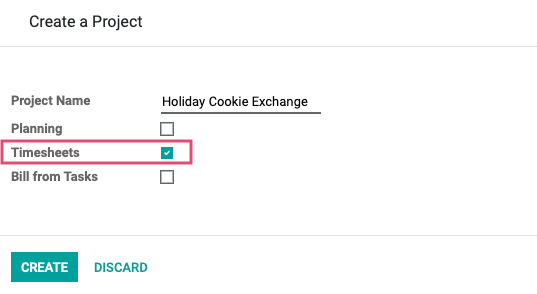
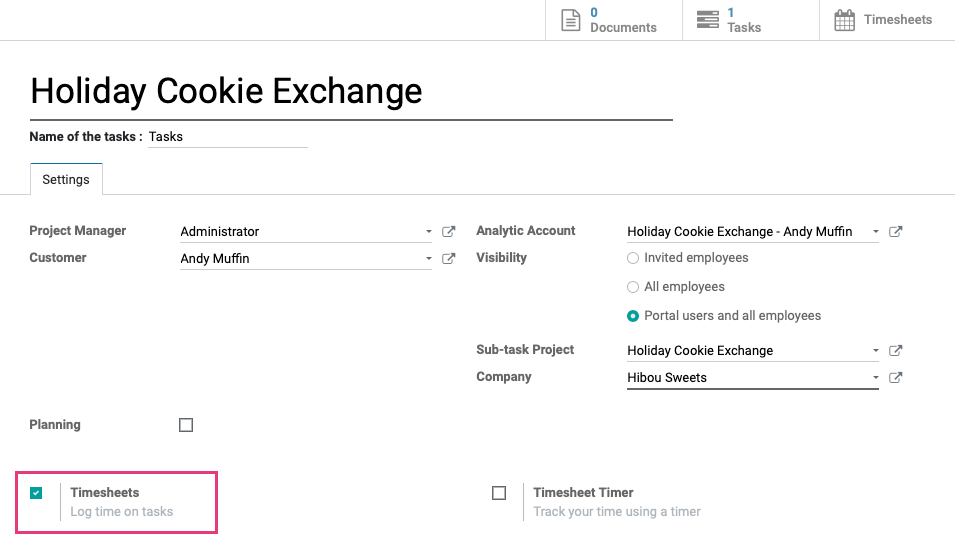
Next, be sure the Timesheets option is enabled on the project level. You can do this when creating a new project by clicking Timesheets on the modal window.
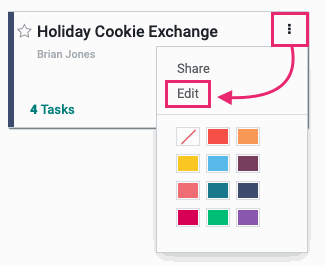
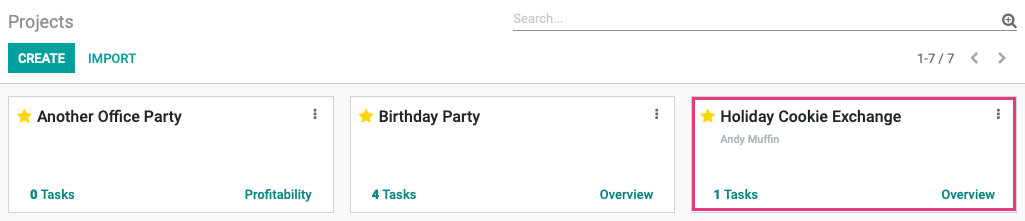
You can also enable Timesheets on an existing project by editing the project from the kanban card menu.
Additionally, you can edit a project through the CONFIGURATION > PROJECTS page.
With a project's settings, be sure you're in edit mode, then enable the Timesheets option and click Save.
Adding Time to Tasks
Navigate back to the overview page by clicking Projects. Here you'll see all of your projects. Select the one that you want to add time to.
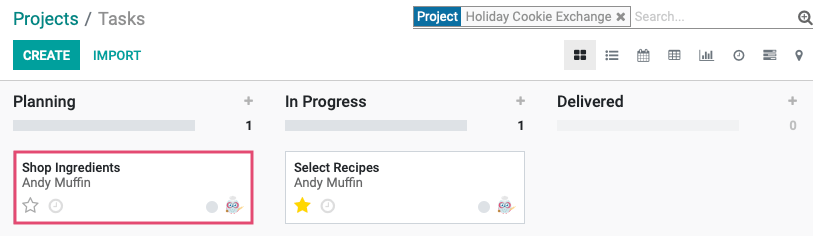
From within the project stages, click the Task to record time for.
From within the task, click EDIT and, under the Timesheets tab, click Add a Line.
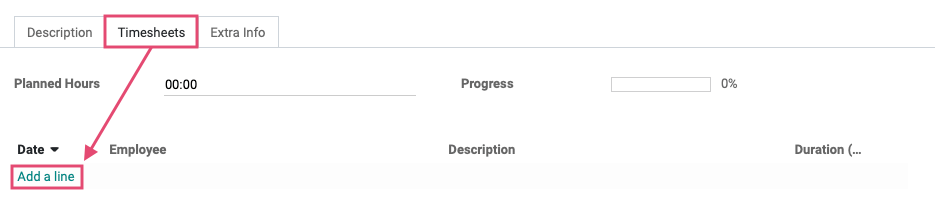
On the new line that's been added, there are four fields:
Date: Click the dropdown to select the date to record time for.
Employee: Select the employee to record time for.
Description: Enter a description of the work done for this task.
Duration: Enter the time spent on this task.
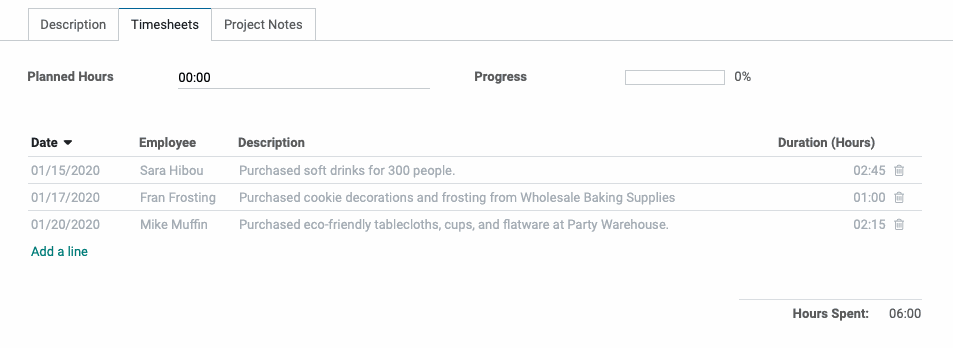
When all time is added, click Save.
Reviewing Timesheet Entries
To get started, navigate to the Timesheets app.
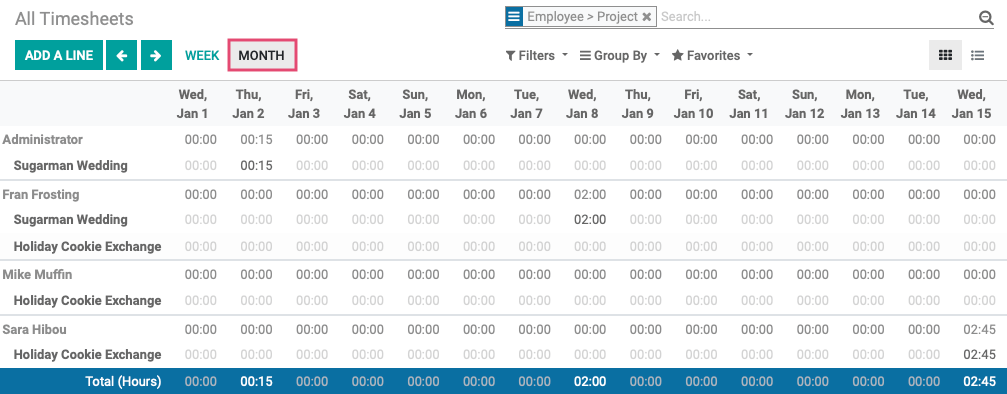
By default, you’ll see your own timesheet entries for the current week.
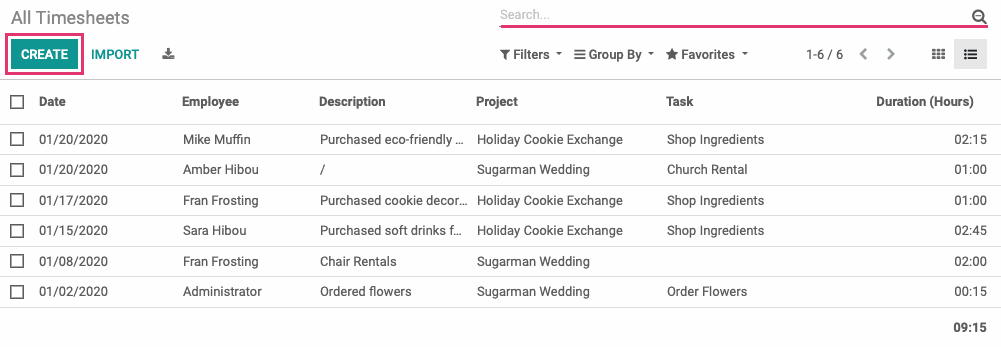
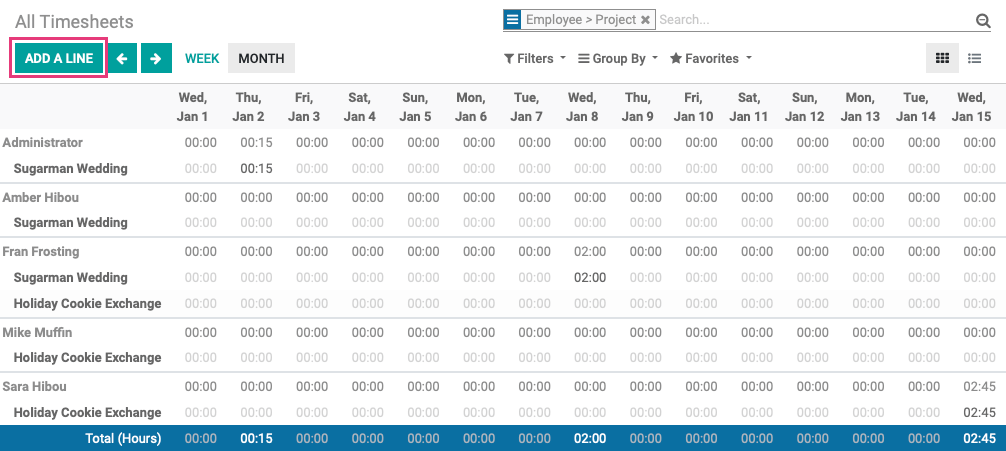
To see Timesheets for everyone during the current month, click Timesheet > All Timesheets, then click Month.
Adding a Timesheet Entry
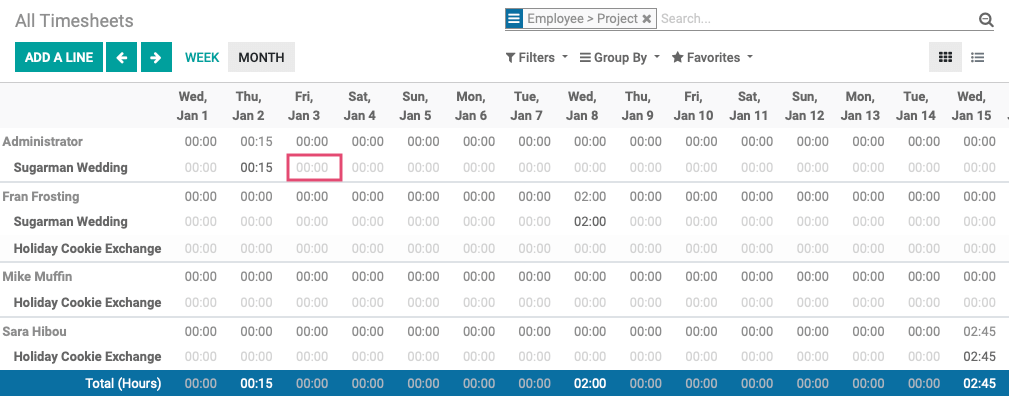
To create a new timesheet entry for any project or task that is already on your timesheet, simply click on the timesheet space that intersects with the date you want the entry to be for and enter the amount of time that you want to add.
On the next window, click CREATE, then enter the new timesheet information accordingly.
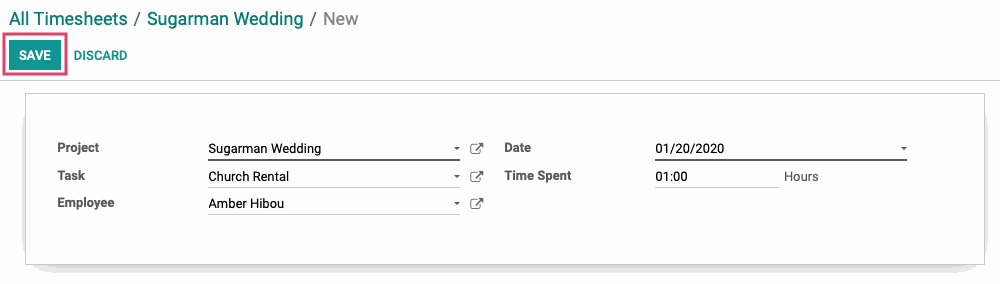
Project: This field will auto-populate based on the entry selected.
Task: Select a task from this project, or create a new task.
Employee: Select the employee to record time for.
Date: Select the date the work was performed.
Time Spent: Enter the time spent on this task.
Click Save.
Add More Time
If you need to add time to a task or project that is not already on your timesheet, click the Add a line button.
Enter the form details accordingly.
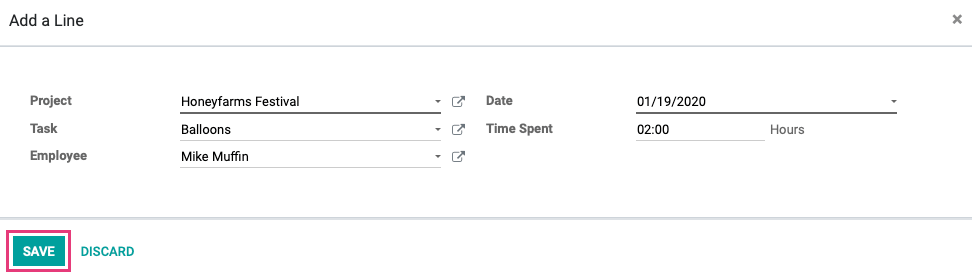
Project: Select the project to add to this timesheet.
Task: Select a task from this project, or create a new task.
Employee: Select the employee to record time for.
Date: Select the date the work was performed.
Time Spent: Enter the time spent on this task.
Click SAVE. You will now see the project or task you just added on your timesheet and can add time to that task or project by inputting the time you need on the correct day, the same way as above.
Good to Know!
Adding time to your timesheets in the grid view will not allow you to add a description to your entries and it will also not allow you to add multiple entries for the same project on the same day as separate entries. You can accomplish both of these things by changing your view to the List view, removing the Search filter, and adding entries by clicking the create button.