Project: Project Workflows: Using Project Ratings
Purpose
The purpose of this document is to explain how to enable and configure Project Ratings in the Odoo 13 Project app. We'll also demonstrate the process of submitting reviews from the client-side.
Process
To get started, navigate to the Project app.
To utilize the Rating feature, make sure it's enabled in the Project app. To do so, click CONFIGURATION > SETTINGS, then under the Tasks Management section, enable Use Rating on Project.
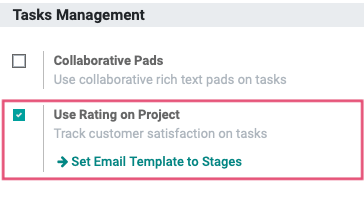
When you're done, click SAVE.
Enable + Configure Ratings per Project
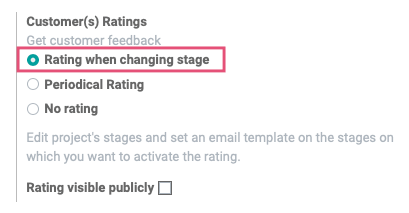
Locate the Customer(s) Ratings section and select how you'd like to gather customer ratings. In either scenario, Odoo will send an email to the client asking for feedback based on your preferences. This only applies to stages that have a Rating Email Template configured, which will be covered in the next section.
Rating when changing stage: The feedback request is sent to the client when a task moves from one stage to another.
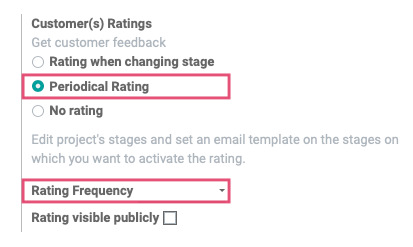
Periodic Rating: When enabled, the feedback requests are emailed at specified intervals.
Rating Frequency: This field displays when Period Rating is selected. Select the frequency that these emails should be sent.
Rating visible publicly: This field displays when Period Rating is selected. If you'd like the rating to show to those with public access, you can select that option here.
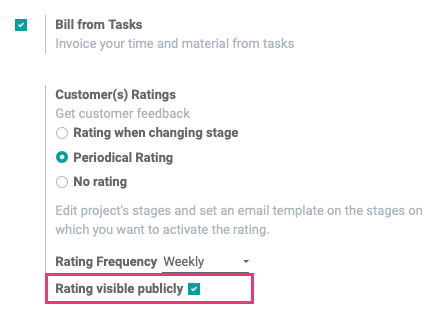
When done, click Save.
Important!
You must be in Debug mode to access the sections covered in this next section. To quickly enable it, simply add ?debug=1 to your page's address (URL) just before the # symbol, then hit Enter.

If you did it correctly, you'll see the icon on the top of your screen.

Enable Rating Email Templates
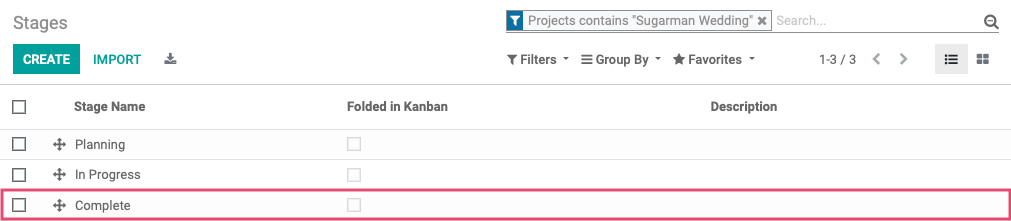
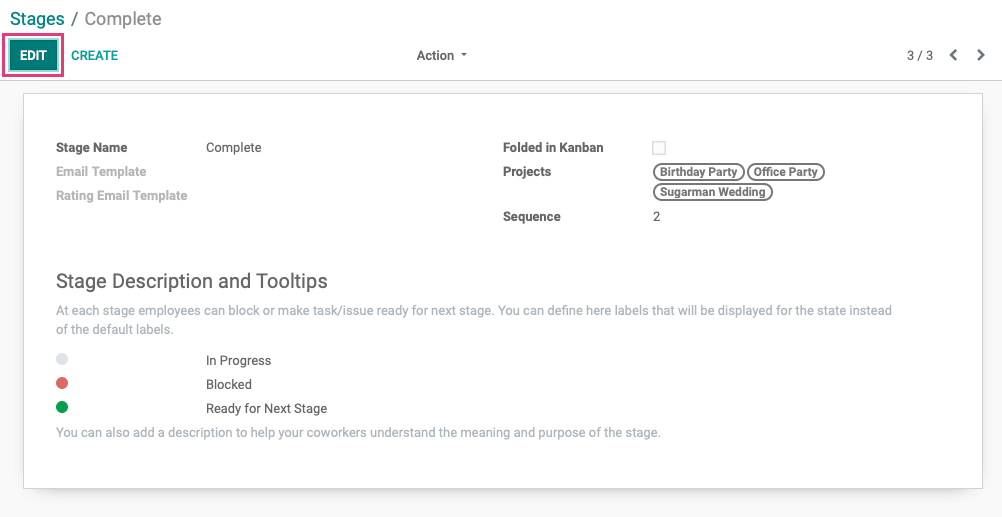
From within the Project app, click Configuration > Stages. This will display a list of all stages created, but not necessarily used, in your projects. You can use the filter to narrow the stages down by project if desired.
From the list, click the stage to which you'll be adding the Rating Email Template.
Click Edit.
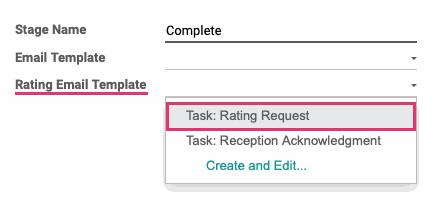
To use the default template, click the Rating Email Template drop-down and select Task: Rating Request. You can create your own template if you wish, but it's a bit more complex and won't be covered in this document.
Once selected, you can customize this default template using the icon. Be sure not to make it project or client-specific since it will apply to all project stages using this template.
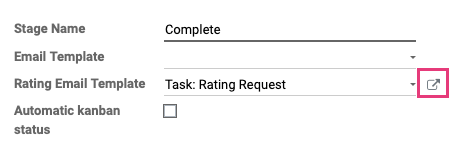
When you're done, click Save.
Now, depending on your Product Rating configuration, this email template will either send to the client periodically while in this stage or immediately upon moving to this stage.
What the Client Sees
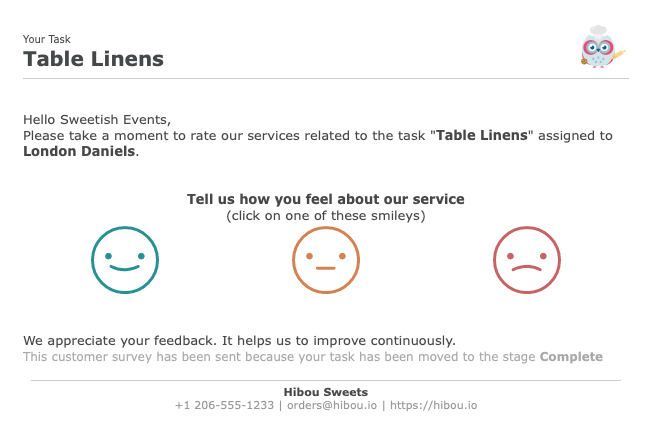
Your client will receive an email that looks similar to the one below. Odoo has made it very simple to submit a rating by simply clicking the appropriate smiley.
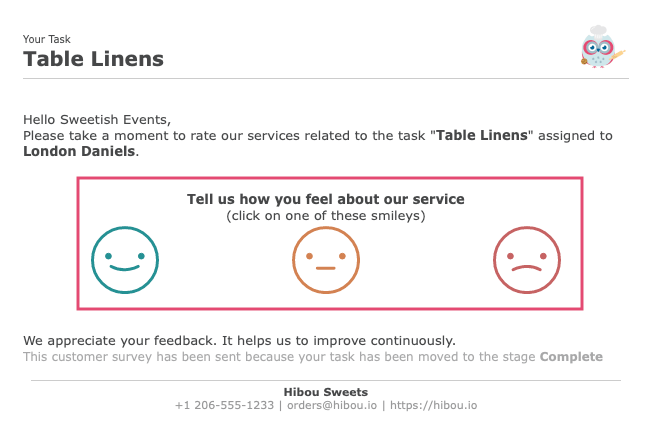
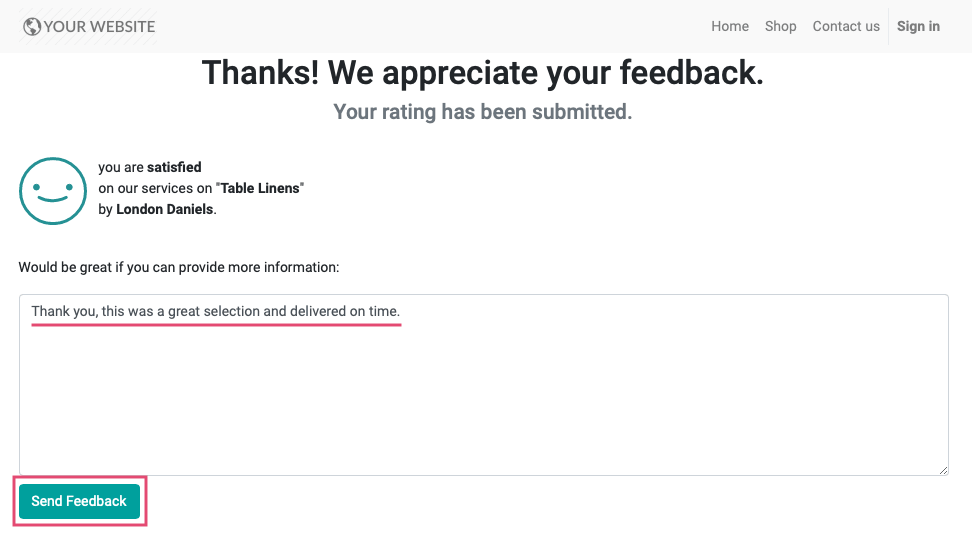
Once clicked, the rating is immediately submitted and they'll have the option to add their comments and Send Feedback.
Viewing Project Ratings
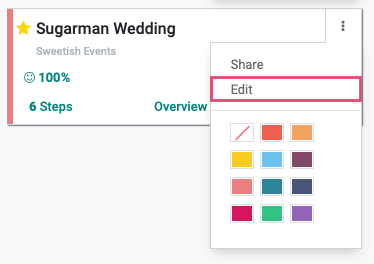
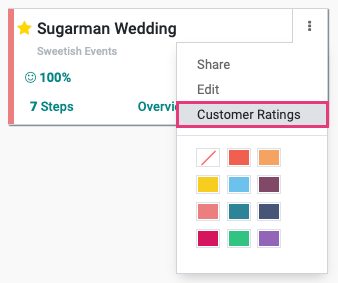
Click Projects to access the kanban view of all projects. From the individual menu on the project card, select Customer Rating.
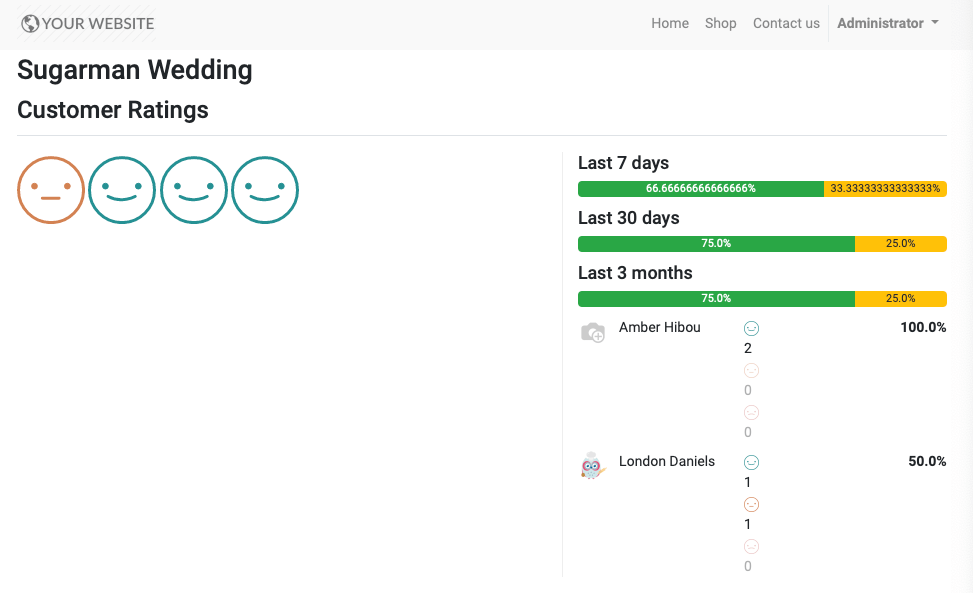
The page you see next depends on whether or not the Customer Ratings are visible to the public, which was covered in the configuration section.
The Public Customer Ratings page shows all ratings submitted, each represented by a smiley graphic, as well as the breakdown of ratings by submission time and employee.
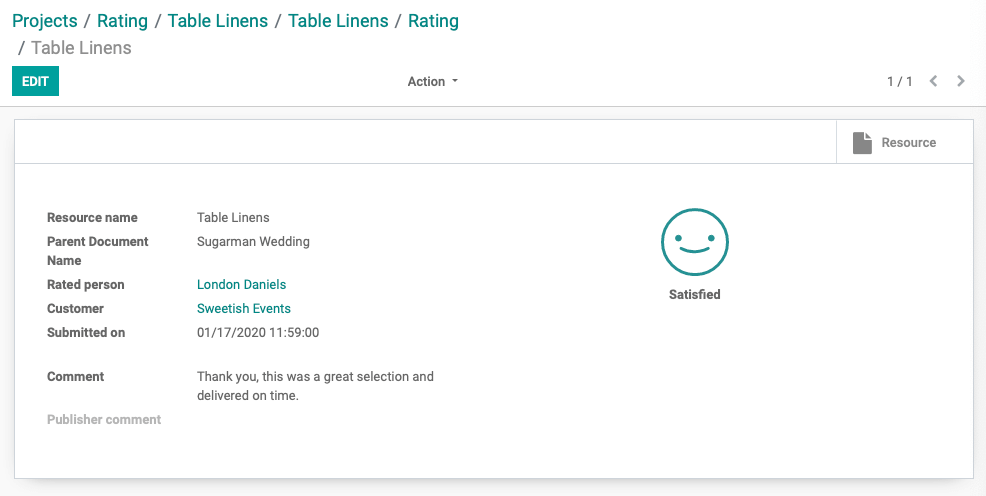
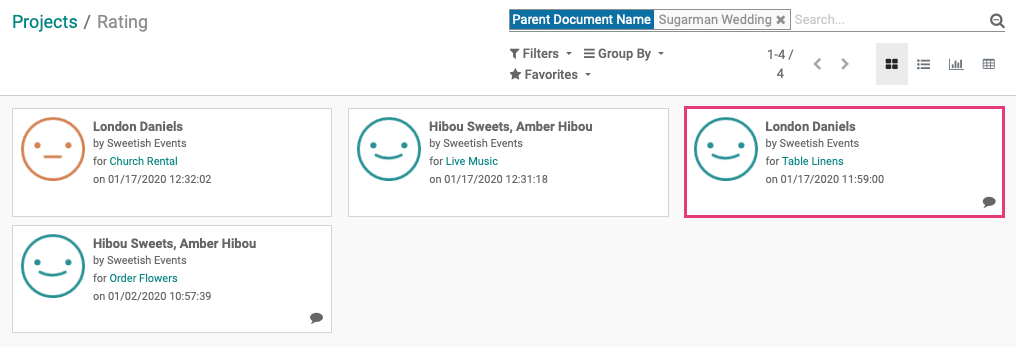
The Private Customer Ratings page is organized in a kanban view with a card for each individual submission. Click any card to see the details. Cards with the comment icon indicate the customer has left feedback.
This individual feedback card includes further details, as well as a Resource smart button that will take you directly to the task this feedback was created for.