Project: Project Workflows: Planning (Project Forecasting)
Purpose
Planning allows you to create work shifts by Employee or Project. This document will show you how to utilize these features in the Project app to plan when your employees will be working on different projects and tasks.
Process
To get started, navigate to the Project app.

Settings
To utilize the Planning feature, make sure it's enabled in the Project app. To do so, click CONFIGURATION> SETTINGS, then under the Tasks Management section, enable Forecasts.
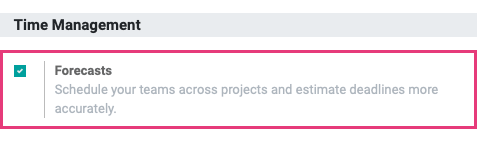
When done, click Save.
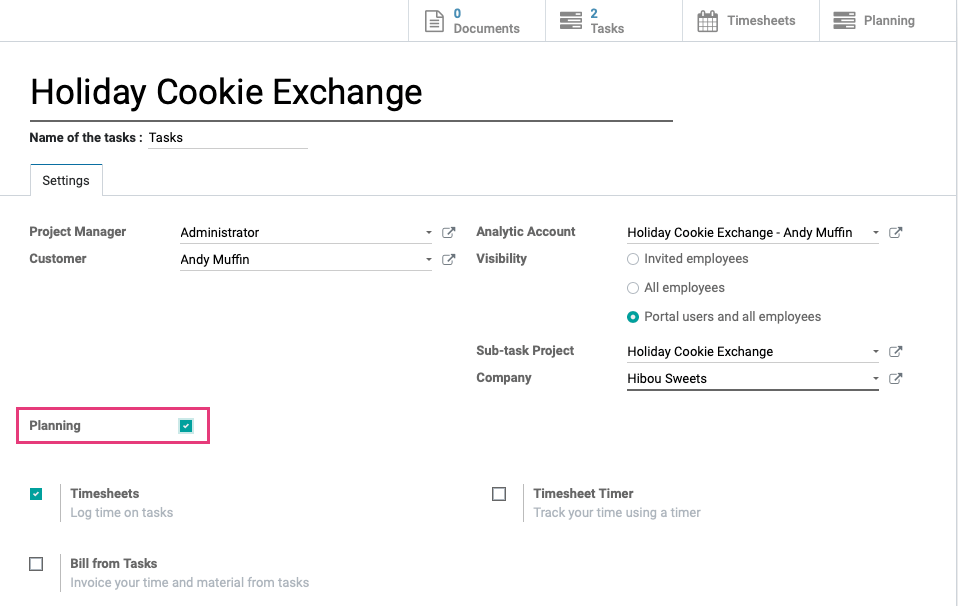
Next, be sure the Planning option is enabled on the project level.
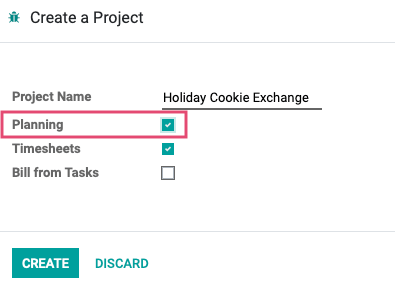
For a new project, click Projects to get back to the kanban view, then click Create to make a new project. In this modal window you'll select Planning.
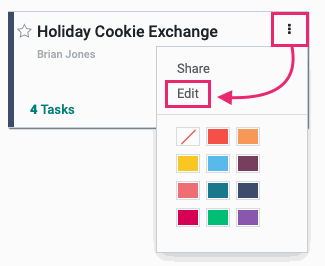
For existing projects, click Projects to get back to the kanban view. Click the menu and then Edit.
You can also access project settings through the CONFIGURATION > PROJECTS page.
Once within the edit mode of a project's settings, enable the Planning option and click SAVE.
Good to Know!
Once you enable Planning, you'll then see a Planning app on your main Odoo menu. Use this as a shortcut to manage only the Planning aspect of your projects or other processes.

Planning by Employee
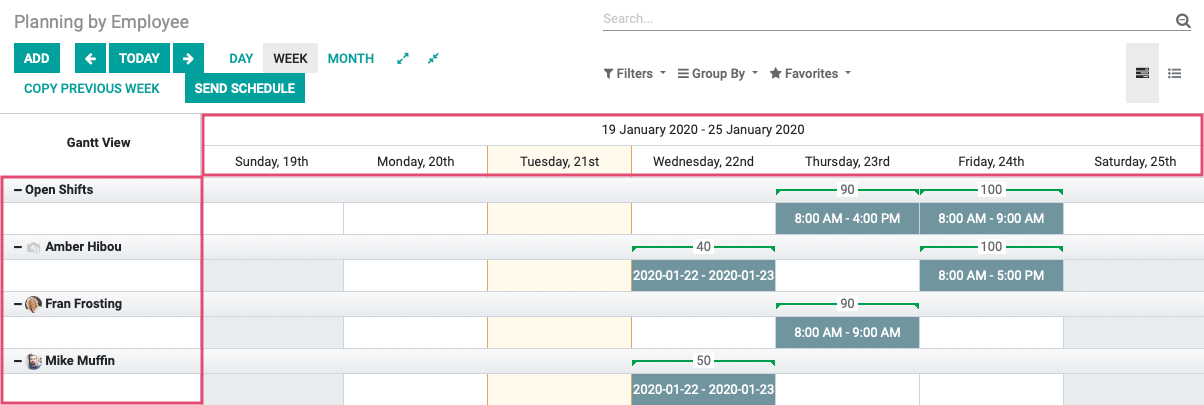
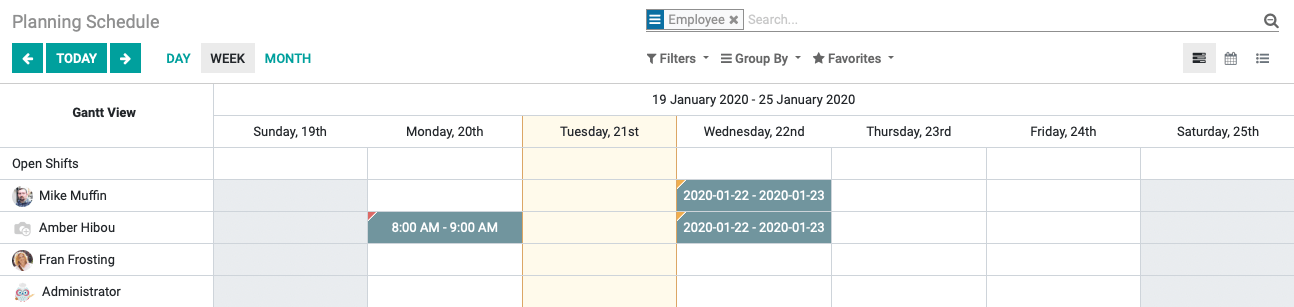
Click PLANNING > BY EMPLOYEE.
This view displays shifts by Employee (y-axis), including Open Shifts that can be claimed. Shifts can be specific to a project or task, but it isn't required.
The default view of this page is a Gantt chart showing employees scheduled over the timespan selected at the top of the page (x-axis).
Planning by Project
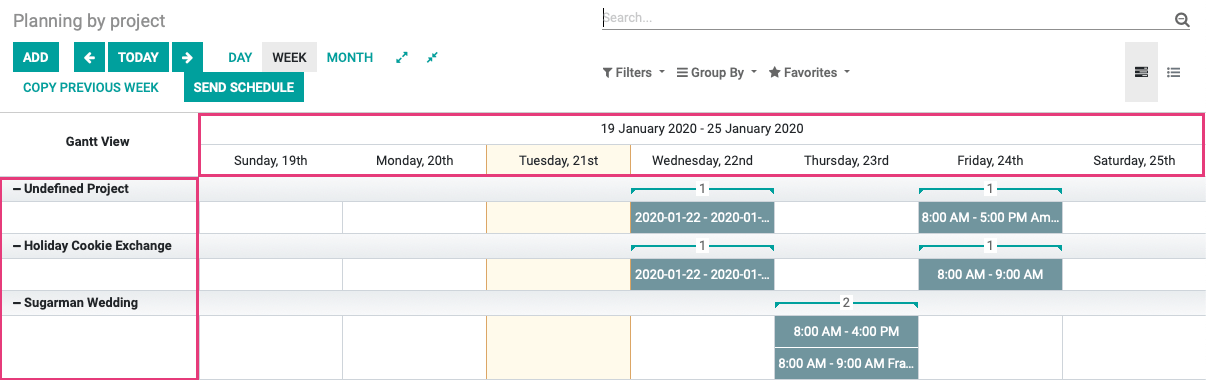
Click PLANNING > by project.
This view displays shifts by Project (y-axis), including Open Shifts that can be claimed. Shifts can be specific to an Employee, but it isn't required.
The default view of this page is a Gantt chart showing employees scheduled over the timespan selected at the top of the page (x-axis).
Planning Page Options
From the top of both of these pages, you'll see several options.

Add: Us this button to add a shift. We'll cover this in detail below.
Today : Use these to navigate in the increments select to the right (Day/Week/Month).
Day Week Month: These are the time-span increments to display on the chart.
: These icons will Expand or Collapse the data on the chart.
Copy Previous Week: This will copy all shifts from the previous week.
Send Schedule: This will open the following modal window:
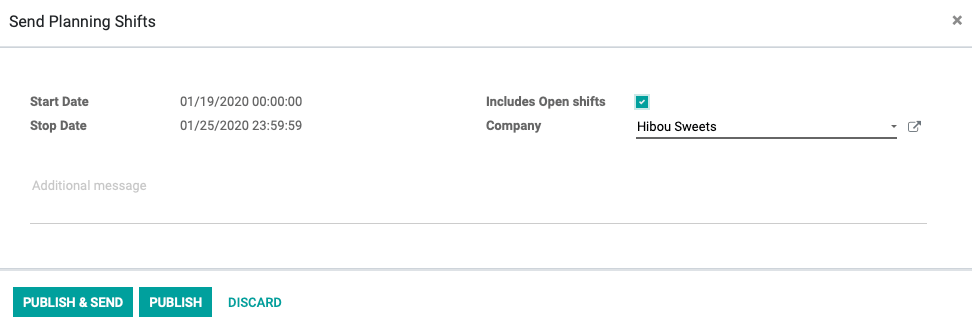
Start Date / End Date: These are auto-populated with the data from the previous screen.
Includes Open Shifts: Add this if you want employees to see available shifts.
Company: This is auto-populated with your company name.
Additional Message: Add other notes or details you'd like your employees to see in this email message.
Clicking Publish will publish (i.e. commit) all shifts and do nothing else.
Clicking Publish & Send will publish all shifts and send employees a notification with a link to view the full schedule.
Color Coding
Saved: Whether saved as a draft or saved as a template, these are always new shifts and will display with a light-blue tag on the top-left of the calendar block.

Published or Published & Sent: This shift will display as a solid block.

Changed & Needs to be Re-Published: This shift has had changes made since the last publish and will show a gold tag on the top-left of the calendar block. To commit the changes, it should be Published or Published & Sent.

Conflicting Shifts: These shifts overlap and are scheduled for the same employee. They're marked with a red tag on the top-left of the calendar block.

Add a Shift
From either view (Planning by Employee or Planning by Project), you'll create a new shift by clicking the ADD button.
Fill out the modal window accordingly. The areas underlined in bold black are the only fields required.
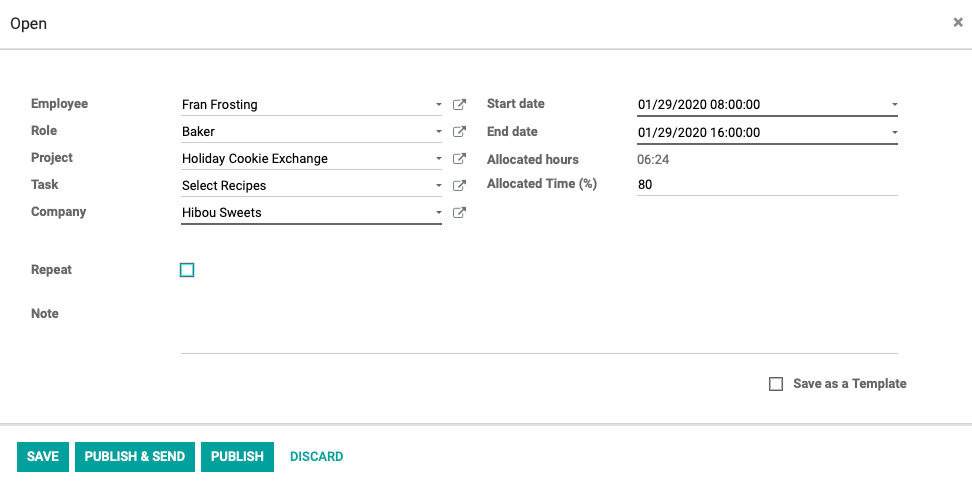
Employee: Select the employee you're assigning the project to. Leaving the Employee field empty will show this as an Open Shift that employees can take.
Role: Select or create the role of this employee. Roles are managed in the Planning app.
Project: Select the project to be worked on for this shift.
Task: Select the task from the project to be worked on for this shift.
Company: This field will be auto-populated with the company the employee works for.
Start Date: Enter the planned start date for the work.
End Date: Enter the planned end date for the work.
Allocated Hours: This field is auto-populated and based on the hours this Employee is available.
Allocated Time (%): Enter the percent of the time that this employee should be dedicated to this task.
Effective Hours: This field is auto-populated and shows the affective hours based on allocated hours and percent of time working.
Repeat: Select this if this will be a repeating shift. Once selected, you can enter the frequency and duration in weeks to repeat.

Note: Enter notes pertaining to this entry.
Save as Template: If the details in this shift will be used in the future, select this option to name it for future use. Once saved, you'll see the template as an option when you add another shift.
When you're done, you have three options for saving.
Save Saves the shift, as a template or as a draft, but does not add it to the schedule. This allows you to come back to it later.
Publish & Send Saves the shift to the schedule, and sends changes to the employee.
Publish Saves this shift to the schedule without sending it to the employee
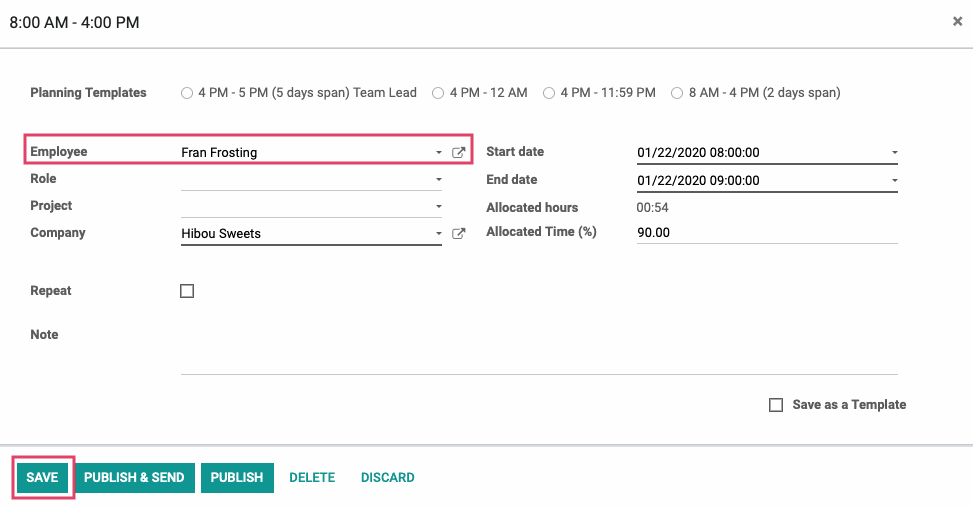
Assign a Shift
As an administrator, you can assign a shift to an employee by clicking the shift to open the modal window.

Select an employee, and add/adjust any other details of the shift, then click Save.
Employee View
To see the Employee's view of Planning and scheduling, navigate to the Planning app.
Click Schedule > By Employee. Like the administrator view, you can see the color-coded tags display here.
Mark as Unavailable
Employees can only view the schedule and change the view to Calendar and List view, but they cannot make changes. The only exception is if the Administrator enables the Planning app option Allow Unassignment in Odoo settings. In this case, the shift record would have the I Am Unavailable option on the bottom right.
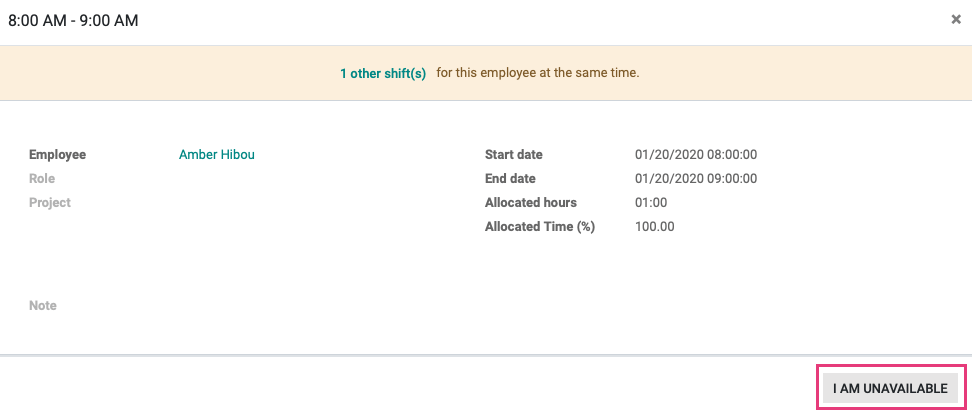
Clicking this removes it from the employee's schedule and moves it to an Open Shift.
Claim an Open Shift
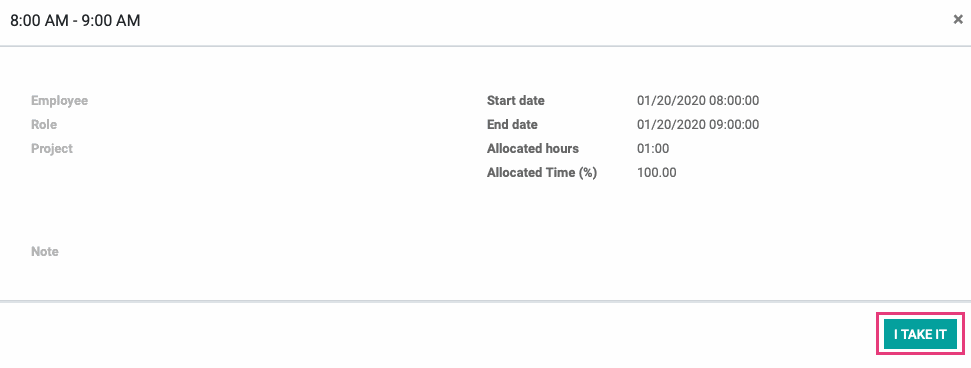
An employee can claim an Open Shift by clicking the record in the chart.

Within that Open Shift record, they will click I Take It and the shift will be added to their schedule.
Employee Emails
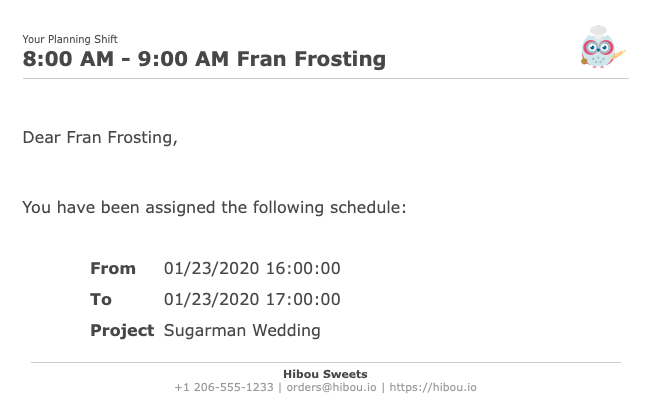
When an administrator clicks Publish & Send on an individual shift, the respective employee(s) receive an email notification like the following.
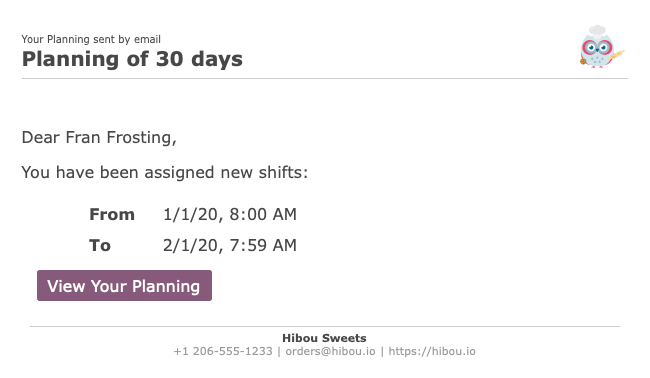
When an administrator clicks SEND schedule button on either the Planning by Employee or Planning by Project page, employees will receive an email notification like the following. This gives them the option to view the entire schedule in detail by clicking the View Your Planning button.