Project: Project Workflows: Basic Project Workflow
Purpose
This document will outline the basic workflow for using the Odoo Projects app to manage tasks within your company. The project app provides a kanban view with customizable stages, email capability, and several options to fine-tune your workflows and track progress and timesheets per employee. Projects can be assigned to a partner and even a specific sale order if required.
Good to Know!
Note that it is also possible to create a new project, or a task within a project, when selling a service-type product. To configure Service products, see our corresponding documentation under Service Tracking from a Product.
Process
To get started, navigate to the Project app.
From this landing page, you'll be able to create a project, manage existing projects, and quickly view ratings, tasks, and overviews of each record. Please review the Project Overview Page documentation to understand the links, buttons, and menus you see here.
Creating a New Project
Click create to open the Create a Project modal window.
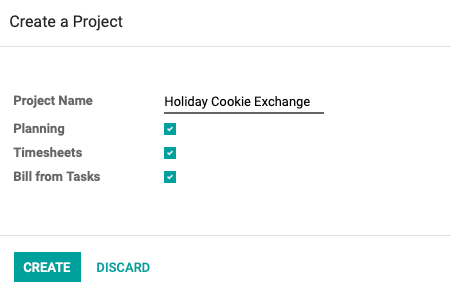
Project Name: Enter the name of your project.
Planning: If selected, this will enable you to create an estimate of the time needed to complete the project and the desired work hours, which can be scheduled per task.
Timesheets: If selected, this option will allow your employees to create timesheets directly on a task and this data will be rolled into the Project overview for invoicing and reporting purposes. Timesheets will also be logged in the Timesheets app.
Bill from Tasks: Select this option to enable the ability to bill the customer directly from tasks.
Once done, click CREATE.
Important!
If you don't see the Planning option, and you have Forecasts enabled in Project settings, then you'll need elevated user access.
Good to Know!
If you already have stages that can apply to your new project, it's best practice to assign projects to stages through the Configuration > Stages menu while in Debug mode. This prevents multiple stages of the same name/function being created. See the Configuration > Stages documentation to review how to manage stages.
Adding Stage Columns
The project will open with the first column blank, waiting for a title. Add as many stages as you'd like to organize the tasks. You'll even see sample column headers on the right. If you don't see the form, you can open it manually by clicking ADD A COLUMN.
![]()

Once added, the columns can be rearranged as needed, but tasks will typically flow left to right as they progress through the stages.
Configuring Columns
Hover over any existing column and click the settings icon. You'll see a drop-down menu specific to that column. We'll review all of those menu options now.
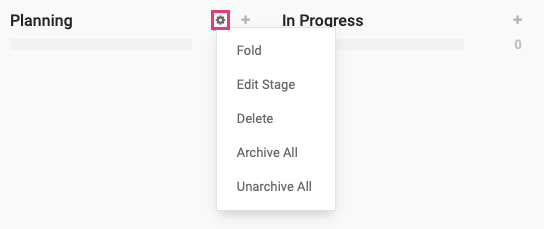
Fold: Folding a stage means you're hiding everything but the name in Kanban view. The following image shows the Planning column when folded:

To unfold the column, click the arrows at the top of the folded column.
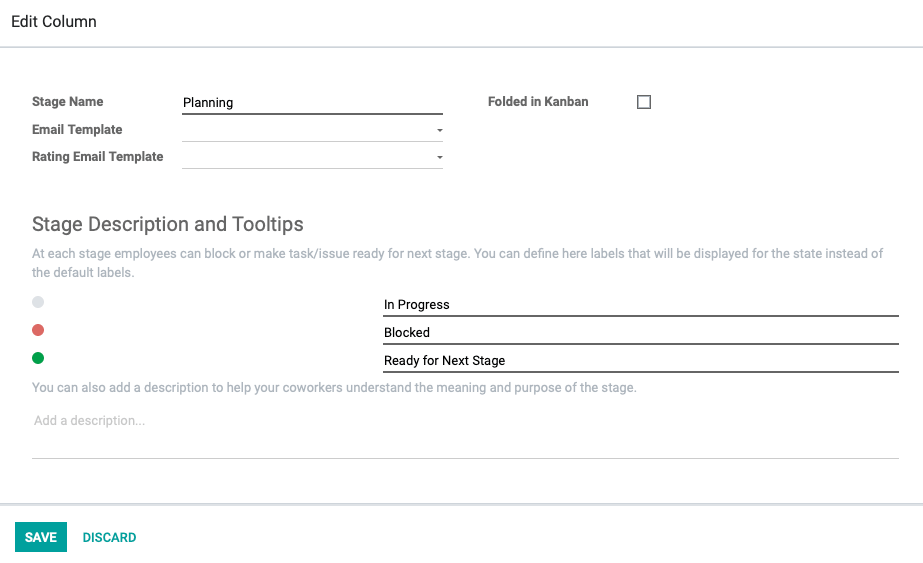
Edit Stage: This option opens up the stage details form view. We've further covered the settings on this page in detail in the Project App Configuration > Stages documentation.
Delete: Use this option to delete an empty column. If your column contains tasks, then you'll get an error message telling you to archive it instead of deleting.
Archive All: This option archives the column by archiving all dependent tasks.
Unarchive All: This option reverses the Archive All action.
Adding Tasks to Stage Columns
There are two methods in which to add tasks.
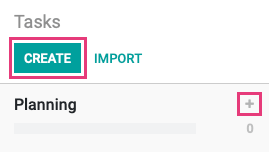
Method 1: Clicking Create will create a task that defaults to the first column position.
Method 2: Click to the right of the column name to create a task under that particular column.
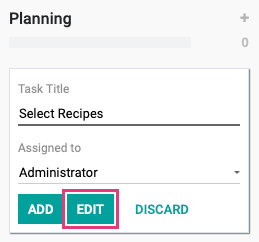
This displays a draft task form where you'll enter the task name and who it's assigned to. You can save the task with minimal details by clicking add or hitting enter. If the task requires more information, title the task and click Edit.
In the Edit view, the task form allows you to edit, or add more detail to the task. 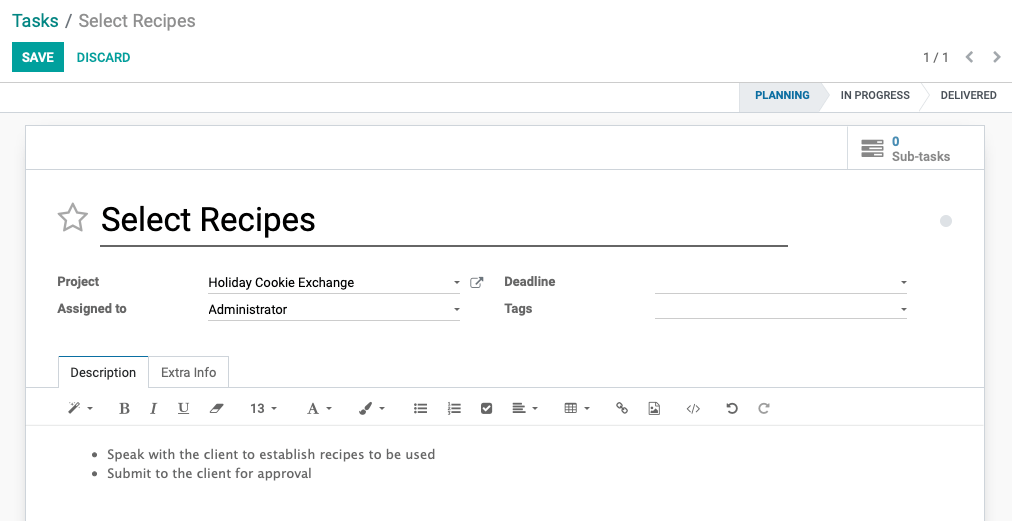
Title: A short title will serve best in this field, describing the task.
Project: This field will pre-fill with the project you're working in. If creating a task from scratch, assign it to a project here
Assigned to: Select the person responsible for completing the task.
Deadline: Enter a deadline for this task completion.
Tags: For ease of filtering, assign or create any relevant tags in your Odoo Database.
Description: Enter pertinent details and information about this task.
You can prioritize the task by clicking the star next to the title. This task will move to the top of the column ahead of other tasks.
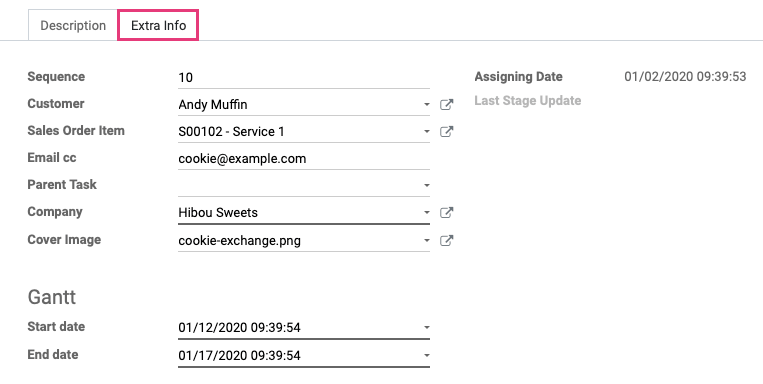
Extra Info tab:
Sequence: This number will be populated to indicate order sequence, but you can modify it as needed.
Customer: The customer will be automatically populated if the base project has a customer selected. If not, you can select the customer here.
Sales Order Item: This field only displays when a customer is selected and indicates if there is an associated sales order for this task.
Email cc: Enter email addresses, separated by a comma, for contacts who should be copied in on correspondence.
Parent Task: If this is to be a child task, select a parent task.
Company: This field will be automatically populated based on the company selected in the project.
Cover Image: If you'd like to add an image to represent this task in the kanban view, you can upload or select one here.
Assigning Date: This field is hard-coded with the date the task was assigned.
Gantt Start Date: Enter the task start date to be displayed in the Gantt chart.
Gantt End Date: Enter the task end date to be displayed in the Gantt chart.
Click Save when done.
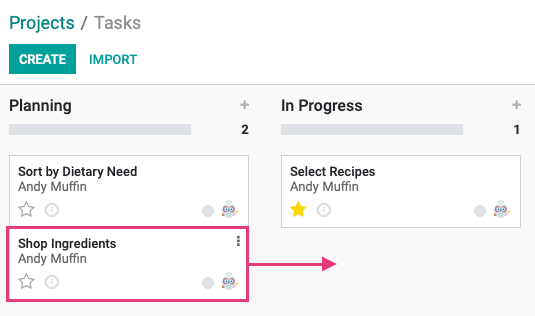
Change a Task Stage
To easily move a task to a new stage, you can just drag and drop it from column to column.
Alternatively, if you click into the task you can click the new stage from the top-right to immediately move it from one stage to another. You do not need to be in Edit mode to do this.
