Website + eCommerce: Website + eCommerce Workflows: Transferring Website Content
Purpose
This document goes over how to transfer page content in the Website application from one instance of Odoo 15 to another. For this task you'll need a notebook application to save the HTML, such as Notepad++ or a text editor.
Debug Mode
The steps in this document will require you to be in Debug Mode.
Process
To get started, navigate to the Website app of your source site.

Saving Page Code
Once there, click Go to Website.

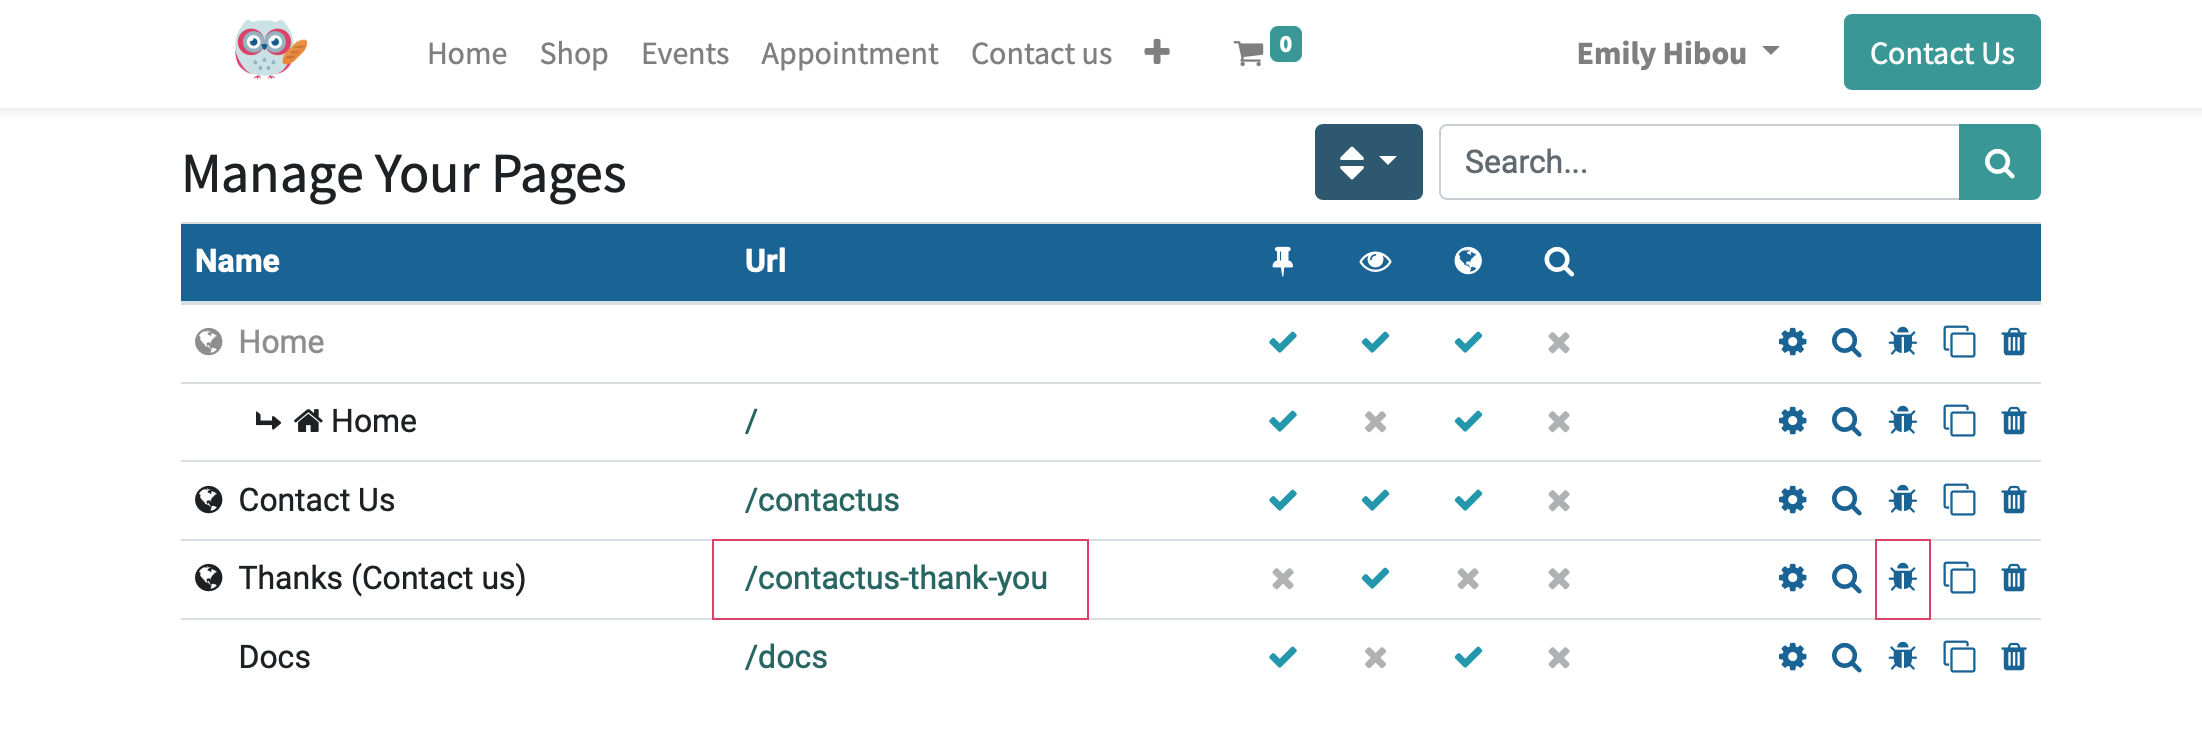
From your top menu, go to Pages > Manage Pages. This will show you a list of all website pages. Click the icon to the far-right of your first page to open it in code view. Take note of the page URL, you'll use this as the filename of your text file in the next steps.
On the following page, copy all content from the Architecture tab.
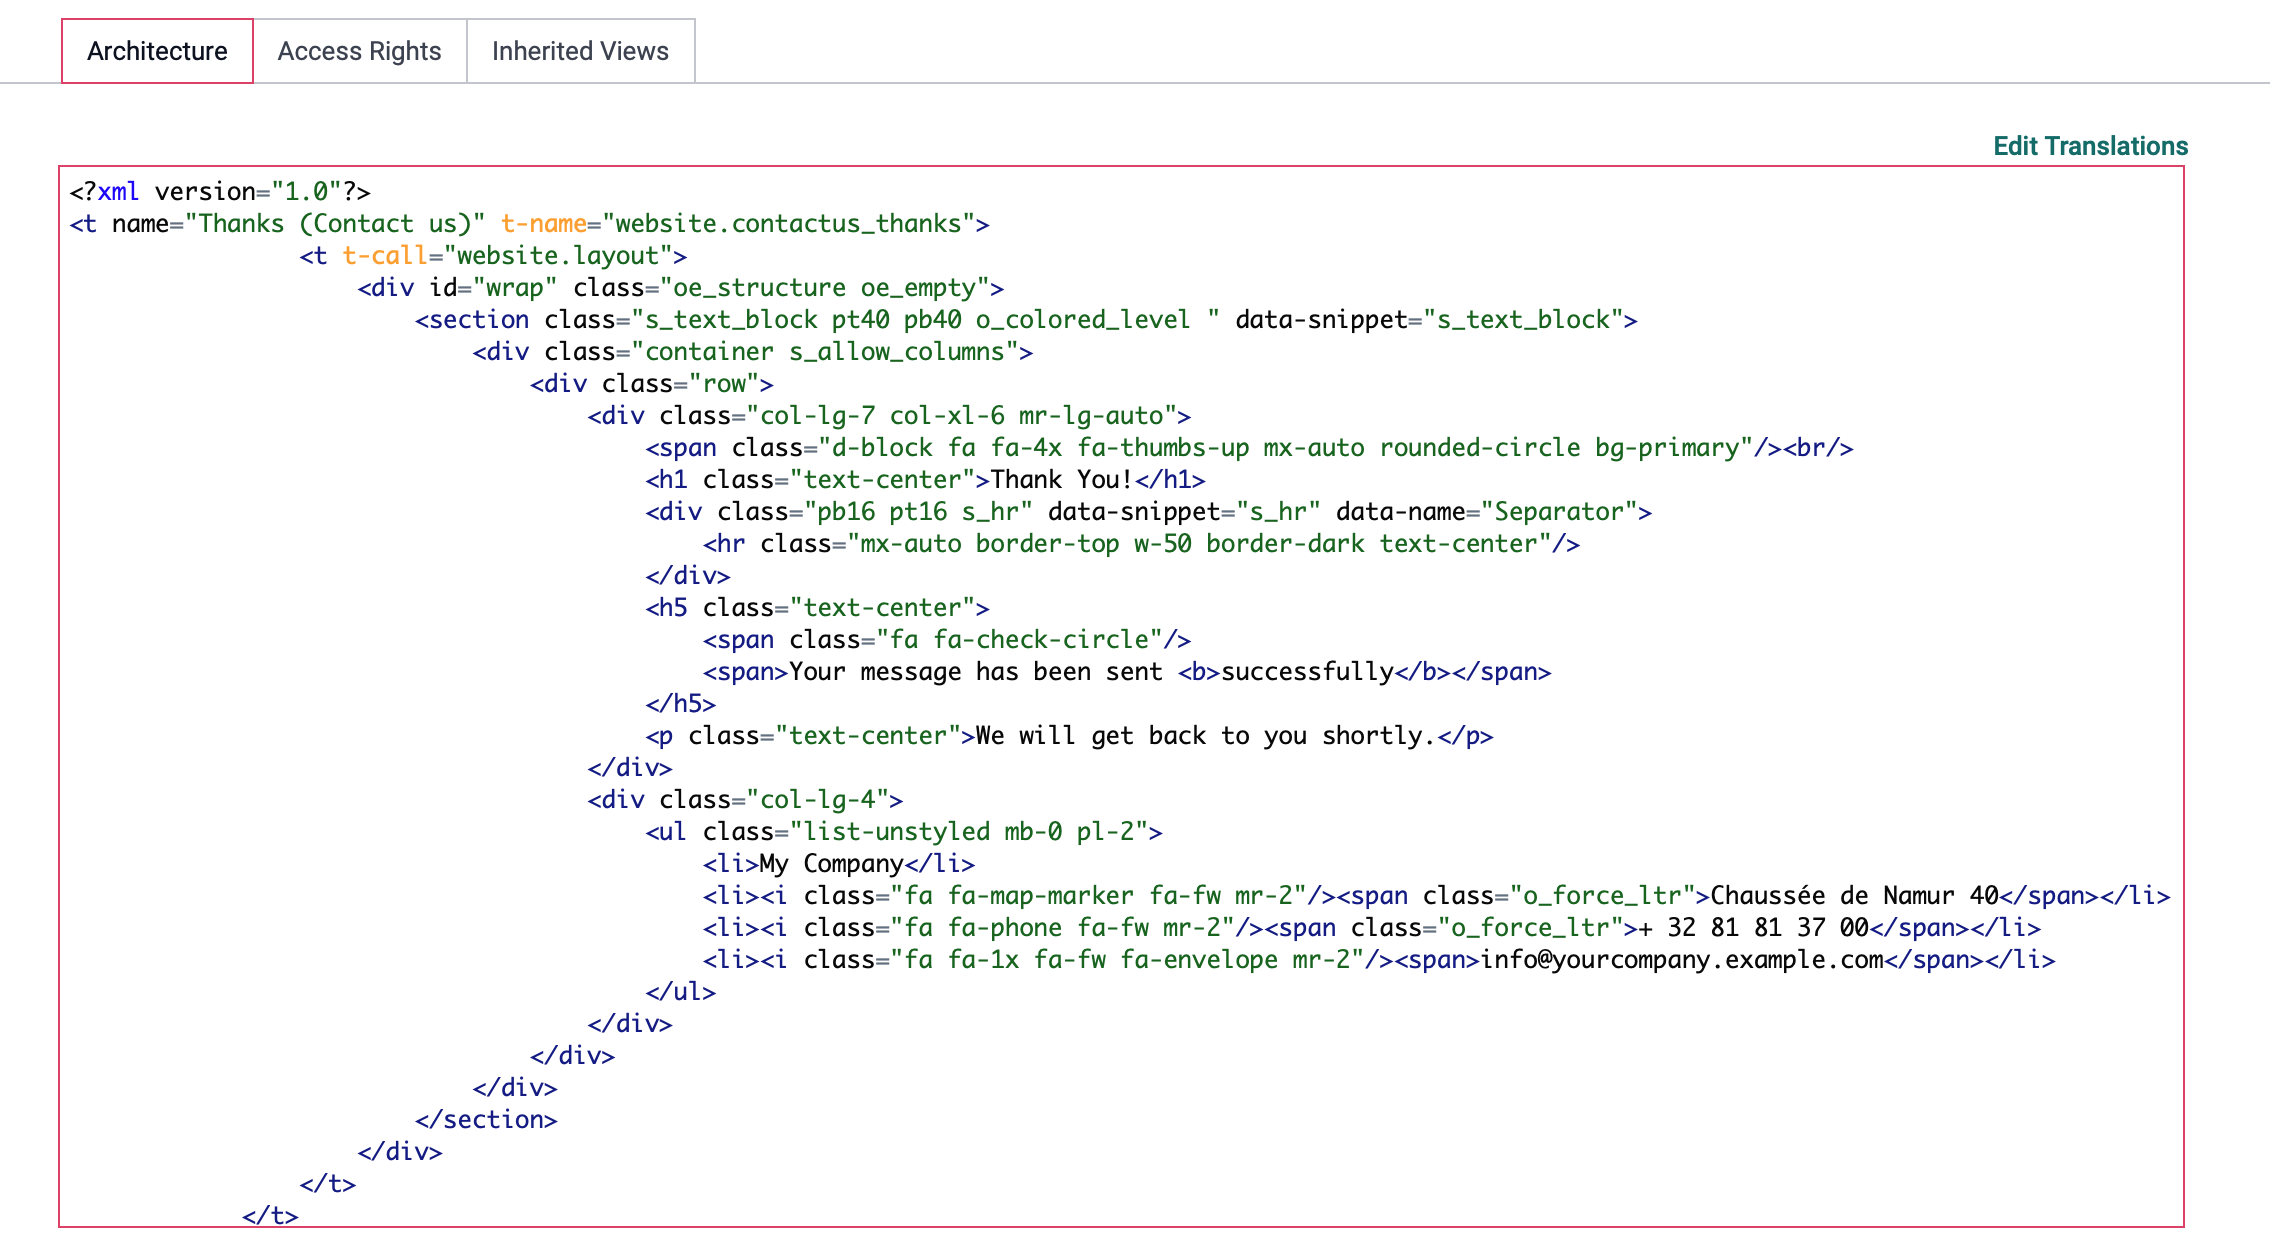
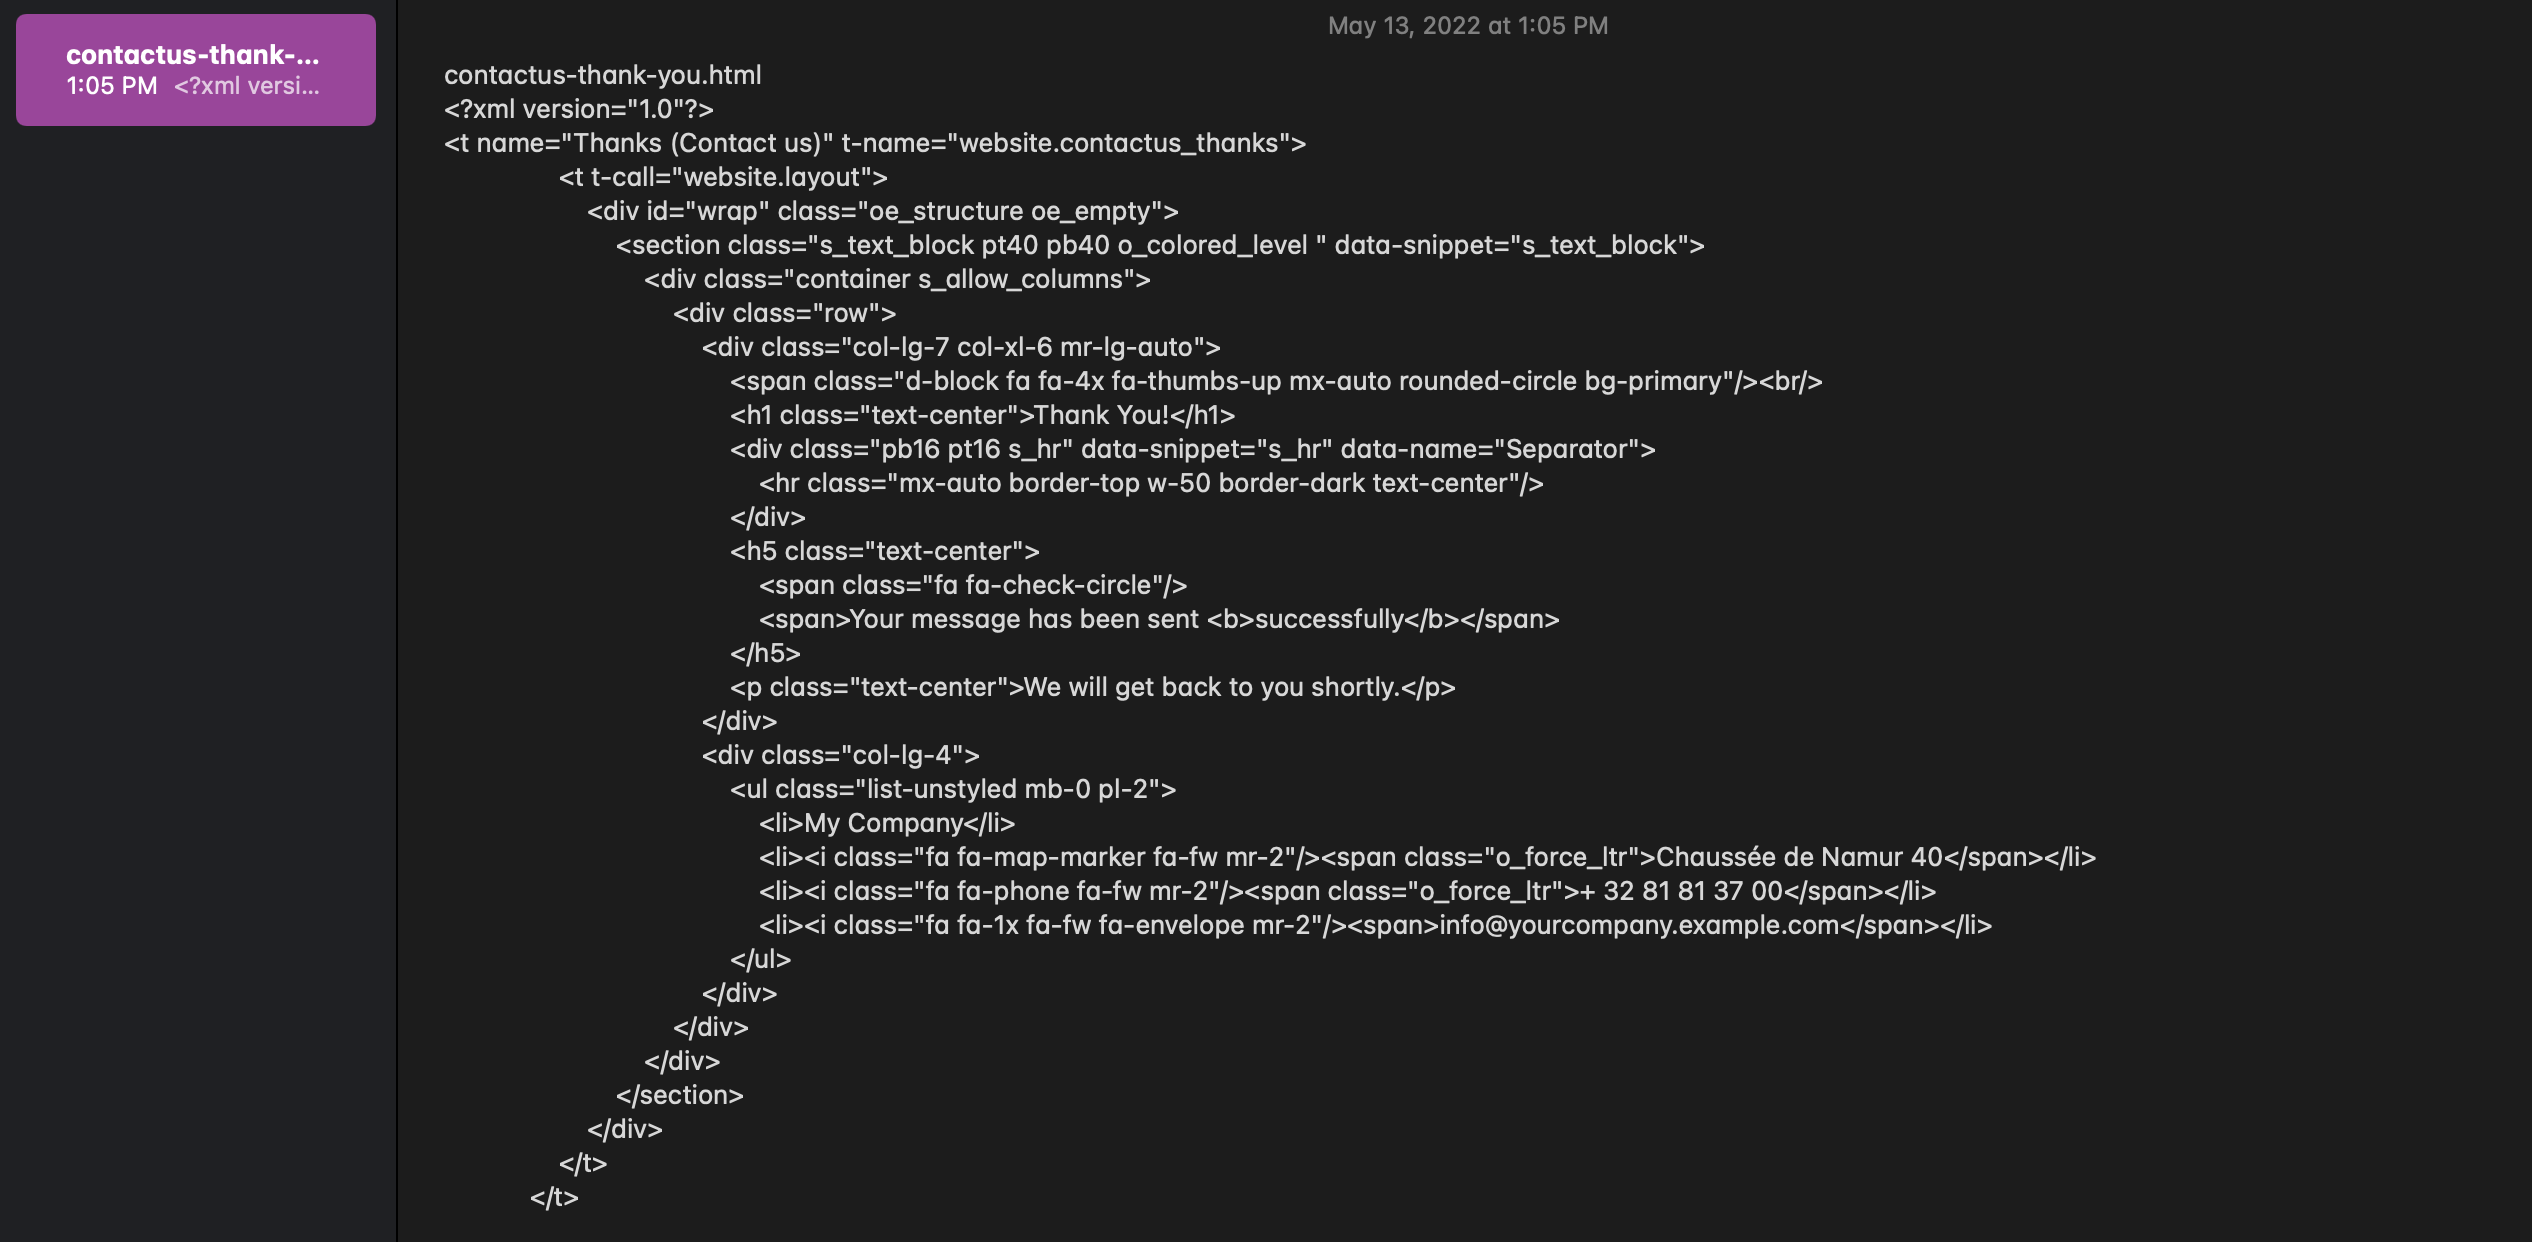
Next, open your text editor and paste that content in, and save the file as HTML with the name reflecting the page URL for easy reference, later.
Repeat this process for all website pages.
Saving Custom CSS
CSS code is used for styling your website, and Odoo allows you to enter custom code. The code in the following section affects the entire website, you won't need to repeat this for every page.
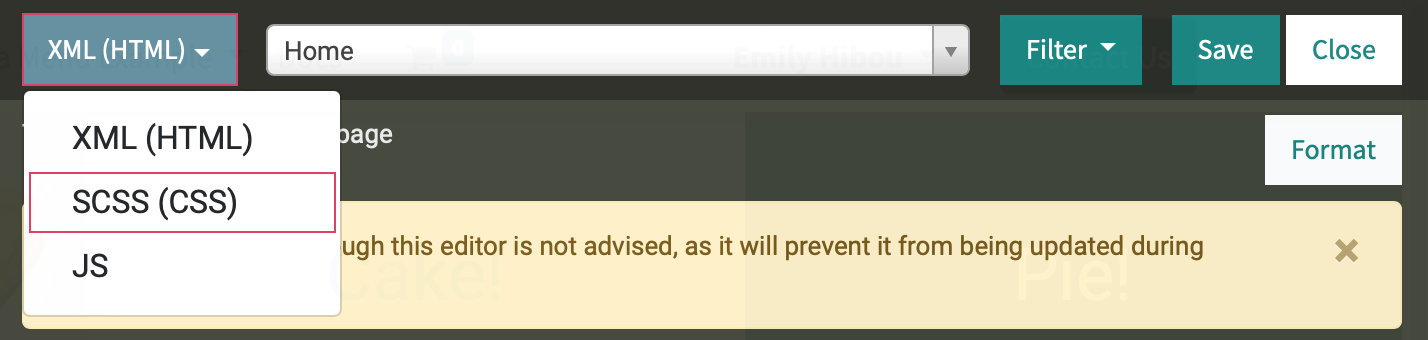
From the front-end of the website, click Customize > HTML/CSS/JS Editor. This opens a fly-out window on the right-hand side of the page. From the top-left menu of that window, click XML (HTML) > SCSS (CSS).
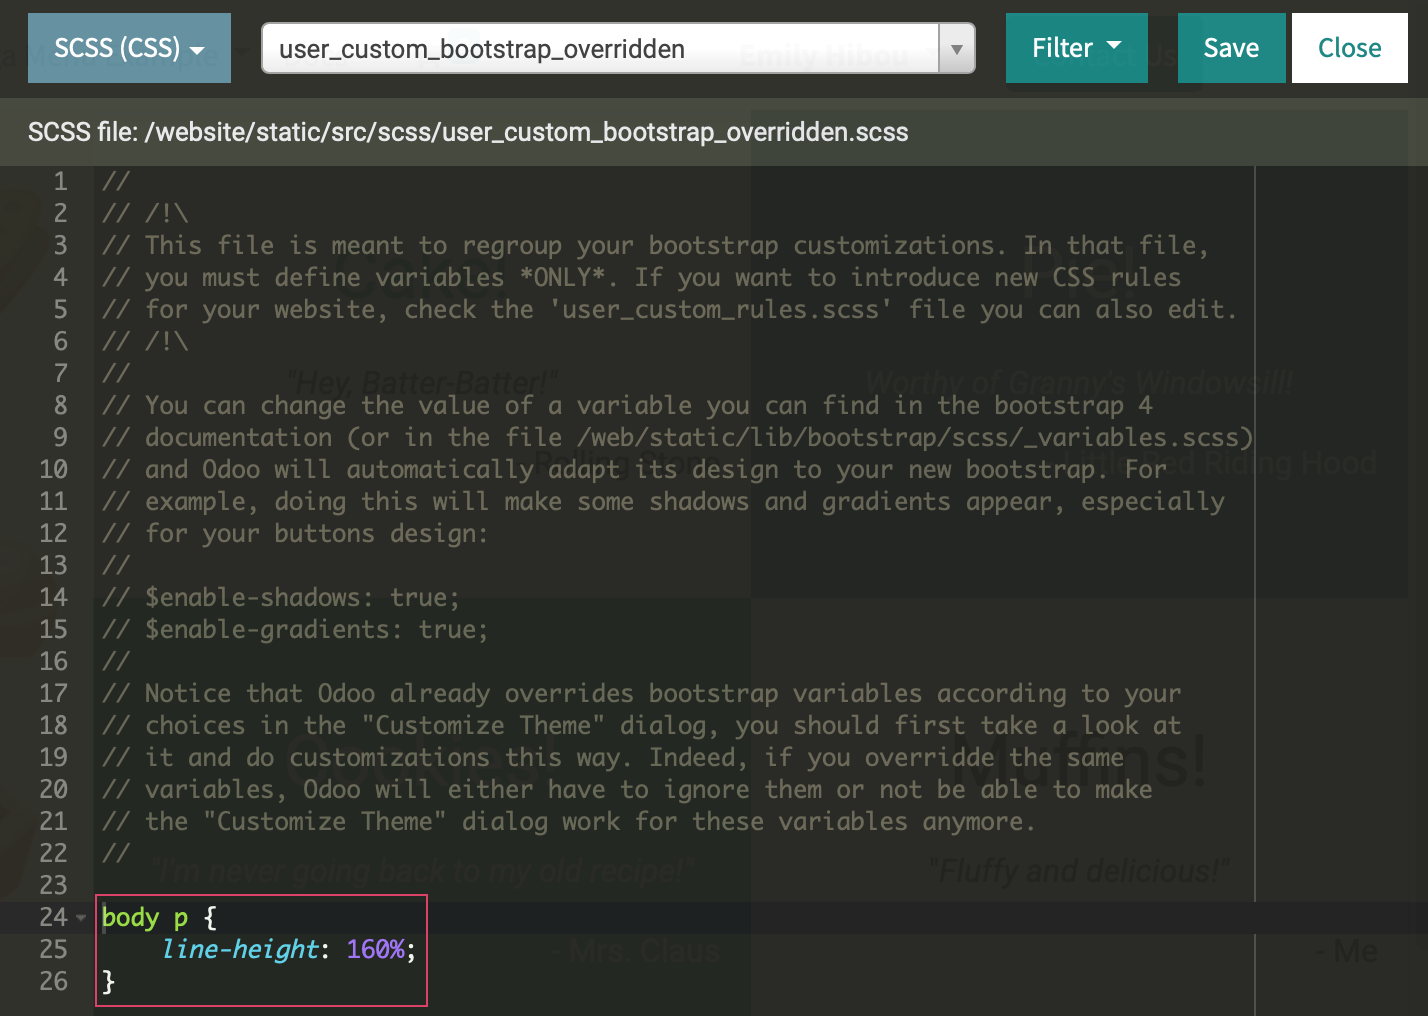
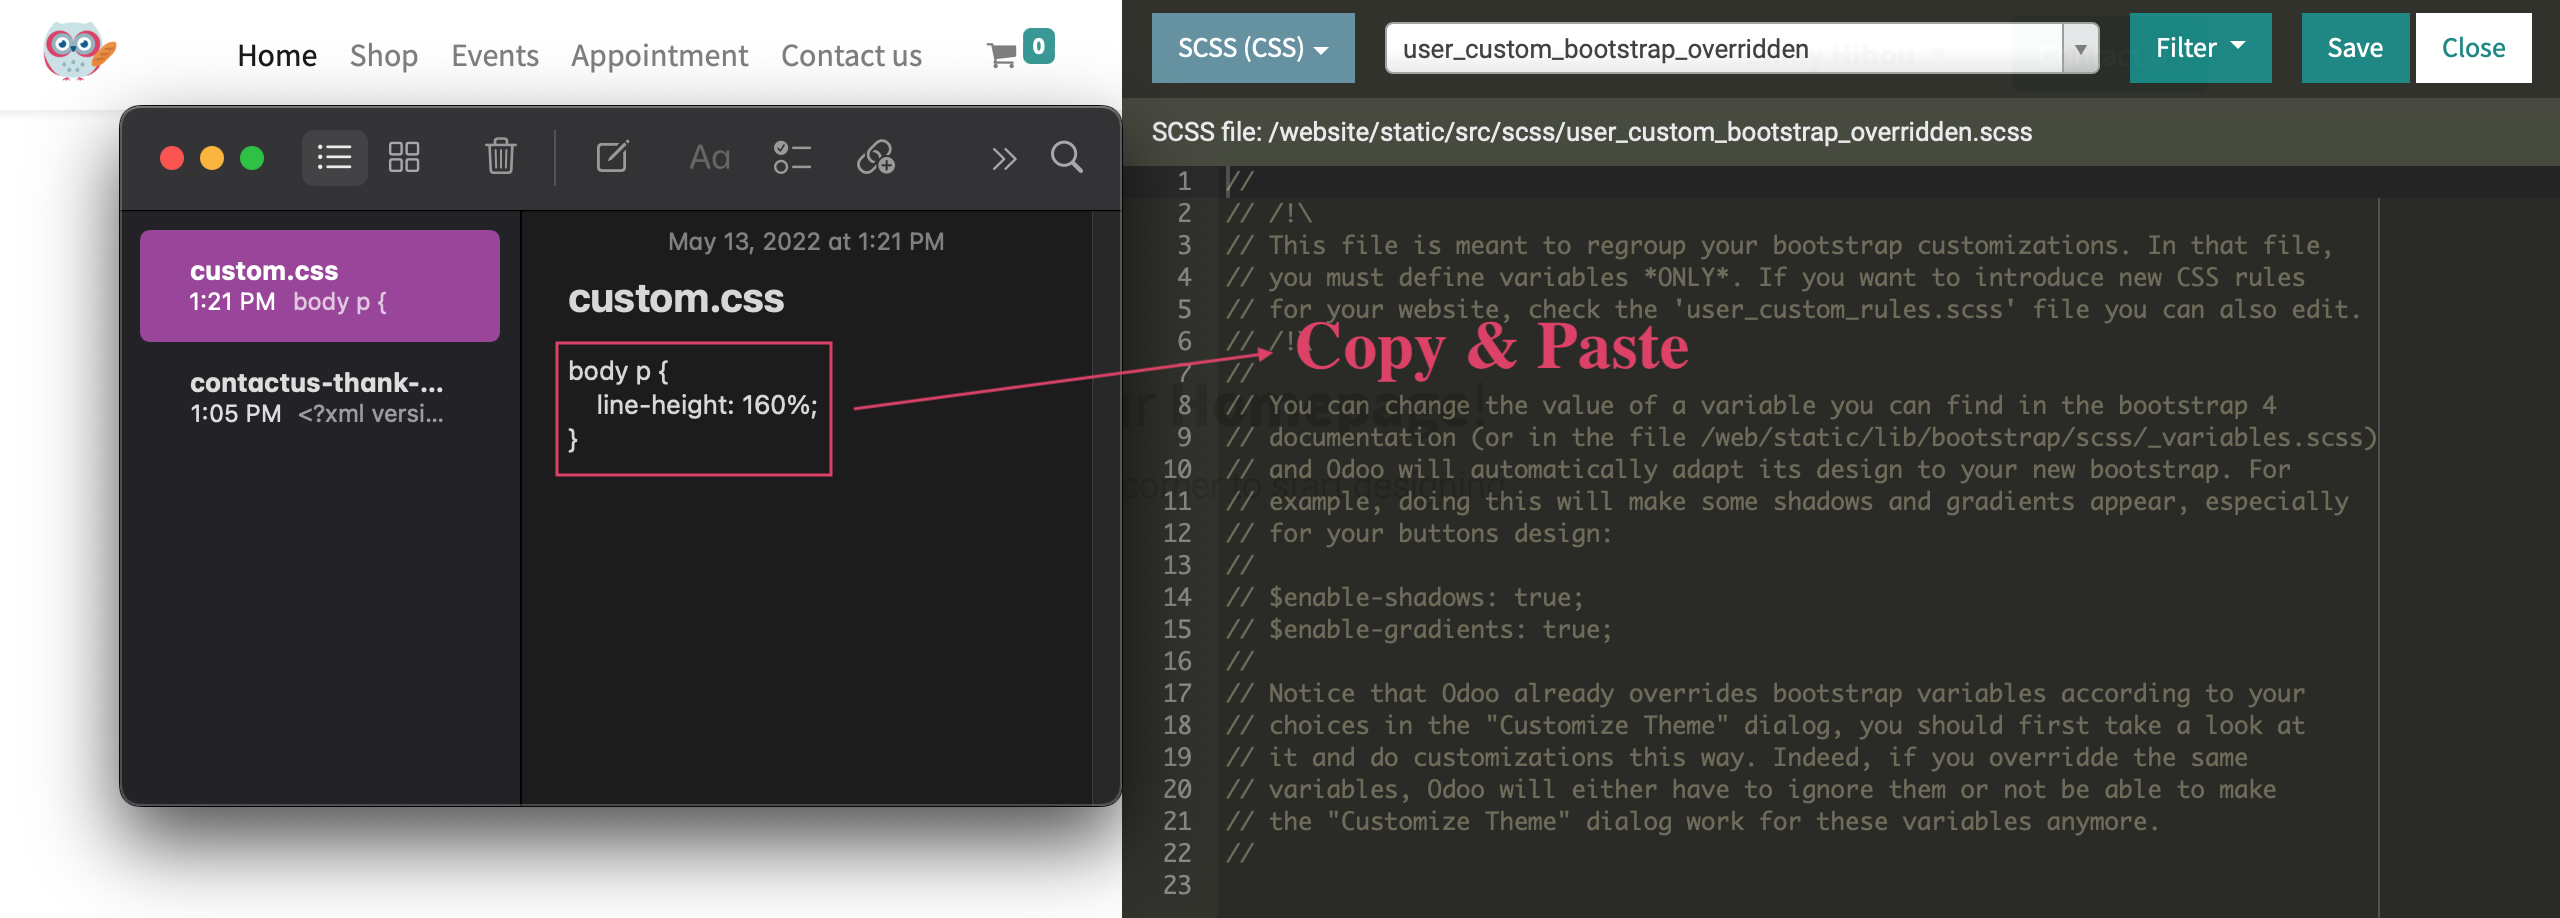
Any custom styling, or CSS, will be shown under the commented out block. Copy the code in this section.
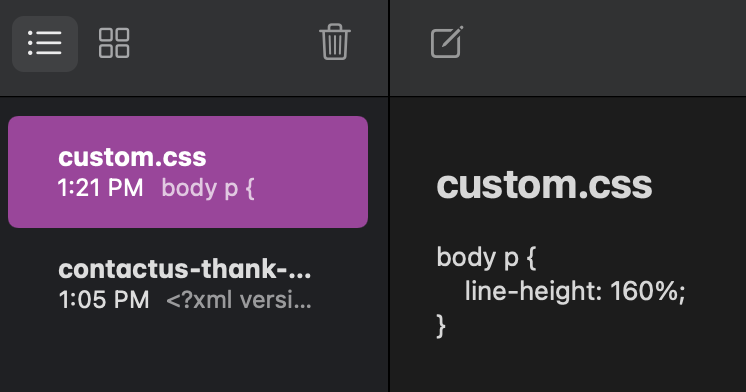
Open a new file in your text editor and paste in this code. Save the file with a .css extension.
Transferring HTML Code
On your destination site, navigate to the front-end (public facing) page you wish to add code for. Make sure the URL is identical to the origin site. For example:
Origin Site: site1.mysite.odoo.com/contactus-thank-you
Destination Site: site2.mysite.odoo.com/contactus-thank-you
Page Doesn't Exist
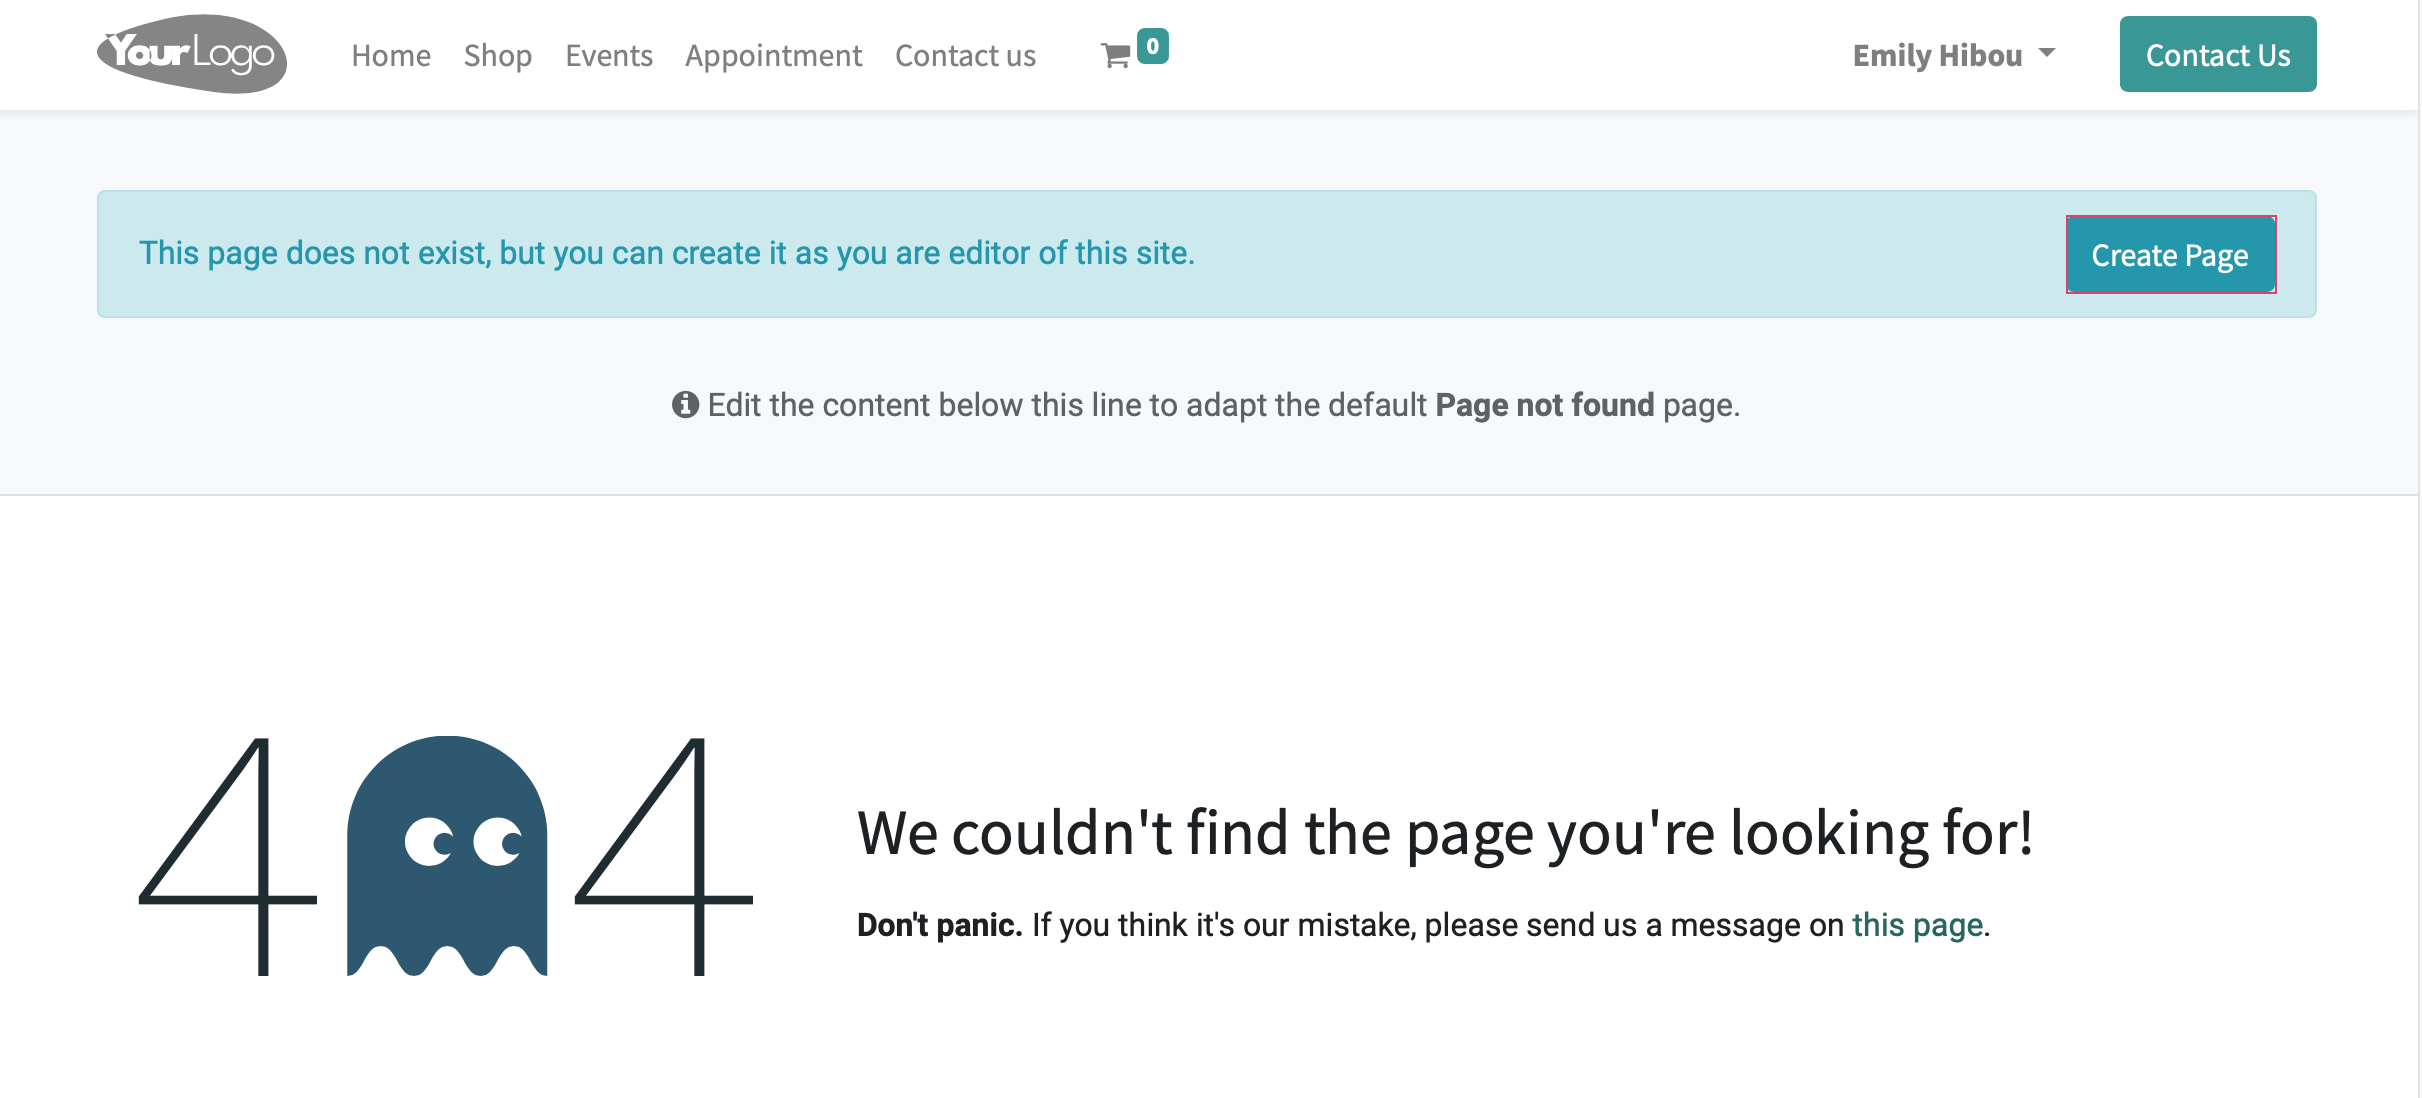
If this page doesn't exist on your destination site, and you have Administrator permissions, click Create Page.
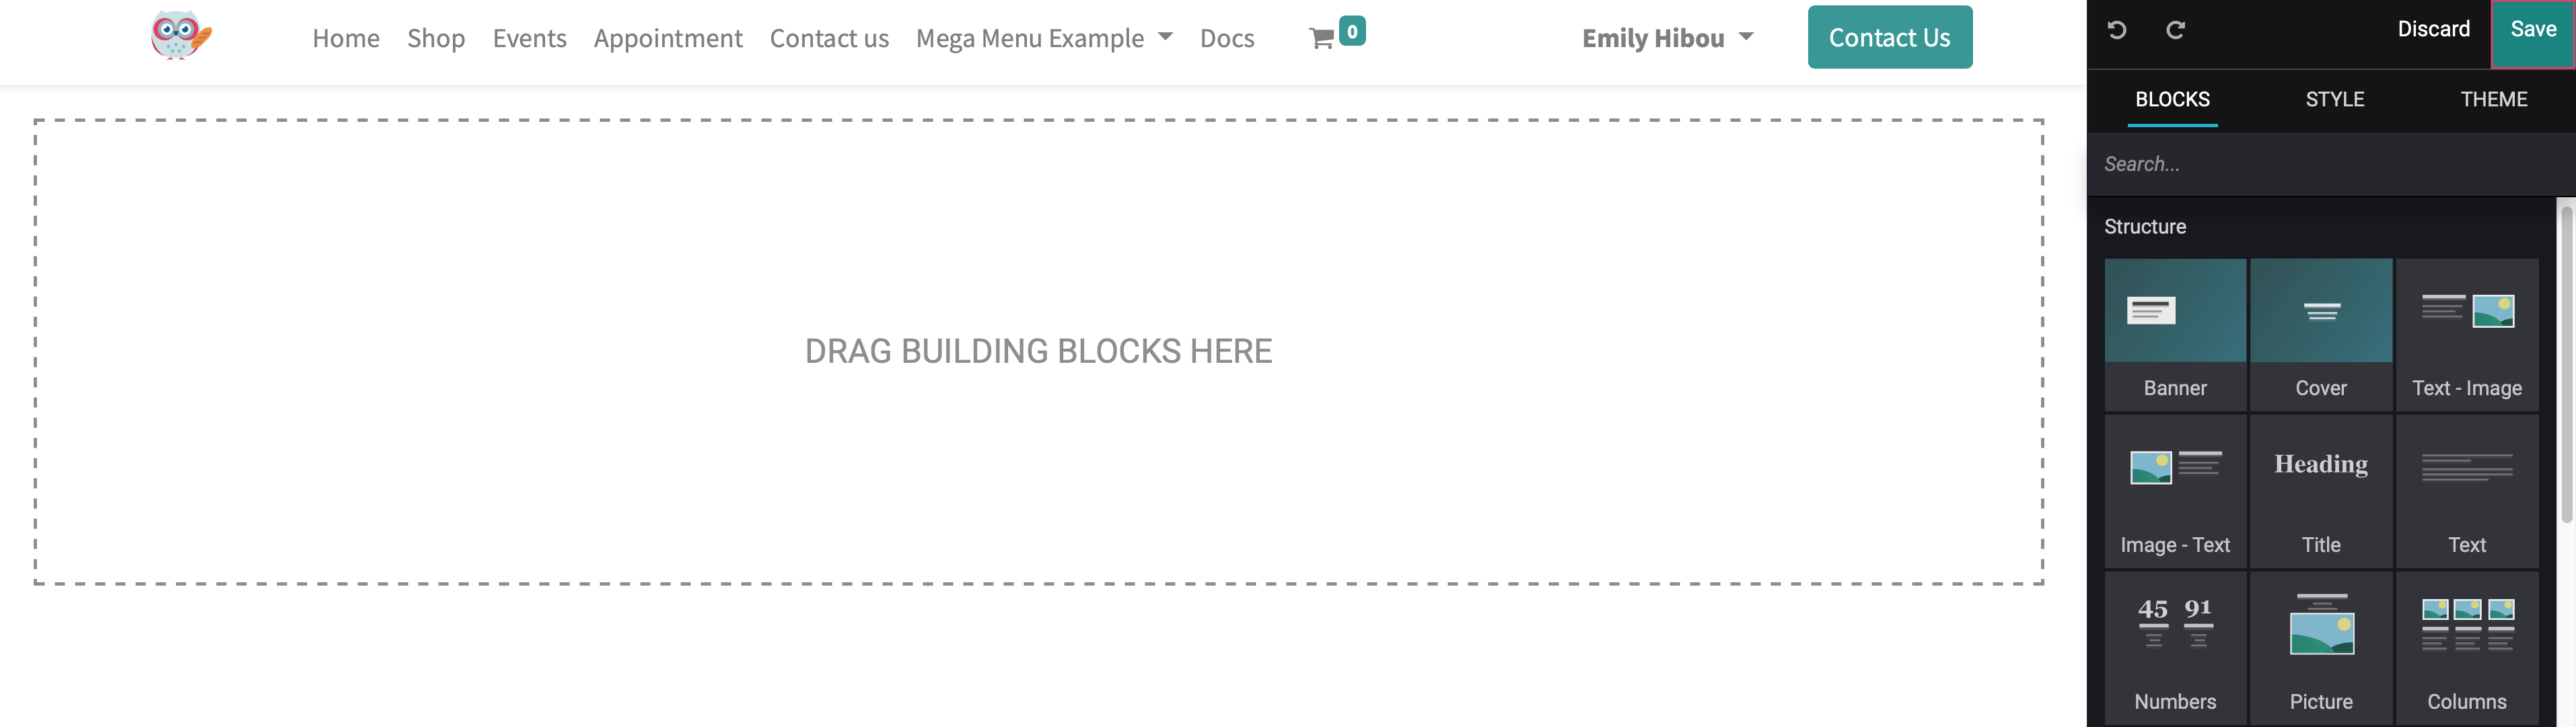
This opens the edit view of the page. On this page, simply click Save on the top-right.
Continue to the Page Exists section.
Page Exists
Click Customize > HTML/CSS/JS to open the fly-out window on the right. Note that there is code in this window already, but you're going to overwrite it with the code you copied from your original page.
Open the text editor file with the HTML content for this page, copy all content, and paste it into this box.
![]()
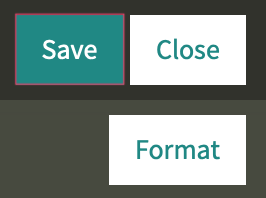
When you're done, click Save.
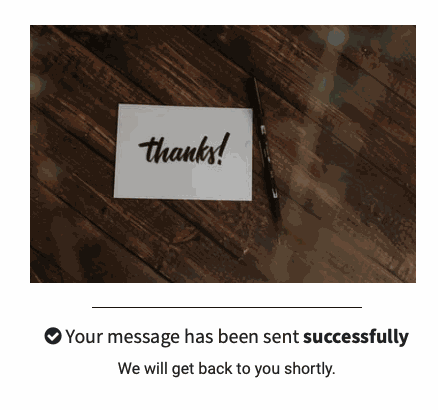
The page will reload with your content visible.
Transferring CSS Code
On your destination site, navigate to the front-end (public facing) site. Once there, click Customize > HTML/CSS/JS. This opens a fly-out window on the right-hand side of the page. From the top-left menu of that window, click XML (HTML) > SCSS (CSS).

Open the text editor file with the CSS content for this page, copy all content, and paste it into this box.
When you're done, click Save.

Managing Images
Unfortunately, images will not transfer in this process. You'll need to first save each image, organizing them carefully in your folders, so you can access them easily later on. To do so, right-click the image and choose the option to save it. Each browser is similar but will have different language.

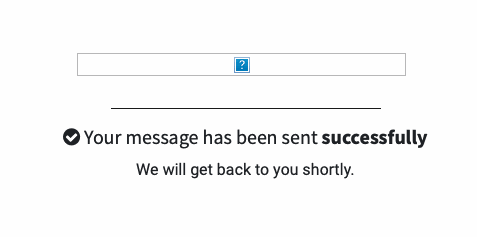
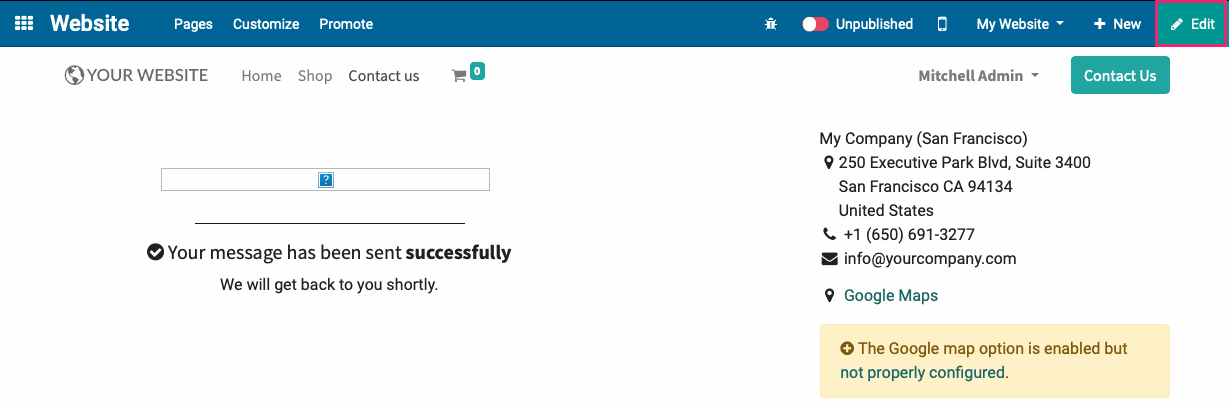
Once you've transferred your HTML code to your destination page and saved, you'll see placeholders where the images were.
You'll then need to manually add the images you saved back into each page. To do this, click Edit.
Once the editor has loaded, double-click the placeholder image and upload the graphic.

When you're done adding your images, click Save.