Website + eCommerce: Configuration: Products: eCommerce Categories
Purpose
This document covers the configuration and usage of eCommerce Categories in the Website application of Odoo 15. This menu item only displays when eCommerce is installed.
Odoo products are organized in categories that can be accessed through many apps; however, those are not the same as eCommerce categories. ECommerce categories allow you to set the taxonomy of your products for website organizational purposes.
Process
To get started, navigate to the Website app.

Create an eCommerce Category
Once there, go to Configuration > Products > eCommerce Categories.
Any eCommerce categories that are already configured are listed here. To add a new one, click Create and complete the following form.
Name: Enter the display name of this category.
Parent Category: To nest your new category under another, select a parent category here.
Website: If this category should display on only one website (in a multi-website configuration), select it here.
Note: The icon can be used to quickly edit your configuration on the Parent Categories and Website if needed.

You can also upload an image to represent the category. When you're ready, click Save.
Assign Products to an eCommerce Category
To add products to your eCommerce categories, go to products > Products and select a product. Select a product, then within the product template, click Edit.
Under the Sales tab, you can assign this product to one or more categories.
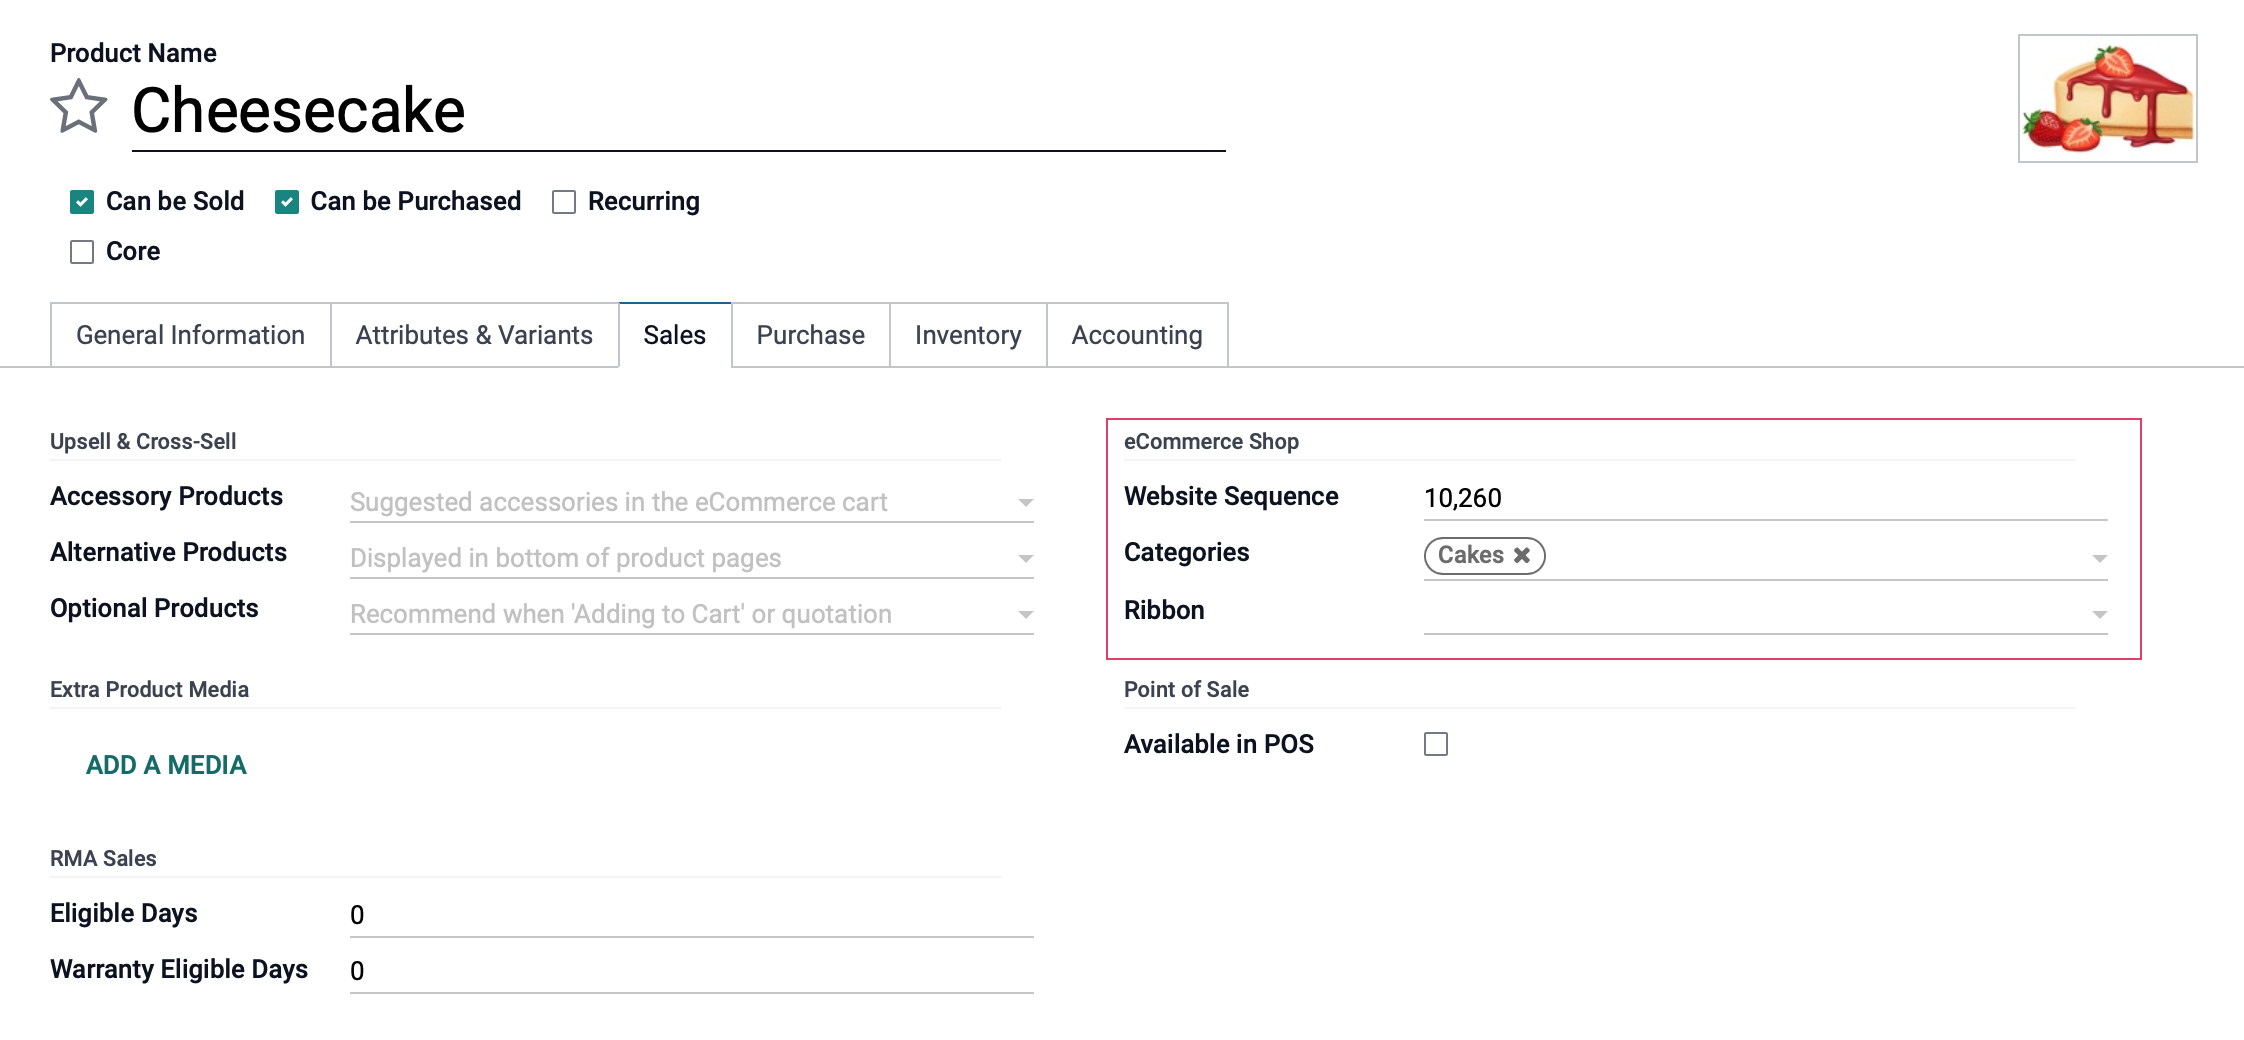
When you're ready, click Save.
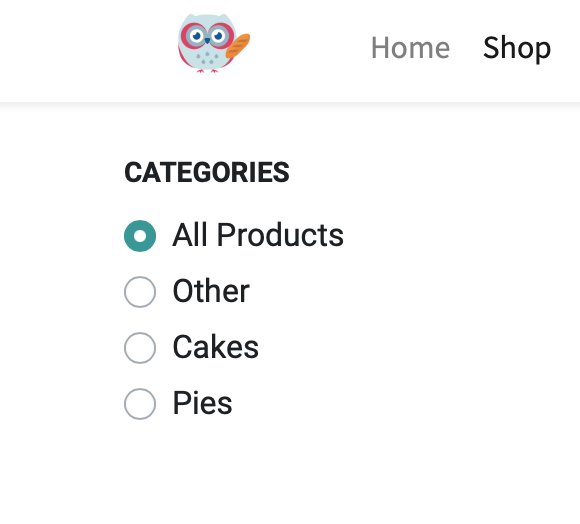
Navigate to your Website's front page, then to your Shop page.
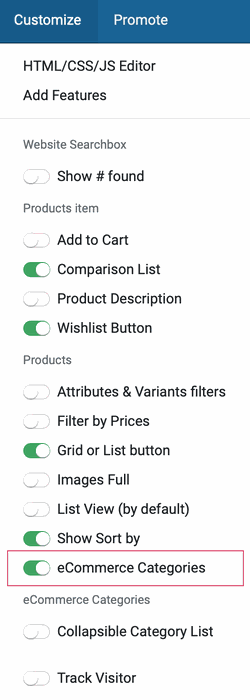
Once you are on your website's Shop page navigate to the Customize option located in your Odoo menu bar.
A drop down menu will appear and from here you can activate your eCommerce categories.
Now your categories will be displayed on the lefthand side of your website so your customers can peruse your products with ease.