Odoo Essentials: Scheduling Activities
Purpose
The purpose of this document is to show you how to schedule activities in Odoo 14.
Process
You can schedule activities on most Odoo records. To illustrate this, open any record. For this example, we will use an opportunity in the CRM app.
![]()
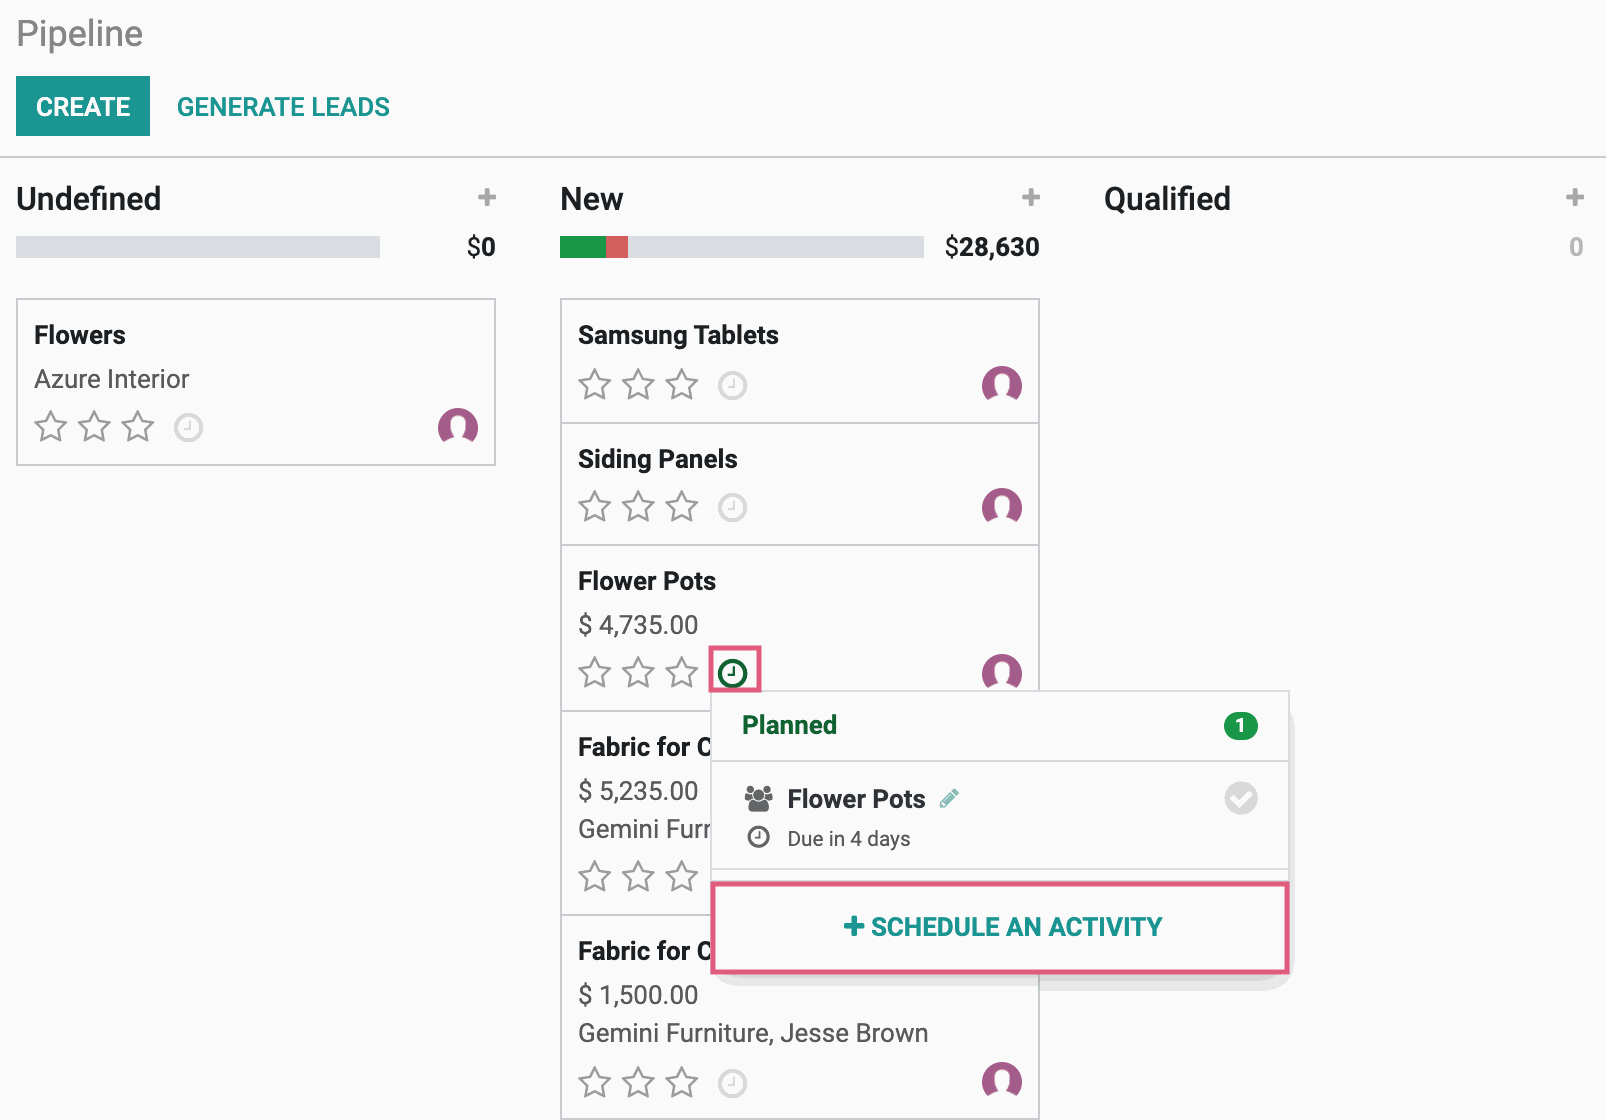
After opening CRM, you will see the following view with the My Pipeline filter set as default. To view all opportunities in the Pipeline, simply click the in the My Pipeline filter.
Next, click the clock icon on an opportunity card to + SCHEDULE AN ACTIVITY.
Good to Know!
If the clock icon is green, this means activities are already scheduled on the opportunity. If it is yellow, activities are due on the current day. If it is red, activities are overdue. If it is gray, there are currently no activities scheduled.
This opens the Schedule Activity form in a modal window with the following fields:
Activity Type: Choose an activity type for your activity. Choosing an activity type will sometimes auto-populate the Summary field. You can leave the auto-population or edit it.
Summary: Add a summary of the activity type.
Due Date: This is the date the activity has to be done by.
Assigned To: This is the representative responsible for the activity.
There is also a text box where you can include additional information about your activity.
Clicking on the next to the Assigned To field will allow you to edit the contact information for the person the activity is assigned to.
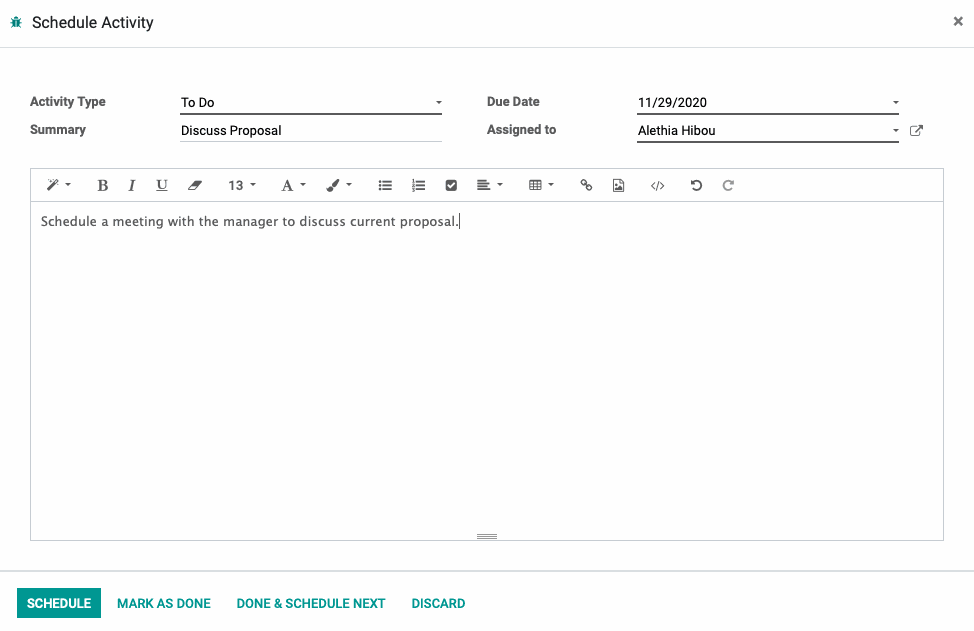
Click schedule to save the activity.
Activity Types
You have the option to create your own activity types by clicking configuration > activity types; however, there are four that are currently defaults in Odoo:
To Do: Schedule a reminder regarding this opportunity.
Email: Schedule a reminder to email the client.
Call: Schedule a reminder to call the client.
Meeting: Schedule a meeting with the client.
Good to Know!
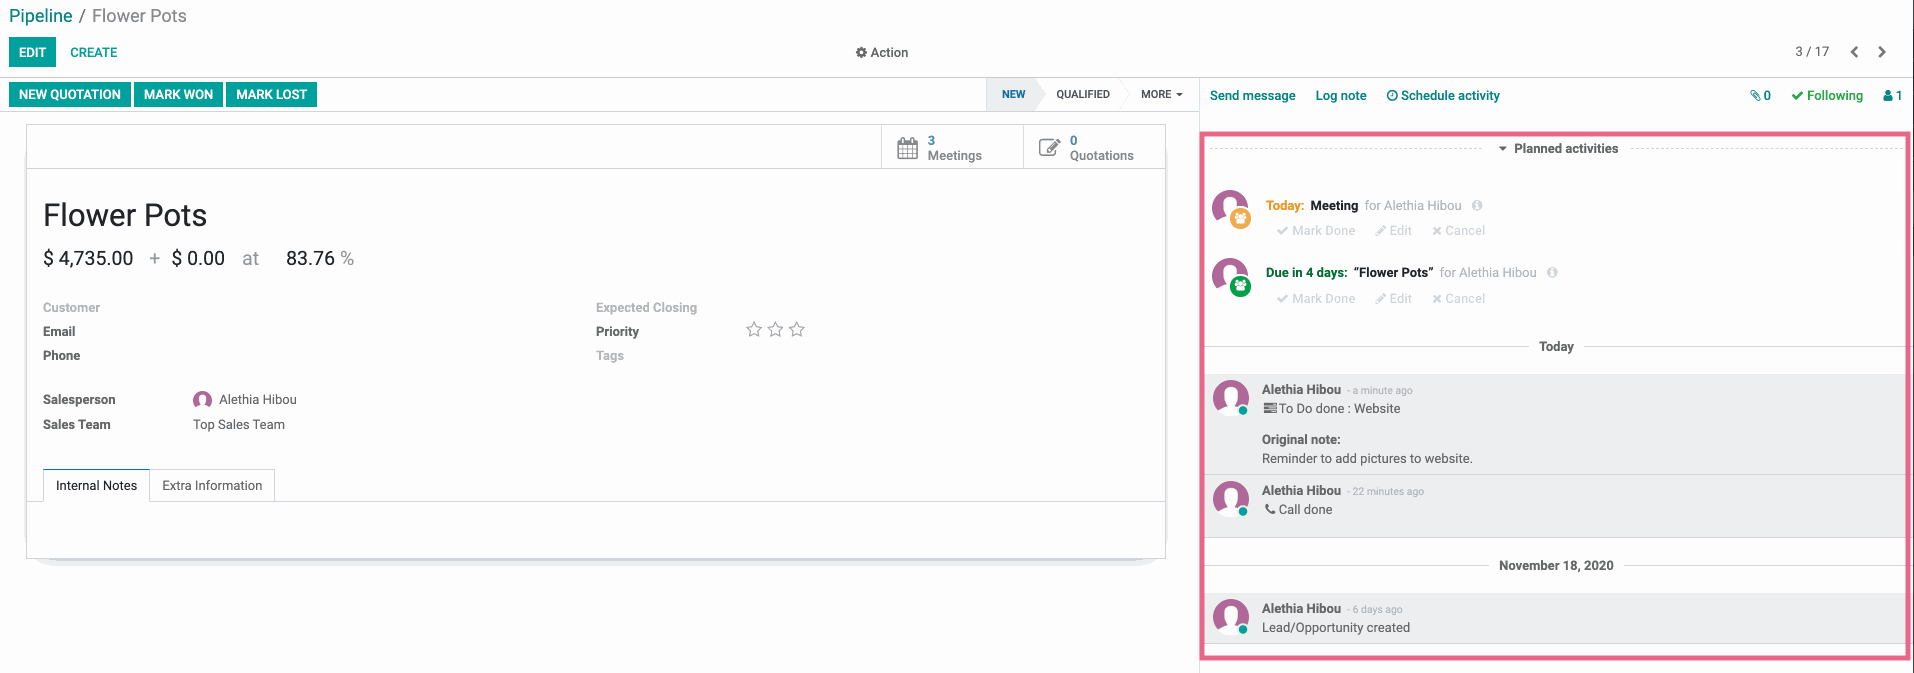
Scheduling To Do, Email or a Call activity will allow you to leave notes in the chatter. The chatter shows you all activity associated with a record and allows you to communicate with people who are following an activity. It can appear to the right or on the bottom of the activity.
Schedule a Meeting
Selecting "Meeting" will give you the option to open calendar.
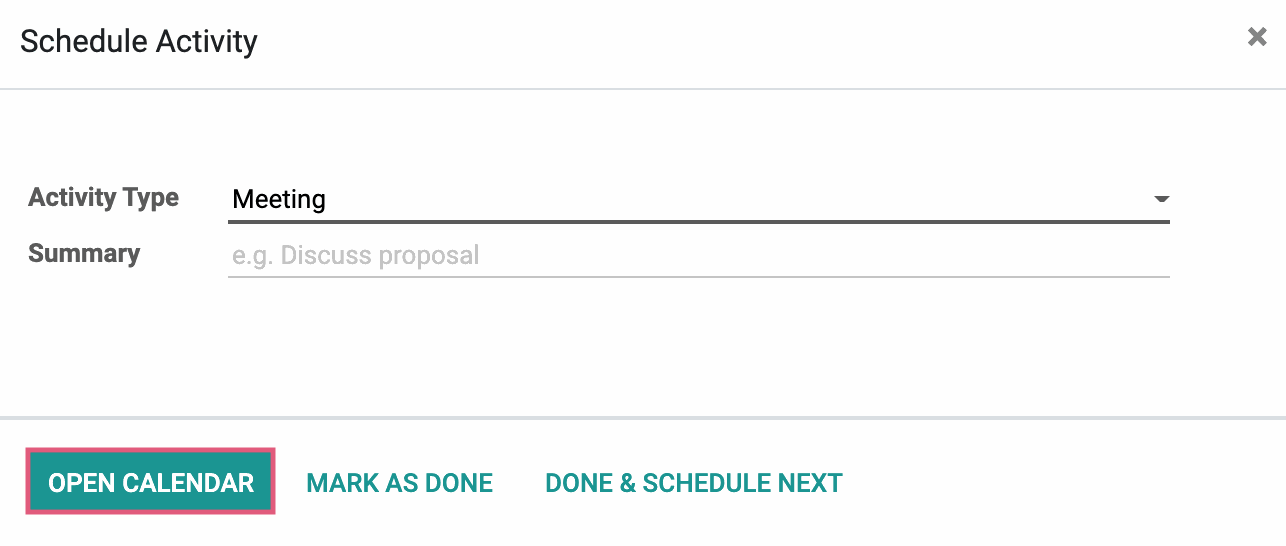
This will open a calendar that will allow you to schedule a meeting that's directly related to your chosen opportunity.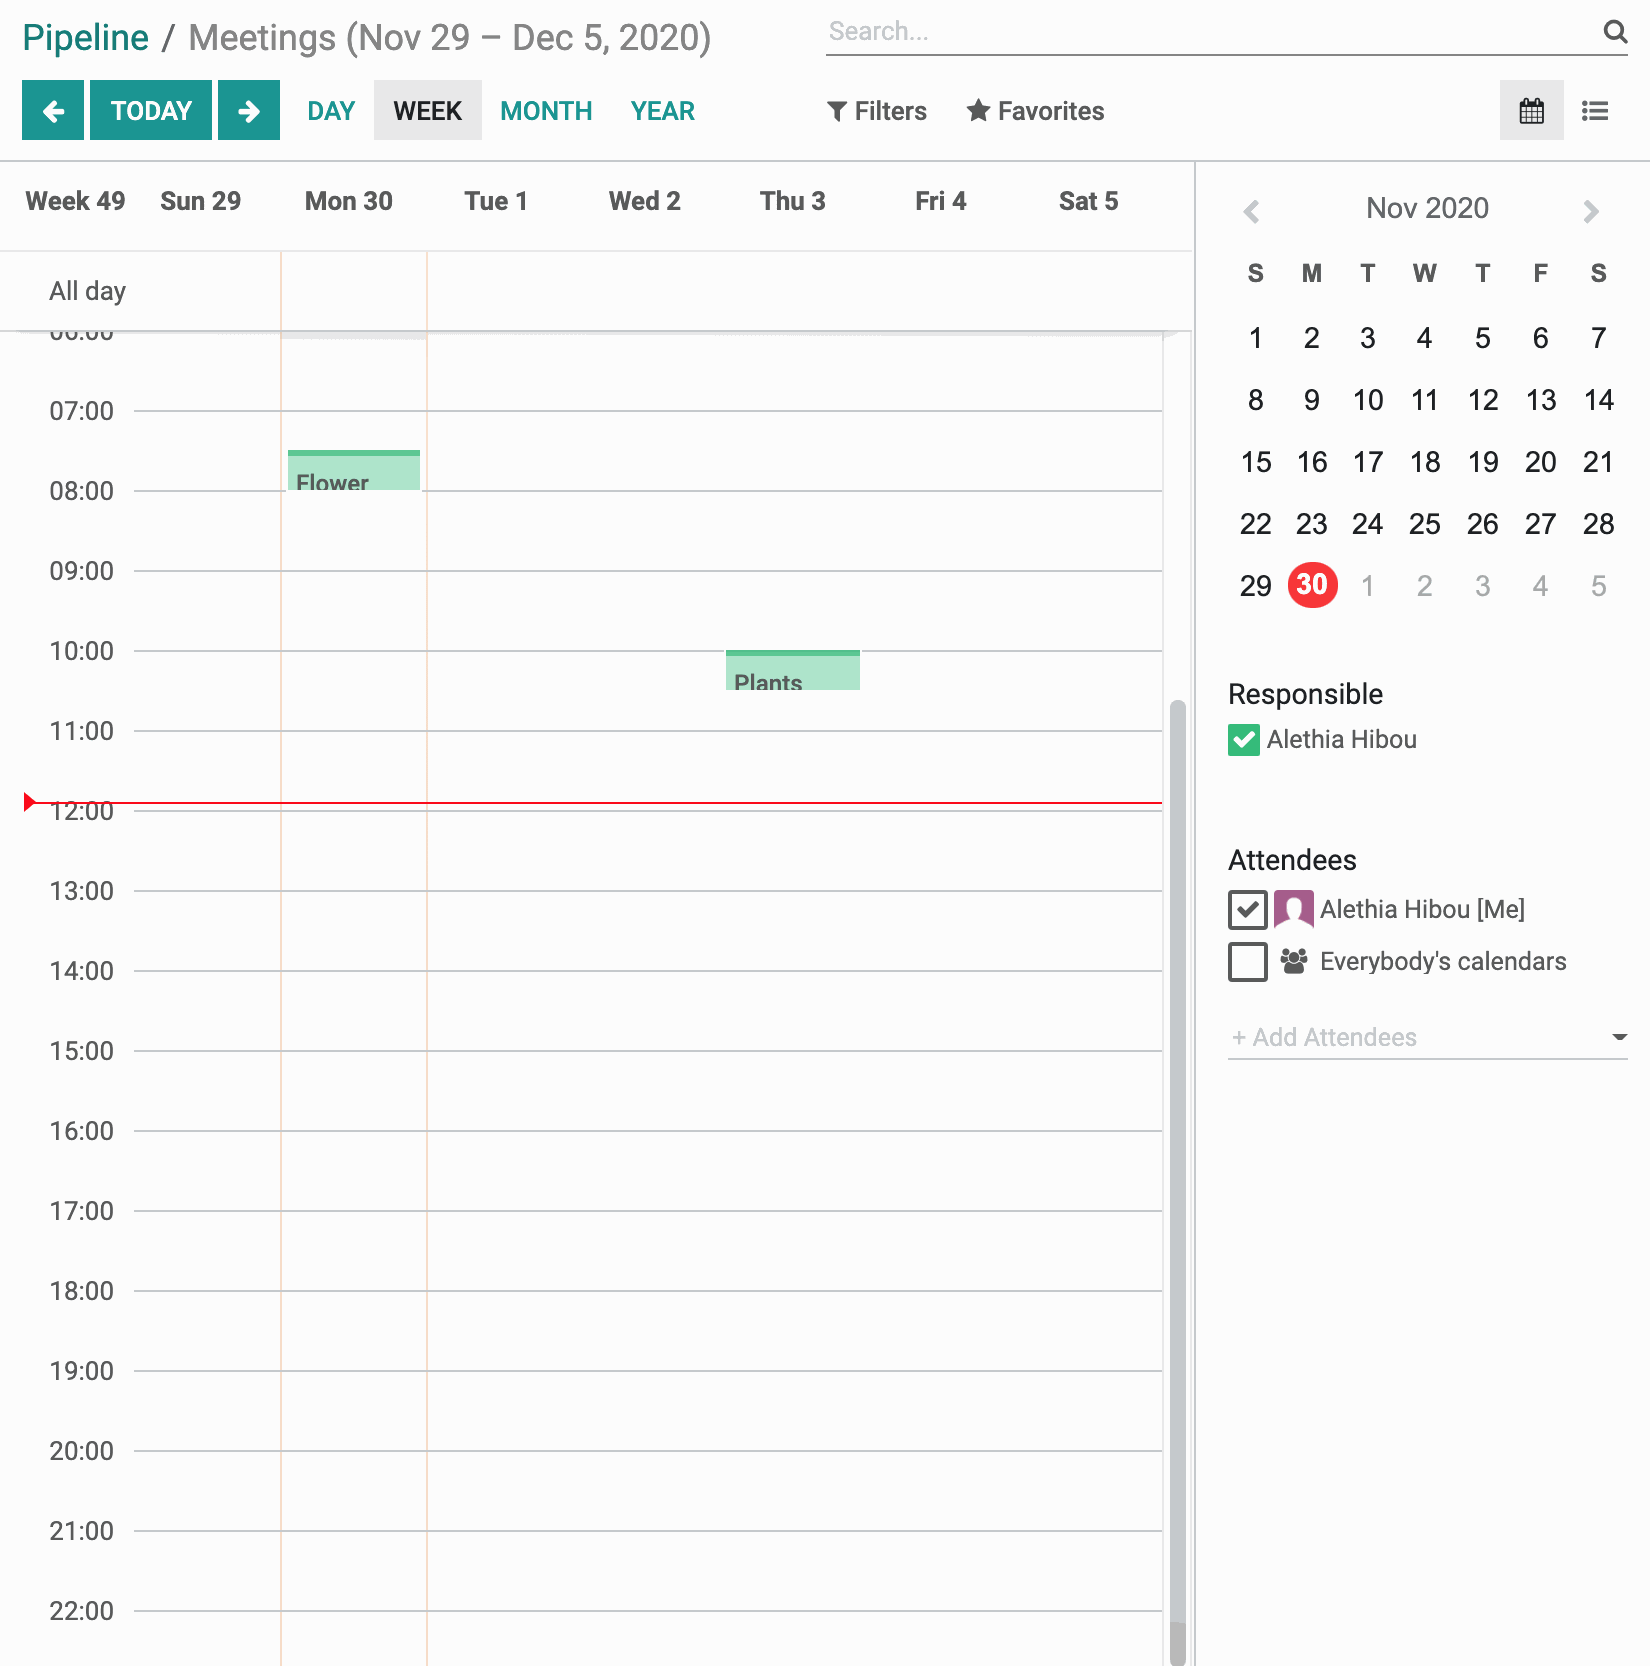
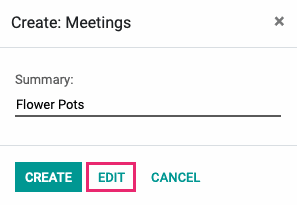
Click on the desired day and time to schedule an activity. From here you can click Create to add the meeting with minimal details. To add further details, click EDIT.
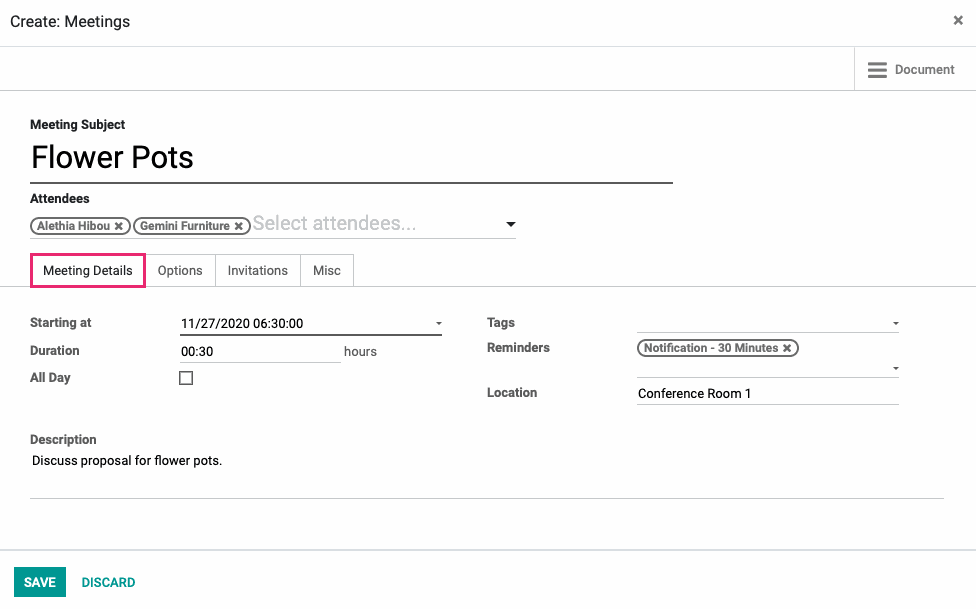
This opens a modal window where you can enter further details for the meeting:
Attendees: Select all meeting attendees to invite.
Under the meeting detailS tab:
Starting at: Enter the date and time the meeting starts.
Duration: Enter the duration of the meeting.
All Day: Checking the box signifies the meeting will be all day.
Tags: Create new tags or use the drop-down menu to select pre-existing tags.
Reminders: Create a new reminder or use the drop-down menu to select pre-existing reminders
Location: Enter the location for your meeting.
Description: Enter a description of the meeting.
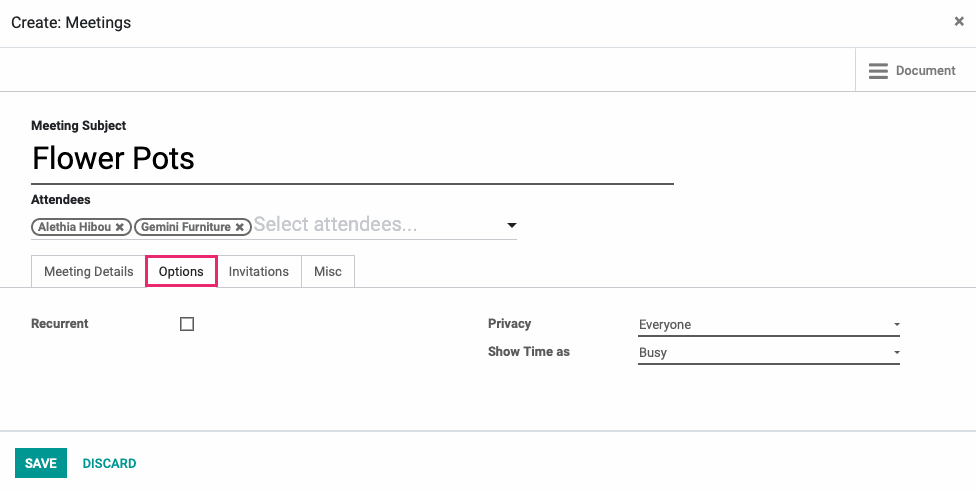
Under the options tab:
Recurrent: Checking this box signifies this is a recurring meeting.
Privacy: Select who can see this meeting on the calendar.
Show Time as: Indicate what the attendees' calendars should reflect during this meeting.
When you're ready, click save to add this meeting to the calendar and send invitations.
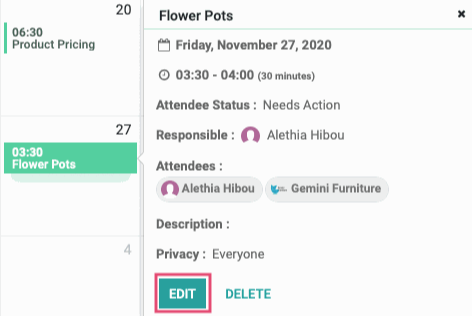
Locate and click the meeting on the calendar, then click Edit to see the details that were added after being saved.
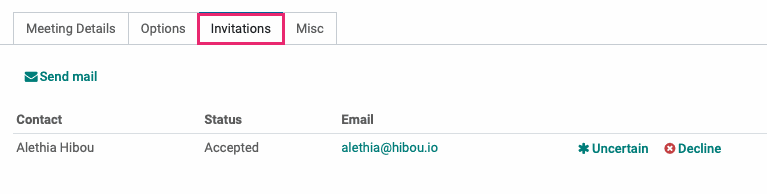
Under the Invitations tab, you can see the Status of each invitee. To change their status, click either Uncertain or Decline to the right of their name.
Under the Misc tab, you can see or change the employee responsible for the management of this meeting.

If you've made any changes, click save.
Good to Know!
To view all of your upcoming activities, in the upper right hand corner of any page, click on the icon. The number next to the icon reflects activities that are late.
