Odoo Essentials: Notes Management
Purpose
The purpose of this document is to give a clear overview of how to use the Odoo 14 Notes application to boost your productivity, collaborate in real-time with colleagues, and create personal to-do lists, which will allow you to better manage tasks and projects as well as achieve your goals and objectives.
Process
To get started, navigate to the Notes application.
Notes Overview
On the first screen, you will see the following kanban view. Your view may look a bit different depending on configuration.
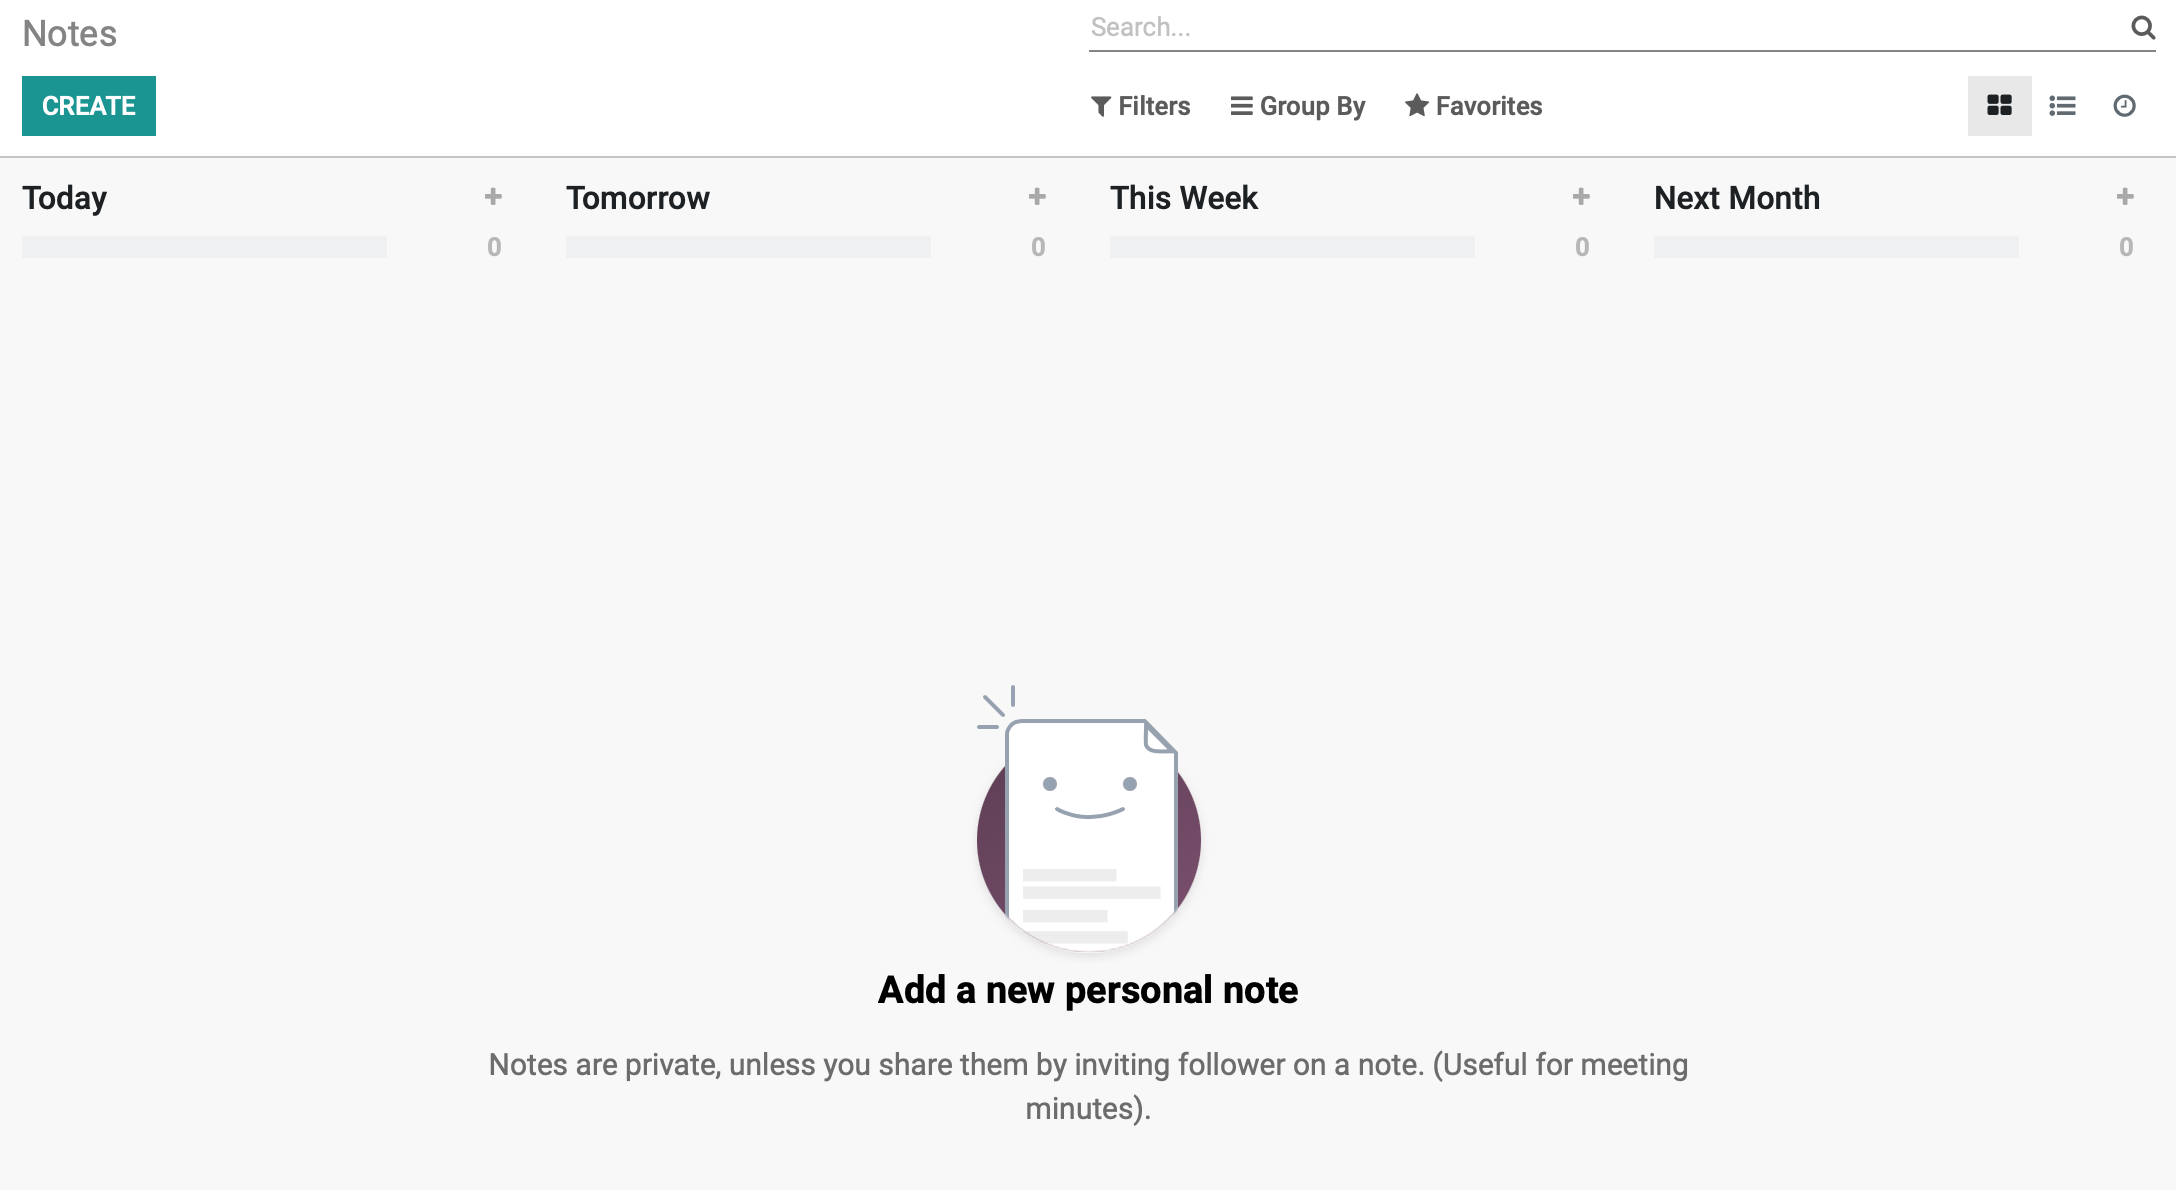
The default columns for the app are New, Meeting Minutes, Notes, and Todo. You can customize these to reflect any desired goal by hovering over the column title, clicking the icon, then clicking EDIT STAGE. In the image below, we added some custom columns and sample tasks to show how useful this tool is for personal and professional projects.
Create a Note
There are two methods to add a new note.
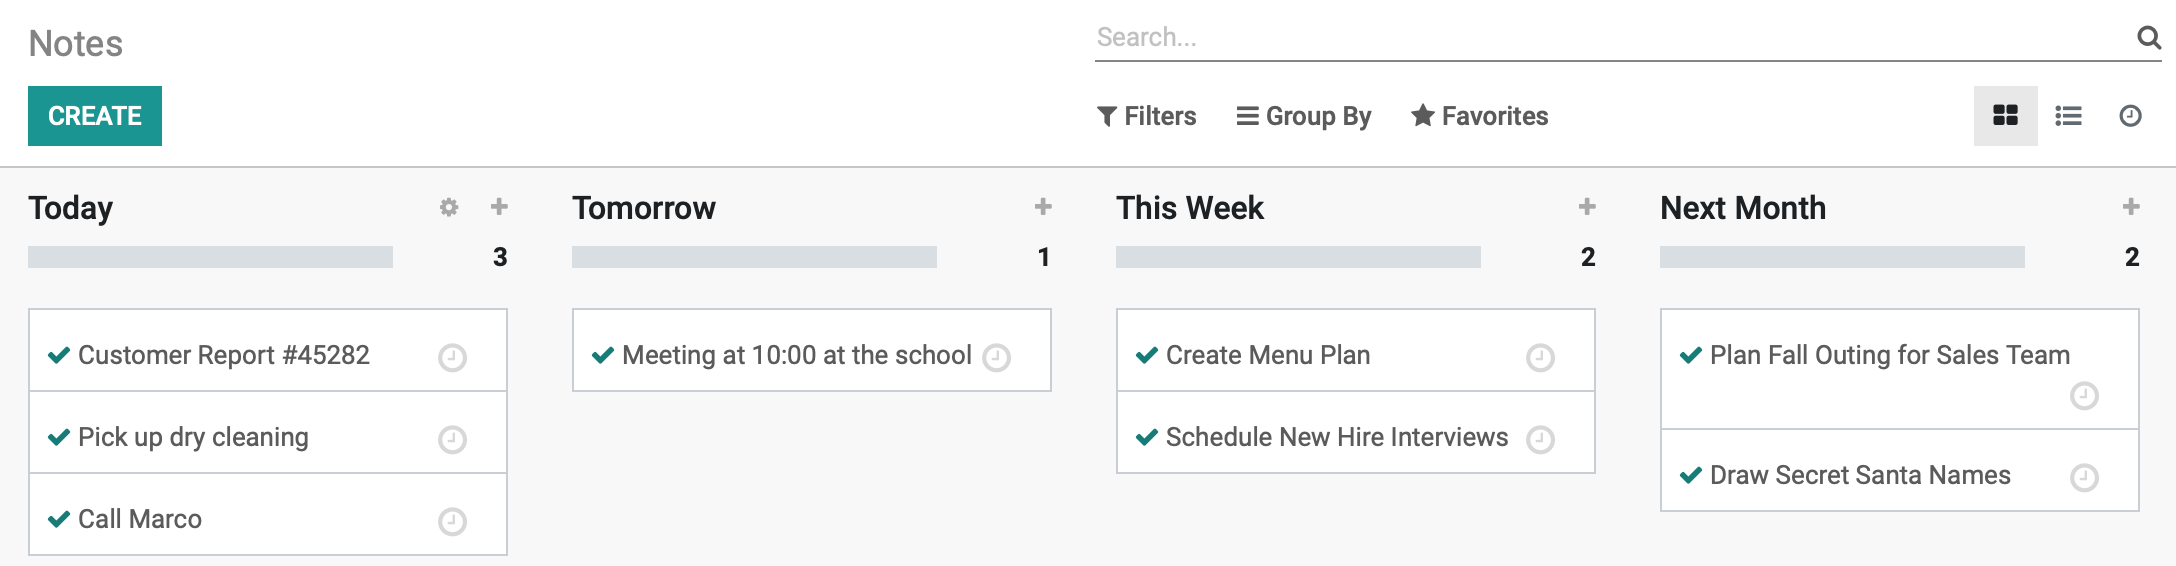
Option 1: Click the plus icon to the right of the column name to add a quick note. Simply enter the Title and click Add. You can also click EDIT to bring up the modal window covered in Option 2.
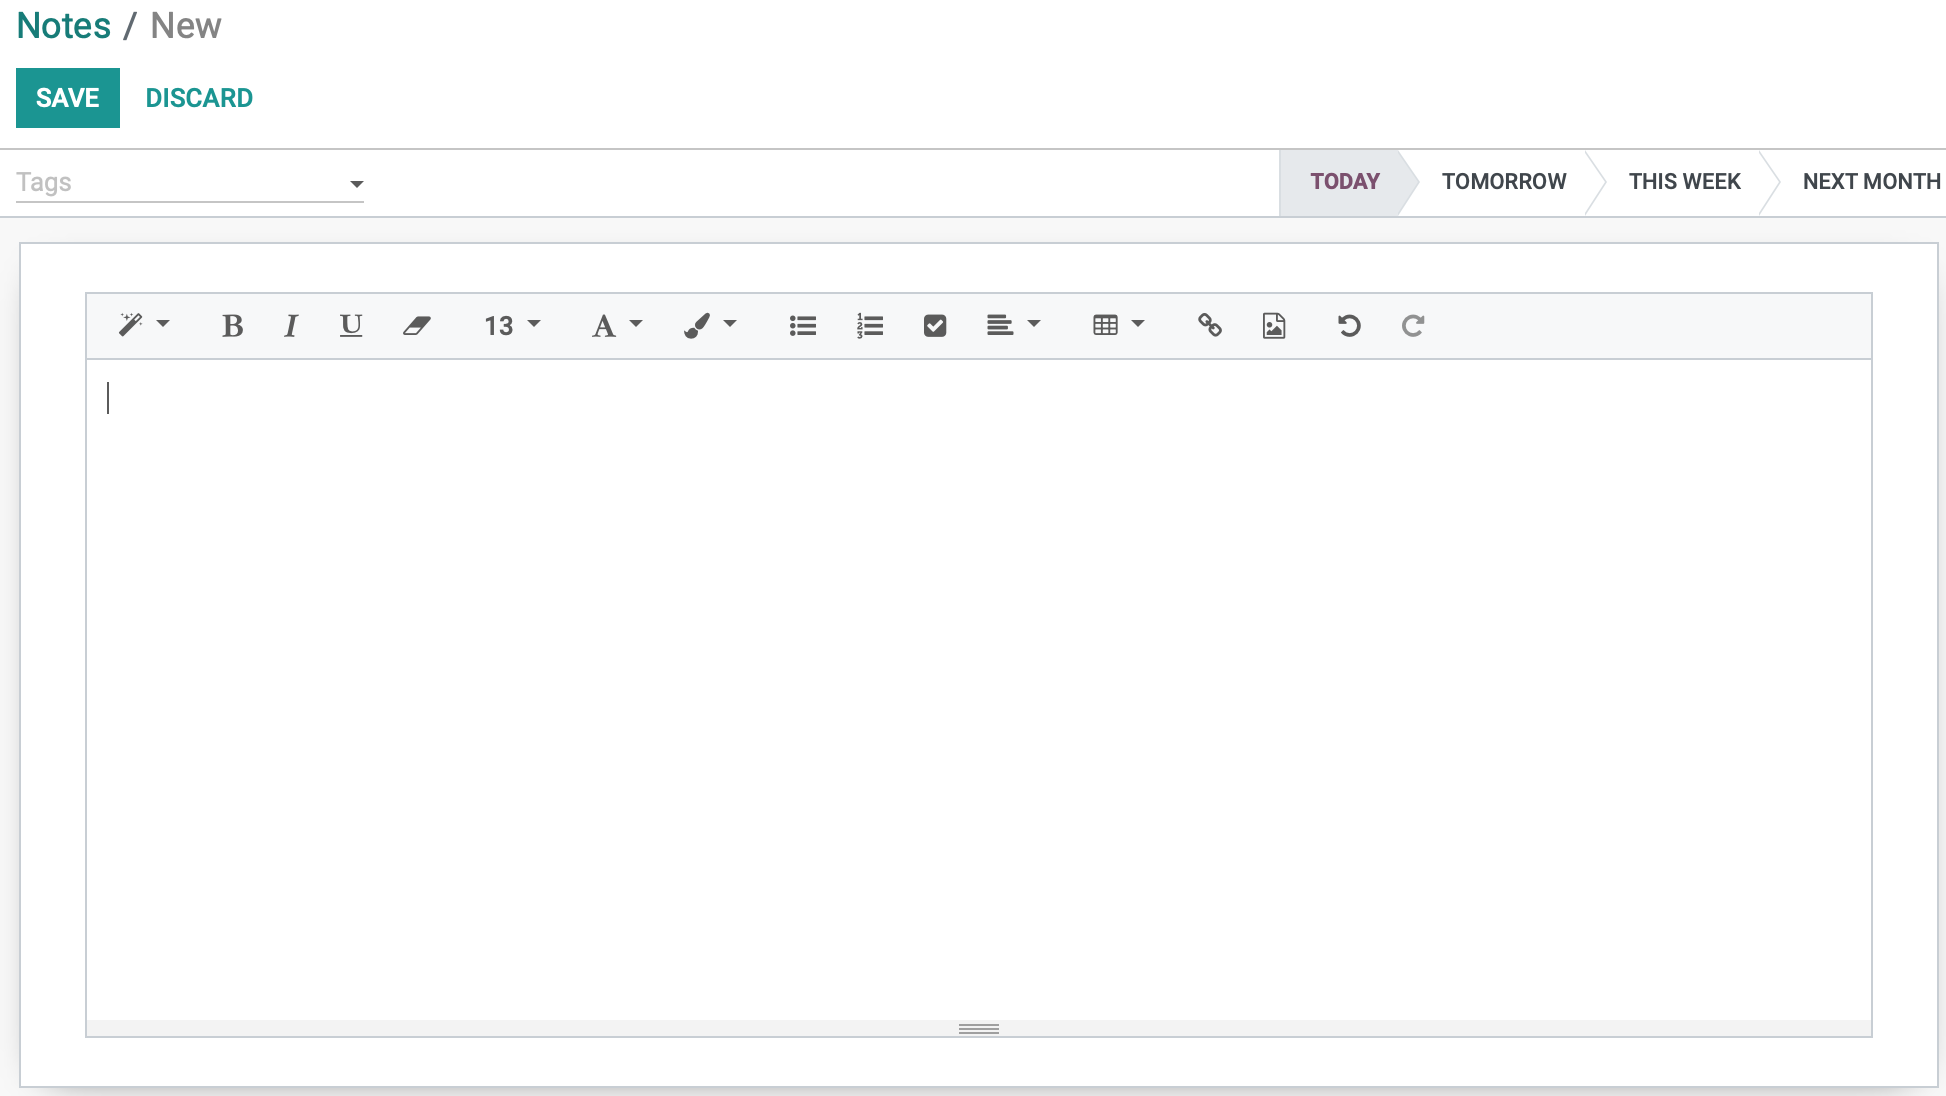
Option 2: Click the CREATE button to be presented with more comprehensive details, as shown in the example below.
Enter the details of your notes and use the formatting icons to style your message, as desired (e.g. bold, italics, underline, etc).
While some formatting options may be familiar, like the bold function, there are some extra formatting options within the Notes app that will help you create unique messages to share with your colleagues.
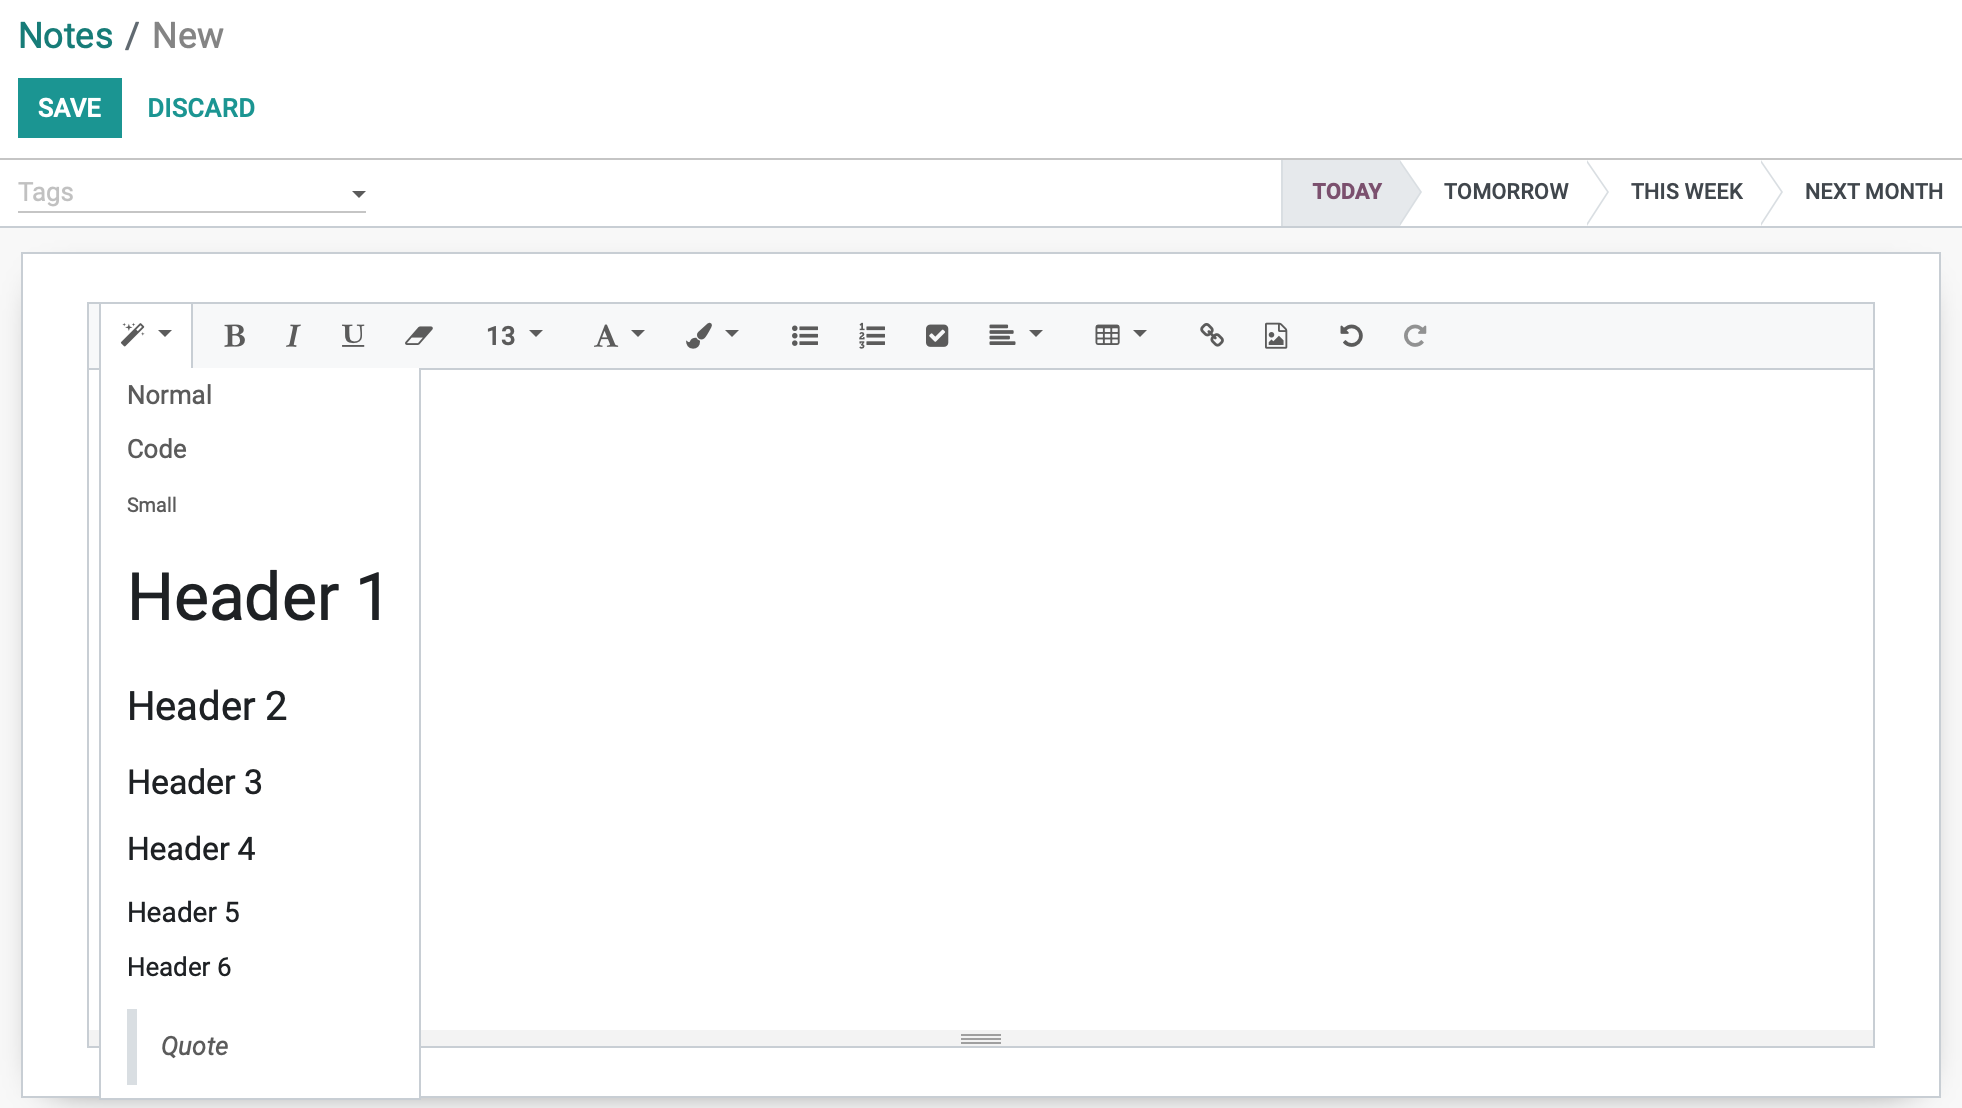
The Style function allows you to style your text with different headers, code, or even add a quote to personalize your Note.
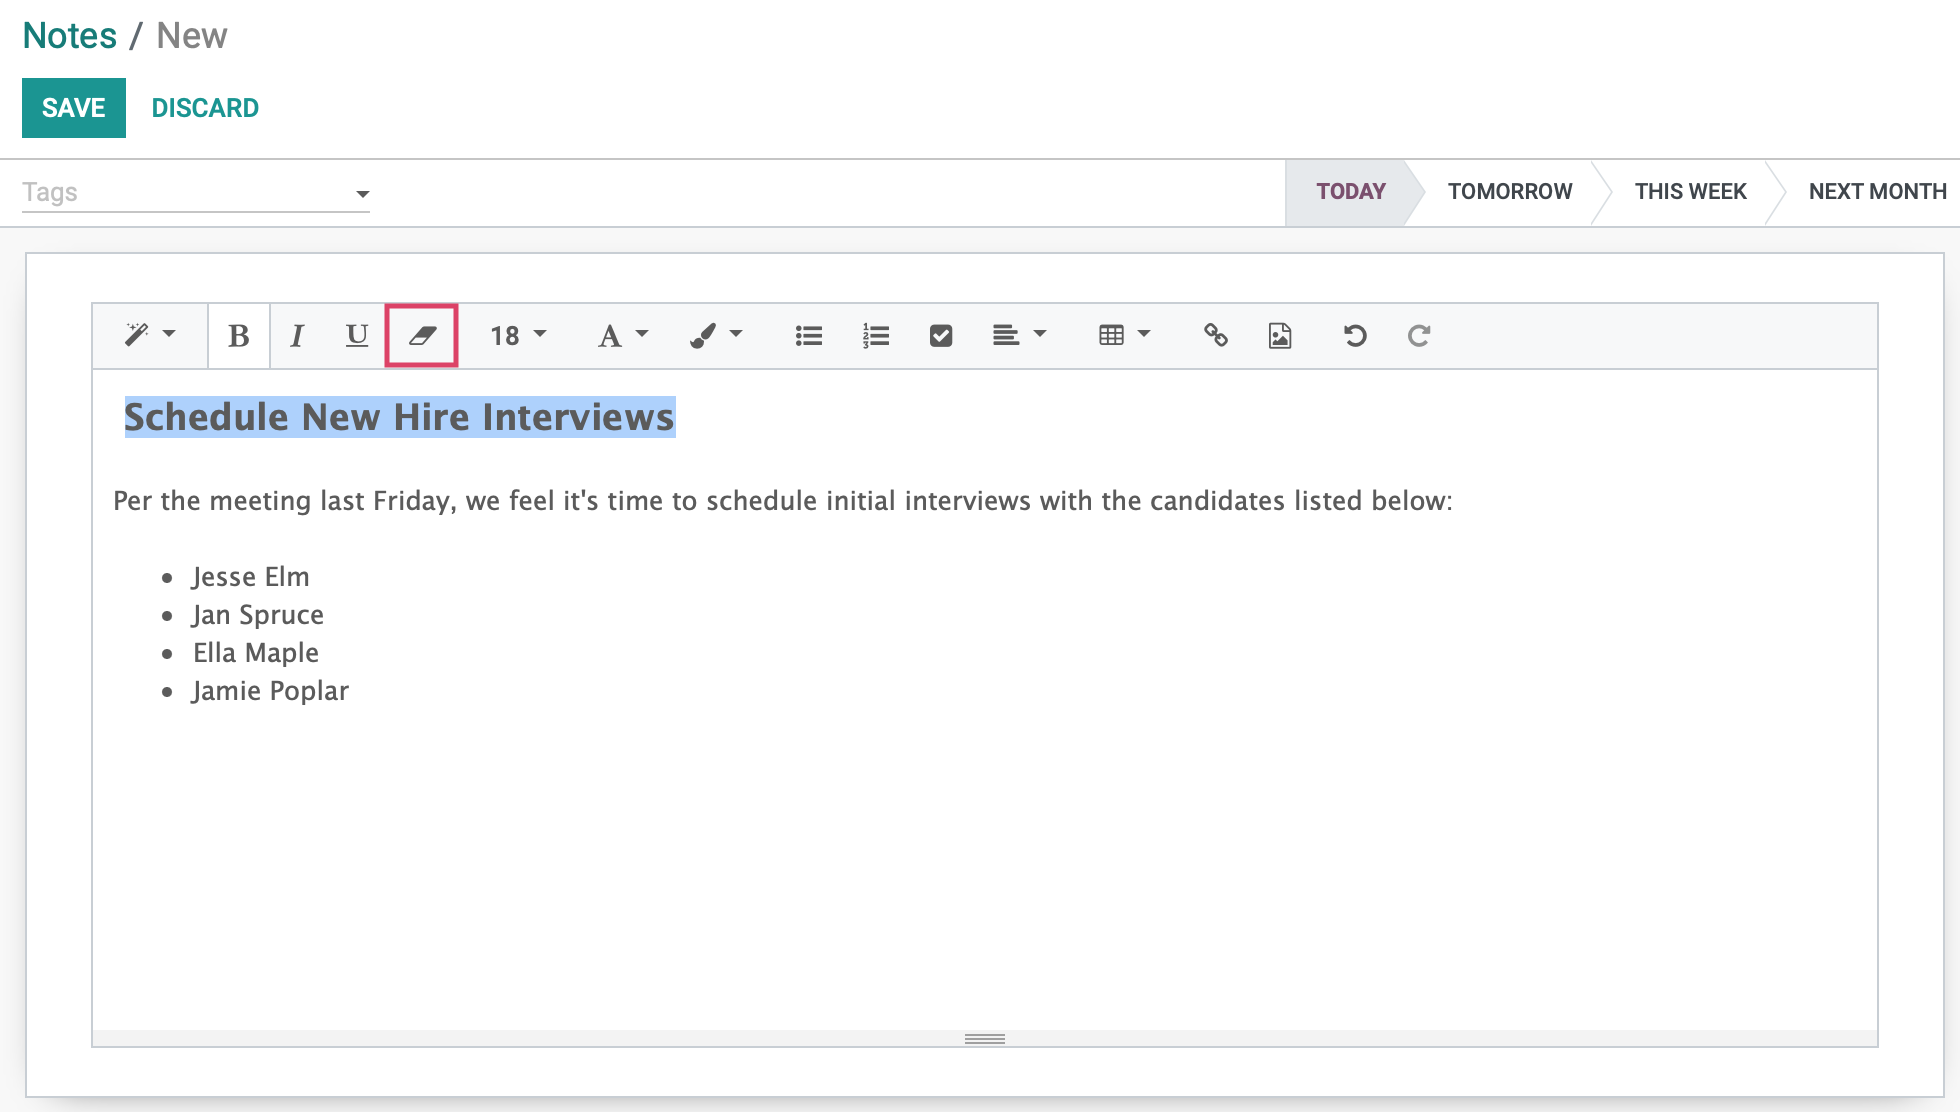
The formatting icon removes all style and font changes within your Note. So if you regret any fonts or color added to your Note, just highlight the text you'd like to revert and click the icon to make it nice and simple again.
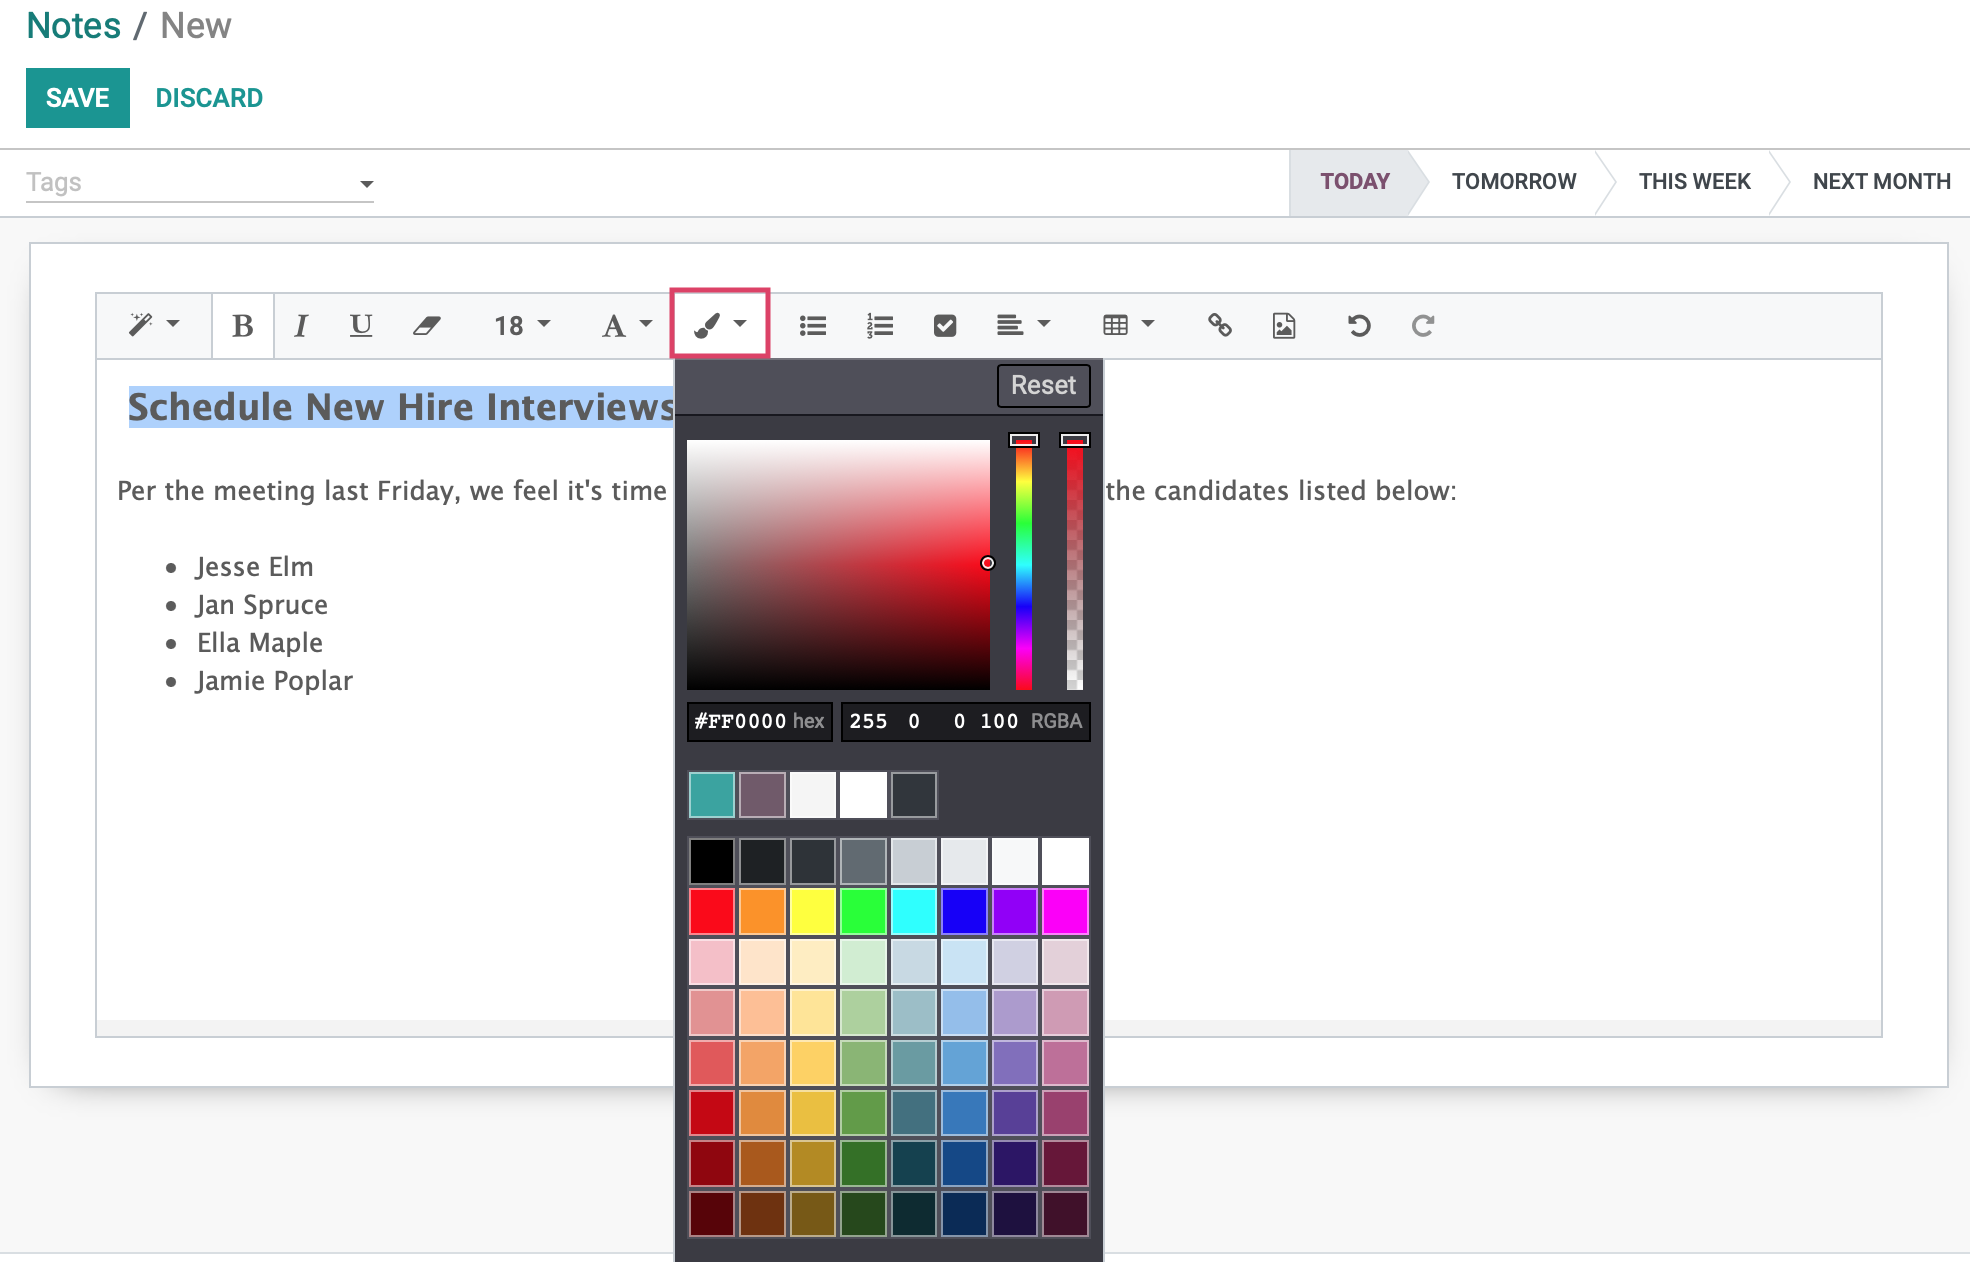
The and formatting icons allow you to style your background and text with various colors, including Odoo theme colors, to create interesting Notes with endless variety. Simply highlight the text to format and make your selection from the editor menu.
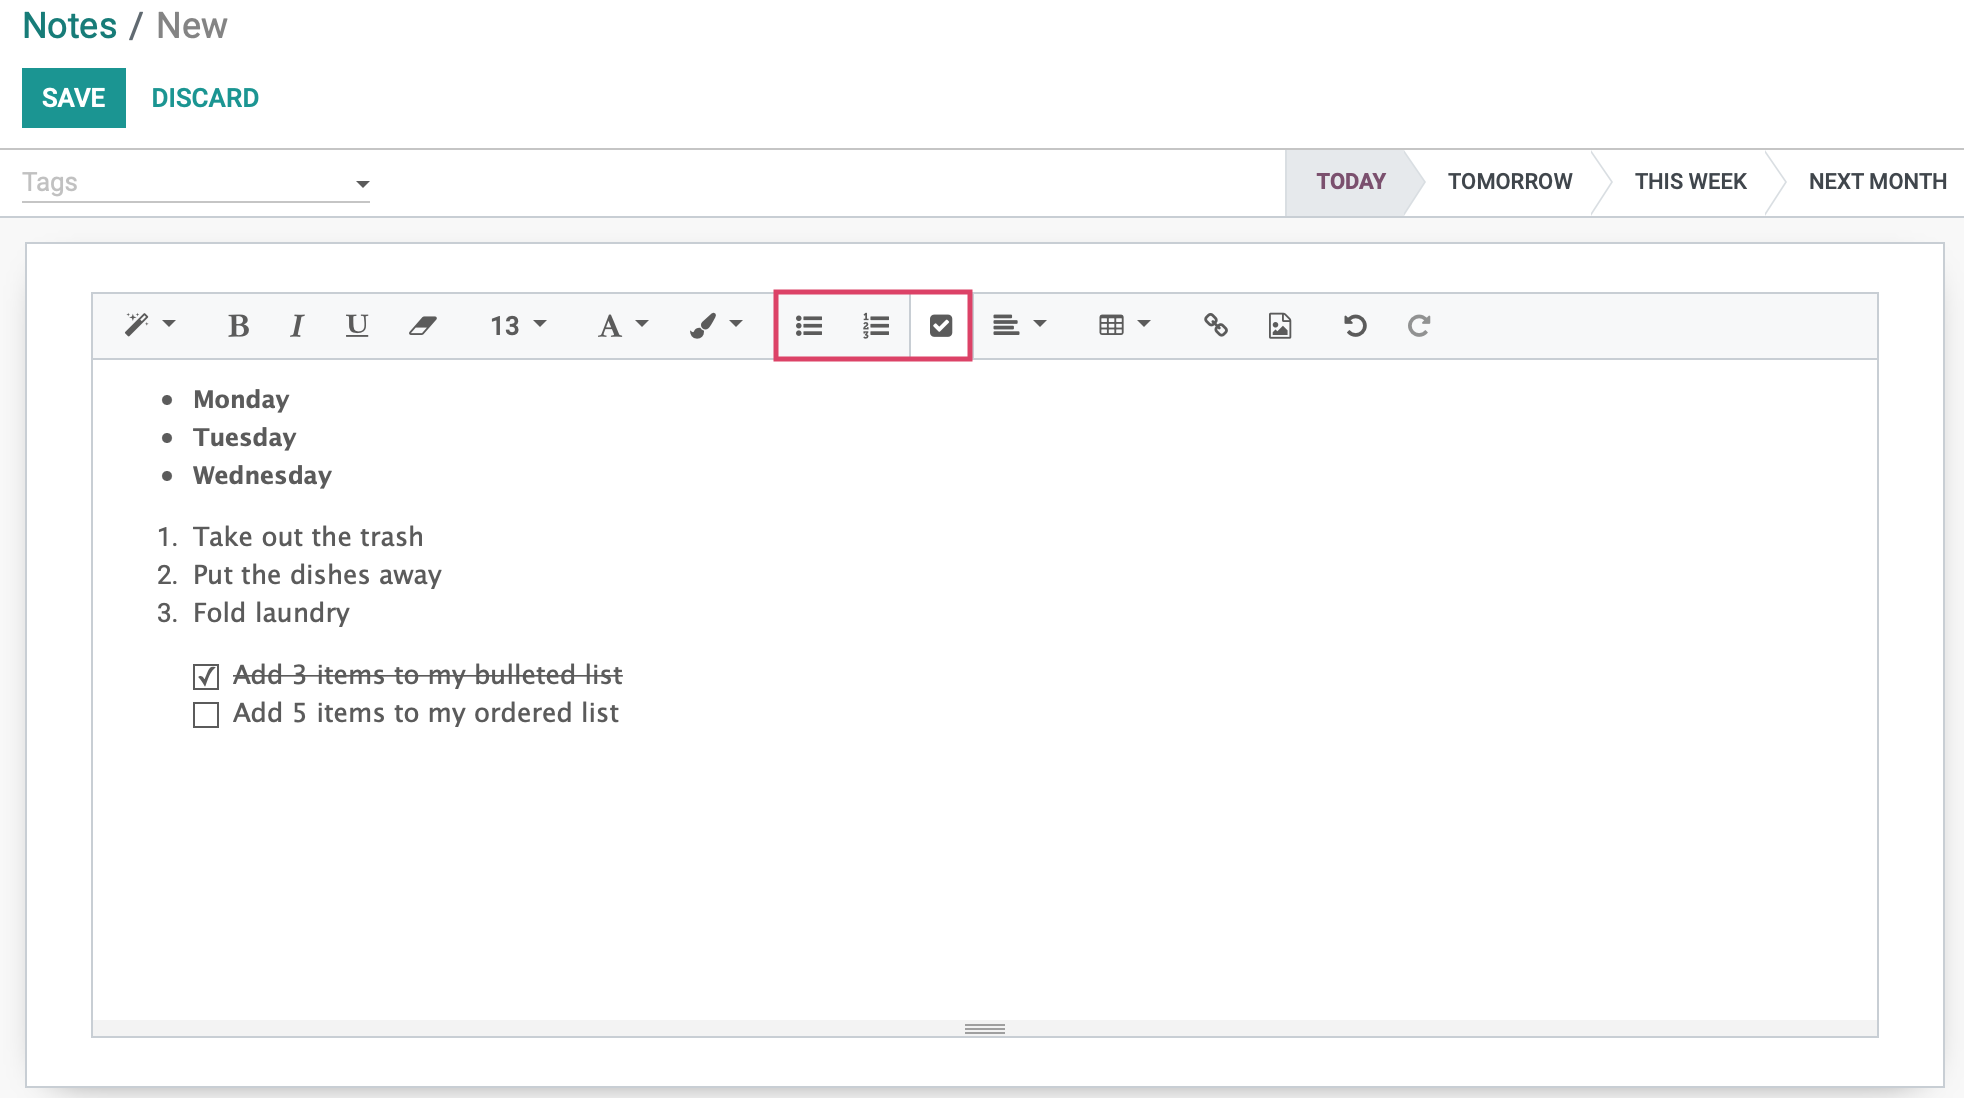
The and icons allow you to create both bulleted and numbered lists, while the icon allows you to insert a checkbox for checklists. Once you've placed the empty checkbox, you can click a box to show the item as completed. This adds a check to the box and a line through the text to show as complete.
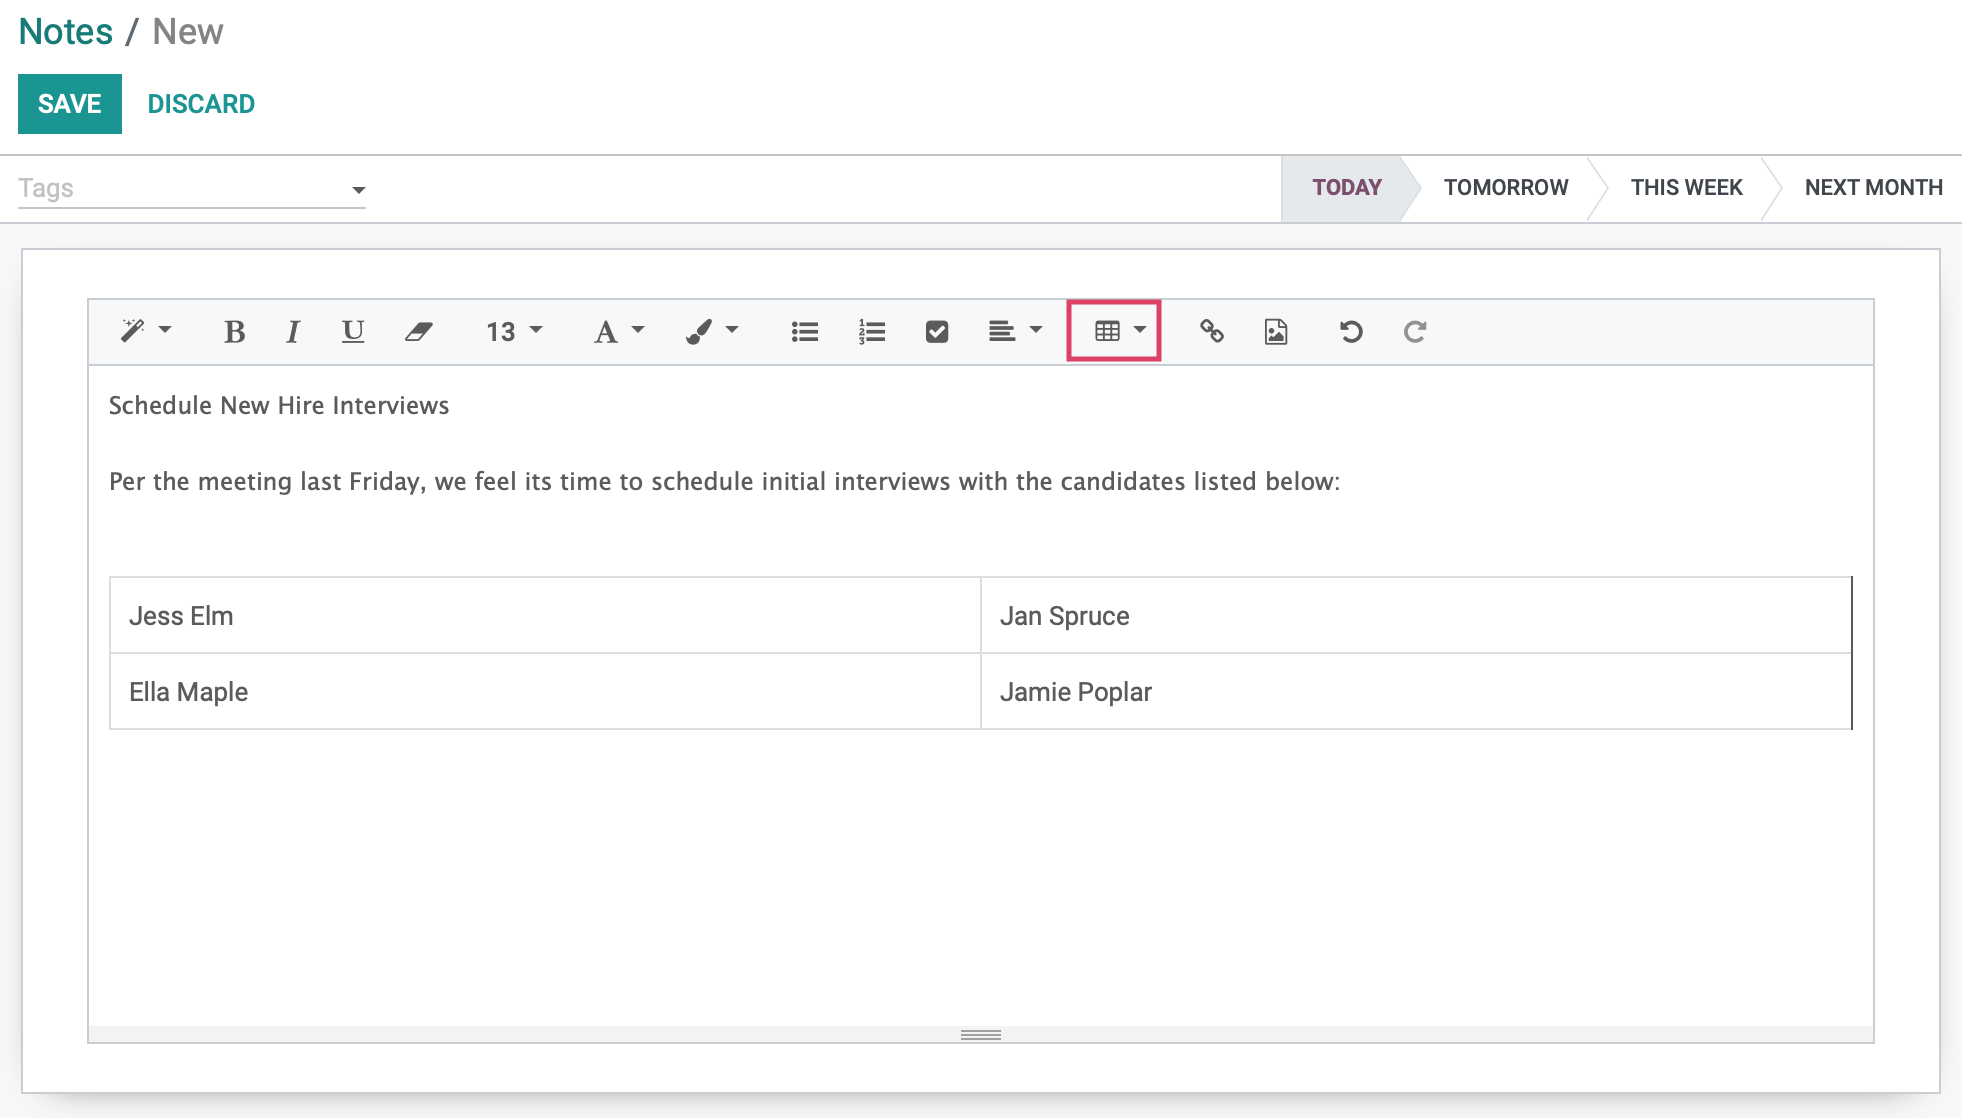
The icon allows tables to be created within a Note with a variety of widths and lengths for any additional data you'd like to include. When clicking this icon you'll be able to select a grid for the height and width of your table. Note that the size of your screen will affect the appearance of your table. If your screen is displaying on a mobile device, for example, your columns may be converted to rows for a mobile-friendly display.
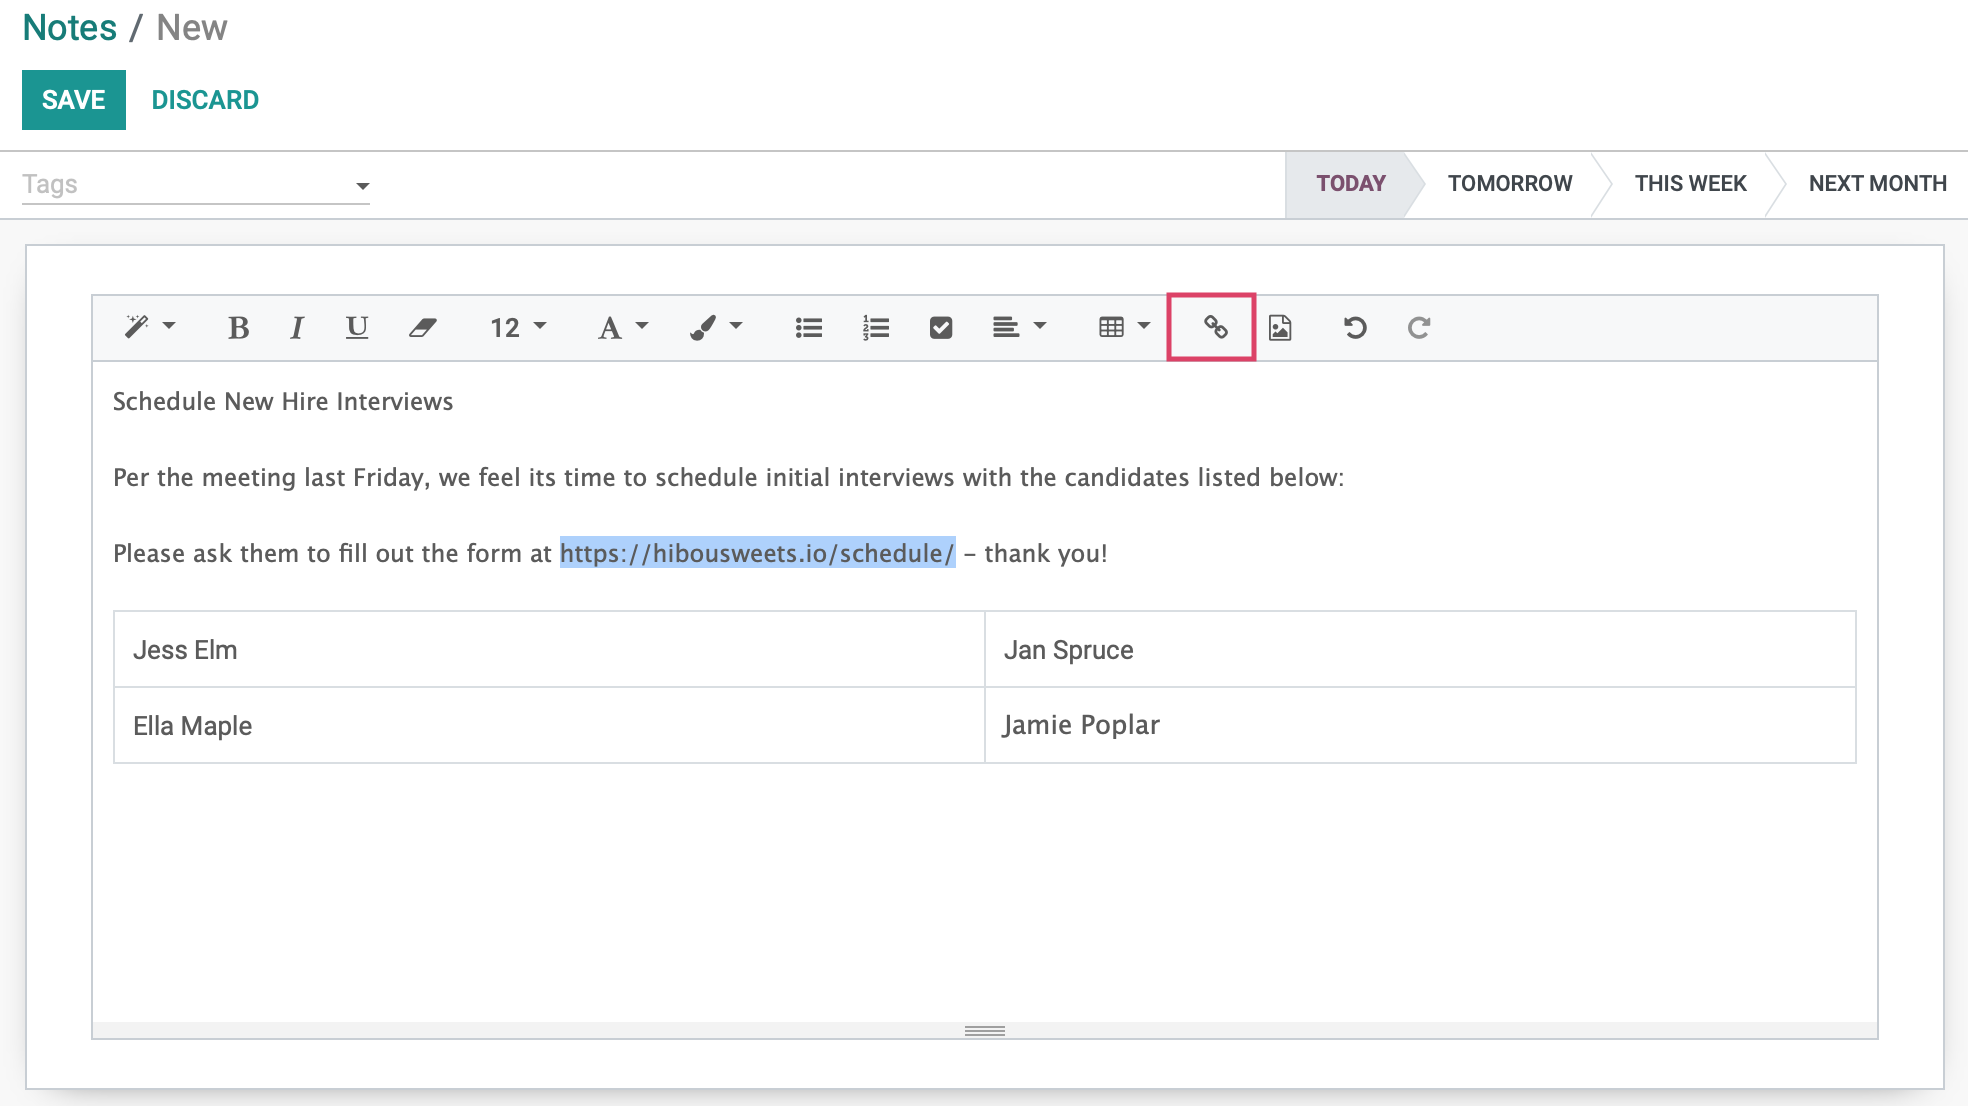
The icon allows you to insert a web link into your Note, allowing you to share external information quickly and efficiently. To link text that you've already typed, highlight that text and click the icon. Otherwise you can simply click the icon where you'd like your link to appear.
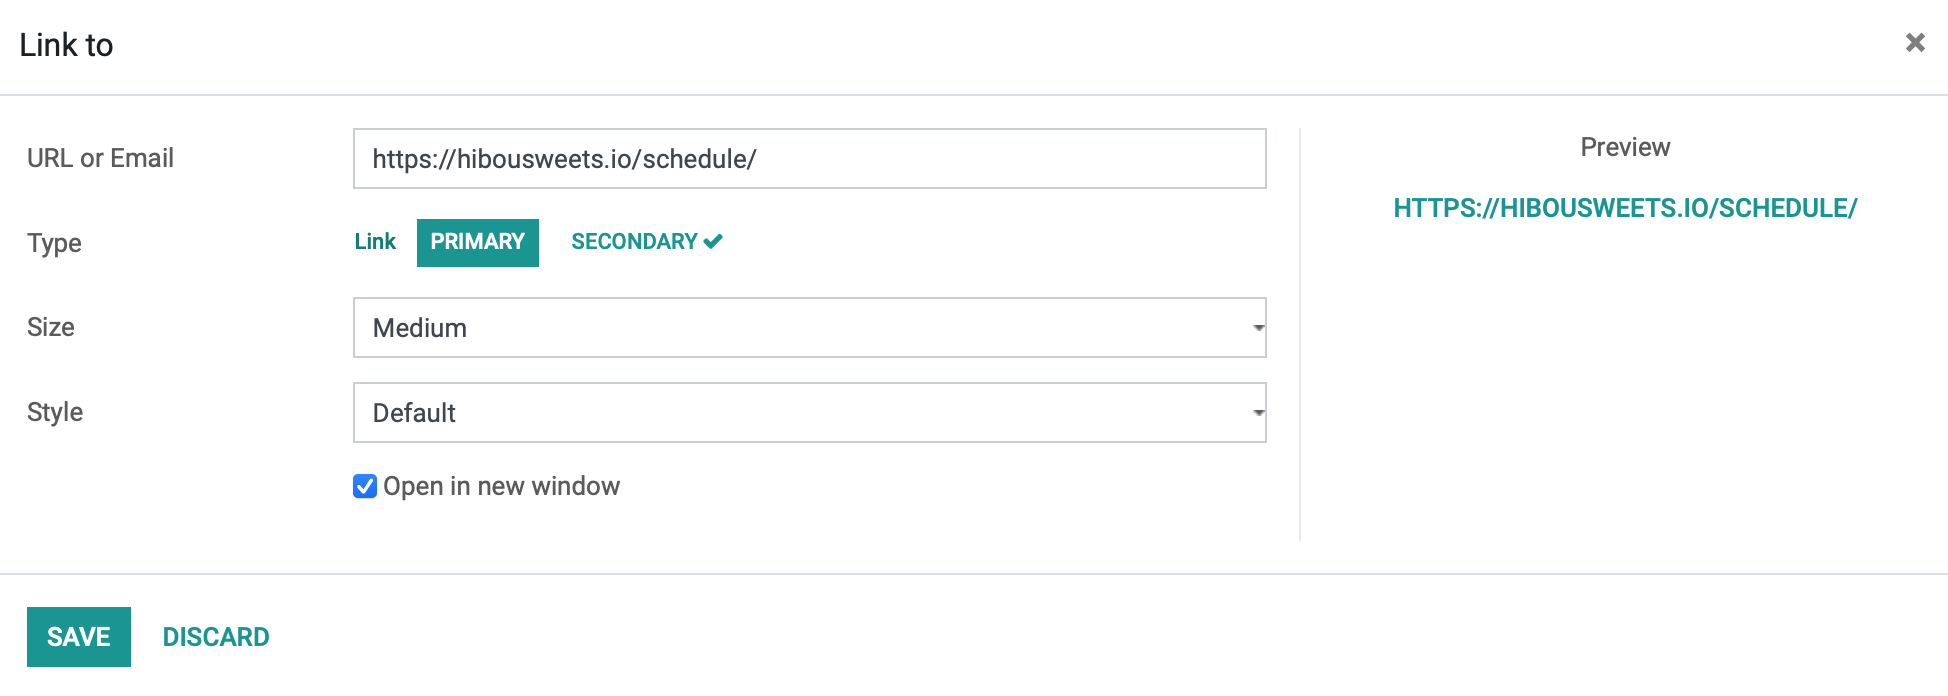
After clicking that icon, you'll see the Link to the modal window. Here you'll be able to customize the look of your link by adjusting the size, style, and decide if the link will open a new window. The Preview window in the Link To pop-up box also gives you a preview of the URL, so you see how it will display in your Note.
The icon allows images, pictograms, documents, and video to be added to the note, so important content can be saved and shared with colleagues to facilitate easier collaboration.
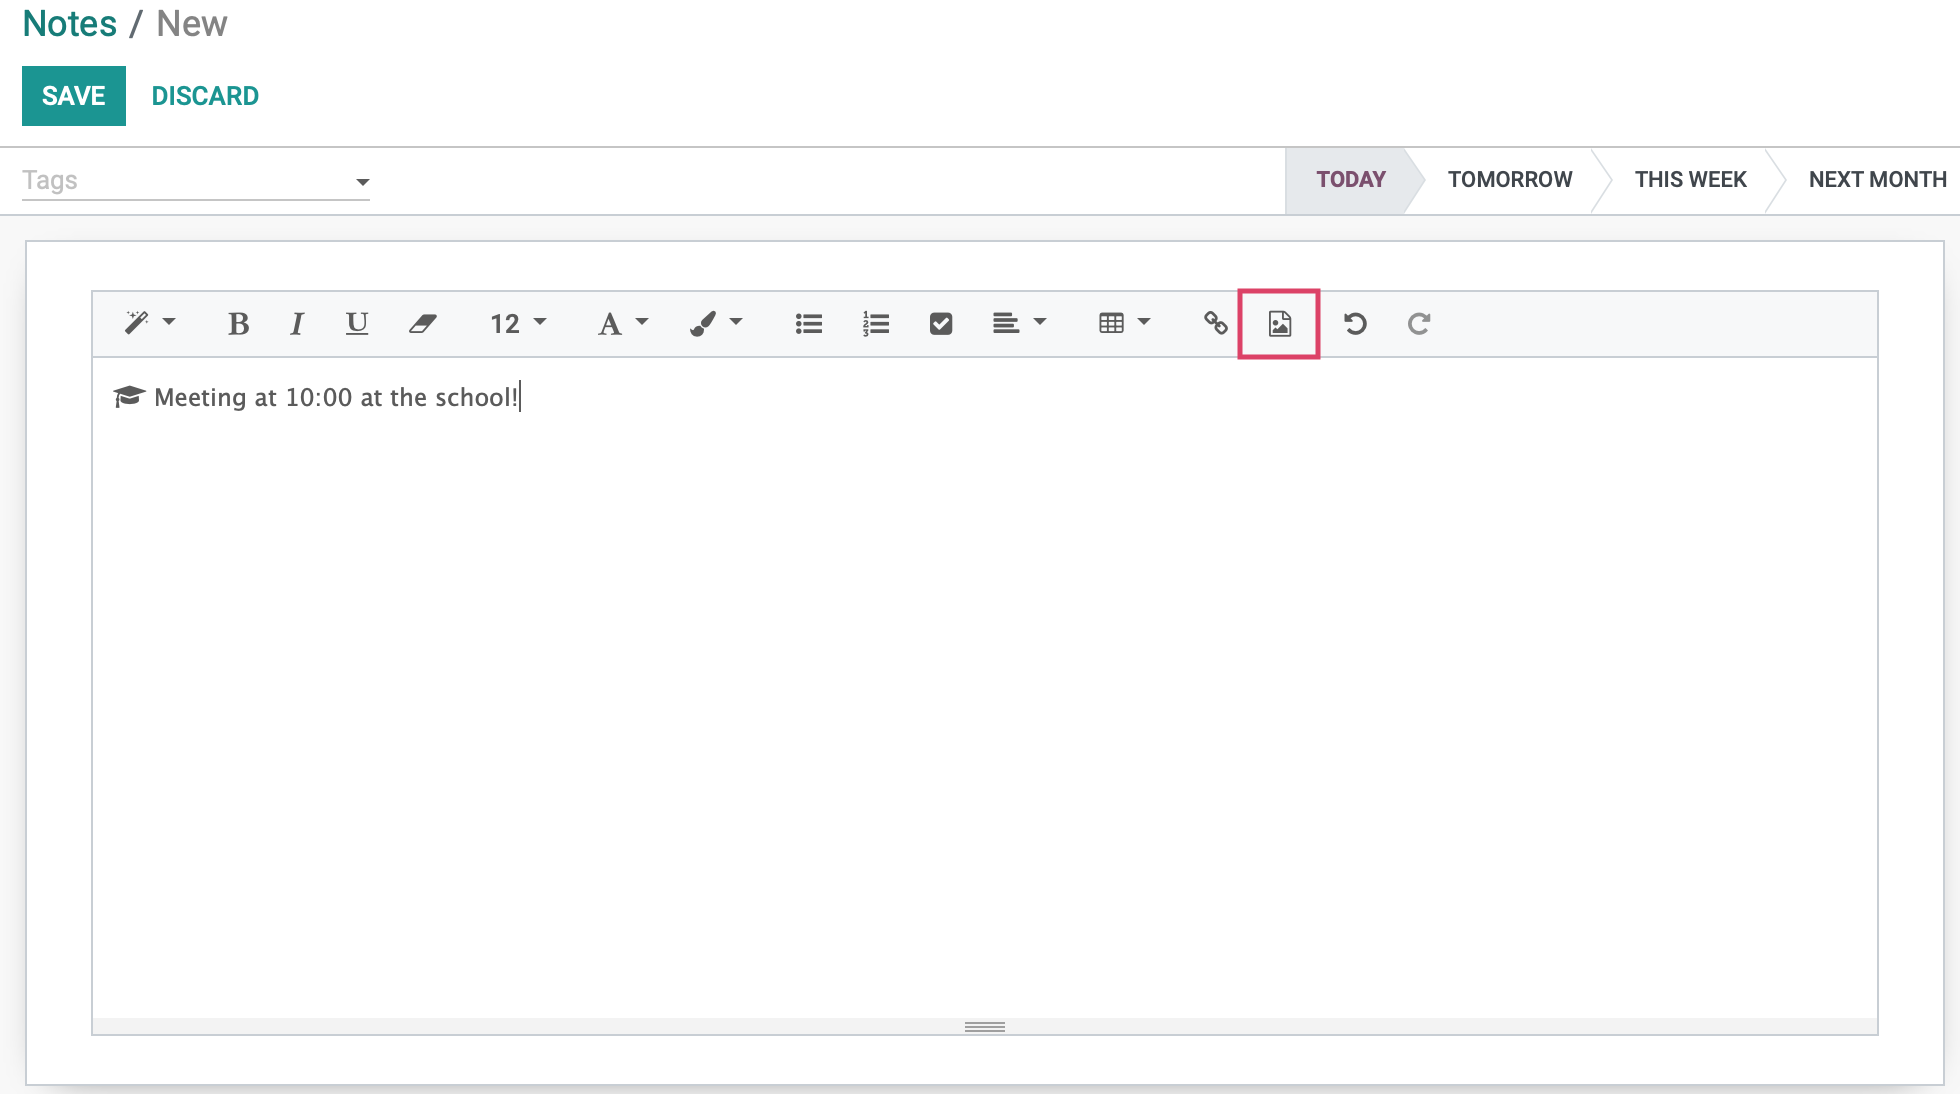
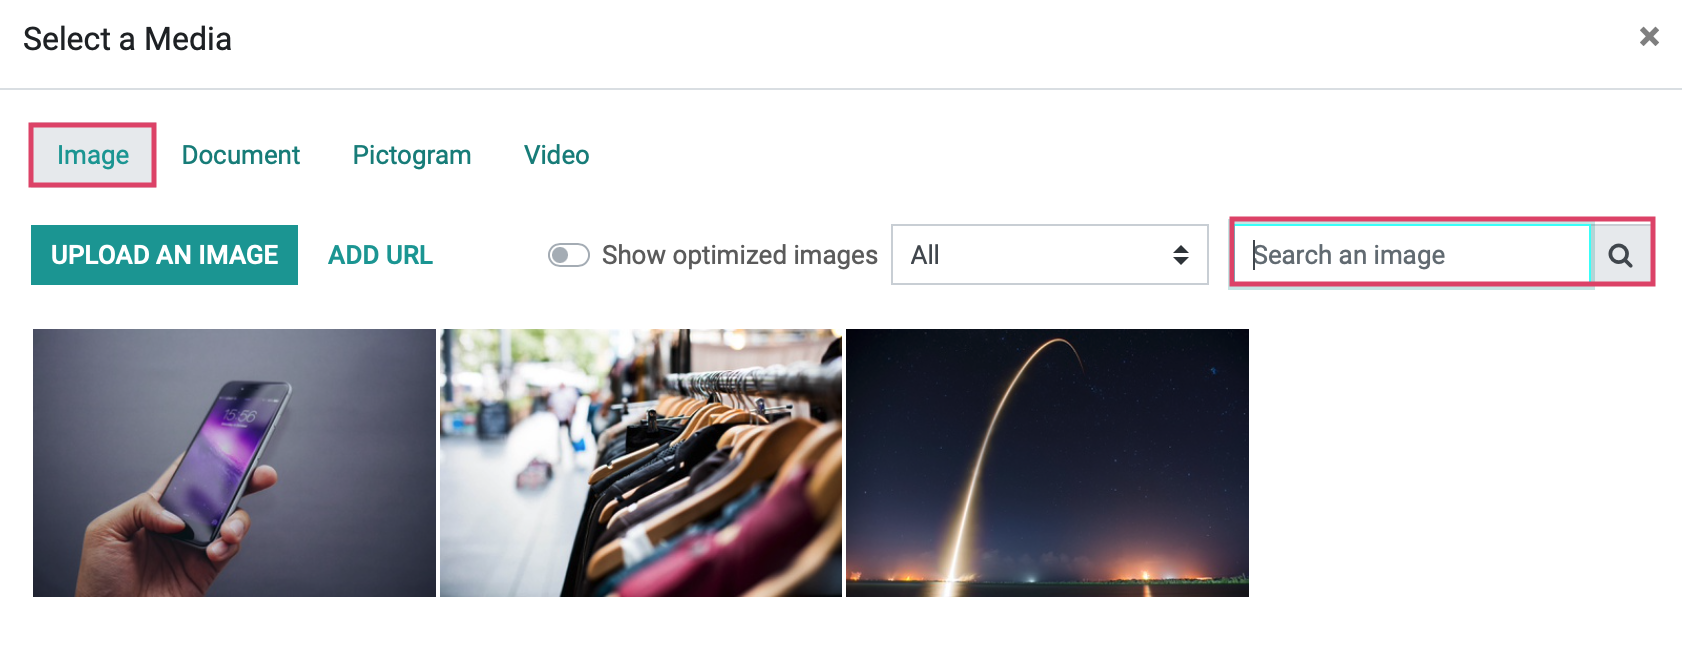
When the icon is clicked on, a modal window opens with the title, Select a Media. Here you can select different types of content to insert into the Note.
Image: You can upload an image from your computer, browse what's already been uploaded, or search royalty-free images using the Search an image field. When you've decided on an image, highlight it and click the ADD button to insert it into your Note.
Document: This is an easy way to add a document into the body of your note. It will create a clickable icon within the note that will download your document.
Pictogram: This option allows you to insert popular icons, like those you see within the body of our tutorial documents, like this star: .
Video: The video option allows you to insert embed code from your favorite video website.
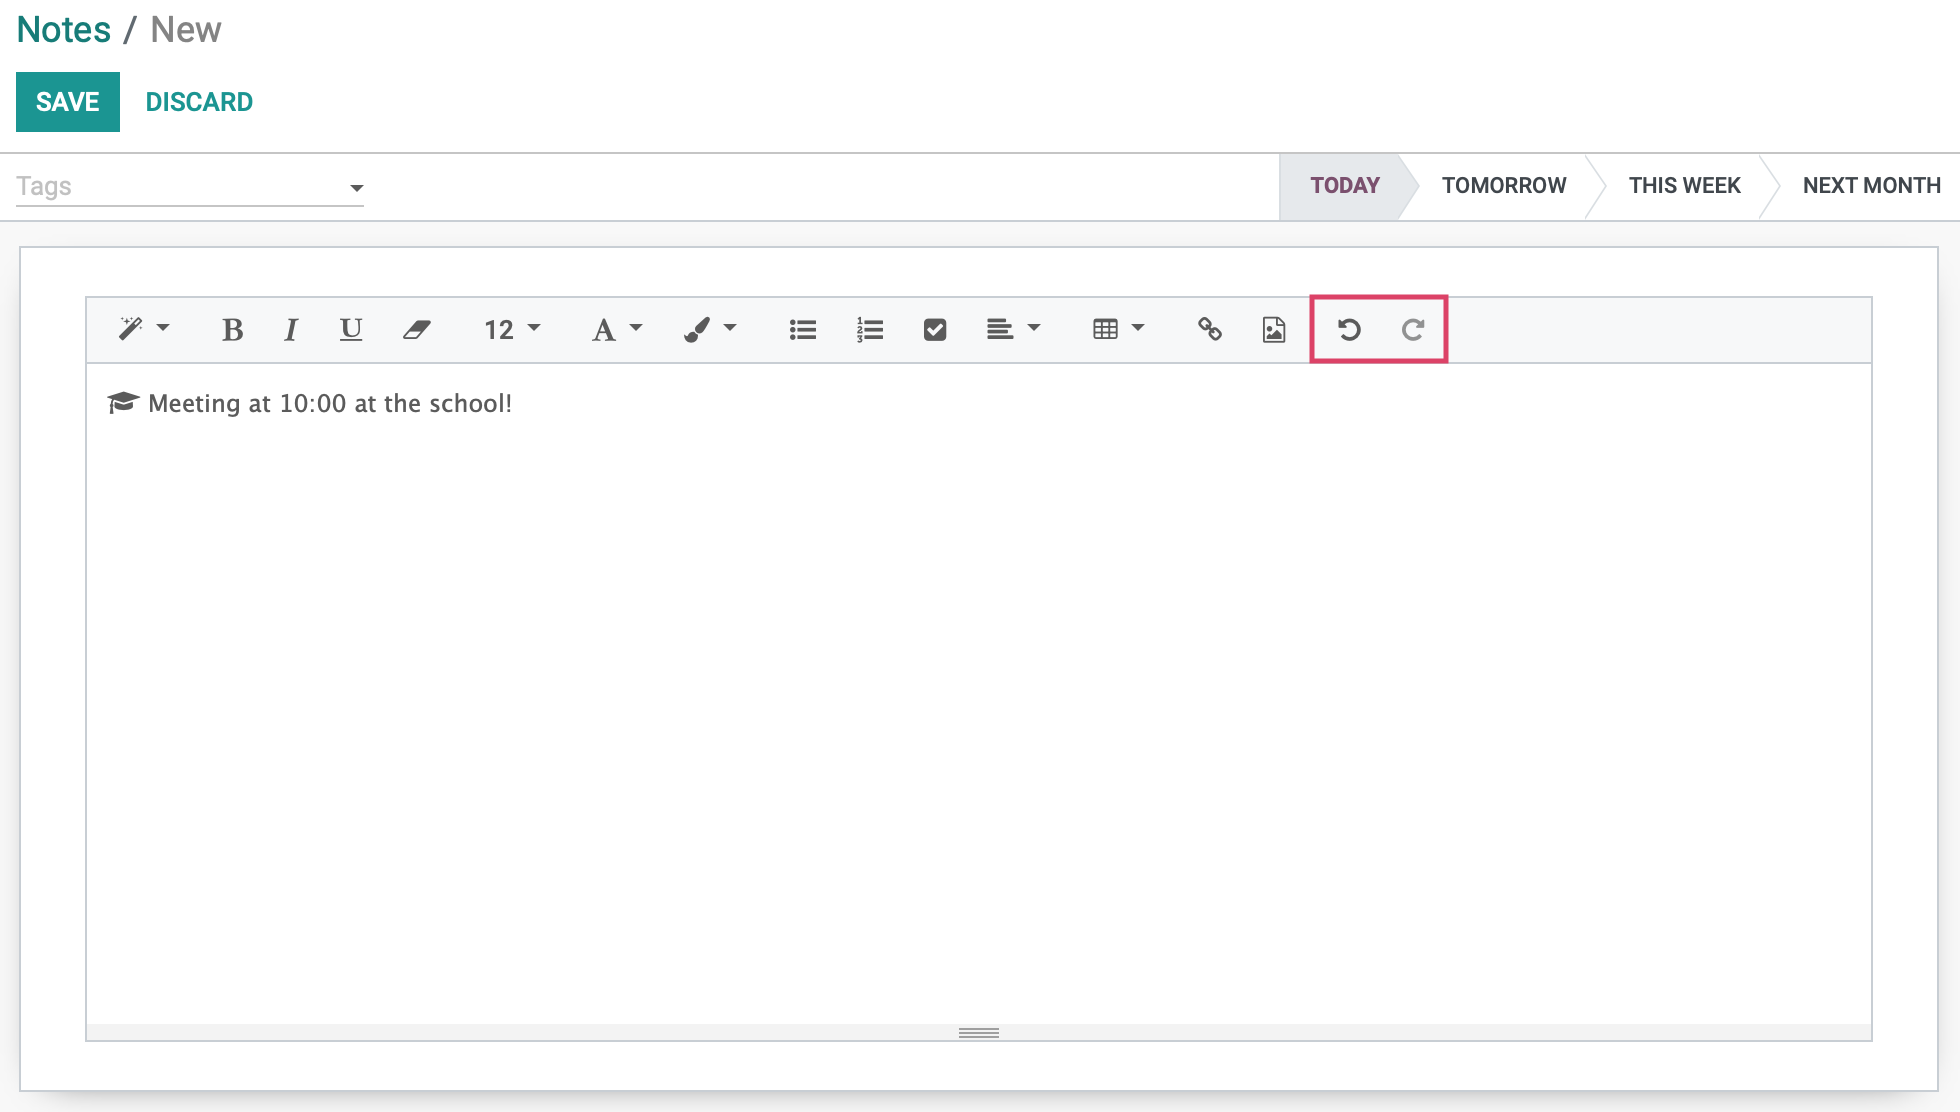
The formatting icons also include Undo and Redo buttons, so you can undo or redo any previously entered actions, text, etc.
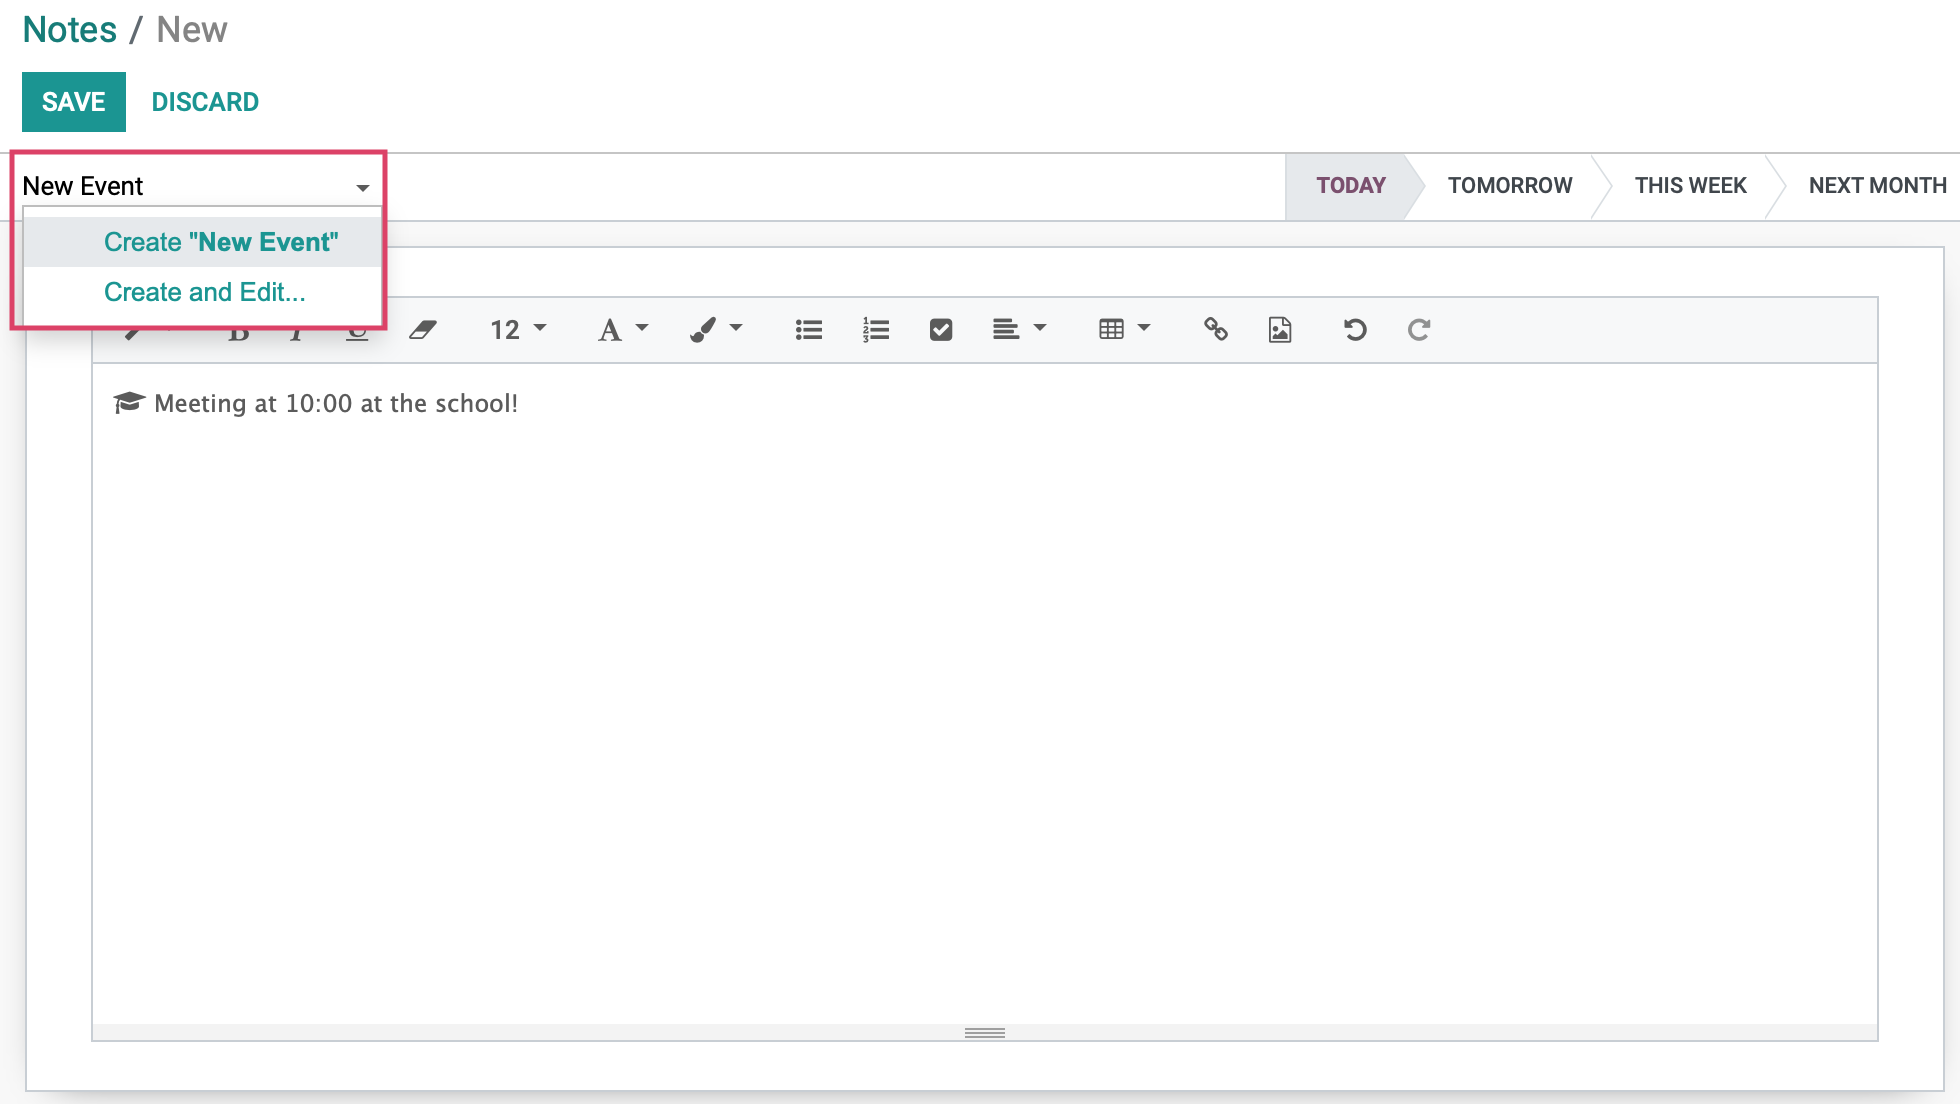
Tags allow you to customize the tags your team uses to sort and filter your notes. From the Tags field, you can start typing to view a drop-down menu. From that menu, you can select a tag that's already been created or you can select the CREATE AND EDIT function to create a new tag.
After clicking the Create and Edit link, the Create: Tags modal window will appear. In this window, enter the tag you'd like on the Tag Name line. Click Save when done, and you'll have it for future use.

Columns
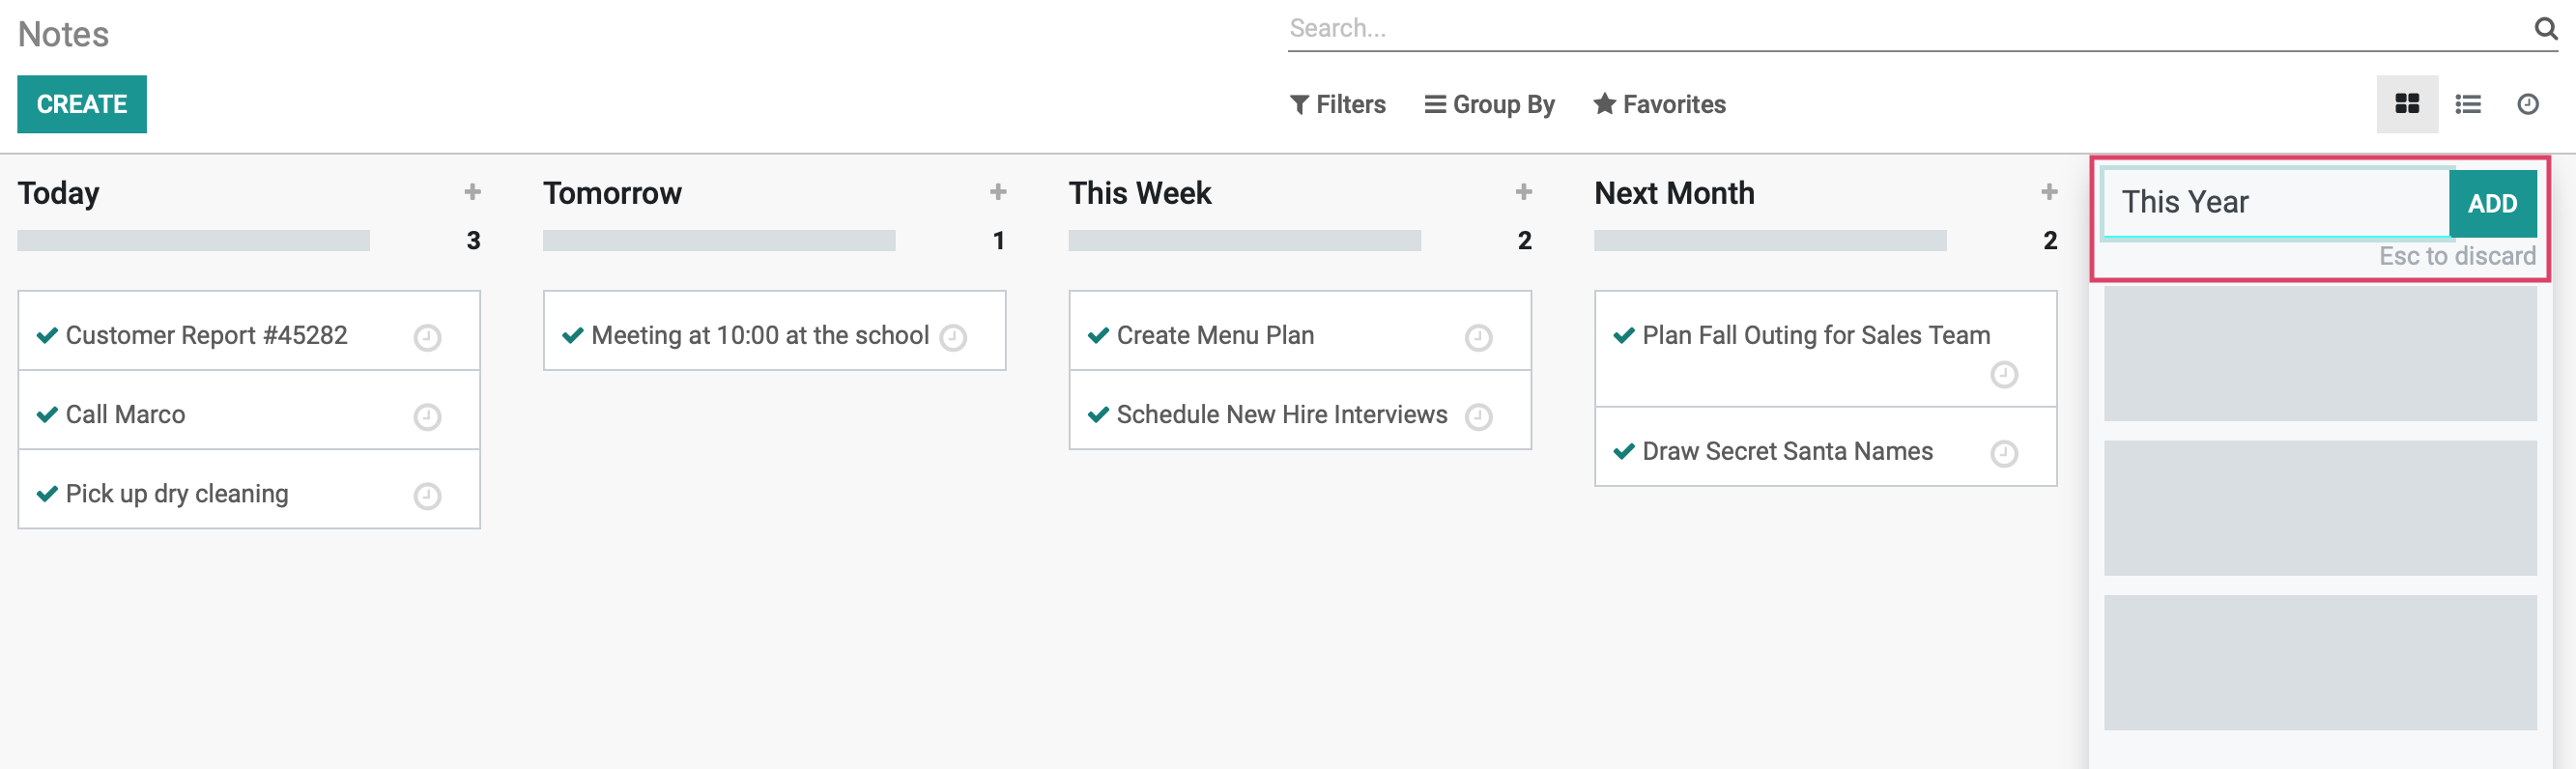
By clicking on the Add a Column, you can create an additional column for your notes. After clicking the icon, a text box will appear at the top of the new column allowing you to give it a title. Once you have created a title, click the ADD button to save the column and add it to your Notes screen. In the image below, you can see we created one called This Year as an example.
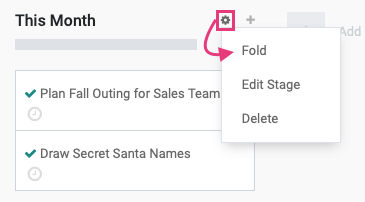
In the event that a column was created mistake or mistitled by mistake, you can hover your mouse cursor near the column title to make the settings wheel appear. Once the settings wheel is clicked on, you have the choice to select Fold, Edit Stage, or Delete from the sub-menu.
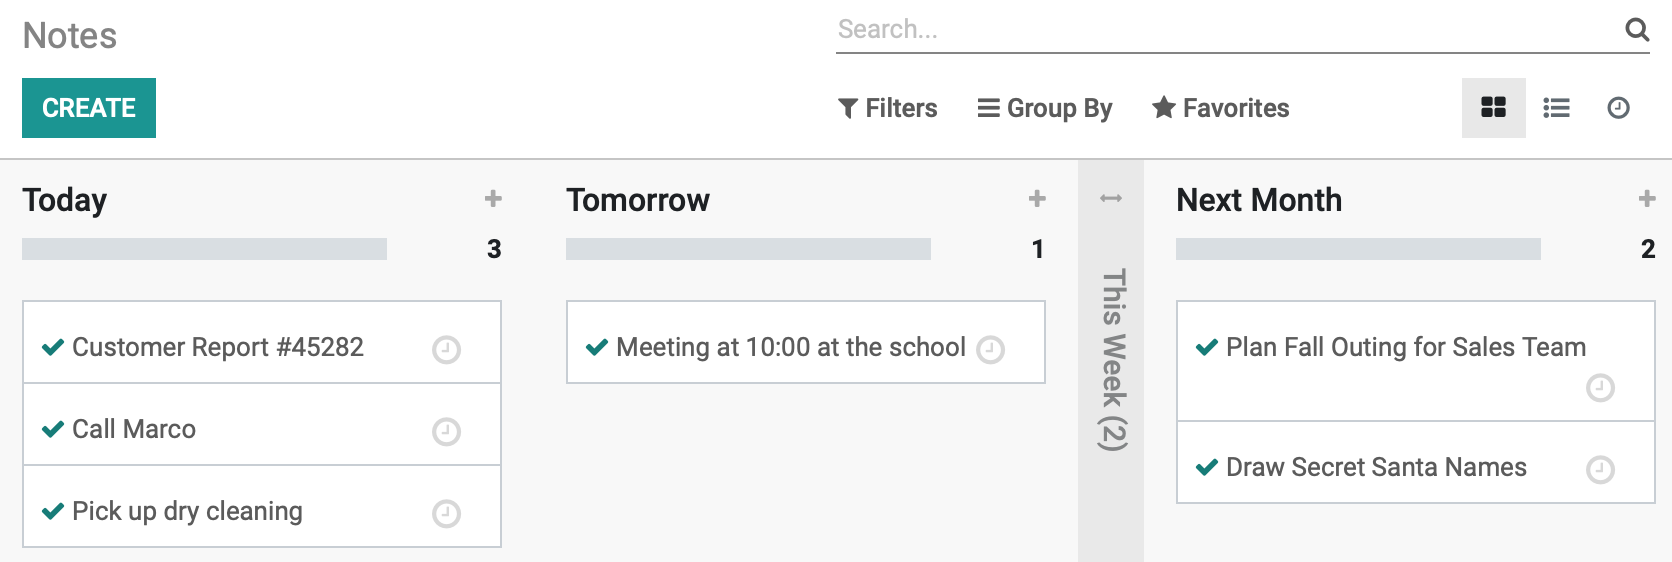
Folding a column condenses the affected column to a thin vertical bar. In the example below the "This Week" column has been folded.
Good to Know!
There is no limit to how many columns you can create for Notes; however, keep in mind, the more columns you create, the harder it is to see all on one screen. The Fold feature is helpful when more than 6 columns are needed to manage tasks. Fold allows a column to be minimized within the Notes screen and kept for later viewing. When a column/task needs to be managed again, simply click on the Fold line of the task to expand it back to a full column.