Odoo Essentials: Discussion + Chatter
Purpose
This document covers the basic functions of the Odoo Discuss app, as well as the 'chatter' of messages below Odoo records, how to configure followers, and the differences between logging notes and sending messages. These tools are amazingly functional for communication within Odoo and with customers.
Process
To get started, navigate to the Discuss app.
This app functions as both inbox and chat feature. Under user preferences, there is an option to handle Odoo communications through email, which will forward notifications to your inbox. If this box is not checked, notifications will appear at the top right of the navigation bar.
Good to know!
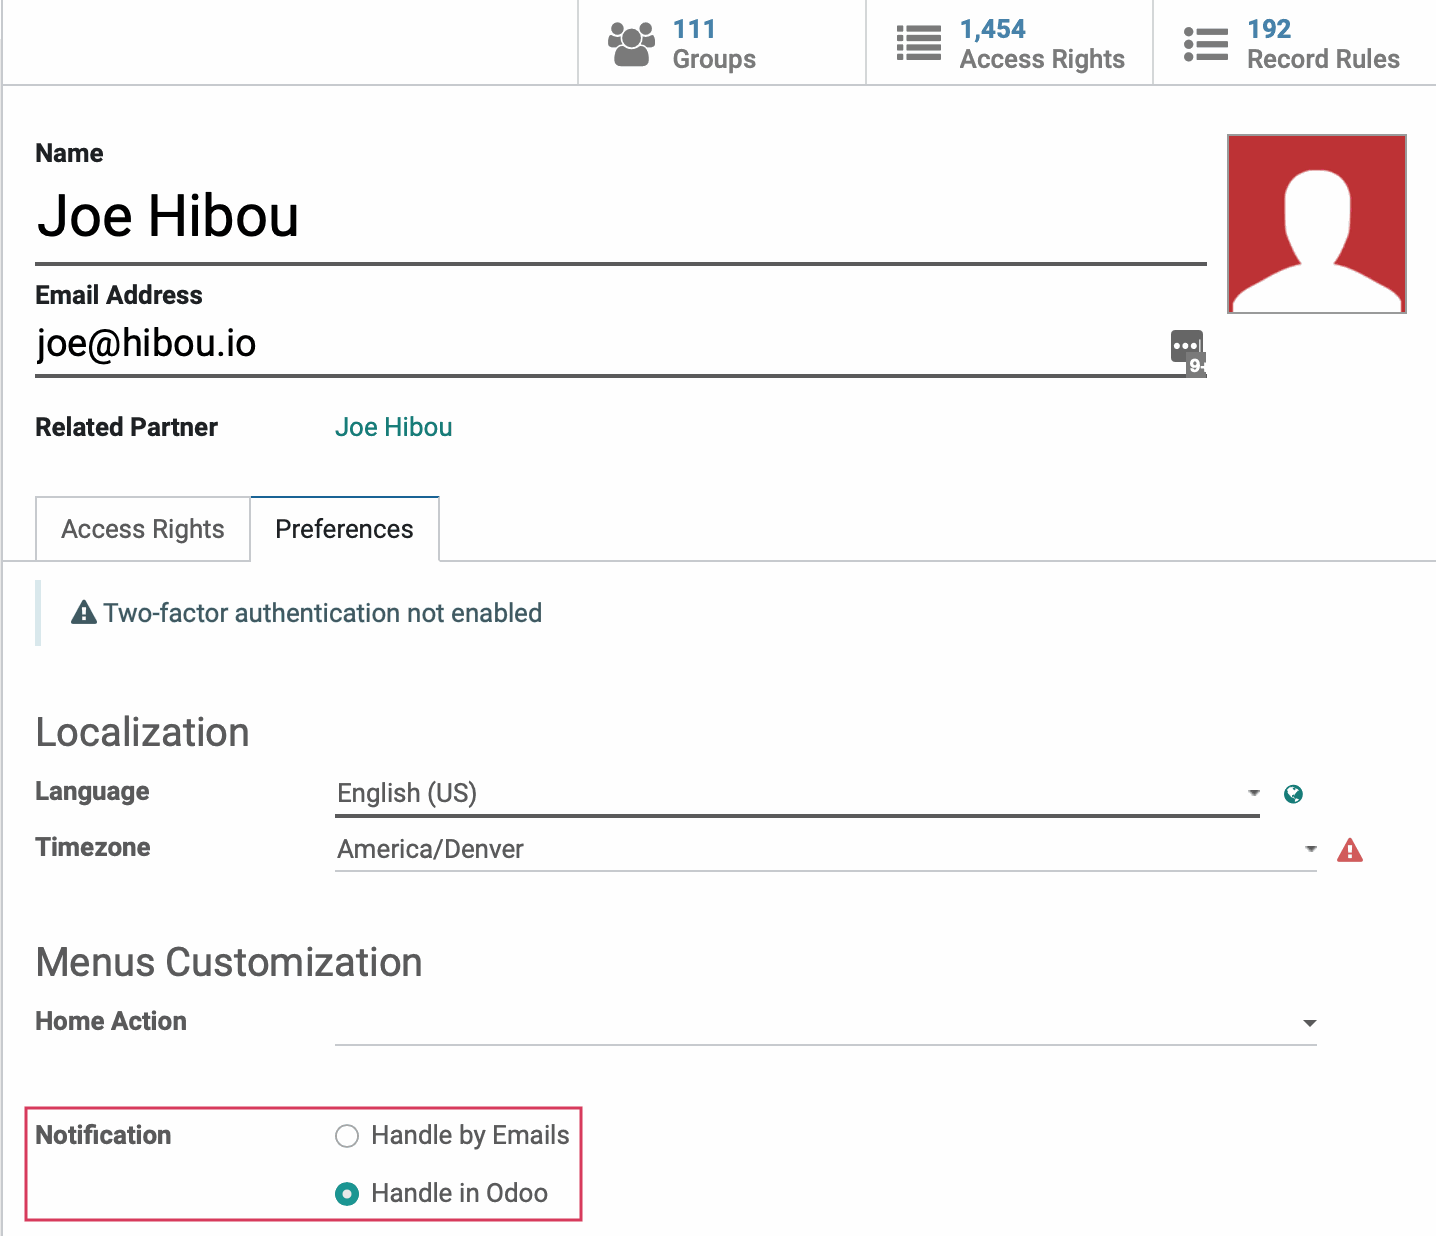
User Preferences
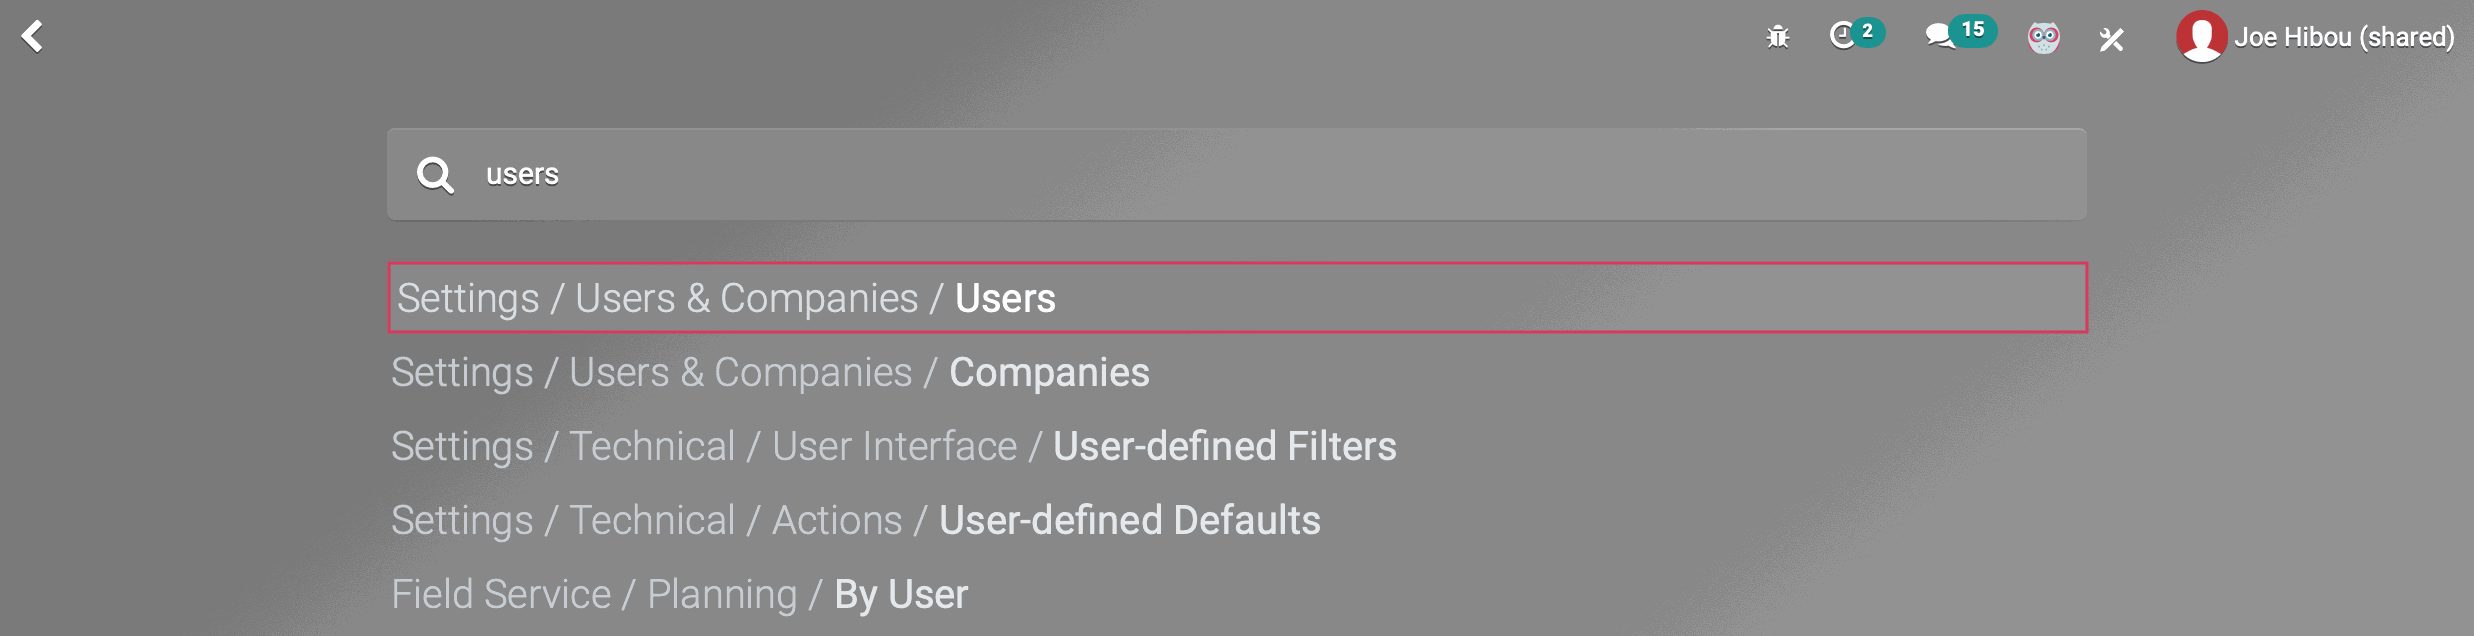
If you would like to edit your user preferences to handle Odoo communications through email, go to the home screen and search "Users" then click Settings / Users & Companies / Users.
Select your user from the list, then go to the Preferences tab and click edit.
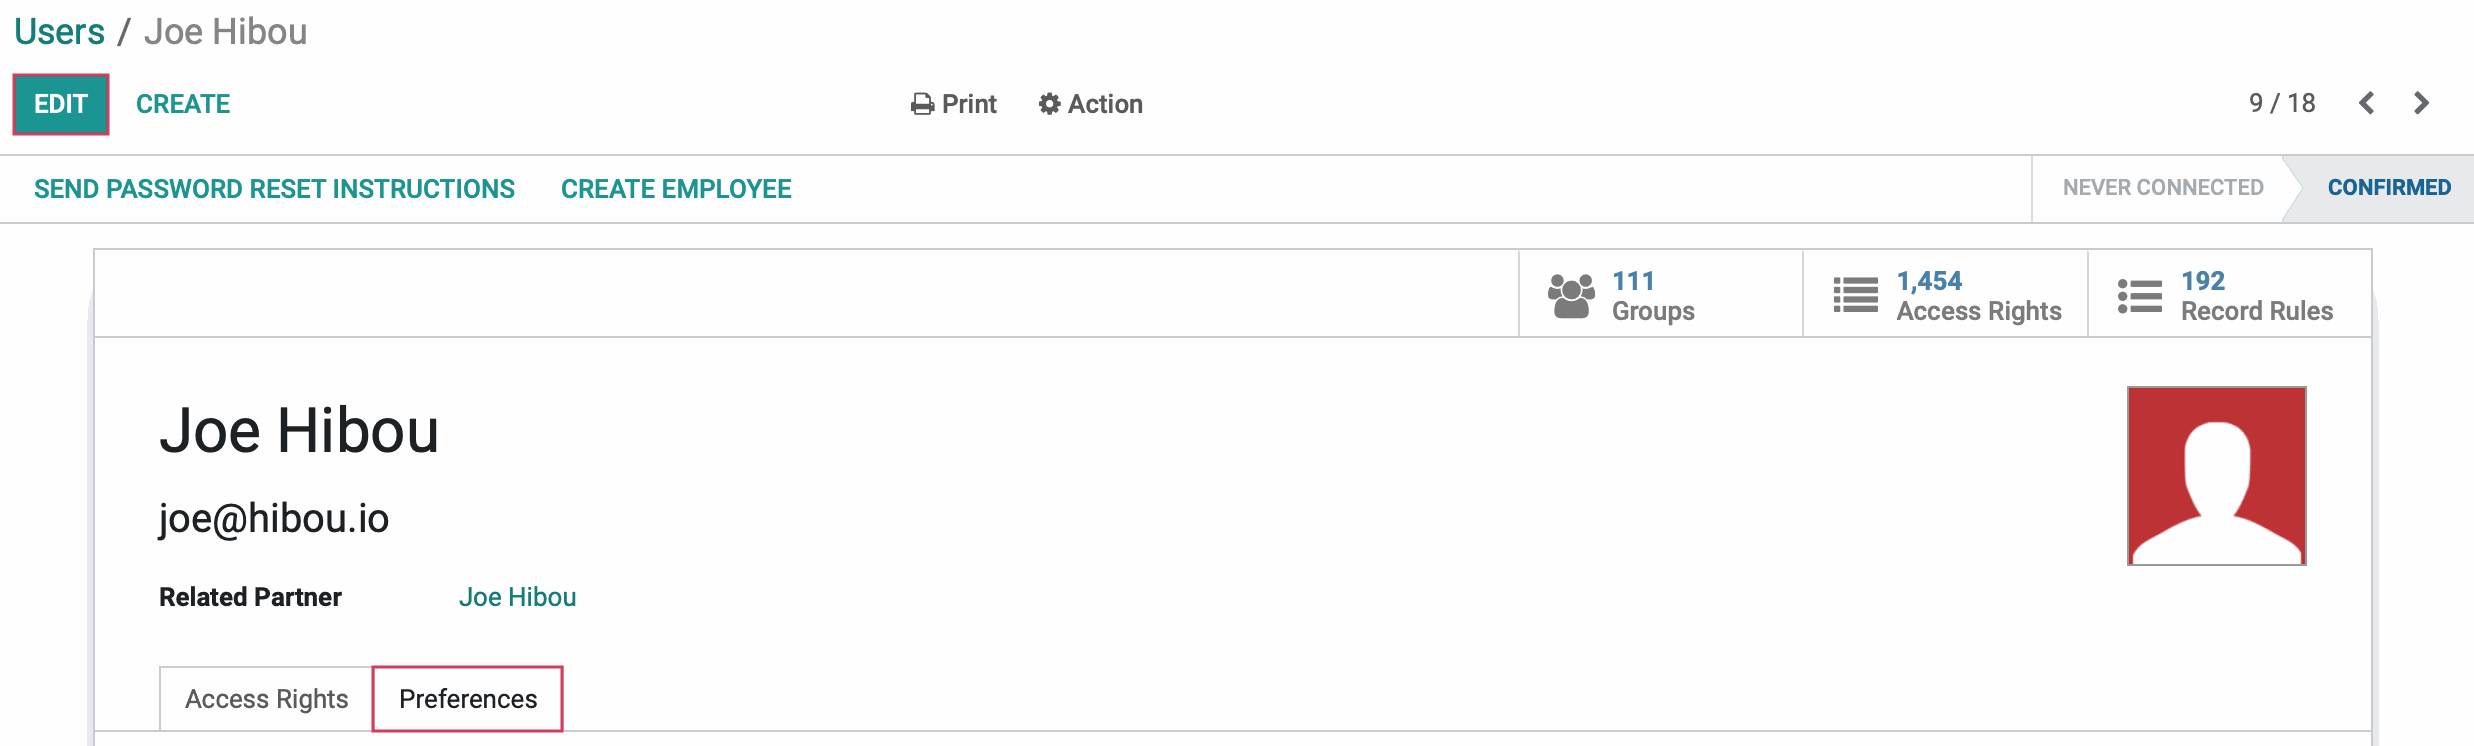
Under the Menus Customization section, you will find the Notification option. To make Odoo send you notifications in Odoo rather than via email, select Handle in Odoo, then save.
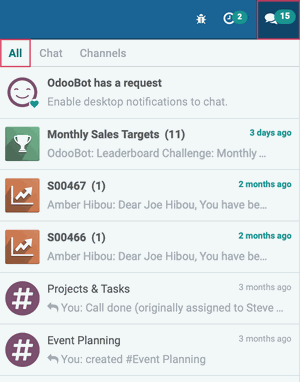
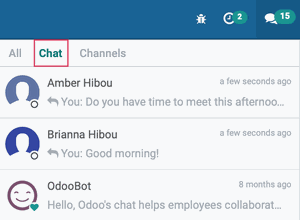
Inbox
The discussion Inbox will show you any new messages that you have not read. At the top of the screen there is an option to Mark all as Read. This will clear the notifications in the navigation bar. You can also star conversations and channels if you need to access certain topics quickly and see your message history. Filter and Favorites options are also available at the top of the window.

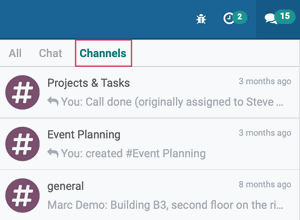
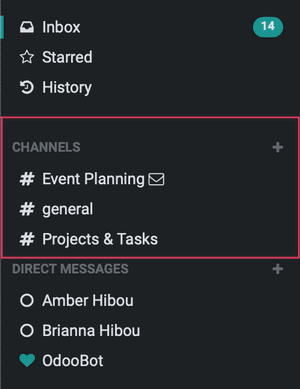
Channels
Channels are used for group conversations regarding a specific topic. They can be added to records as "followers" so the members can be kept in the loop for quick updates.
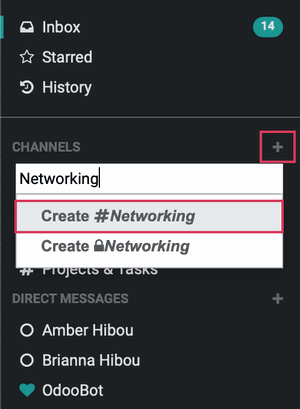
To configure your channel, mouse over its title. You will have the option to open its configuration or delete the channel from your list.
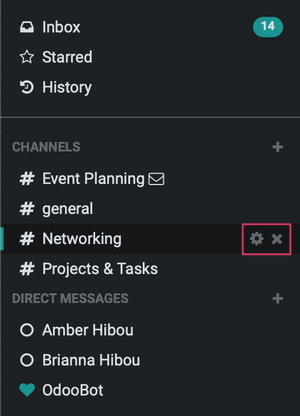
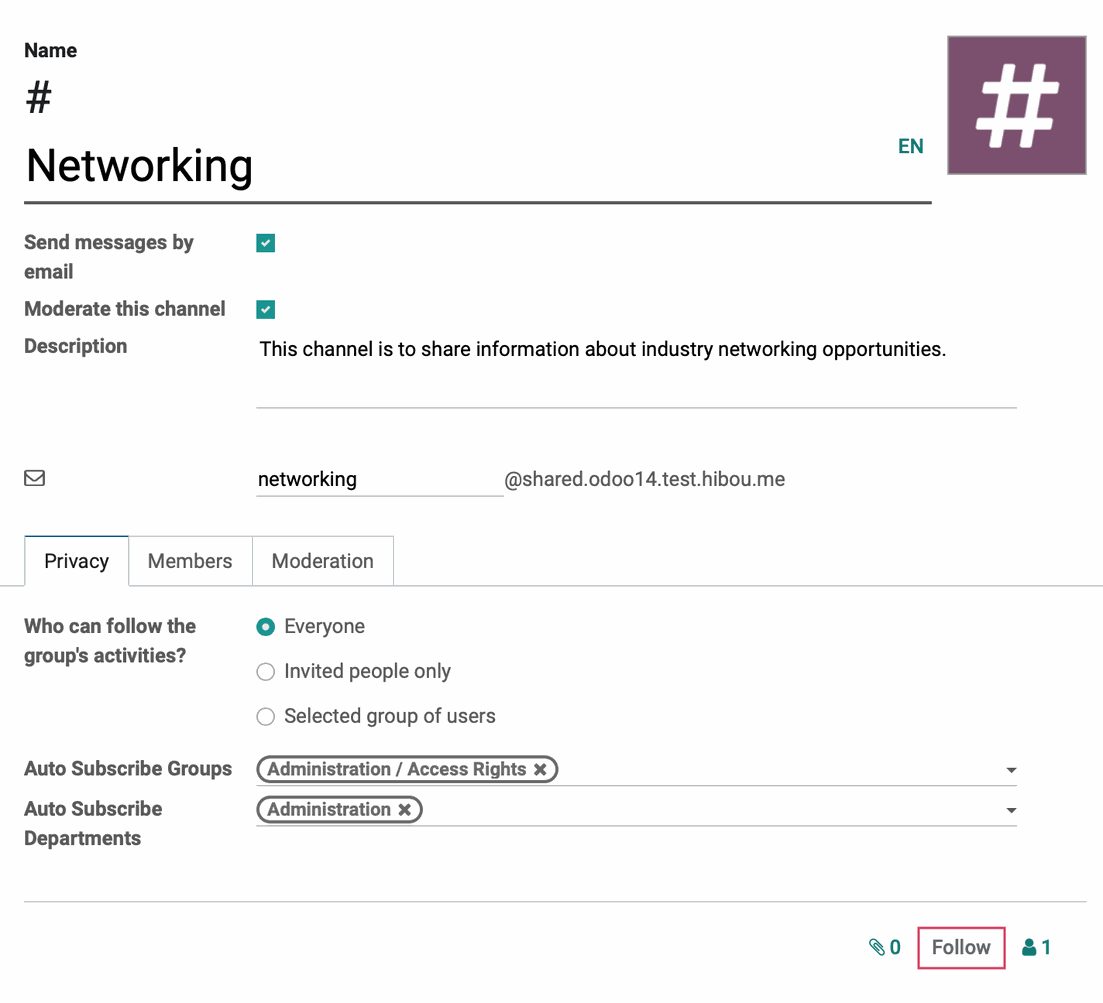
Click on configure, and you will be presented with the following screen. Click Edit.
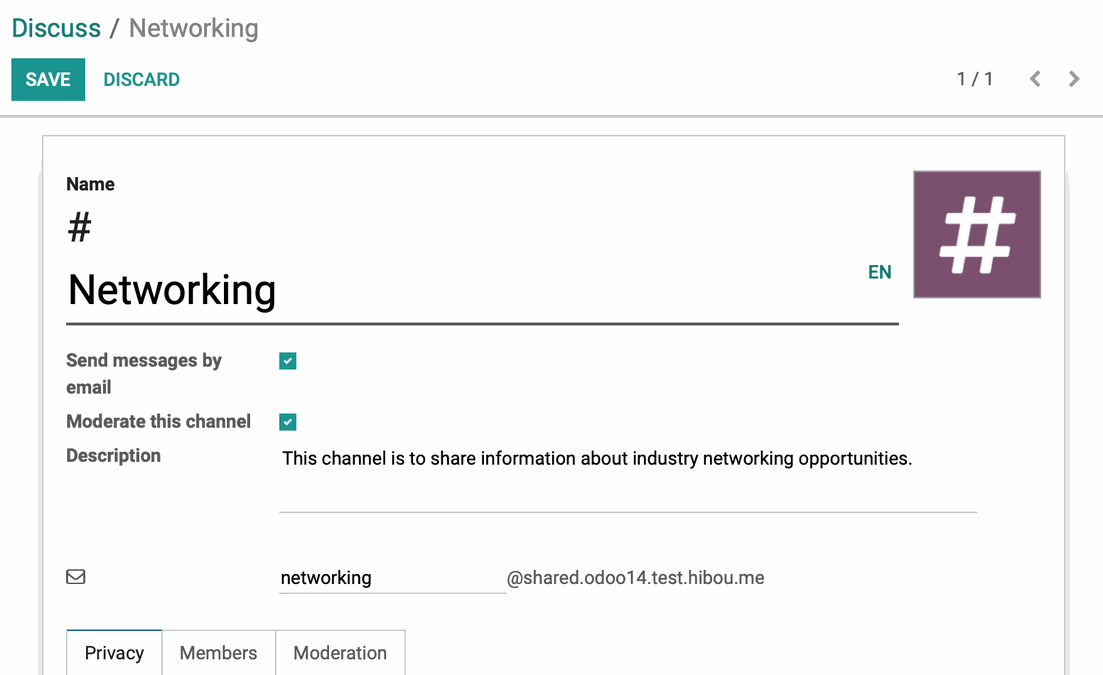
Send messages by email: Check this box to handle communication on this channel via email. Selecting this option will make the Moderate this channel option appear.
Moderate this channel: Check this box to select users to moderate this channel. Selecting this option will enable the Moderation tab.
Description: Set a topic description to keep the channel on task.
: Set an email alias for outside participants to correspond to this channel. Whenever an email is sent to this alias, it will automatically create a new post to this channel.
The privacy tab allows you to choose how accessible the channel is to your team, and auto-subscribe specific user groups or departments who may find the information relevant.
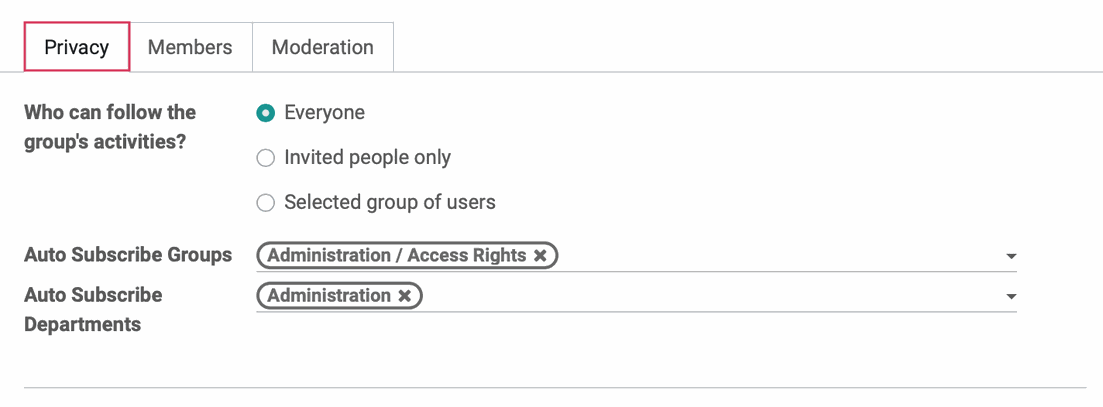 Under the Members tab, you can refine who is invited to the channel to include users who may not be included in certain groups, but still need to have eyes on the subject. Click Add a line to add a recipient.
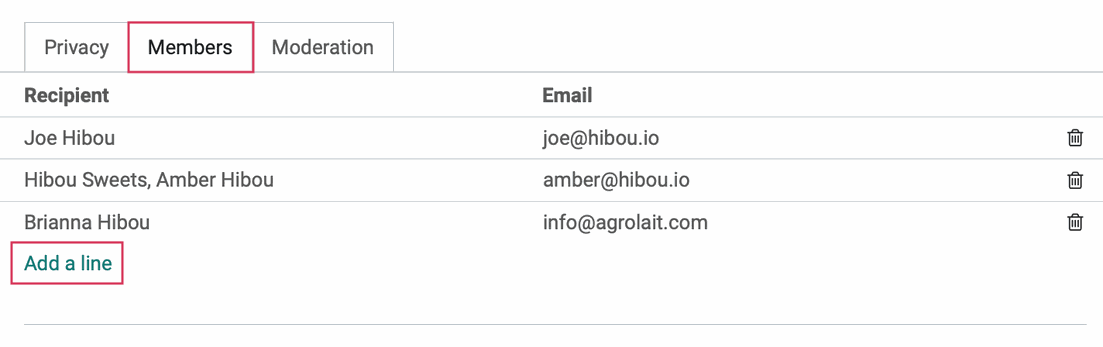
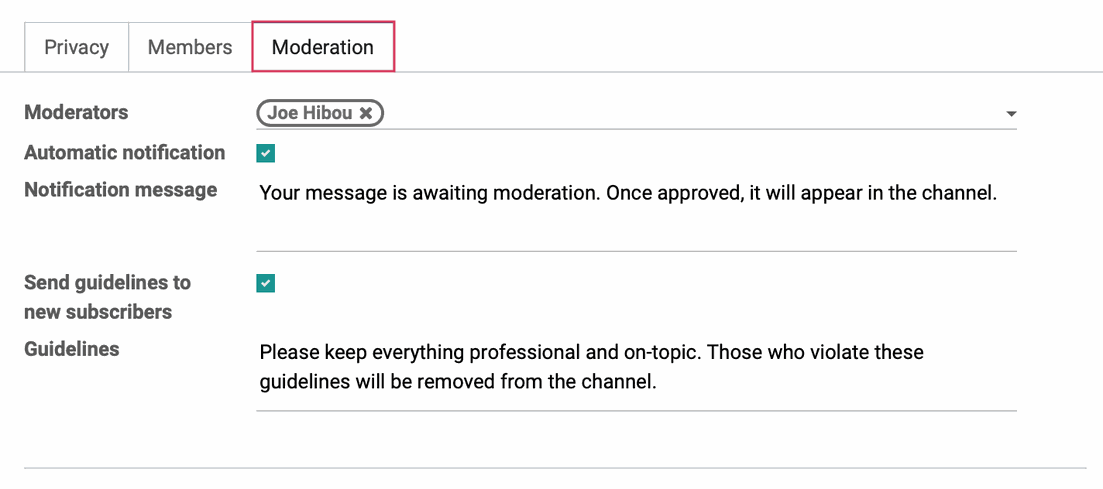
Under the moderation tab, you will find the following fields:
Moderators: Select moderators for this channel.
Automatic notification: Anyone who submits a message to this channel will receive an automatic notification that their message is awaiting review by a moderator. Selecting this option will enable the Notification message field.
Notification message: Input the message that will be included in the automatic notification.
Send guidelines to new subscribers: Any newcomers to this channel will automatically receive the guidelines defined in the Guidelines field. Selecting this option will enable the Guidelines field.
Guidelines: Define the guidelines that will be sent to any newcomers of this channel.
Chatter on Records
To get started, open a new tab and navigate the CRM app.
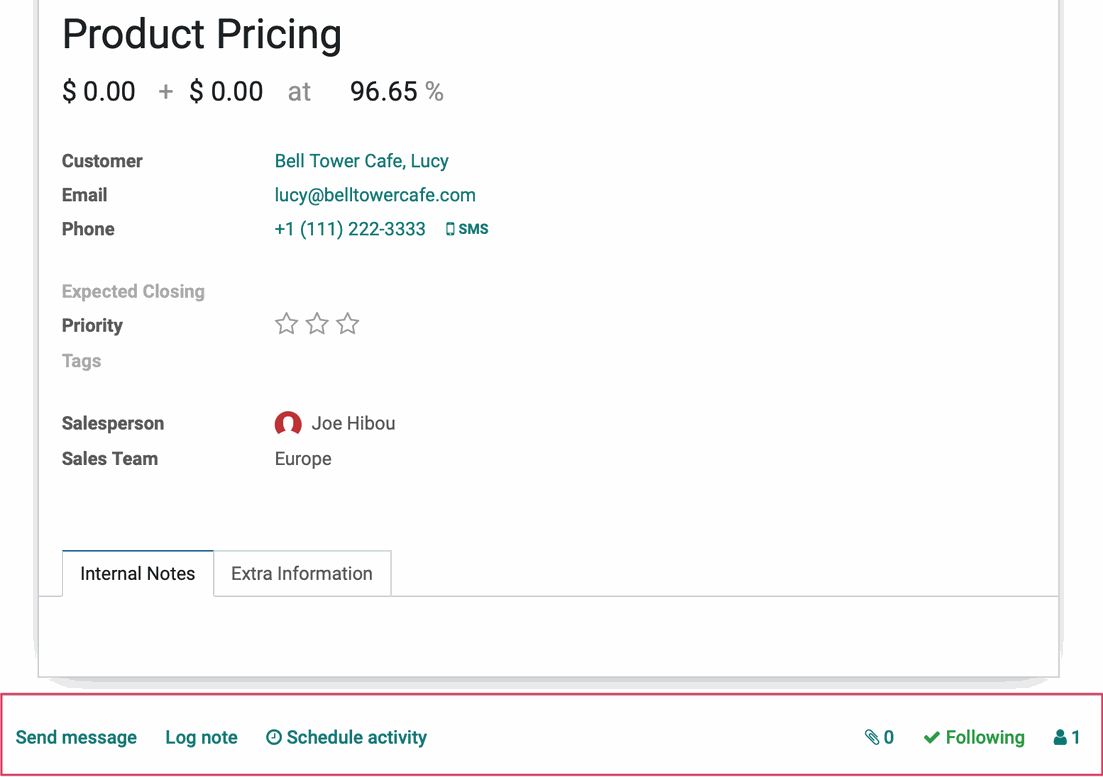
Send Message: Sends an email to all users currently following the document. Templates can be used with this option. Any customer that is following the document can reply and their answers will be routed back into Chatter.
Log Note: Is the function for internal discussion that the customer doesn't see. This is useful for tracking progress without sending the customer too many updates or starting a discussion with other employees that you may not wish the customer to be notified of.
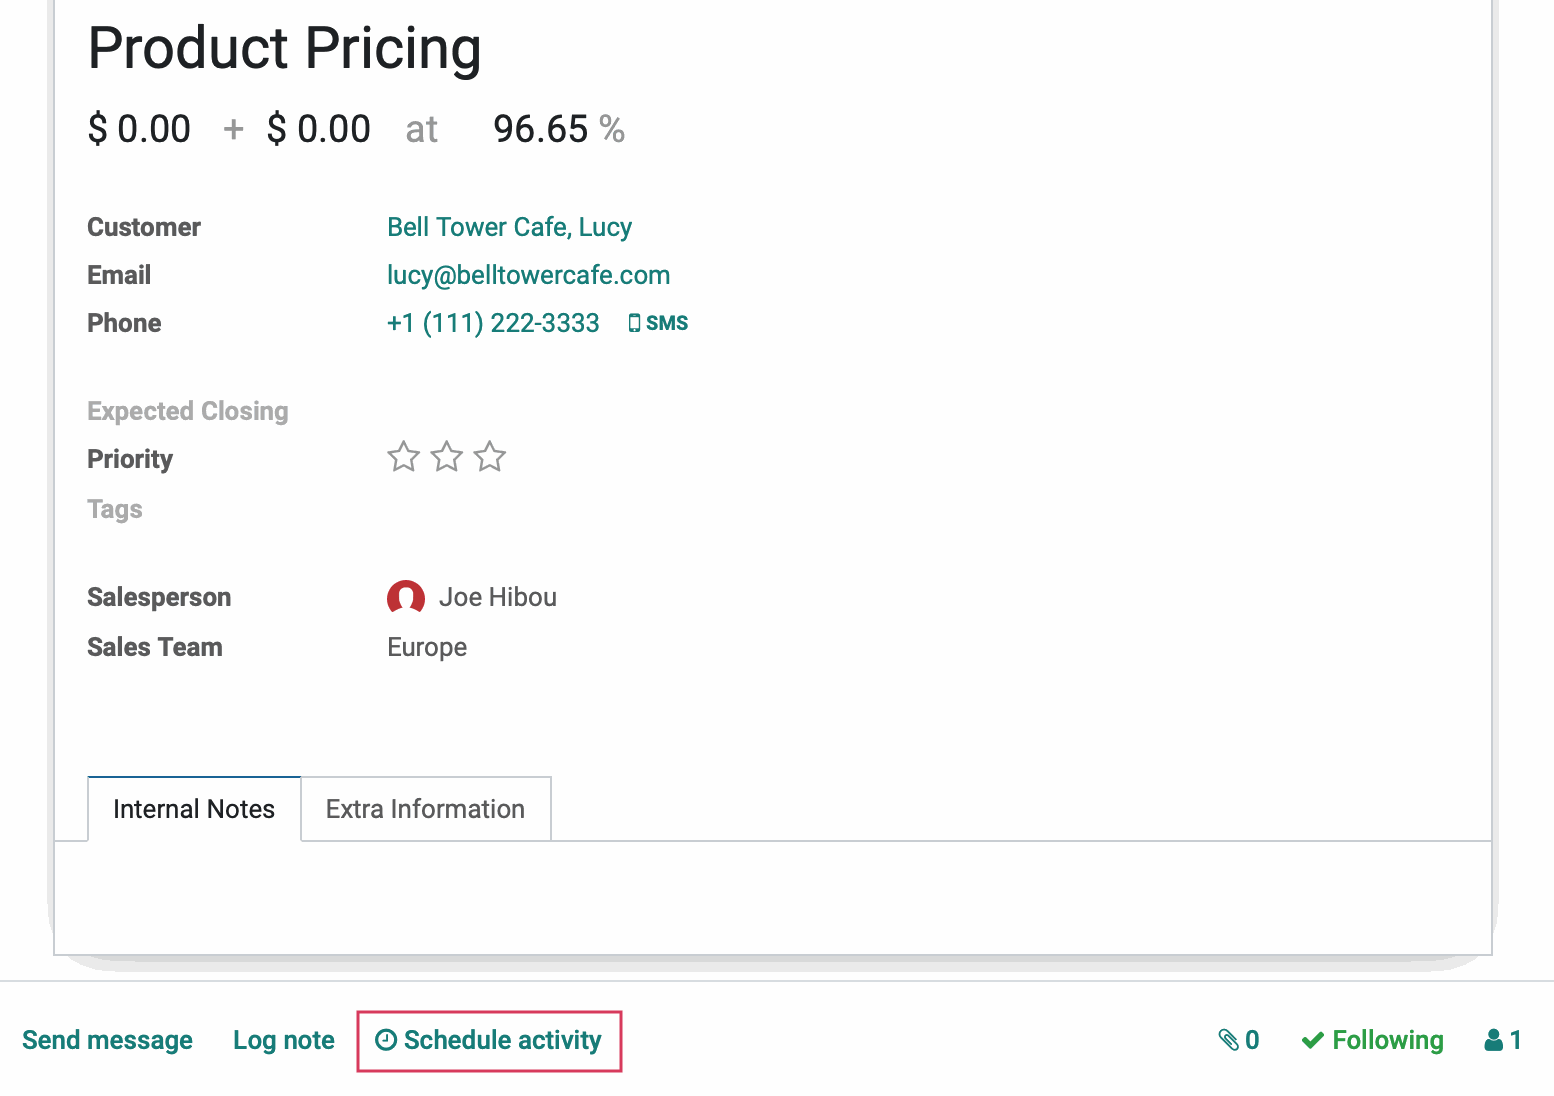
Schedule Activity: Allows you to schedule and assign activities to users.
#: Shows the number of attachments included on this document.
Follow / Following: Shows at a glance whether you are following the document.
# : Shows at a glance how many followers are on the document. You have the option to add more Followers, Channels, or edit their subscription to the item.
We will review a few configurations for the followers. Click the # menu and inspect the dropdown list to see who is currently following the lead. We are going to add a channel, and then edit its notification settings. After that, we will schedule a meeting with the customer and the sales person.
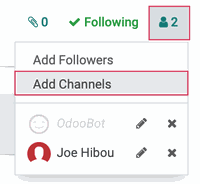
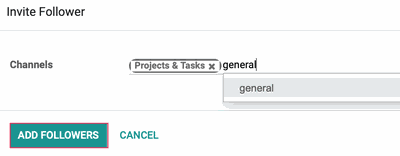
Select Add Channels. The Invite Follower modal window will appear. From the dropdown, you can select an existing channel.
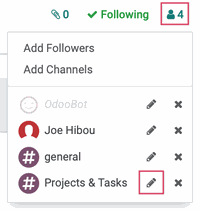
Once you select your channels, click on Add Followers and inspect the # icon again. It should update accordingly. After the channel is added, we need to edit how the channel receives notifications. Mouse over the channel's line in the follower drop down menu, and you will see the option to edit appear next to the remove option. Click on the pencil.
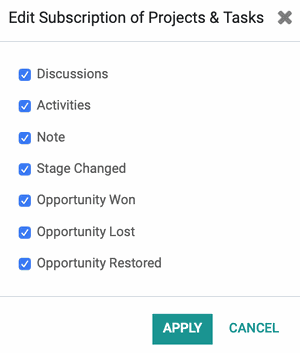
This will present you with the notification settings for the channel you've selected. Please note there are warnings about adding internal notifications to a channel, because the system can create a lot of these, leading to unnecessary clutter. It will also notify of all internal notes if selected, which means that conversations between users are not private, and if multiple items are posting to the same channel, context for these notifications can be lost. However, we've created this channel specifically for this event and we're interested to see this lead through to the end, so we'll check those boxes regardless. When finished, click Apply to save your changes.


Important!
You must include the '#' for Channels and "@" for Individuals if you want them to be notified! If the name does not appear in green in the text after you send the message or log a note, the link was not complete. It's good practice to click on the suggestions when Odoo prompts above the cursor, as this will auto-complete the name and create the link.
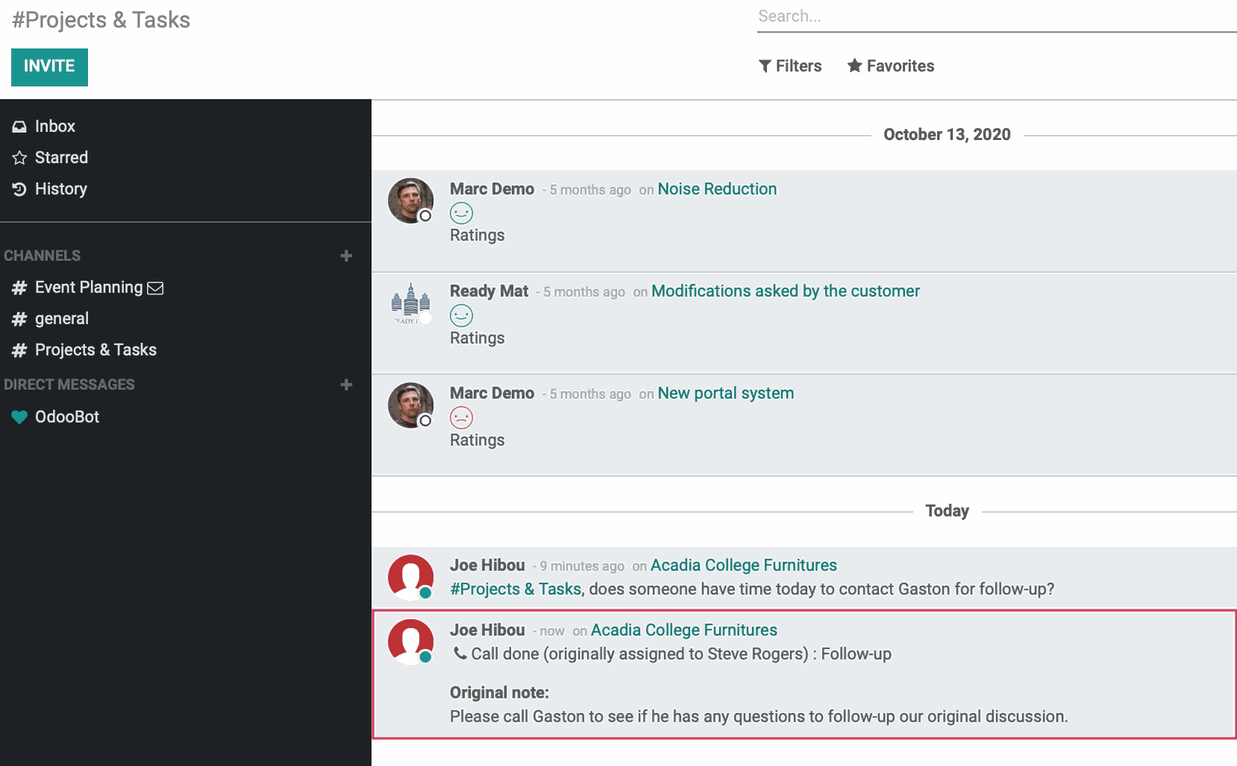
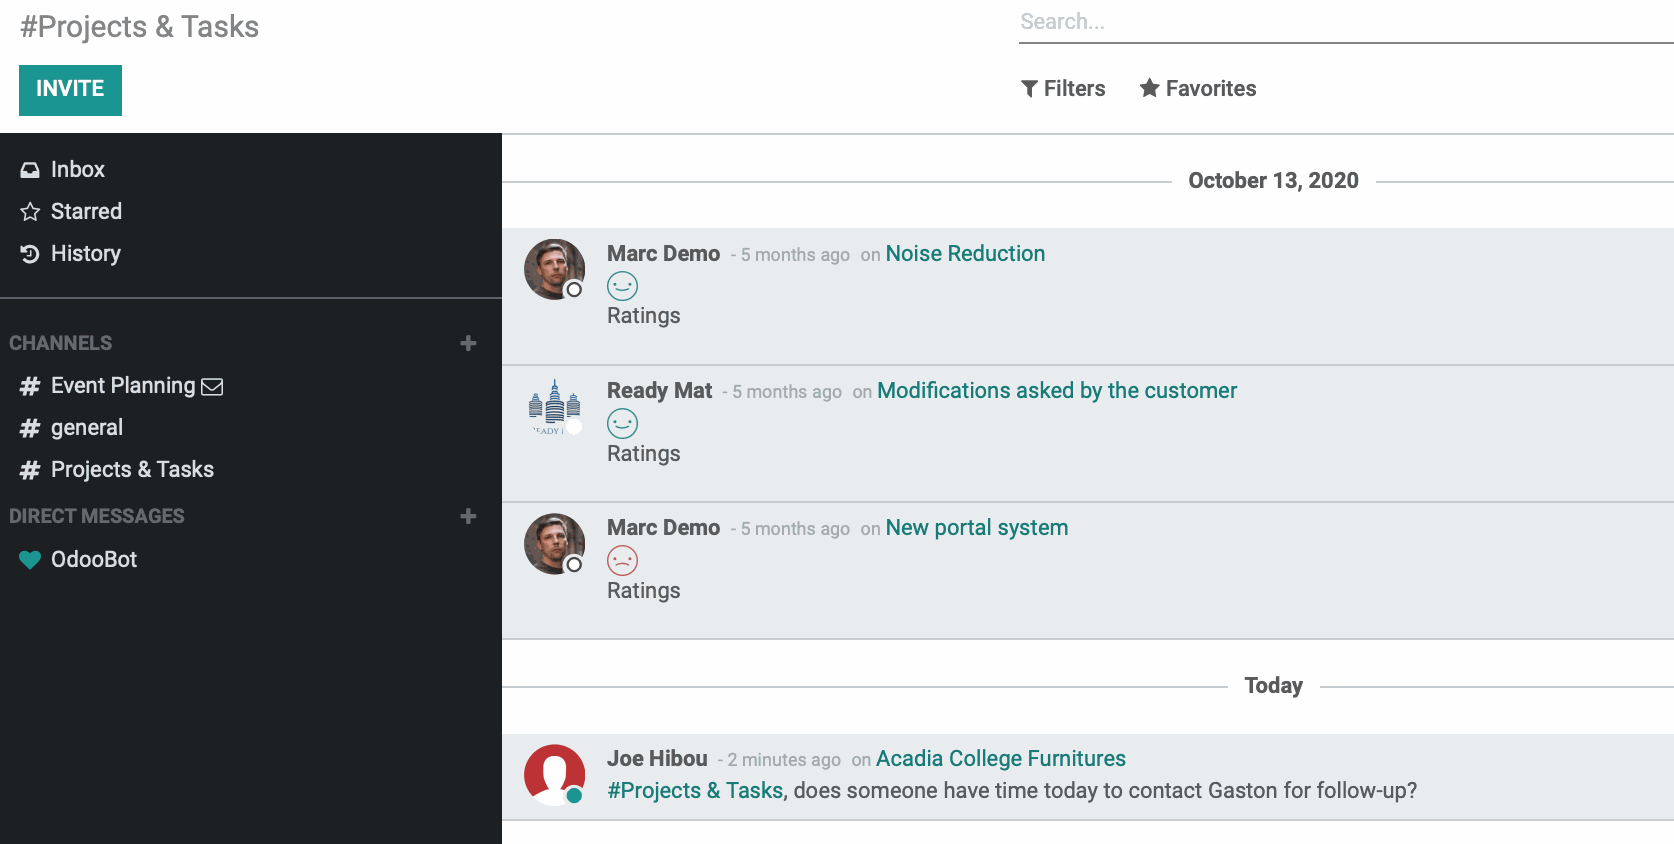
When the salesperson checks their notifications, they will see this message in their discussion app.
To schedule the activity requested, the recipient can click on the SCHEDULE ACTIVITY option at the bottom of any record that has chatter enabled.
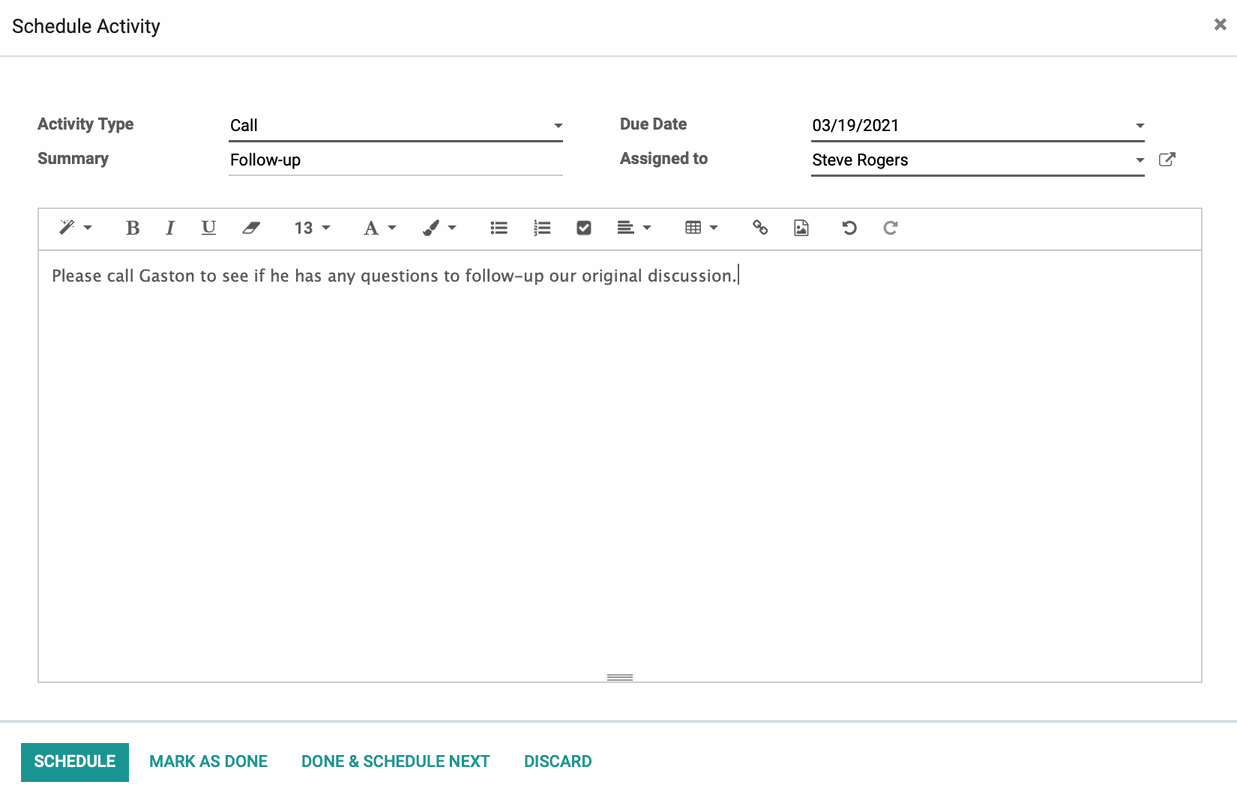
The default available activities are: Email, Call, Meeting, Todo, Follow Up Quote, and Call for Demo. These can be customized under CONFIGURATION > Activity Types.
Scheduling Activities
Now that we've covered notifications, it's worth exploring how activities can be assigned from the chatter. The Schedule Activity option in the chatter section will prompt you to select an activity type, write a short description, and then assign a due date and user to complete it. Once finished entering information, click schedule to schedule the activity.
 If a channel is subscribed properly, Activities will show up in the channel as they are completed.