Odoo Essentials: Notes Management
Purpose
The purpose of this document is to give a clear overview of how to use Notes to boost your productivity, collaborate in real-time with colleagues, and create personal to-do lists, which will allow you to better manage tasks and projects as well as achieve your goals and objectives.

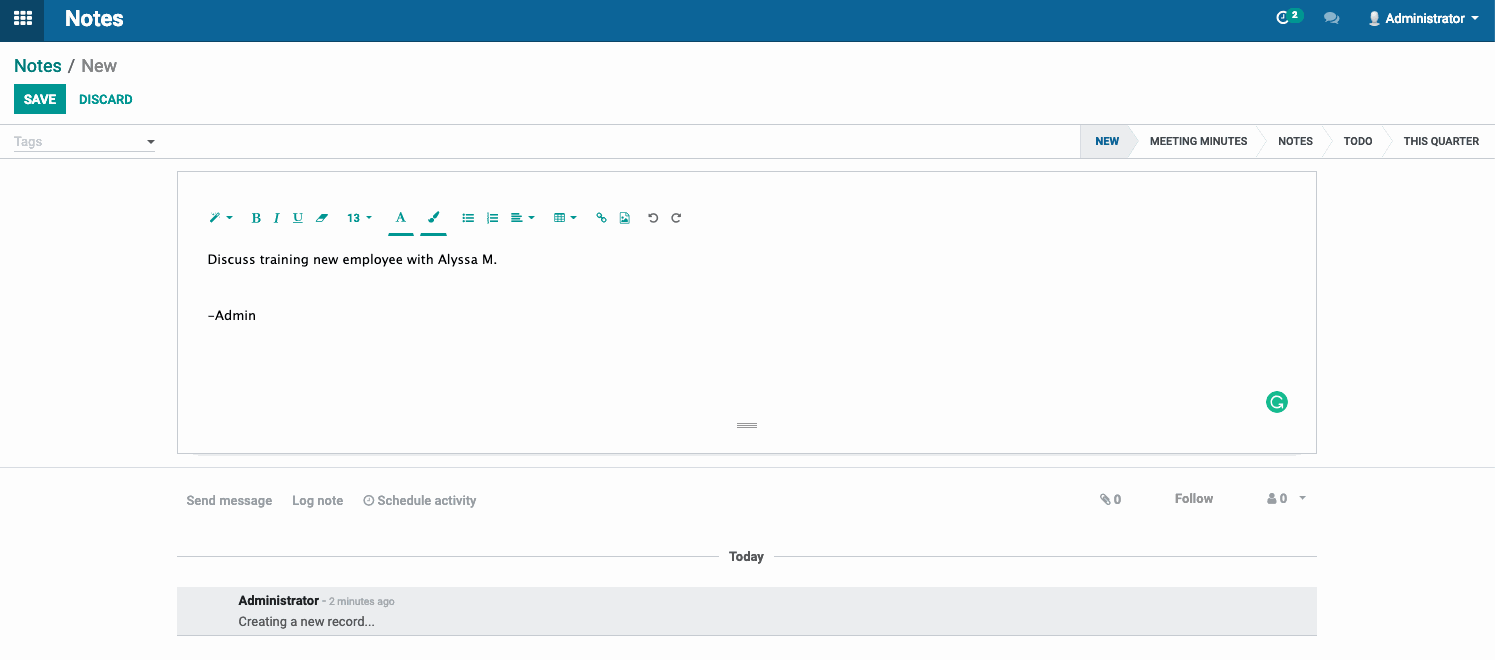

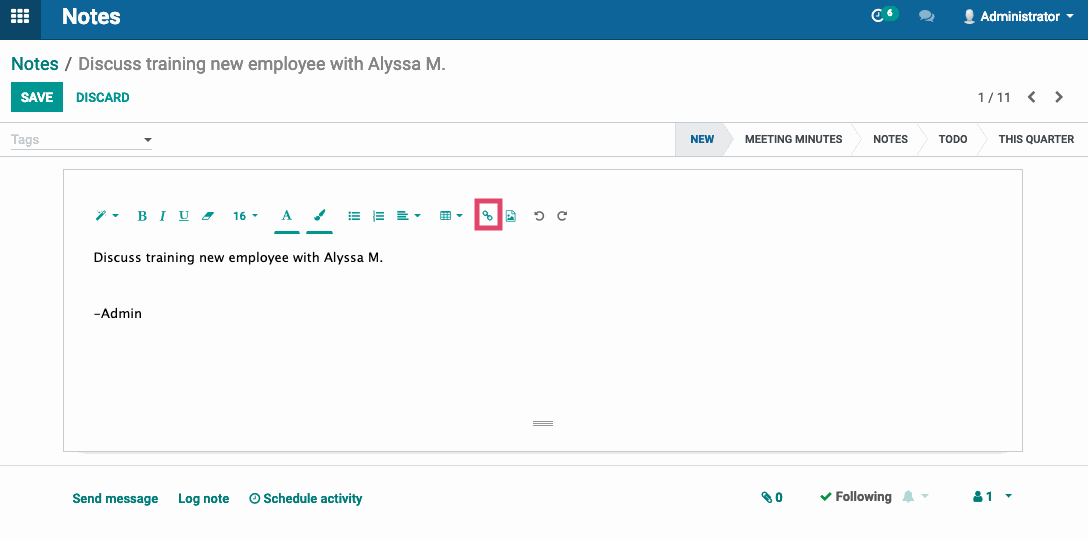

The icon allows images, pictograms, documents, and video to be added to the Note, so important content can be saved and shared with colleagues to facilitate easier collaboration.

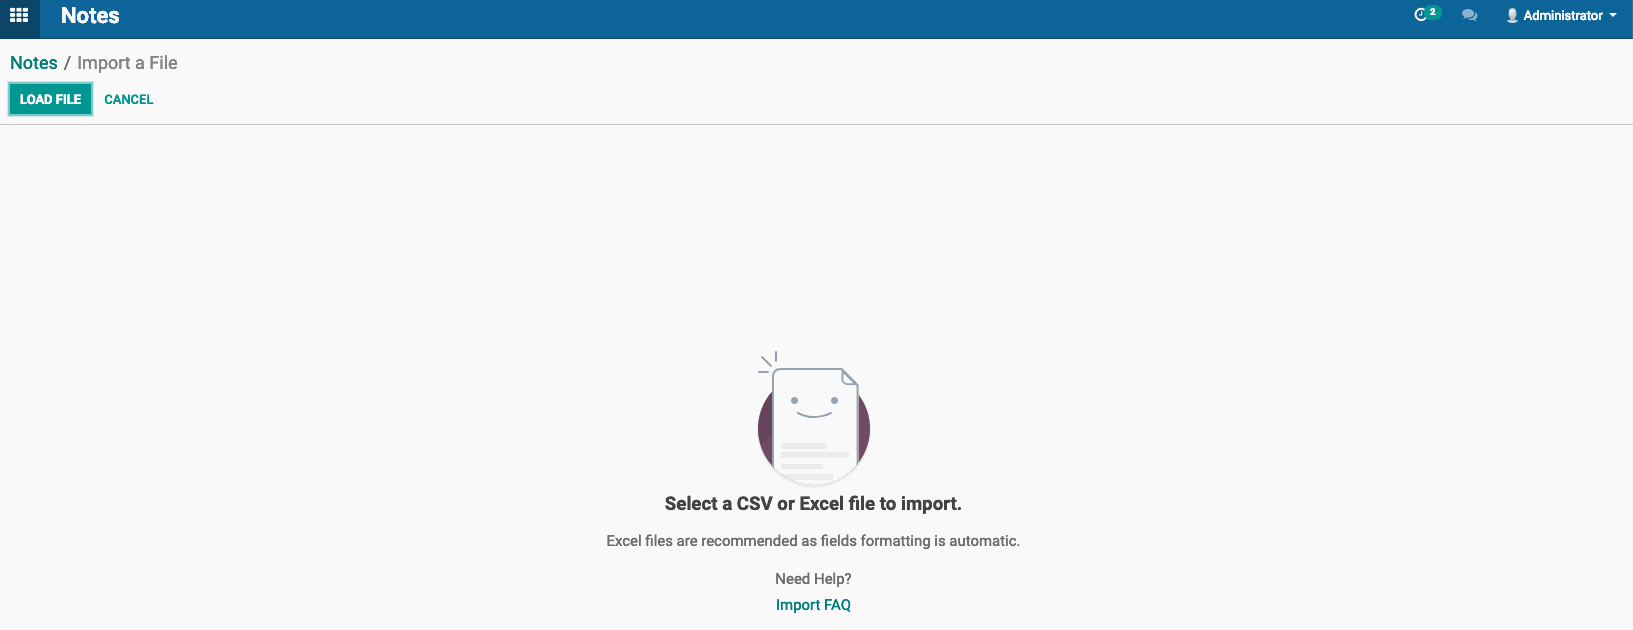
When the icon is clicked on, a pop-up window opens with the title, Select a Media. Here you can select different types of content to insert into the Note. You can also look up Photos by Unsplash to insert into your Note if you would like something specific and don't already have the image on your computer.

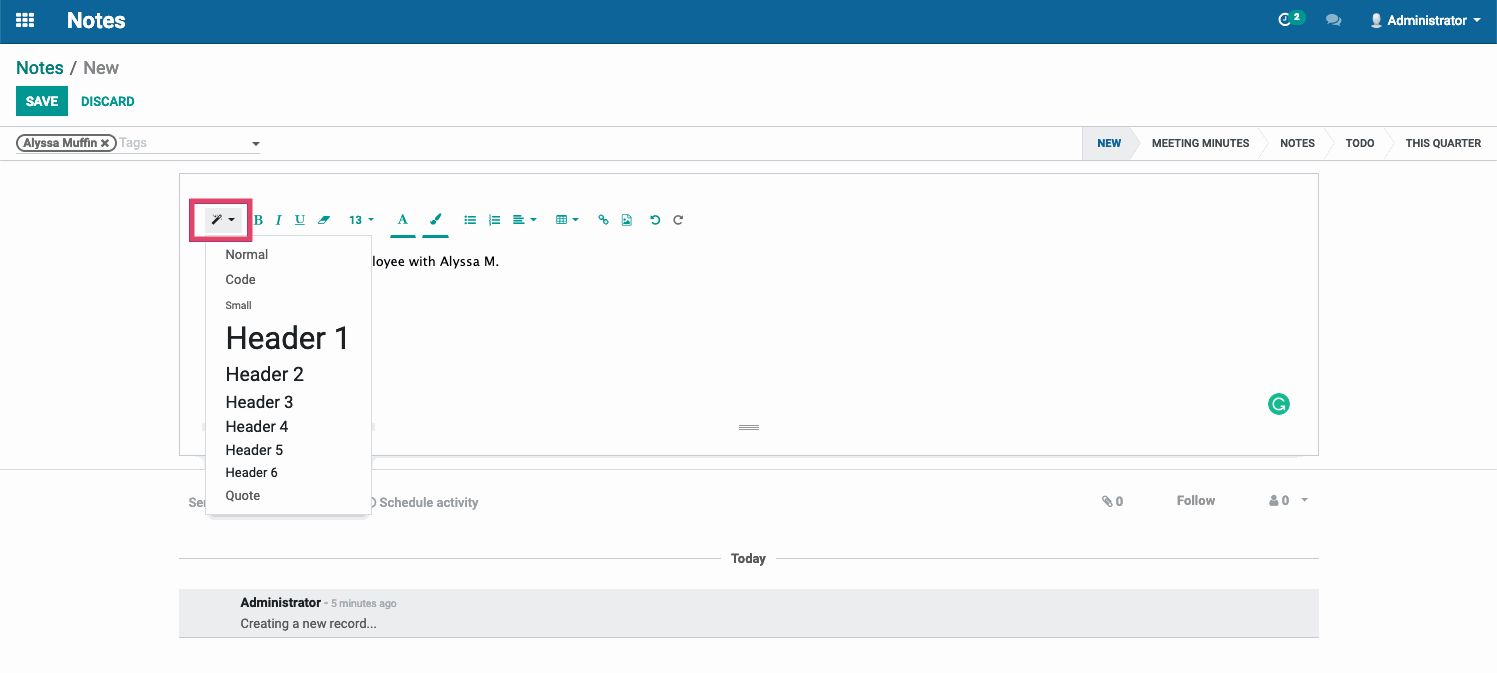
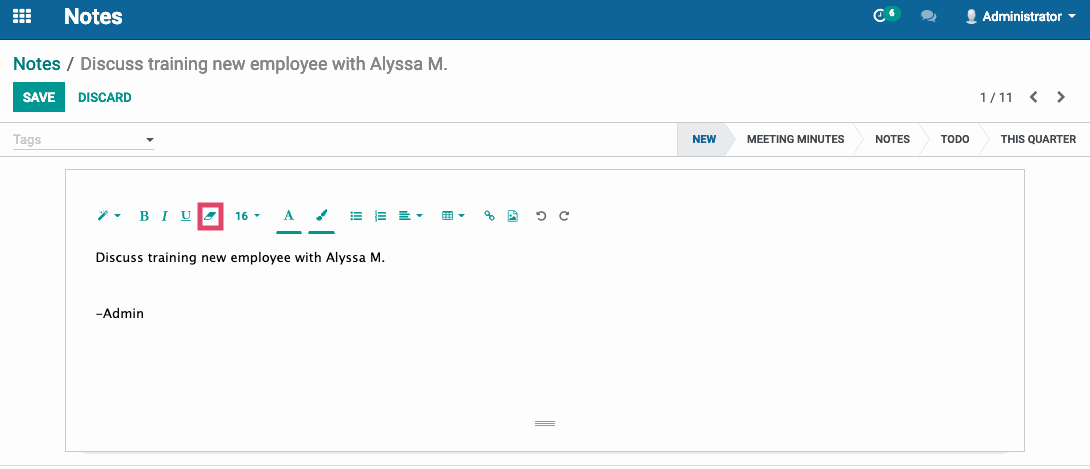
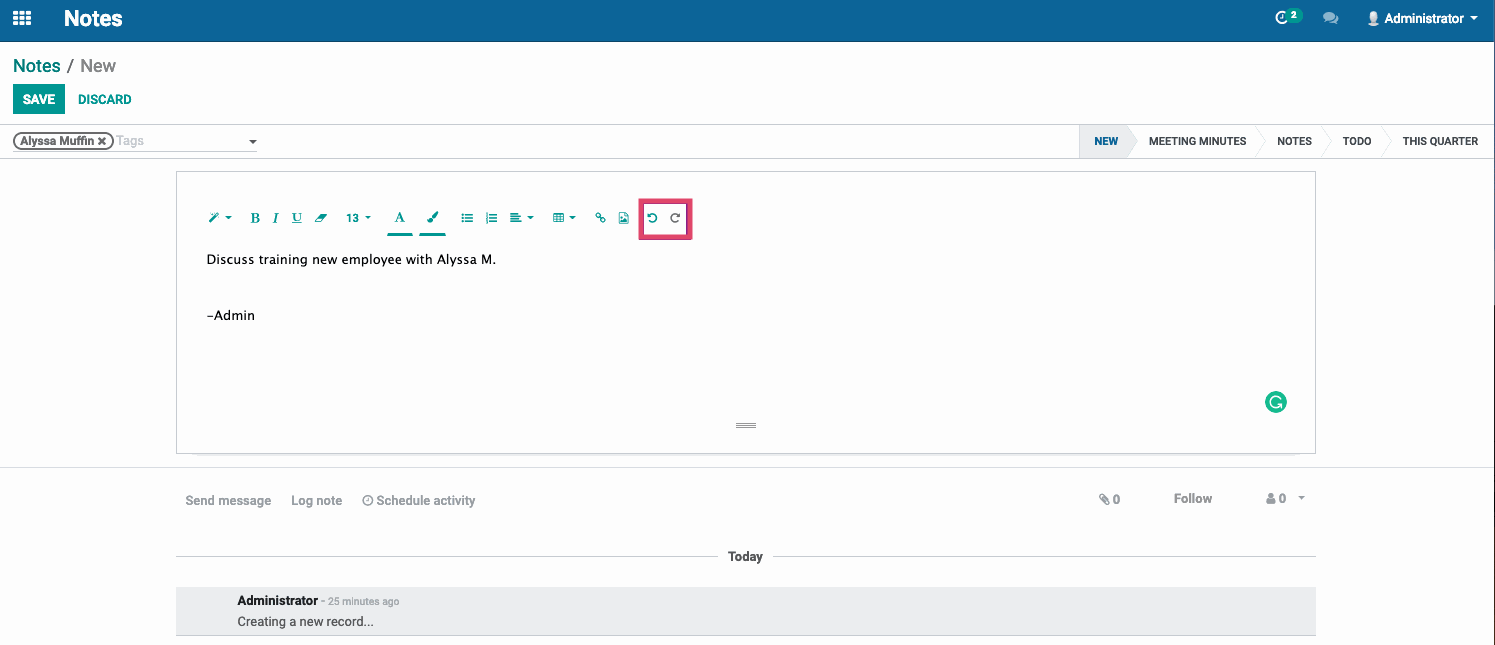
The formatting icons also include Undo and Redo buttons, so you can undo or redo any previously entered actions, text, etc.
Columns
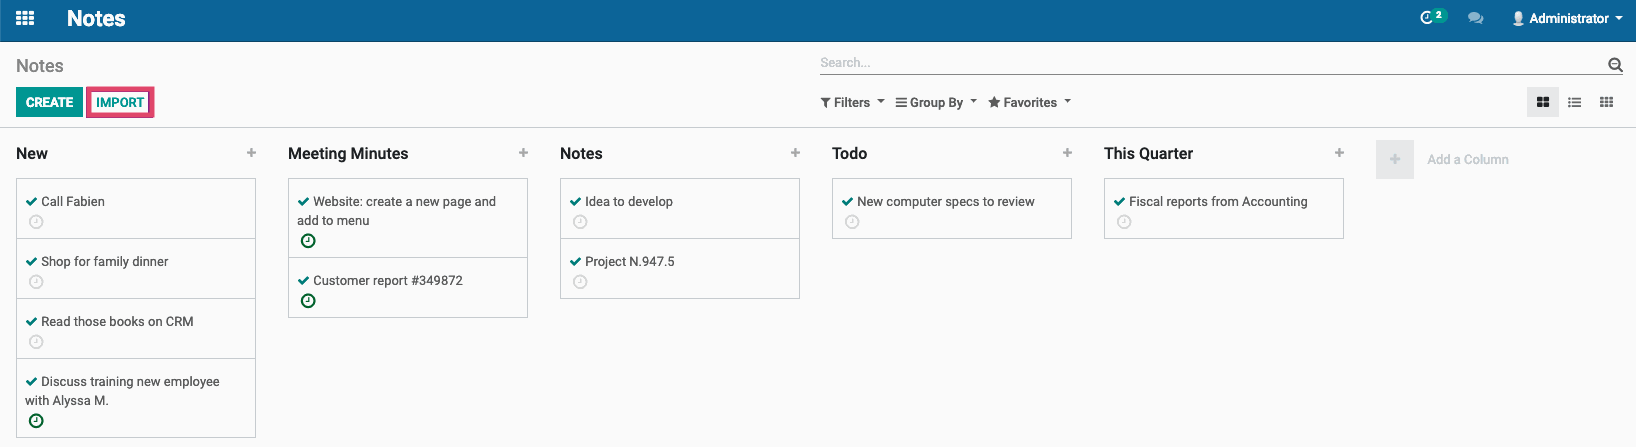
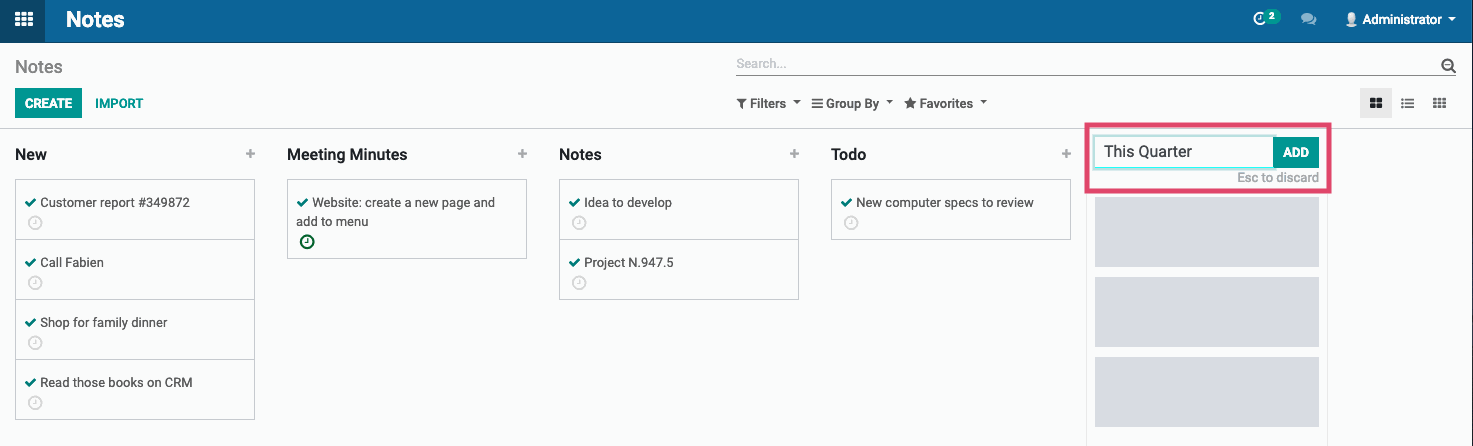
By clicking on the Add a Column, you can create an additional column for your Notes. After clicking the + sign, a text box will appear at the top of the new column allowing you to give it a title. Once you have created a title, click the ADD button to save the column and add it to your Notes screen. In the image below, you can see we created one called This Quarter as an example.
In the event that a column was created by mistake or mistitled, you can hover your mouse cursor near the column title to make the settings wheel appear. Once the settings wheel is clicked on, you have the choice to select Fold, Edit Stage, or Delete from the sub-menu.
Good to Know!
There is no limit to how many columns you can create for Notes; however, keep in mind, the more columns you create, the harder it is to see all on one screen. The Fold feature is helpful when more than 6 columns are needed to manage tasks. Fold allows a column to be minimized within the Notes screen and kept for later viewing. When a column/task needs to be managed again, simply click on the Fold line of the task to expand it back to a full column.