Events: Events Workflows: Sponsors + Online Exhibitors
Purpose
This document covers the configuration of both Sponsors and Online Exhibitors in the Events application of Odoo 15. Sponsors are simply entities listed on an event, with a profile image, that links to their respective website. Online Exhibitors have a dedicated "virtual booth" at the event, hosted on your Odoo database.
Process
To get started, navigate to the Events app.

Sponsors
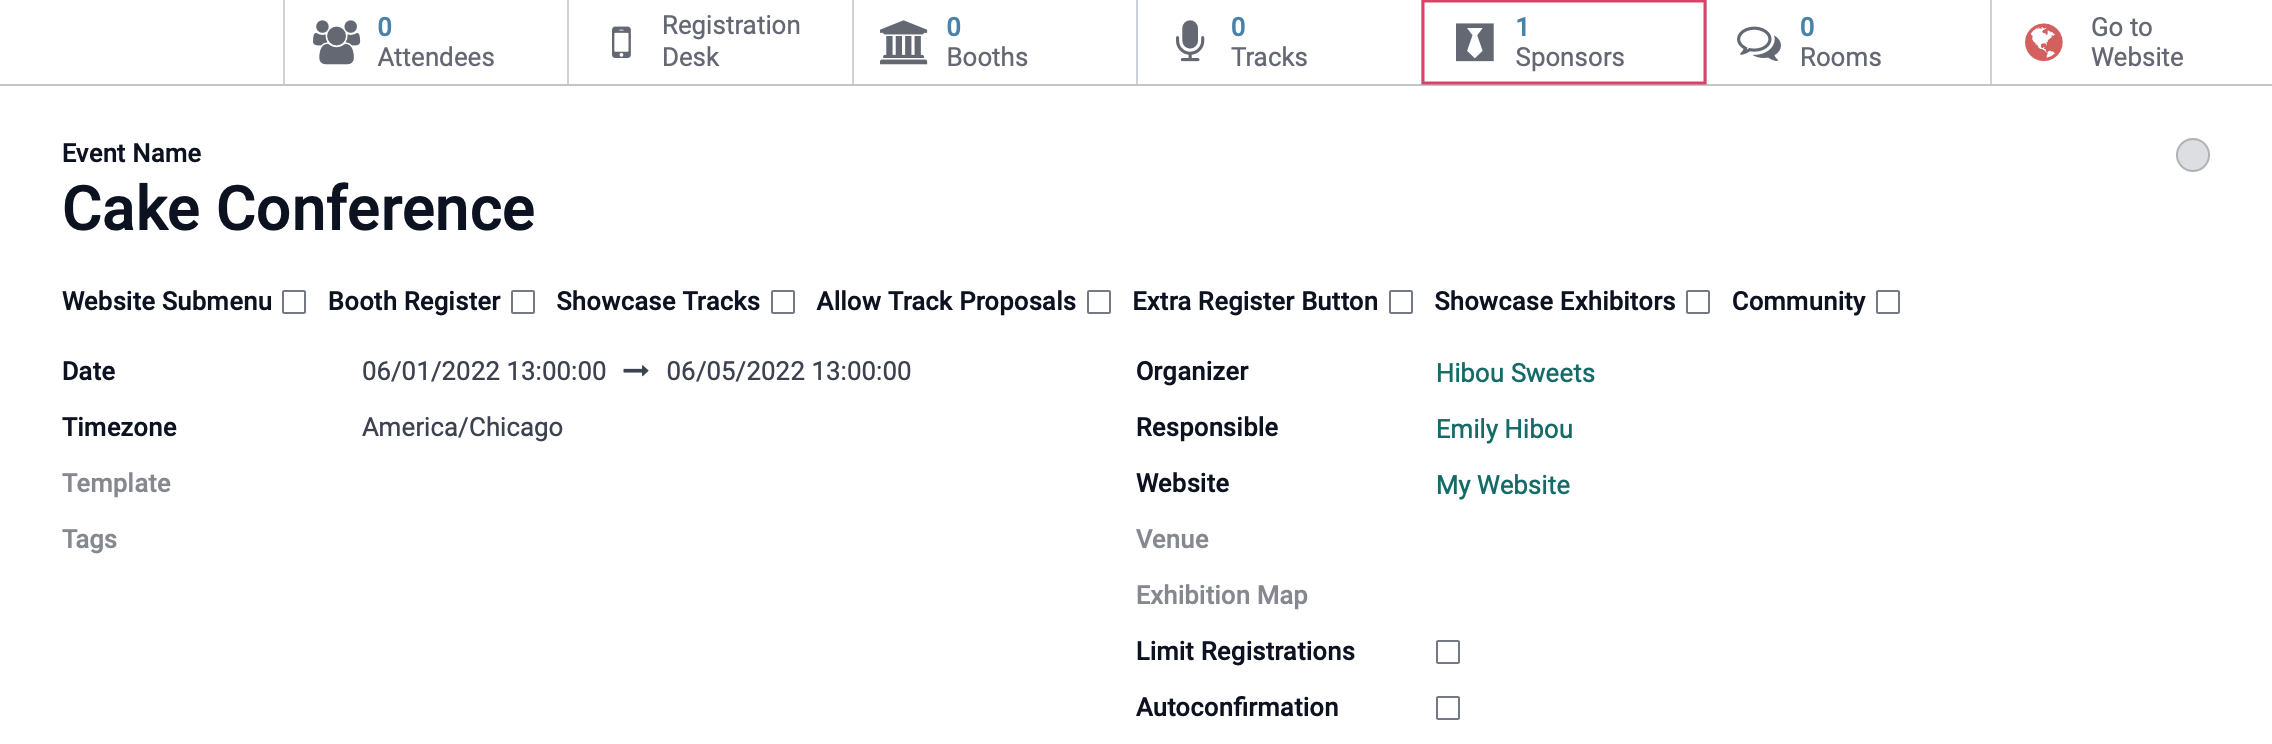
Select an event, or follow the Basic Event Workflow documentation to create a new one. From within the event, click the Sponsors smart button.

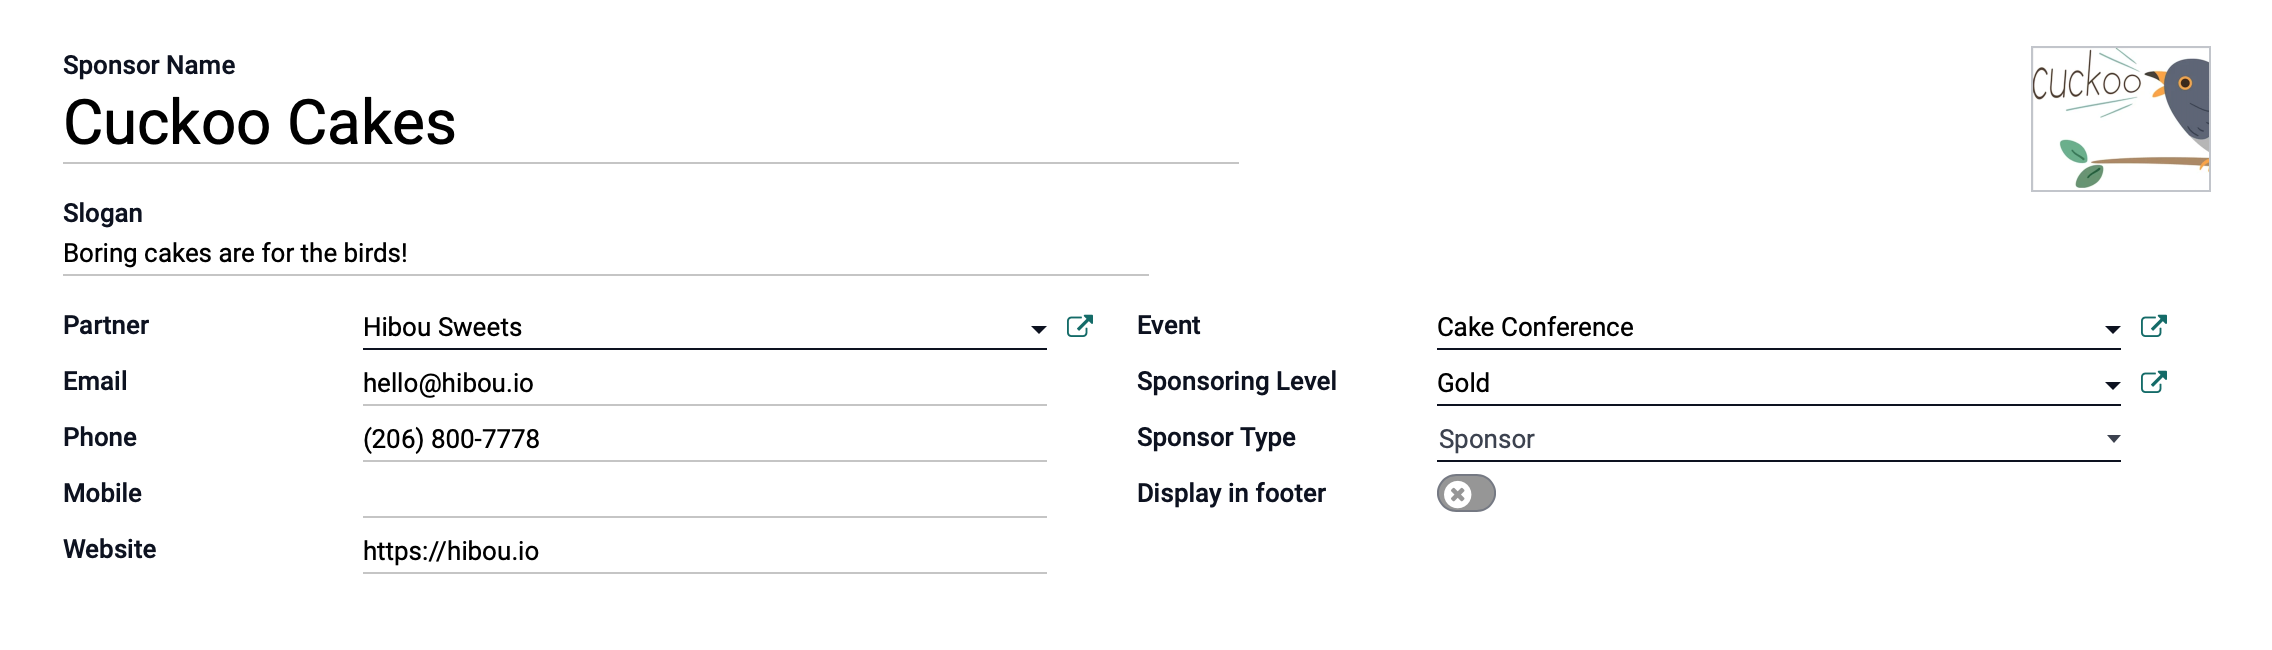
To add a new sponsor, click Create, which opens the Event Sponsors form.
Sponsor Name: You can enter a name here, but if you're planning to select an existing Partner, this field will populate with that data.
Slogan: Set a catchy marketing sentence or phrase for promotional purposes.
Partner: Select an existing partner as the Sponsor.
Email: This field will auto-populate because the form was accessed by smart button; you can change it if needed.
Phone: This field will auto-populate once the partner is selected, you can change this if needed.
Mobile: If the contact has a mobile phone listed, it will auto-populated or can be added.
Website: This field will auto-populate because the form was accessed by smart button; you can change it if needed.
Event: This field will auto-populate because the form was access by smart button; you can change it if needed.
Sponsoring Level: Select the level of sponsorship. See Events Debug Menus: Sponsor Types documentation for more information on these levels.
Sponsor Type: Select if this is a sponsor, exhibitor, or online exhibitor.
Display in footer: Toggle this if you would like the sponsor to appear in the footer.
When you're ready, click save. Add as many sponsors as you'd like to this event.
From the front end, the sponsors will be listed below the event and their profile pictures wil link to their website.

Online Exhibitors
Go to Configuration > Settings and, under the Events section, enable Online Exhibitors. In doing so, you're installing the Event Exhibitors module.
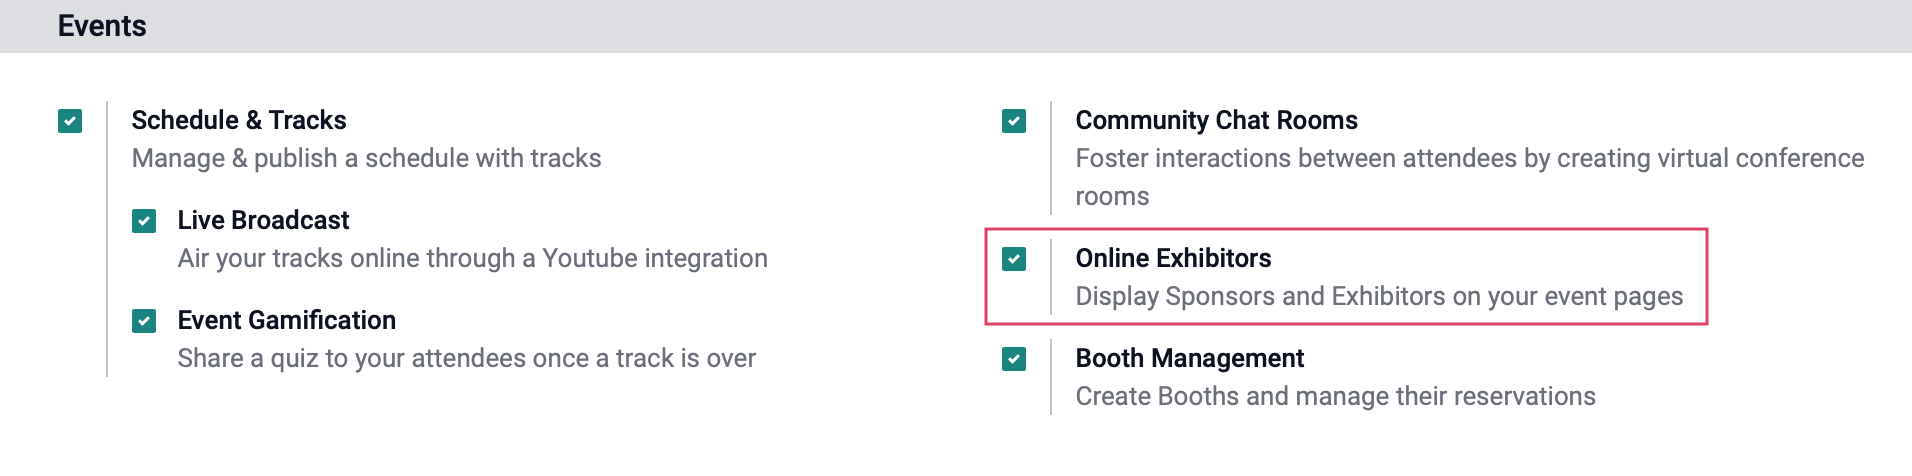
When you're ready, click Save.
Good to Know!
Enabling or Disabling Online Exhibitors
If your event already has Sponsors added, enabling Online Exhibitors won't change their format. You also won't be able to add Online Exhibitors to the event; the form will only add Sponsors.
If you disable Online Exhibitors when events already have them assigned, you'll get an Odoo error when trying to access those events.
Navigate back to Events. Once there, select an event, or follow the Basic Event Workflow documentation to create a new one. From within the event, click the Sponsors smart button.
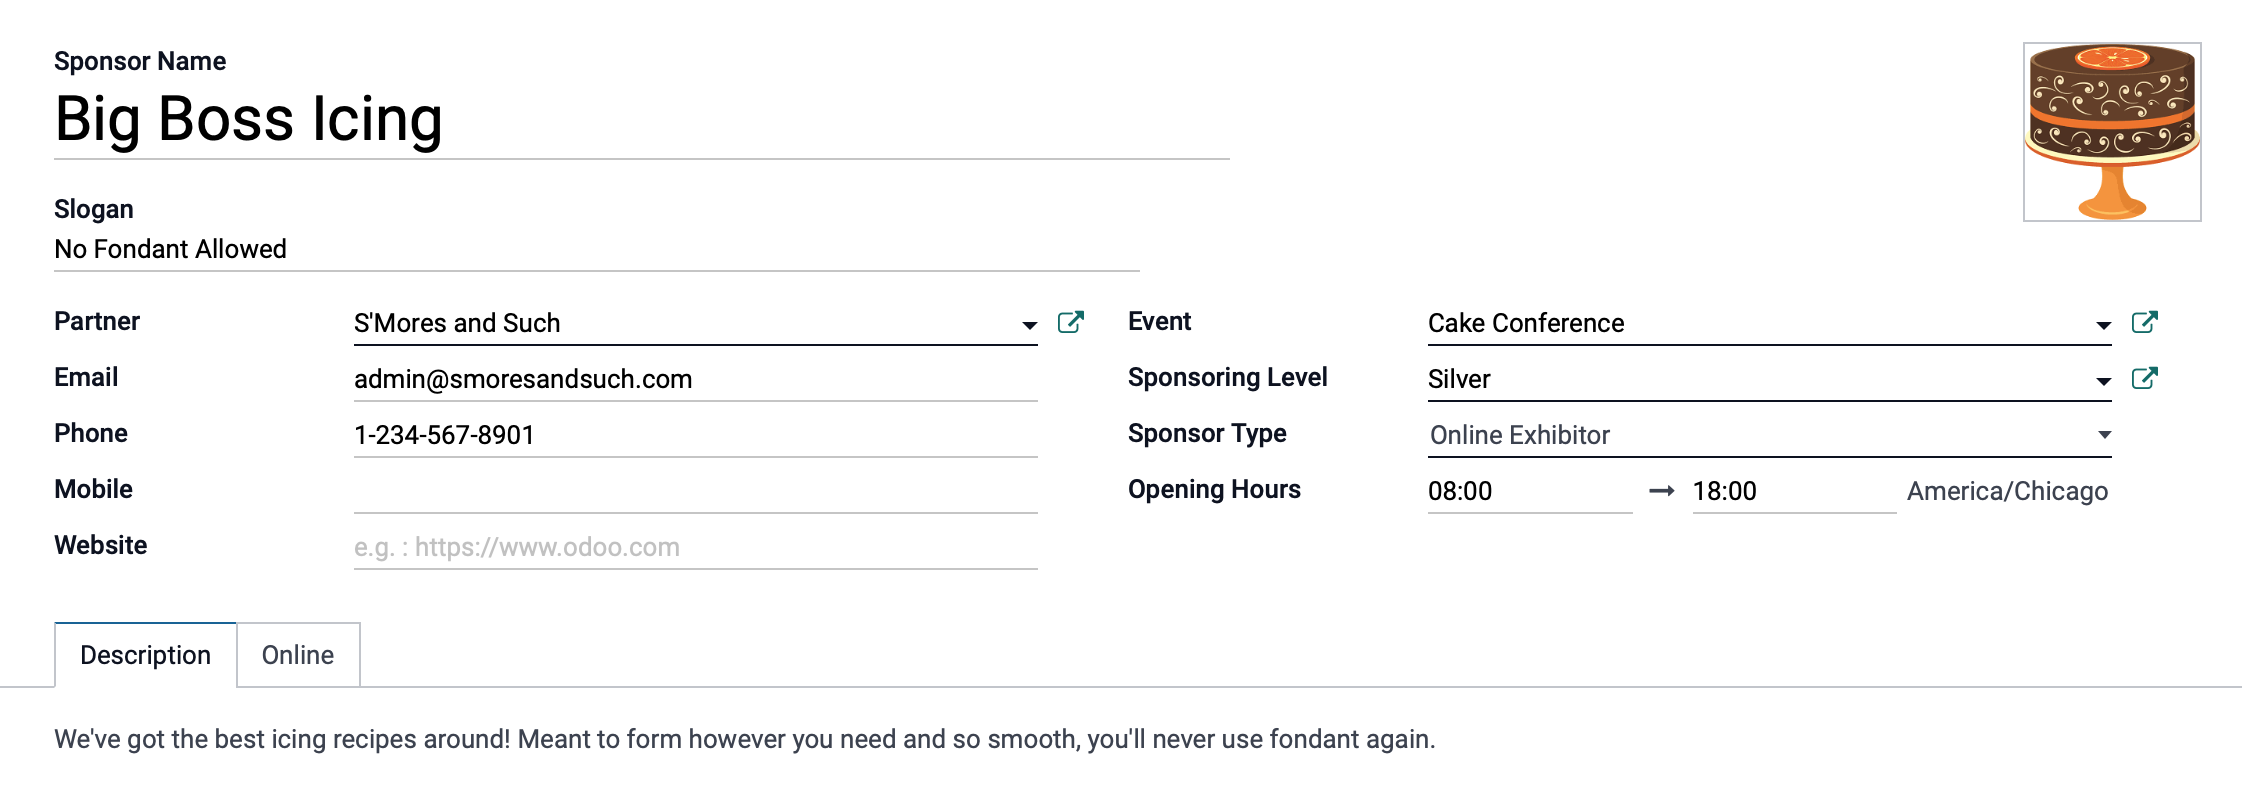
To add a new exhibitor, click CREATE, which opens the Event Sponsors form. You'll see the form is an expanded version compared to the Sponsors form. This tells you you're adding an Online Exhiibitor.
Sponsor Name: You can enter a name here, but if you're planning to select an existing Partner, this field will populate with that data.
Slogan: Enter the exhibitor's slogan, if applicable.
Event: This field will auto-populate because the form was access by smart button; you can change it if needed.
Partner: Select an existing partner as the Sponsor.
Email: This field will auto-populate because the form was accessed by smart button; you can change it if needed.
Phone: This field will auto-populate because the form was accessed by smart button; you can change it if needed.
Mobile: This field will auto-populate because the form was accessed by smart button; you can change it if needed.
Website: This field will auto-populate because the form was accessed by smart button; you can change it if needed.
Sponsoring Level: Select the level of sponsorship. See Events Debug Menus: Sponsor Types documentation for more information on these levels.
Sponsor Type: Select the Online Exhibitor option on this tab.
Opening Hours: Select the hours in which this exhibitor's virtual booth will be accessible.
Under the Description tab, enter text about this exhbitor. This will be displayed to the public on their virtual booth.
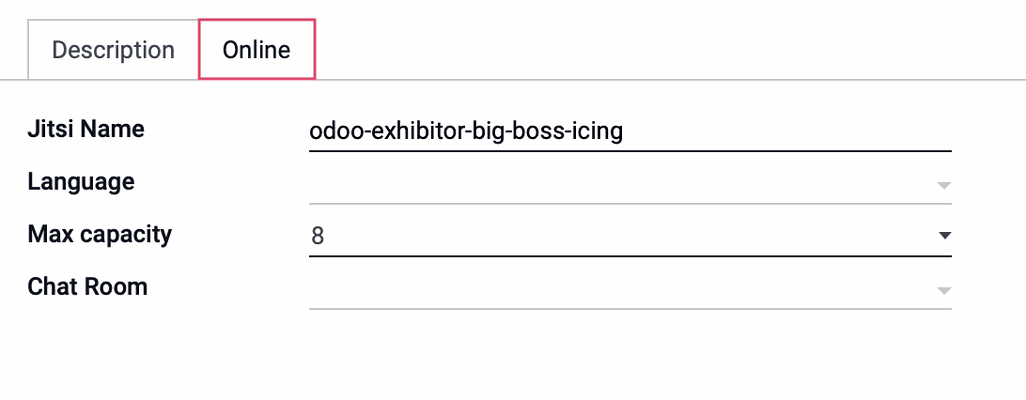
If you've selected an Online Exhibitor, you'll see the Online tab with options to set up chat.
Jitsi Name: This chat room name is automatically generated, but you can change it here.
Language: If the language of this chat is specific, set that here.
Max Capacity: Select the number of guests allowed in the chatroom at one time.
Chat Room: Here you can select which chatroom this sponsor will be active on.
When you're done, click Save. Add as many Online Exhibitor as you need.
From the saved record, click the Go to Website smart button.
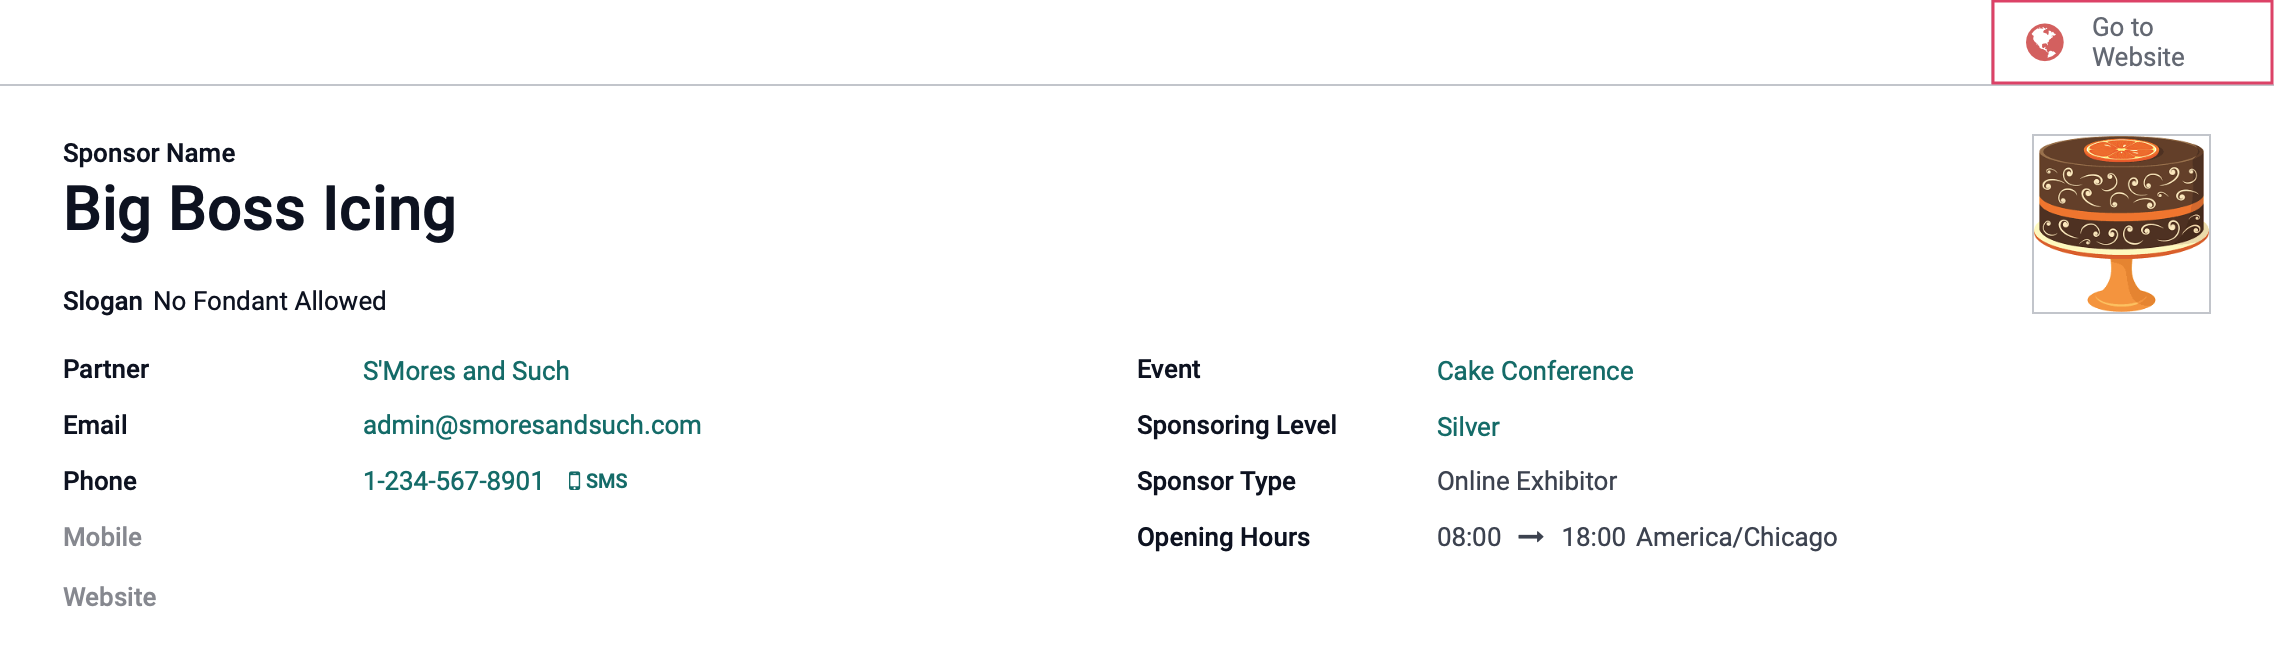
This brings you to the public-facing page for this exhibitor.
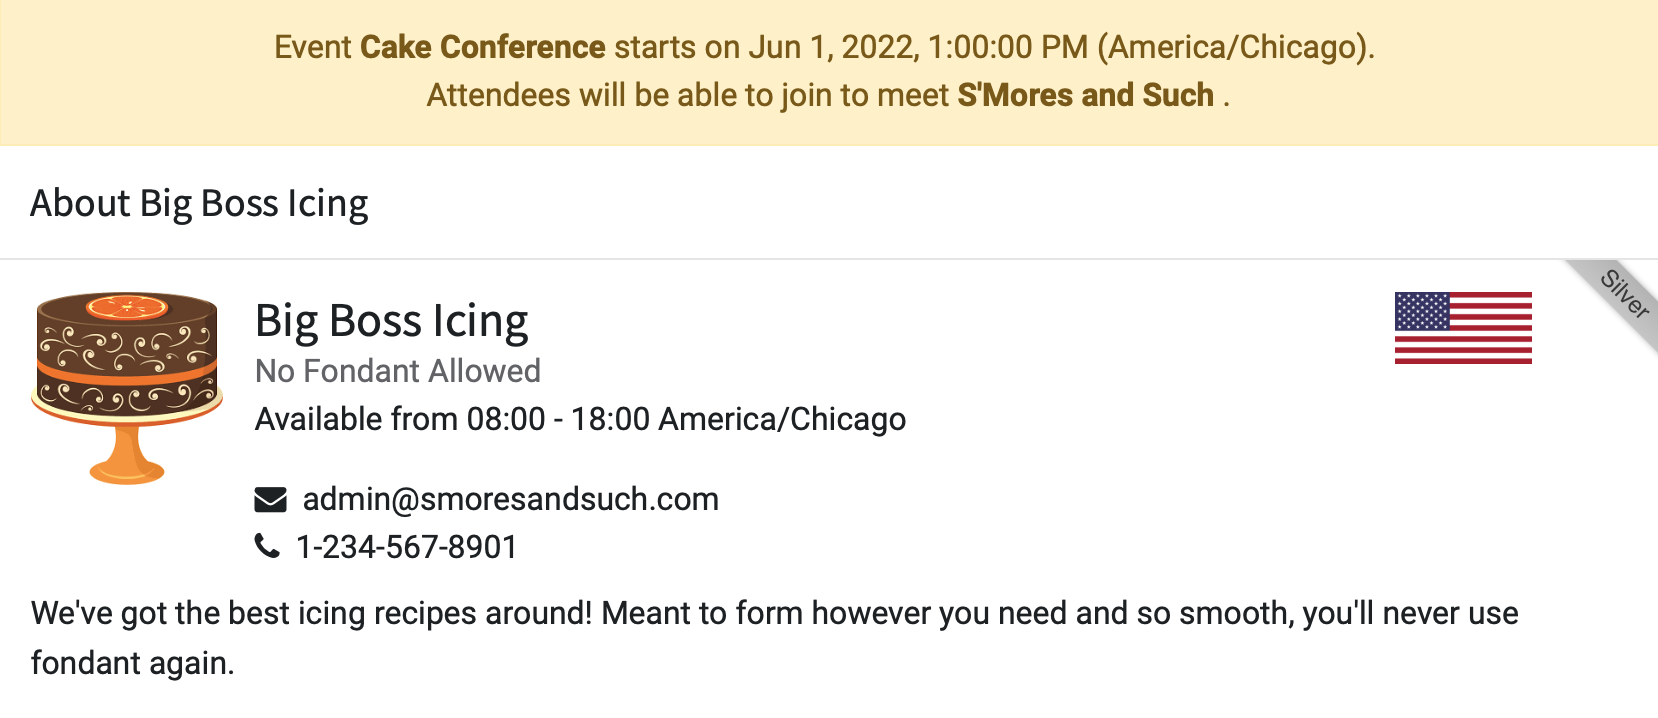
Once the event has started, this page will become an online meeting room.