Events: Events Configuration: Event Templates
Purpose
This document covers how to create and use an Event Template in the Odoo 14 Events application. Event Templates allow you to create a configuration for events that can apply to future events. This is a great time-saver if you host several events with a similar scope.
Process
To get started, navigate to the Events app.
Once there, go to Configuration > Event Templates. Here you'll see a list of pre-configured templates.
Create an Event Template
Click Create to add your own.
This opens the Event Templates form with the following fields:

Event Template: Enter a name for your template.
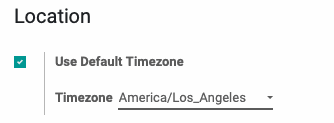
Location
Select Use Default Timezone to select a timezone for your event.
Communication

Select Automatically Send Emails to add custom communication. For instance, you can send an email to confirm their registration or send a text message for important reminders. Once selected, click Add a Line to add the type of communication to send.
Send: Select the type of communication you're sending: mail or SMS.
Email Template: If you selected Mail, select the Email Template to use.
SMS Template: If you selected SMS, select the SMS Template to use.
Interval: Select when this communication should be sent in relation to the trigger, along with the time Unit.
Trigger: Select the trigger that will launch the communication.
Visibility
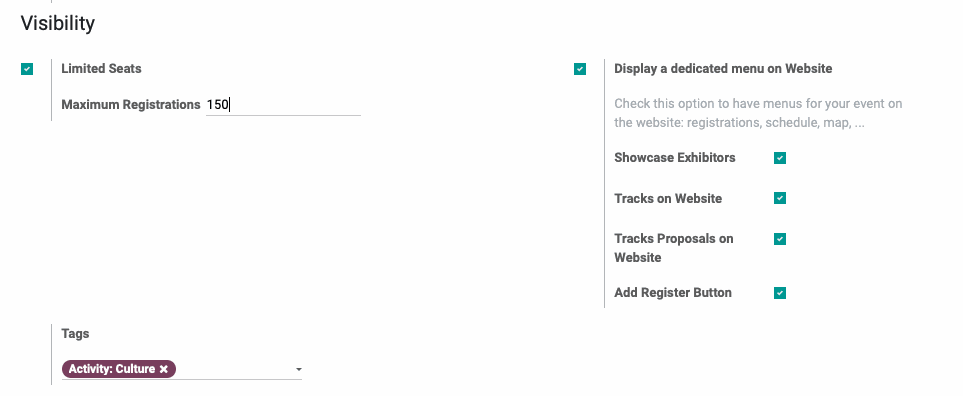
Limited Seats: If this event will have a limited number of seats, select this option and enter the number of seats available. Leave it empty for unlimited.
Tags: Add any applicable tags for reporting and filtering purposes.
Display a dedicated menu on Website: Select this option to have menus for your event on the website: registrations, schedule, map, etc. When enabled you may see the following additional fields depending on your app configuration:
Showcase Exhibitors: Displays event exhibitors on the website.
Tracks on Website: Displays the event track on the website.
Tracks Proposals on Website: Allows attendees to propose topics or activities.
Add Register Button: To allow front-end event registrations, select this option.
Attendees
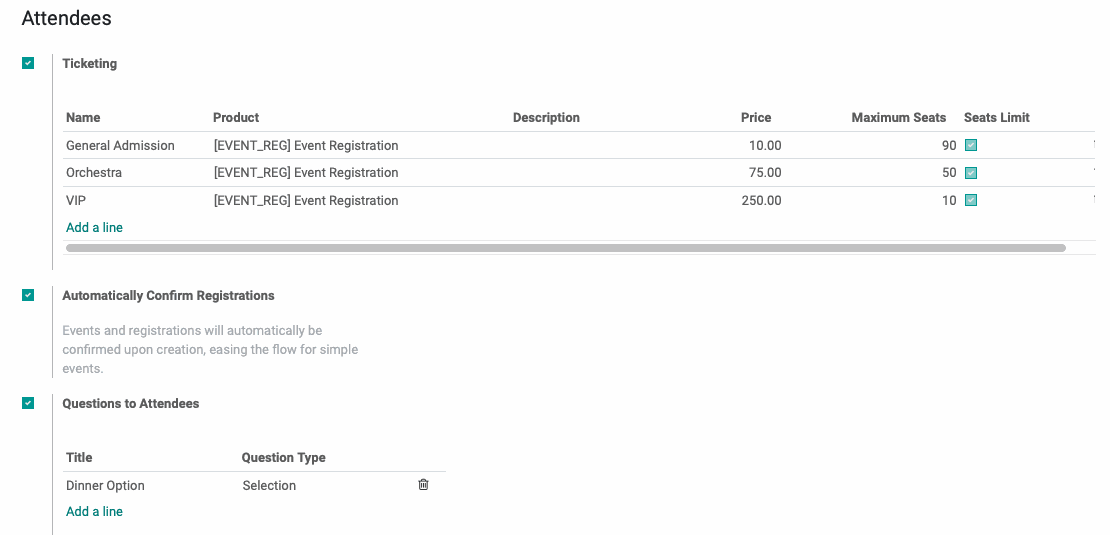
Ticketing: When enabled, you can associate this template with a registration service product and offer different levels (e.g. premium seating, VIP lounge). To add a registration service product, click Add a Line. This opens a line where you'll enter the following details:
Name: The name of the registration product.
Product: The product to be used
Description: A short description of what this level of entry includes.
Price: The price for this level of entry.
Maximum Seats: The maximum number of tickets that can be sold for this level.
Seats Limit: This box is automatically checked when the Maximum Seats field is populated.
Automatically Confirm Registrations: Events and registrations will automatically be confirmed upon creation, easing the flow for simple events.
Questions to Attendees: Allows you to configure questions that will be posed to your attendees upon registration. To add a question, click Add a Line. This opens a modal window where you'll specifiy the question(s) to ask. You cna request text input or have them select from multiple-choice options.
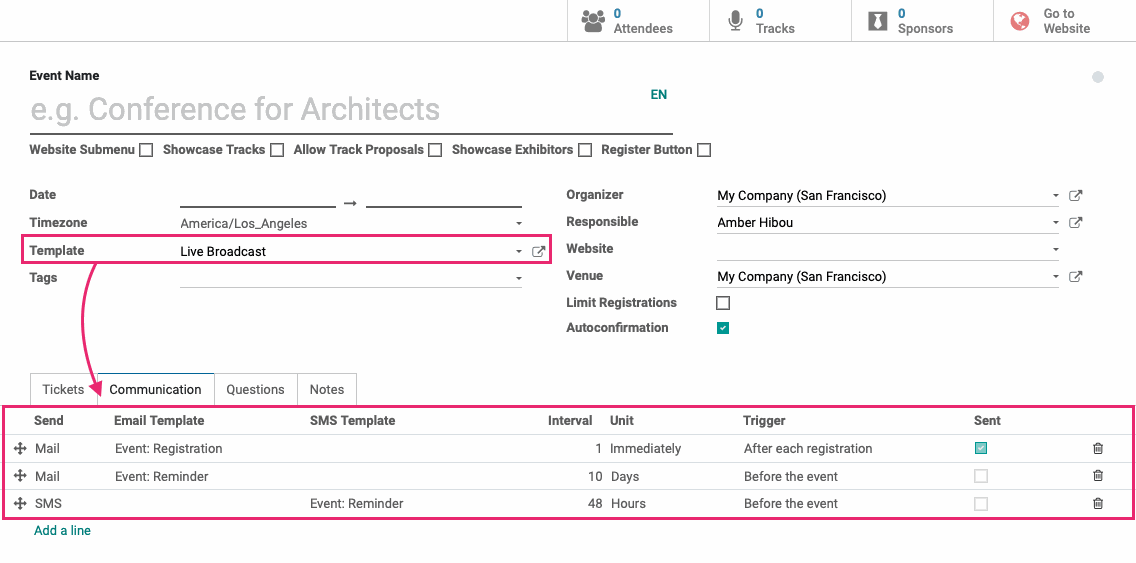
Applying a Template to an Event
When you're done adding options for your template, click Save. You can now apply this template to any event you create by selecting it from the Template field.

In doing so, the sections you customized in the template will then populate to the event. Making changes to an event using a template will not change the template.