Events: Events Workflows: Community Chat Rooms
Purpose
This document covers the configuration and usage of Community Chat Rooms in the Odoo 16 Events application.
Debug Mode
The steps in this document will require you to be in Debug Mode.
Process
To get started, navigate to the Events app.
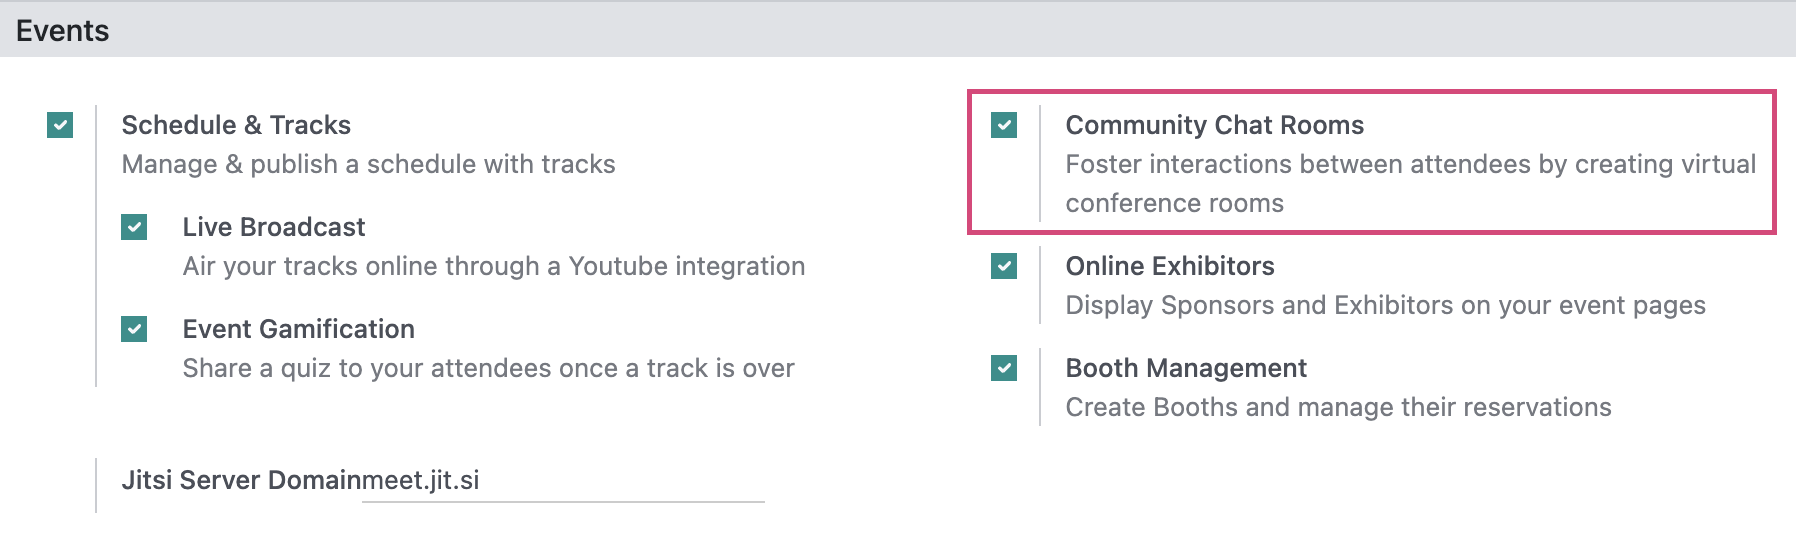
Once there, go to Configuration > Settings and, under the Events section, enable Community Chat Rooms.
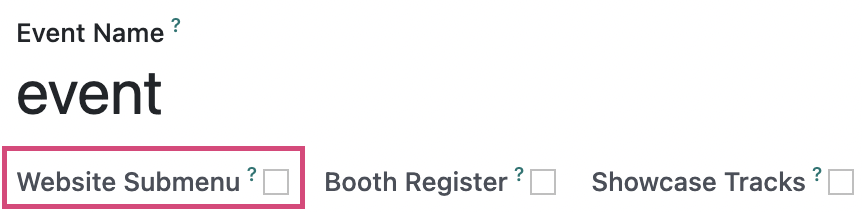
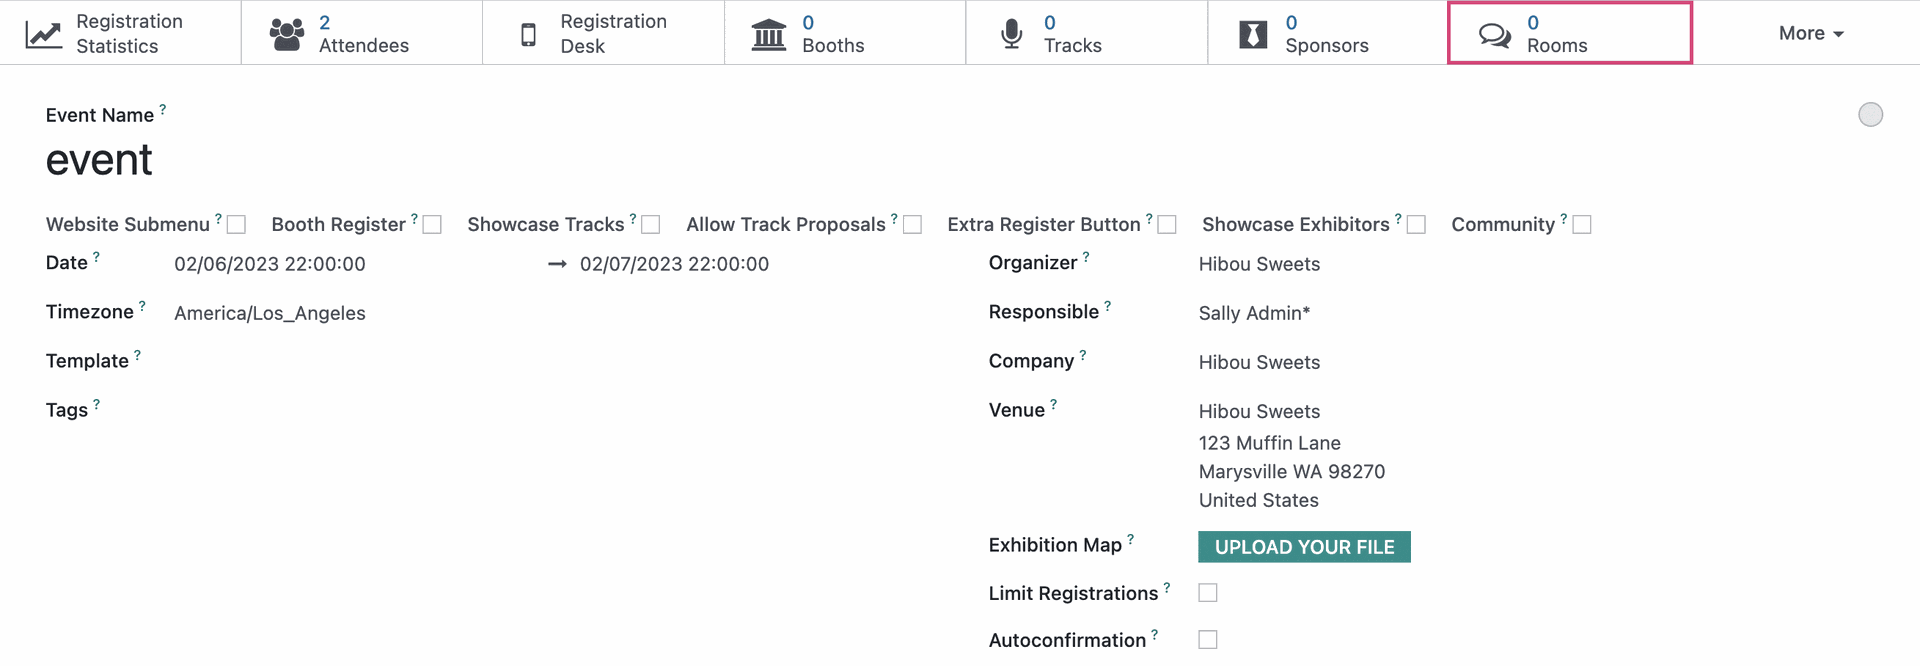
Next, click Events and select an event from kanban view, then click Edit. Just under the Event Name, enable "Website Submenu". This will enable all options in this section. You can manually disable the other options, but be sure "Community" stays enabled.
When you're ready, then click the Rooms smart button.
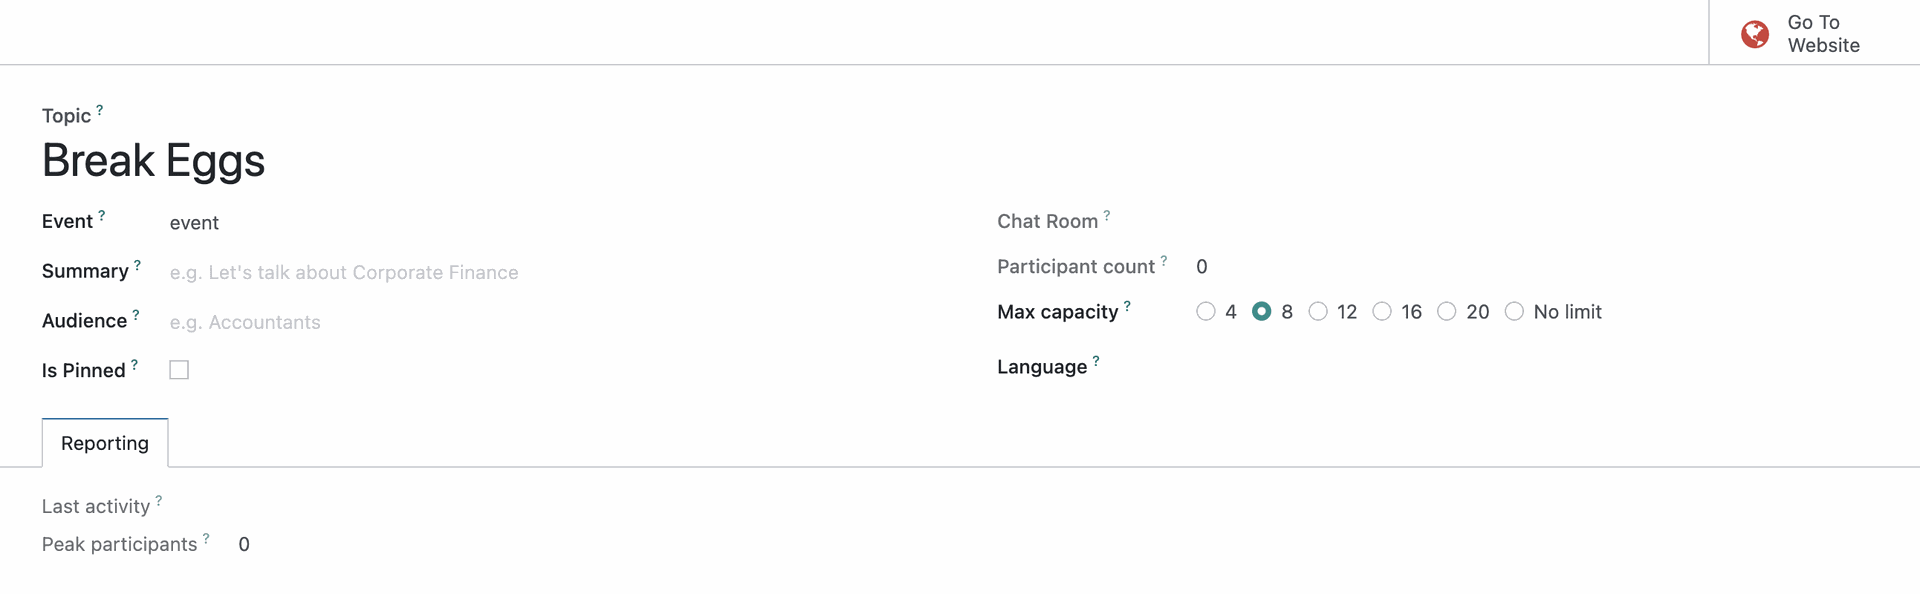
Once there, click NEW to open the Meeting Room form.
Topic: Enter a topic for this room. Events can have multiple rooms, so be sure to be it specific.
Event: The event will auto-populate since you accessed this form using the smart button.
Summary: Enter a quick summary about what will be discussed in this room.
Audience: Summarize who will benefit from this room.
Is Pinned: Enabling this will make sure it's at the top of the list above any other meeting rooms for this event.
Chat Room
Participant Count: This is the total number of participants in the room at the current time, so it is a read-only field.
Max Capacity: Select how many people should be allowed in the room at one time. You must select from the predefined options, or set it to No Limit. These meeting rooms are equipped with video, so setting a limit with that in mind is a good idea.
Language: To specify a language for this chat room, select it here. Leave it blank to use the user's default settings.
The reporting tab offers the date/time of the Last activity, along with the most participants at one time in the Peak participants field.
When you're ready, click Save.
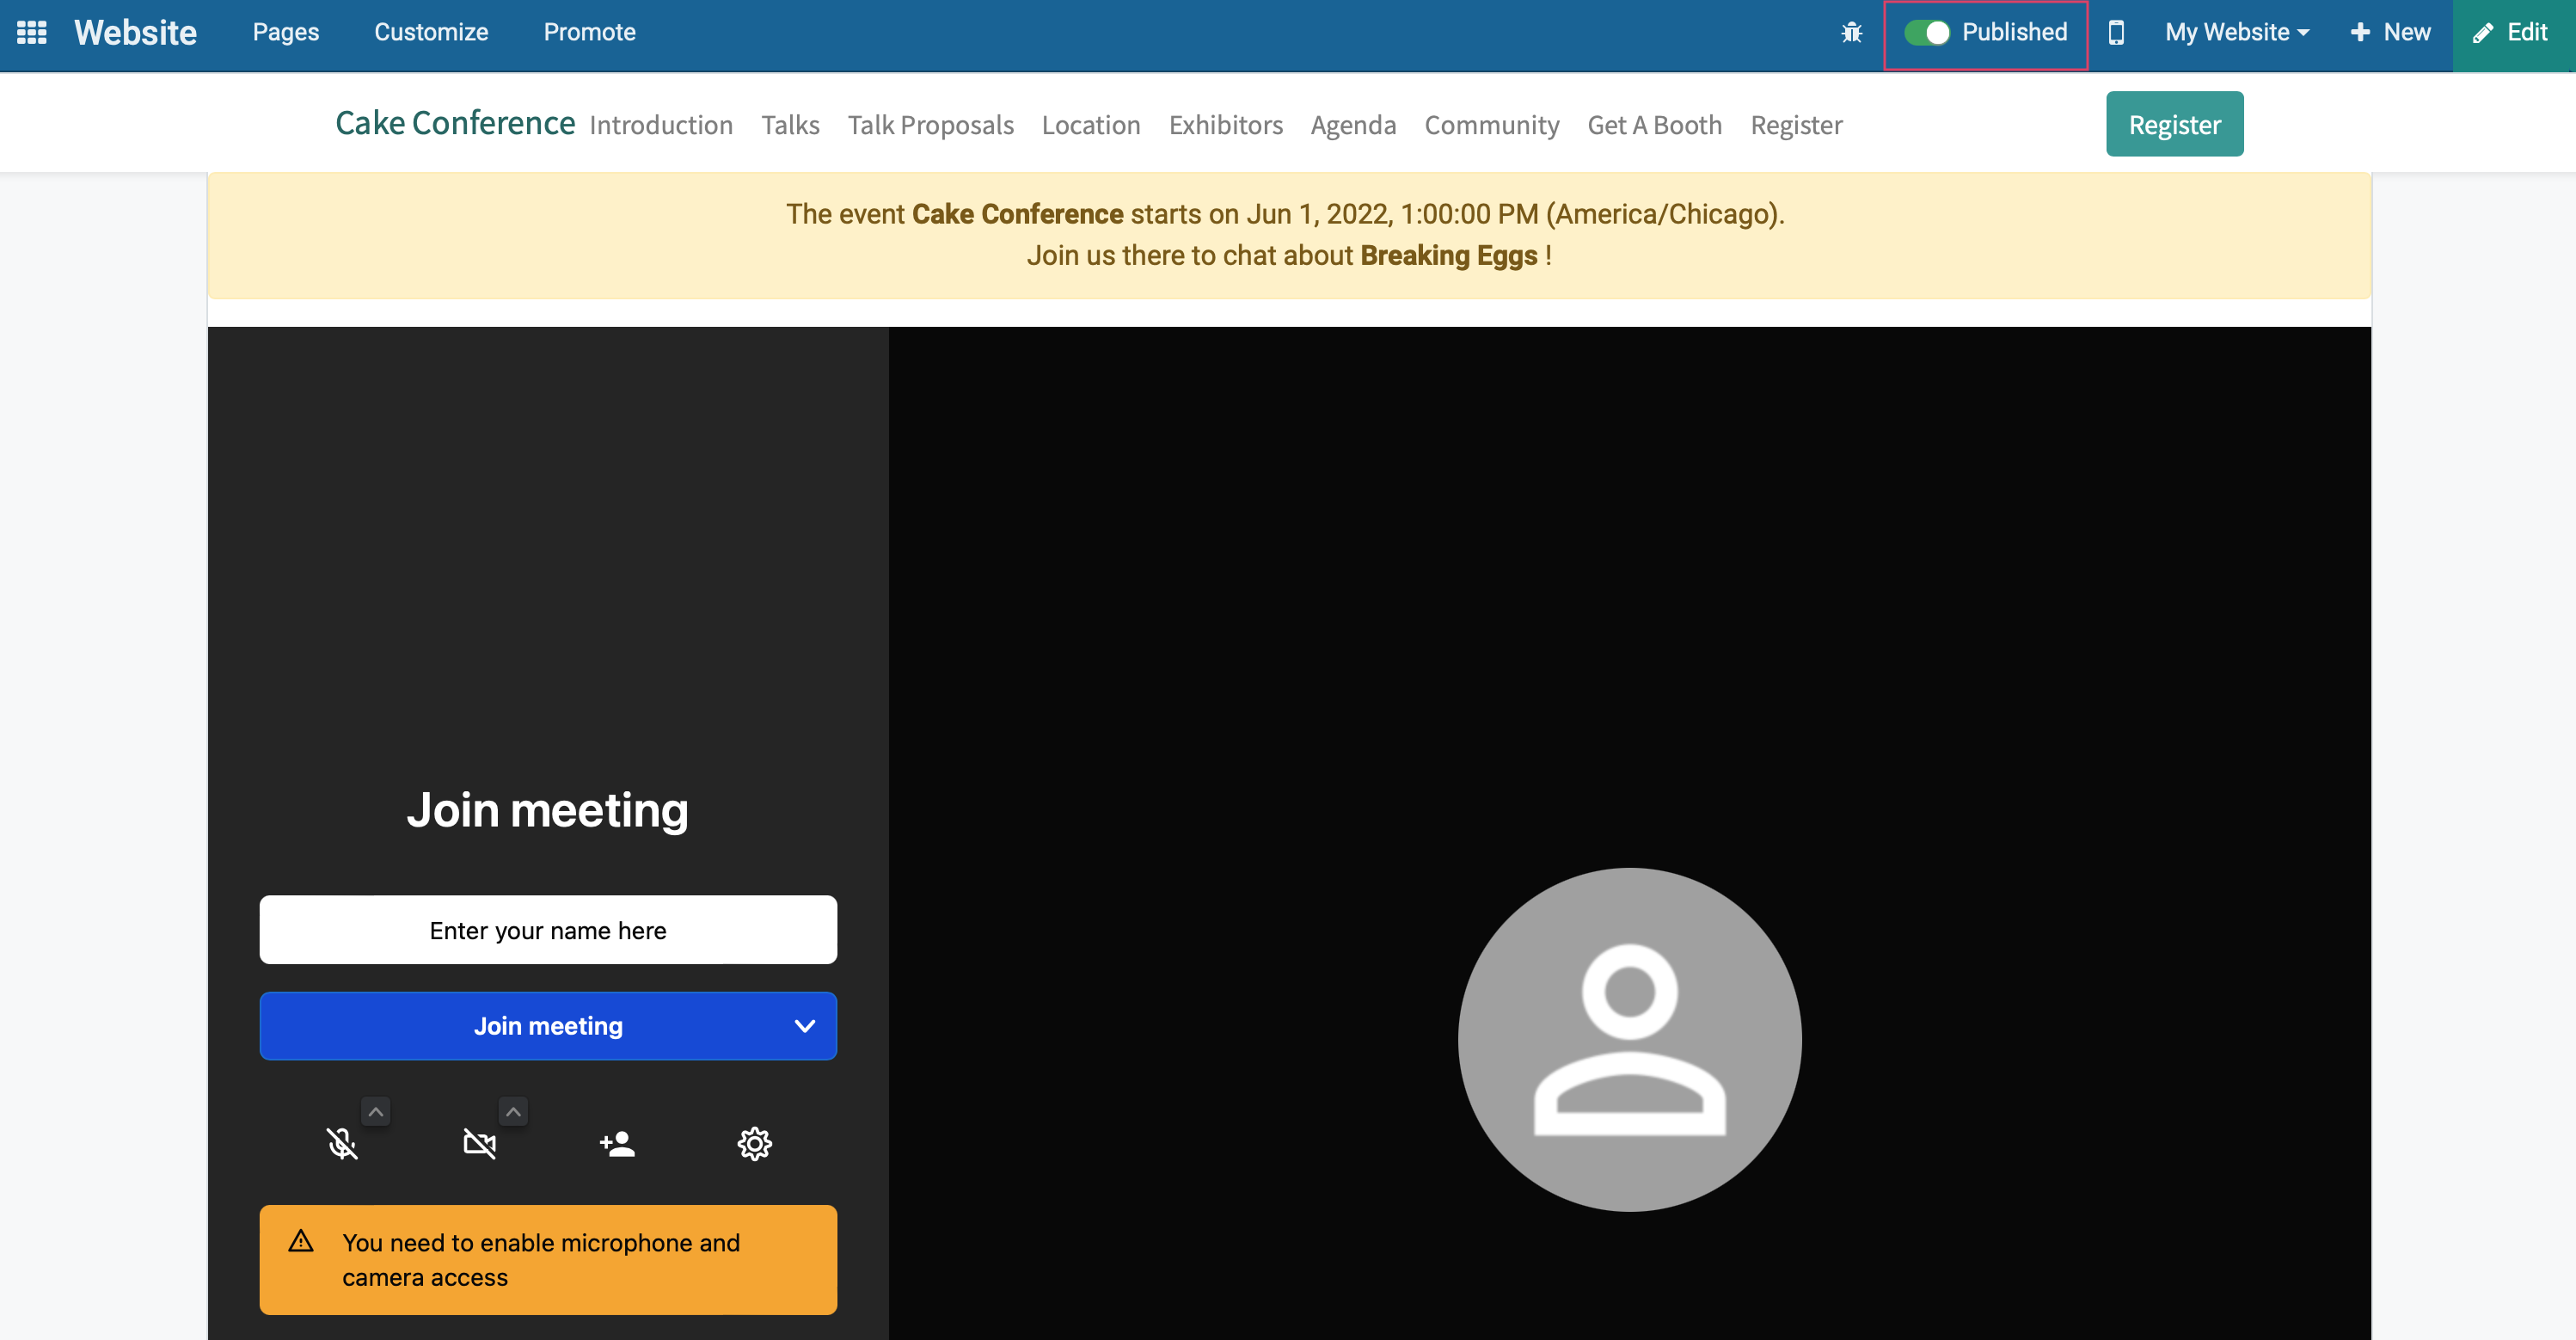
Publish the Page
Next, click the Go to Website smart button.
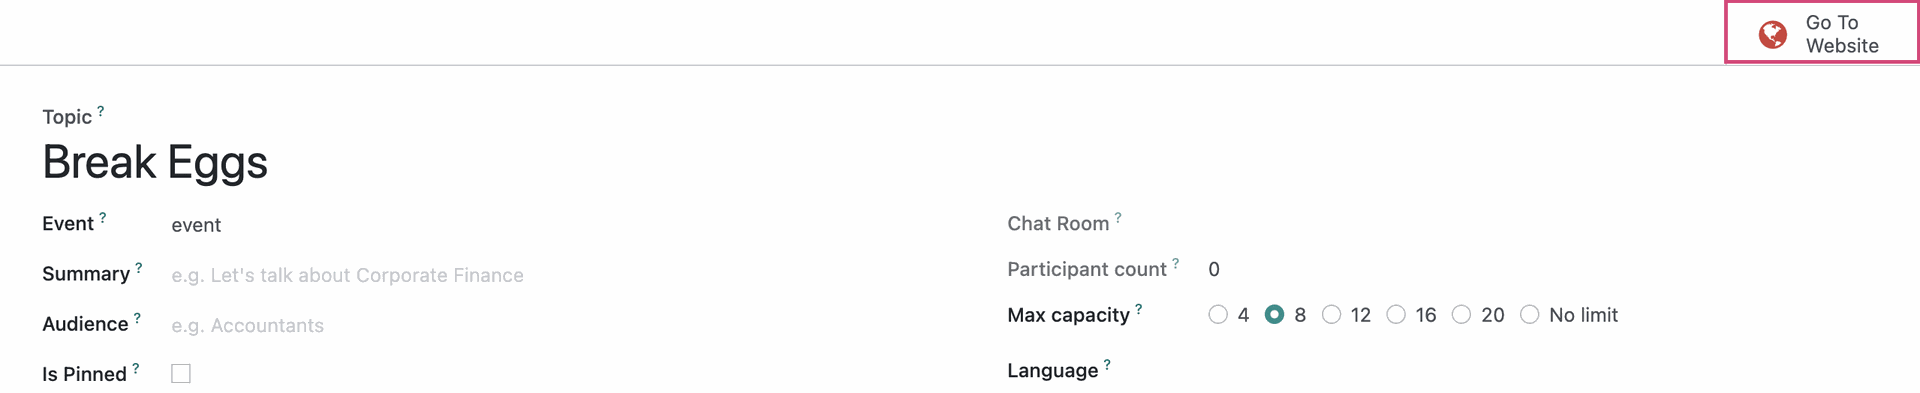
Toggle to Published.