Events: Events Configuration: Event Templates
Purpose
This document covers how to create and use an Event Template in the Odoo 16 Events application. Event Templates allow you to create a configuration for events that can apply to future events. This is a great time-saver if you host several events with a similar scope.
Process
To get started, navigate to the Events app.
Once there, go to Configuration > Event Templates. Here you'll see a list of pre-configured templates.
Create an Event Template
Click NEW to add your own.
This opens the Event Templates form with the following fields:
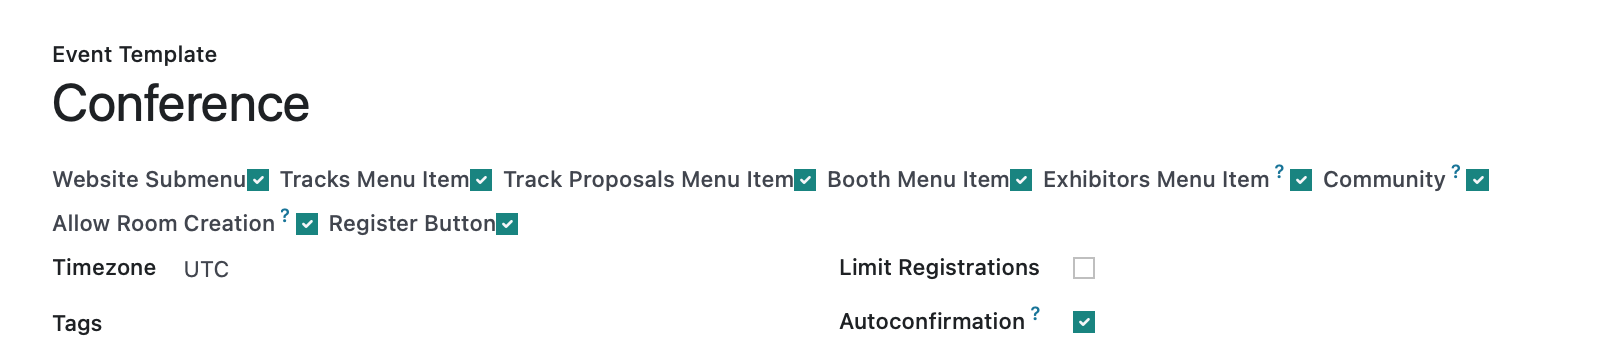
- Event Template: Enter a name for your template.
Website Submenu: Display a dedicated menu on a website. Note: Enabling this will auto-enable all of the other options.
Tracks Menu Item: Event Tracks display on the menu.
Track Proposals Menu Item: Tracks proposals on the website.
Booth Menu Item: Booths are displayed on the website.
Exhibitors Menu Item: Exhibitors are displayed on the website.
Community: Display a community tab on the website menu. Note: Enabling this will give you a the Allow Room Creation option.
Allow Room Creation: Let visitors create chatrooms.
Timezone: Select the appropriate timezone for this template.
Tags: Assign any relate tags for events created using this template.
Limit Registrations: Select this if you only have a limited number of seats or have capacity limitations.
Autoconfirmation: Events and registrations will automatically be confirmed upon creation, easing the flow for simple events.
Tickets
Click ADD A LINE to set a Ticket product for this event.
Ticketing: When enabled, you can associate this template with a registration service product and offer different levels (e.g. premium seating, VIP lounge). To add a registration service product, click ADD A LINE. This opens a line where you'll enter the following details:
Name: The name of the registration product.
Product: The product to be used
Description: A short description of what this level of entry includes.
Price: The price for this level of entry.
Maximum Seats: The maximum number of tickets that can be sold for this level.
Seats Limit: This box is automatically checked when the Maximum Seats field is populated.

Communication

Select Automatically Send Emails to add custom communication. For instance, you can send an email to confirm their registration or send a text message for important reminders. Once selected, click Add a Line to add the type of communication to send.
Send: Select the type of communication you're sending: mail or SMS.
Email Template: If you selected Mail, select the Email Template to use.
SMS Template: If you selected SMS, select the SMS Template to use.
Interval: Select when this communication should be sent in relation to the trigger, along with the time Unit.
Trigger: Select the trigger that will launch the communication.
Booths
Under the BOOTHS tab, you can keep track of the exhibitors attending your event. Click on Add a Line and fill in the following fields:
Name: Select the name, number or location of this booth.
Booth Category: Select the category of booth.
Product: Select the product name associated with this booth.
Price: Select the price vendors and exhibitors will pay to rent this booth.

Notes
Under the NOTES tab, you may enter any additional notes for your internal users as well as enter additional information to be print on attendees tickets.

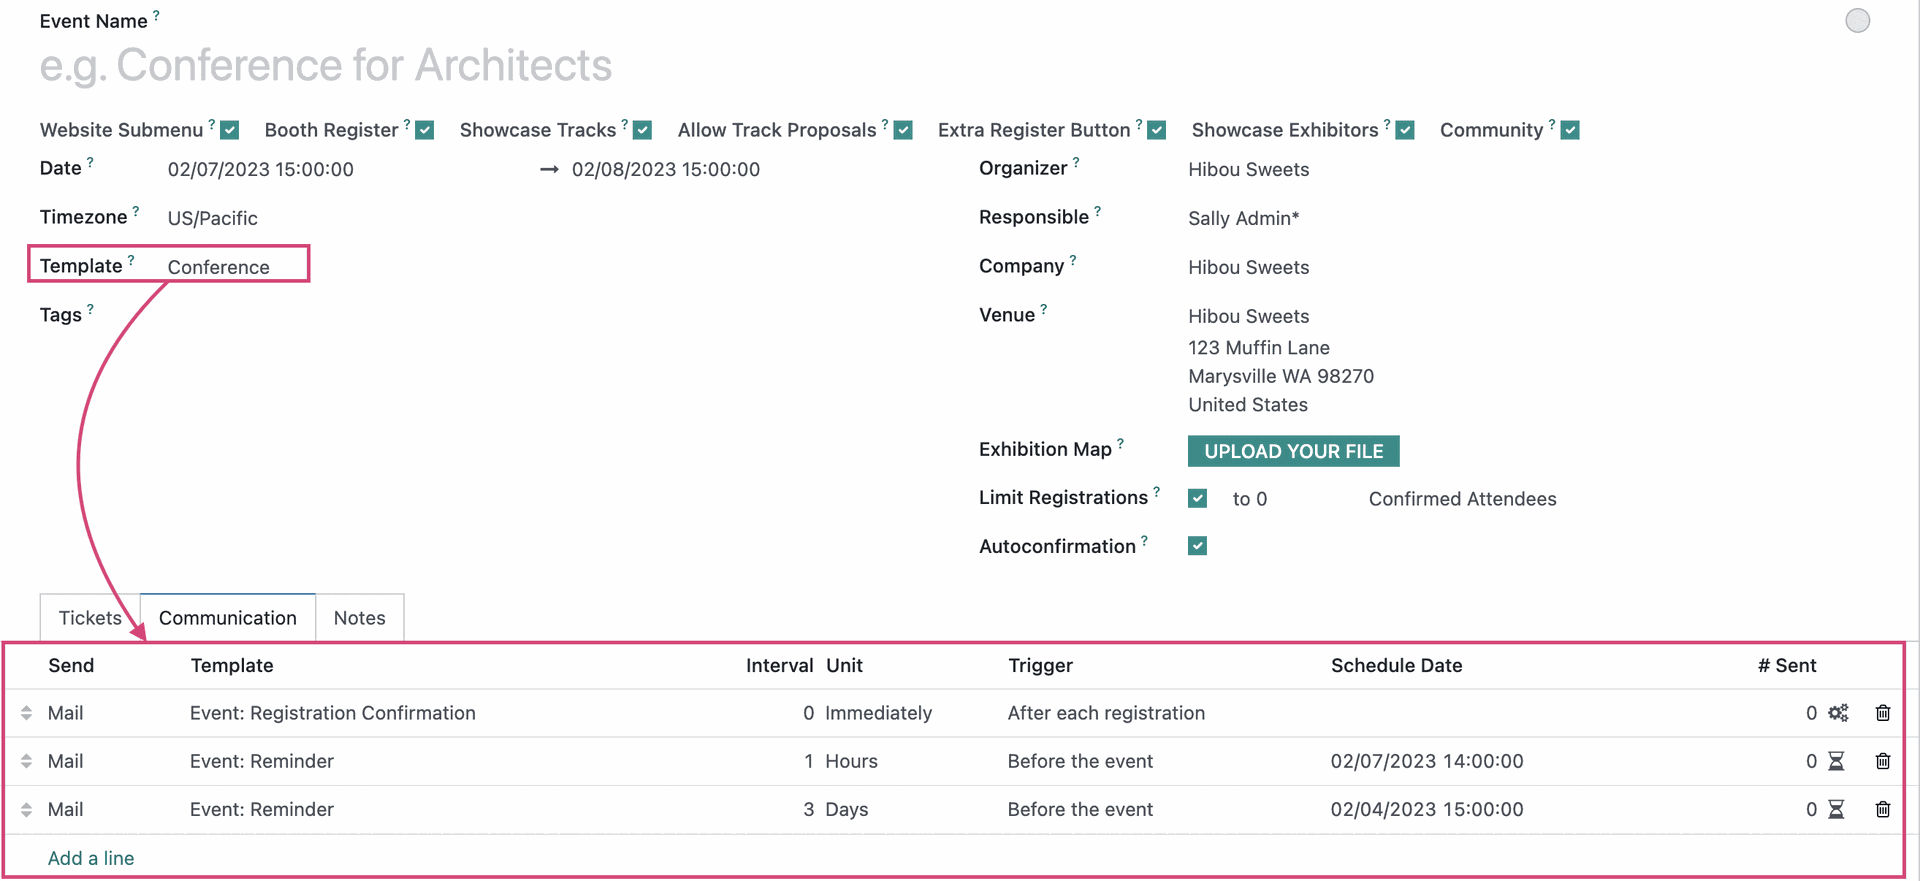
Applying a Template to an Event
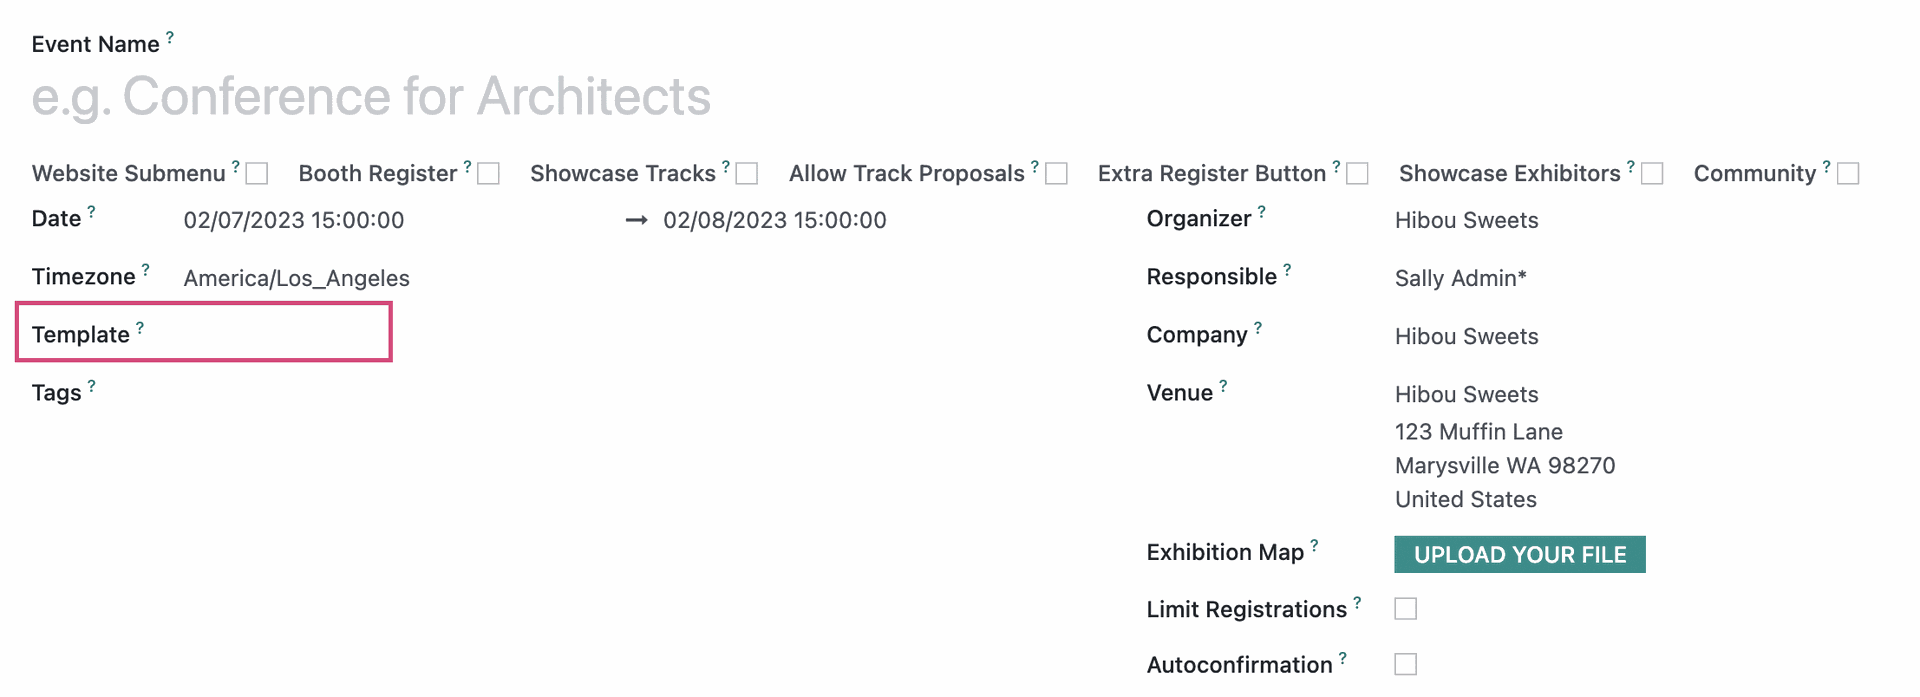
You can now apply this template to any event you create by selecting it from the Template field.
In doing so, the sections you customized in the template will then populate to the event. Making changes to an event using a template will not change the template.