Events: Events Workflows: Basic Event Workflow
Purpose
This document covers the workflow of creating a basic event using the Events application in Odoo 15.
Process
To get started, navigate to the Events app.

Create an Event
Once there, click Create. This brings up the Events form with the following fields. Note that fields will vary based on your database configuration.
Good to Know!
Apply Your Template First
If you'll be using an Event Template, select it from the Template field before adding more details.
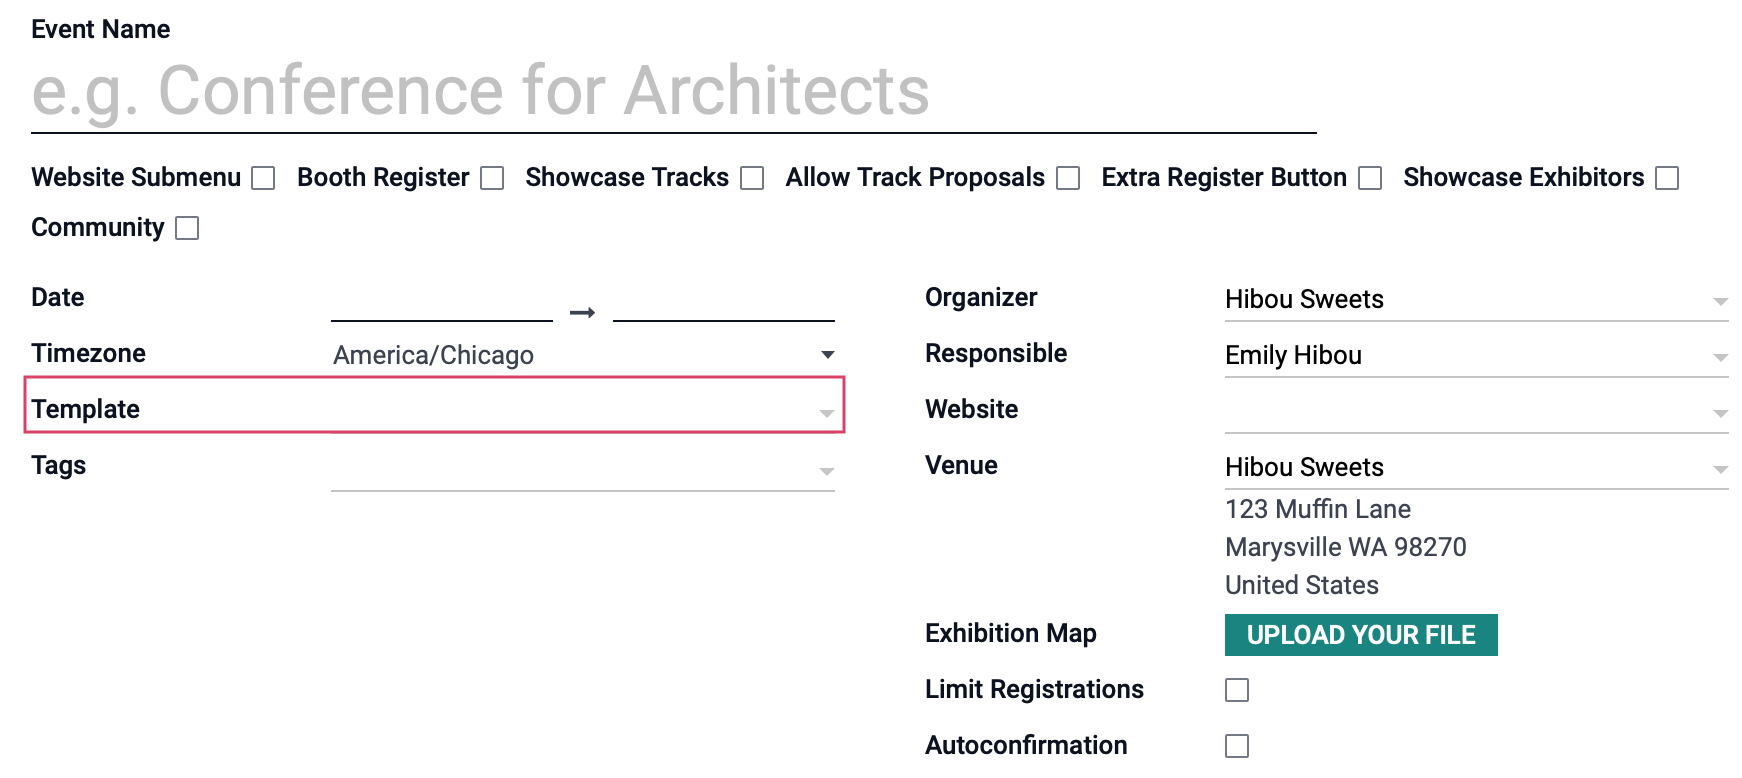
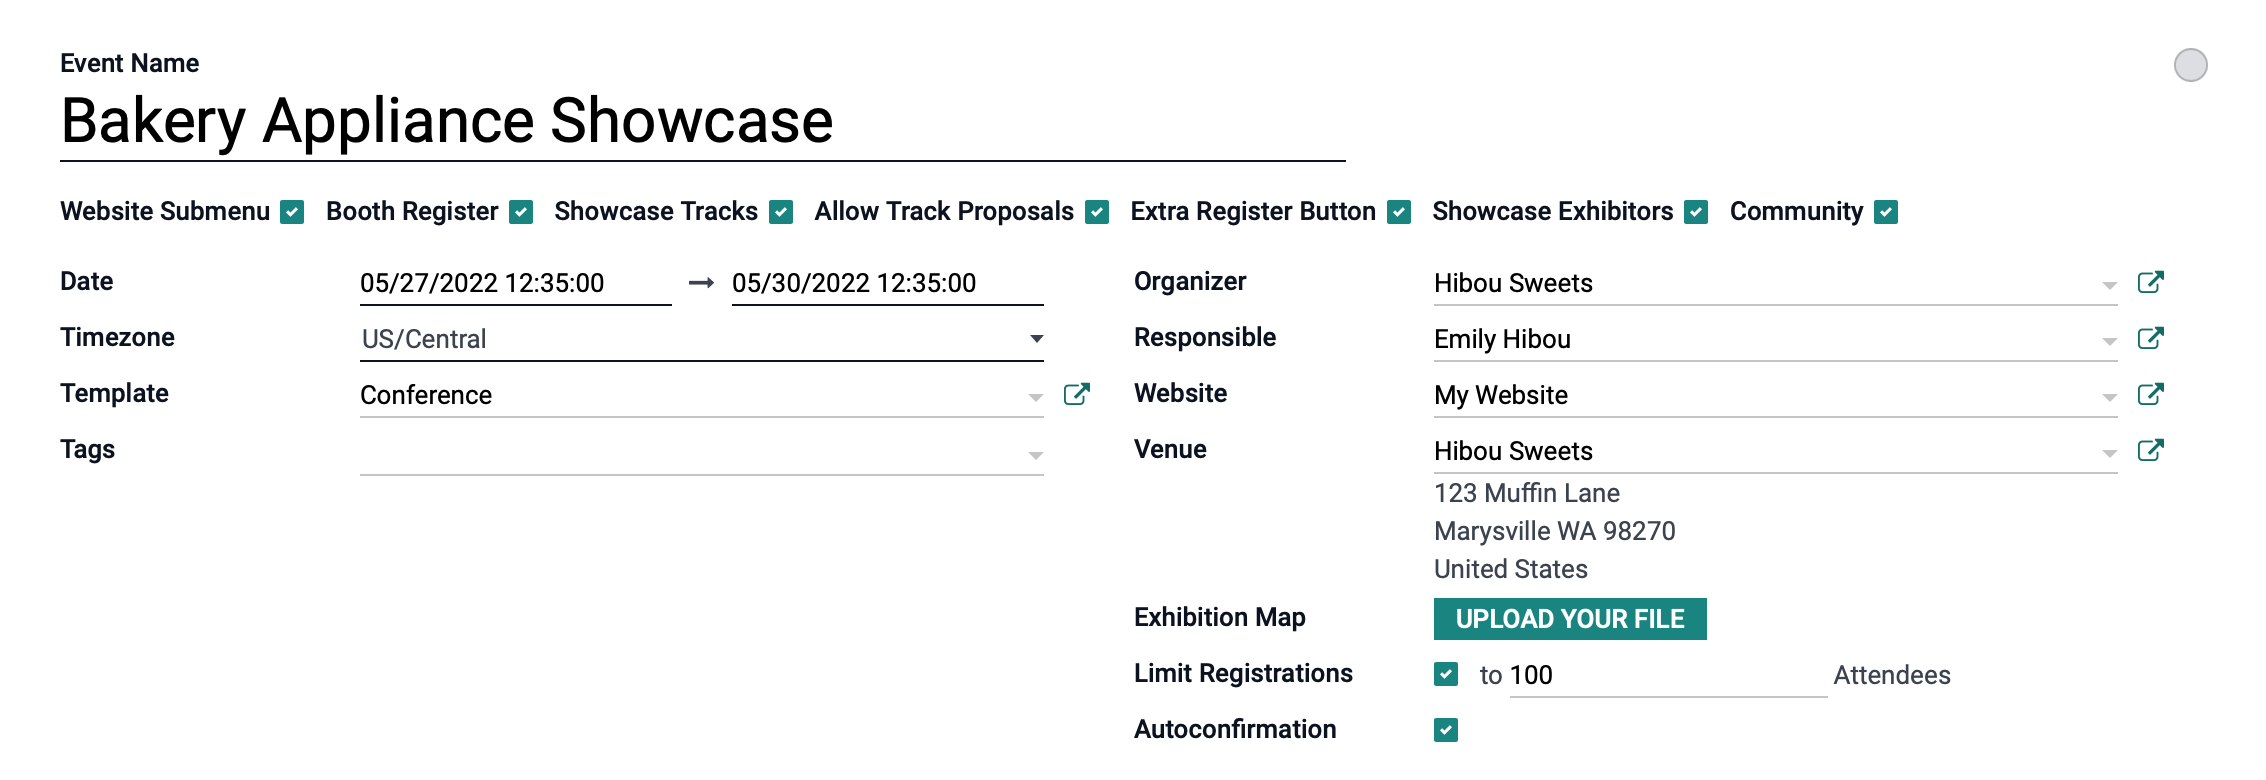
Event Name: Enter the name of the event.
Date: Enter the start date and time as well as the end date and time for the event.
Timezone: This will default to the timezone of your database, but you should change it to match the timezone of the event venue.
Tags: Add any applicable tags for the event.
Organizer: This will default to the company you're working in, but you can change it if needed.
Responsible: Select the user responsible for this event. This will default to your username.
Website: If this event should be published on only one website, select it here. If your database has multiple websites you can publishsh this event to all of them by leaving this field blank.
Venue: This will default to the company you're working in, but you can select any other contact as the venue. You can also leave this empty for a virtual event.
Exhibition Map: You may upload a map of your exhibitors' booths so your attendees can navigate the event with ease.
Limit Registrations: Select this box to select a maximum number of attendees for this event. Once checked, you can enter the number of attendees allowed.
Autoconfirmation: Select this to automatically confirm registrations as they're added.
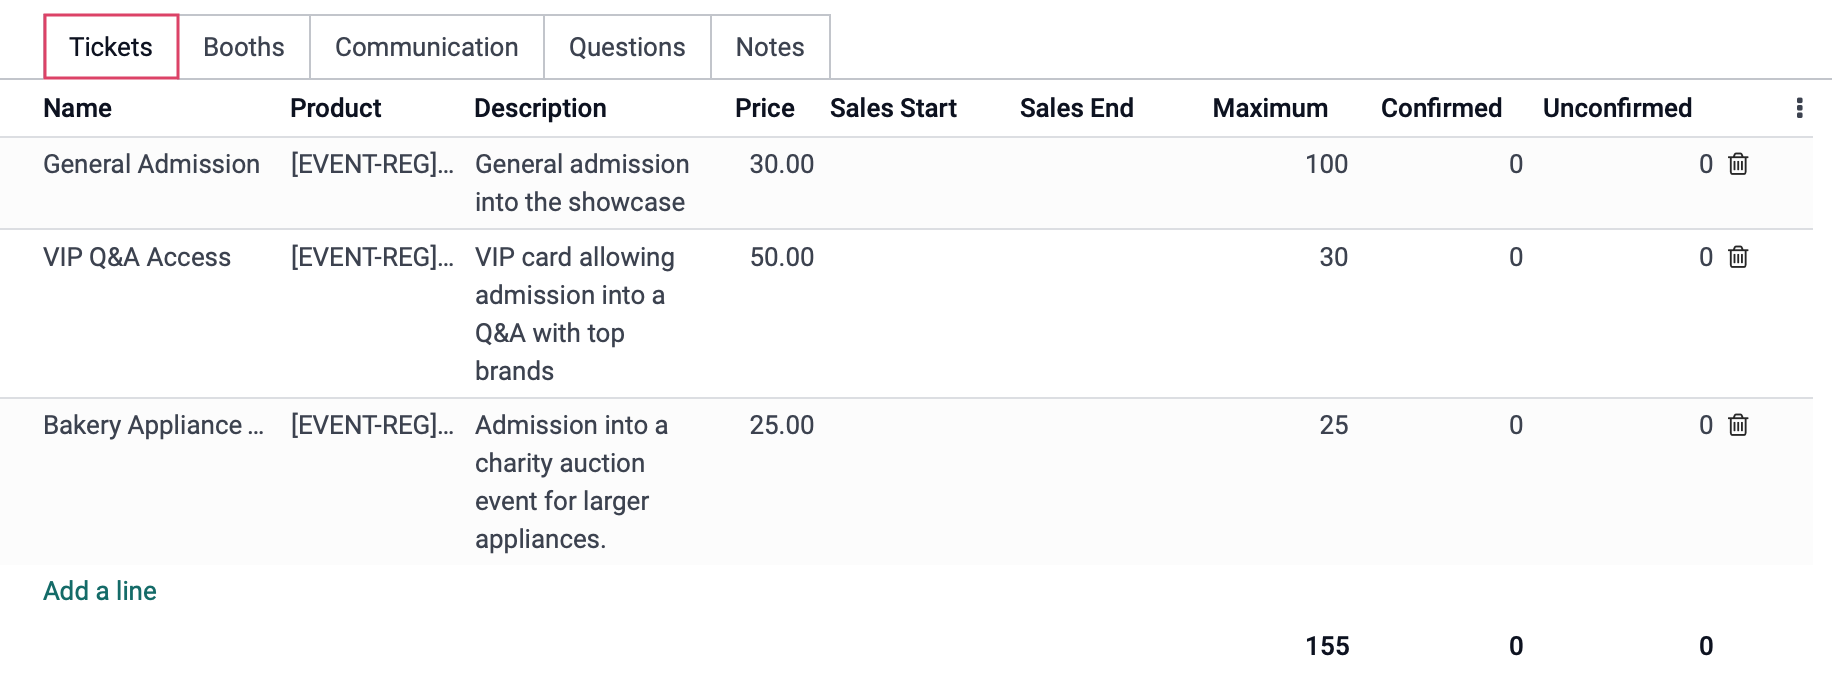
Under the Tickets tab you have the opportunity to create different ticket classes, such as General Admission or VIP Access. To add a ticket type, click Add a Line. In doing so, the line will open and auto-populate with basic details.
Name: The name of the registration product.
Product: The service product to be used in association with this ticket.
Description: A short description of what this level of entry includes.
Price: The price for this level of entry.
Sales Start: The date this ticket level will be available for purchase.
Sales End: The date this ticket level will no longer be available for purchase.
Maximum: The maximum number of tickets (e.g. seats) that can be sold for this level of entry. The total number of seats will display at the bottom of this table.
Confirmed: Seats reserved.
Unconfirmed: Seats available.
Good to Know!
Early Bird Special?
Use the Sales Start + Sales End fields to offer special pricing for those who register early!
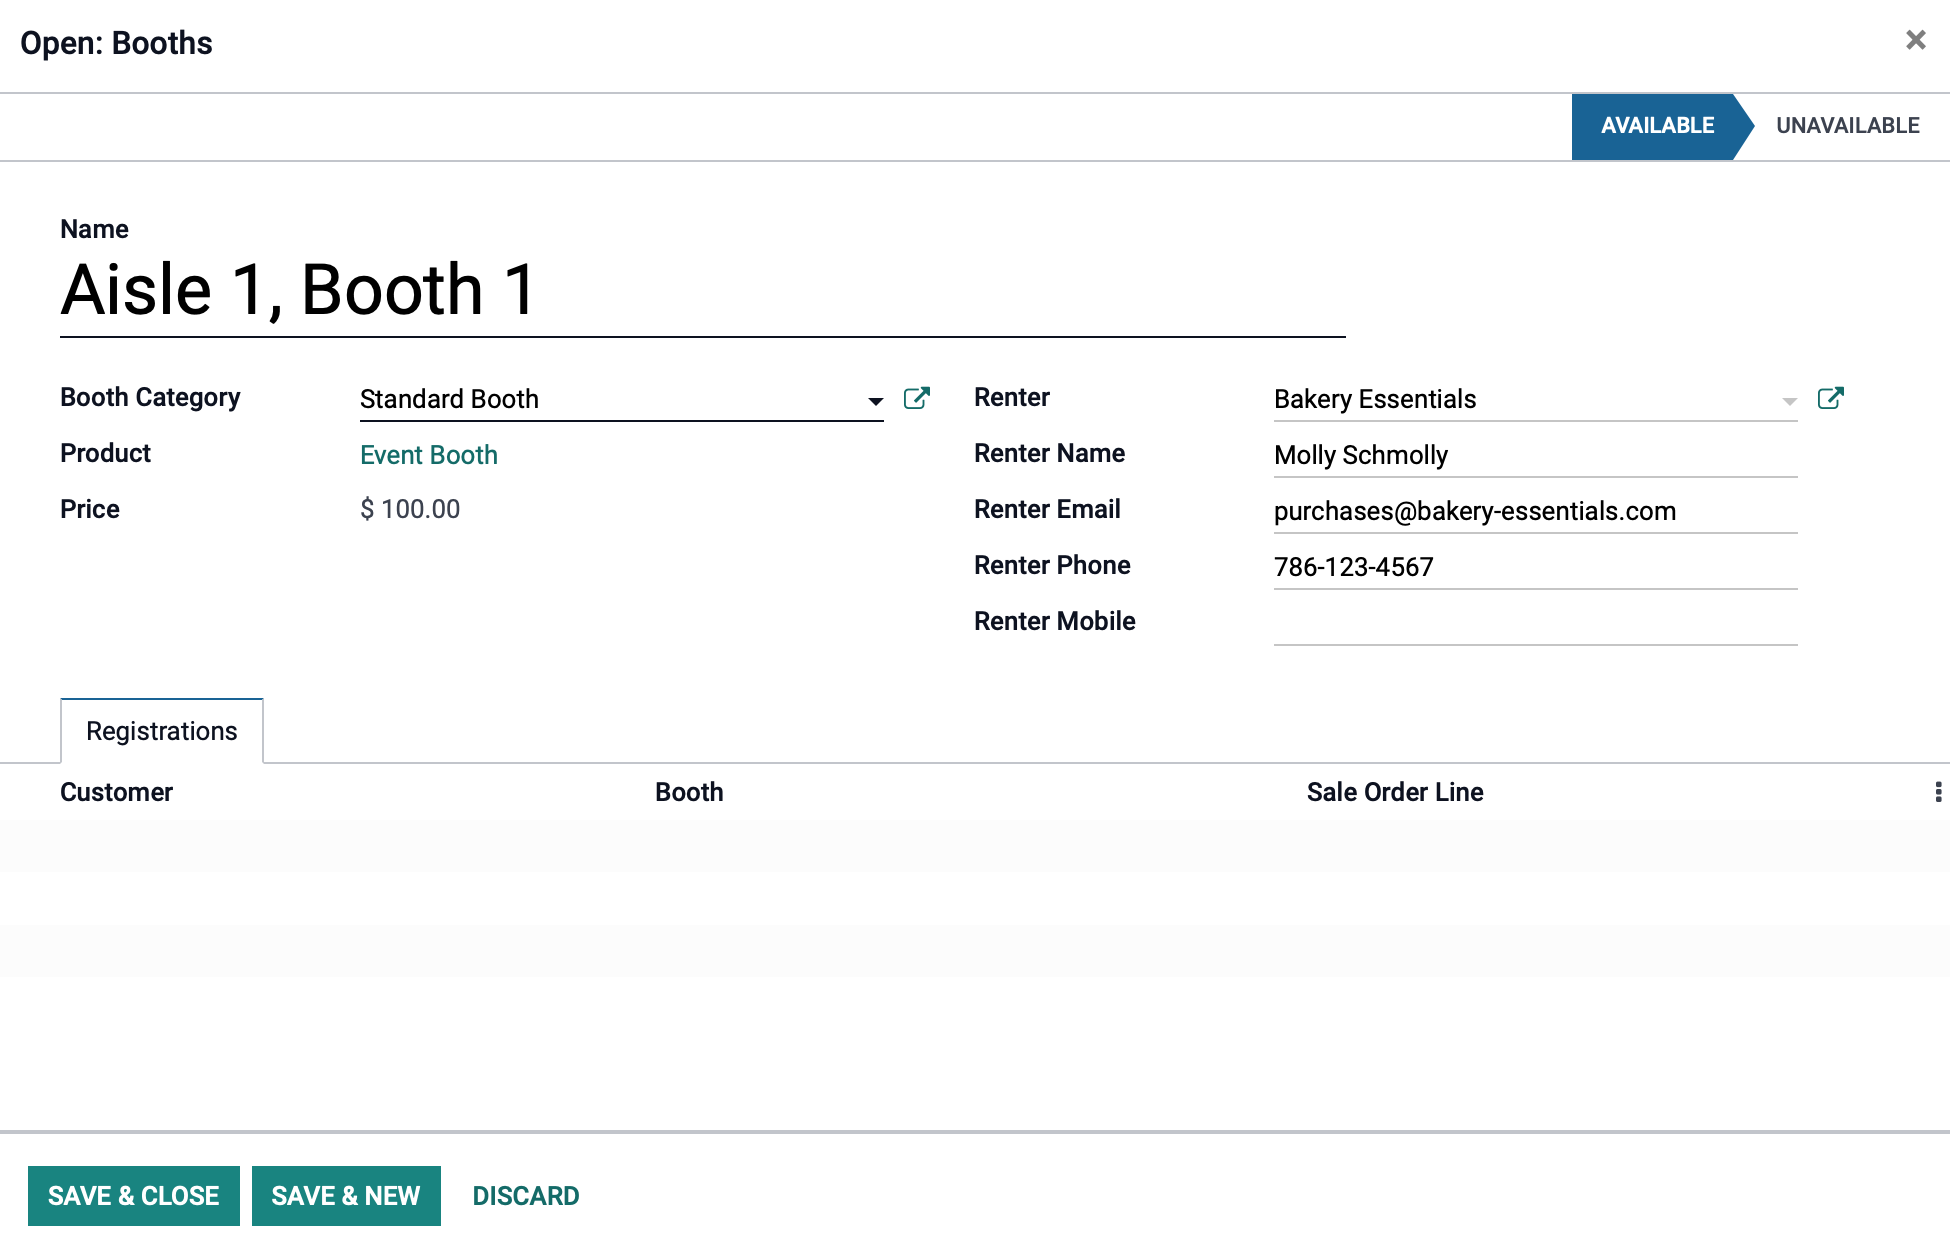
Under the Booths tab, you will enter in your exhibitors with information for your company to keep track of who is renting booths, where the booth is, and how to reach the exhibitor.
Name: Enter the number or position of the booth.
Booth Category: Category of booth for renting purposes.
Renter: The company or sponsor responsible for renting this booth.
Renter Name: The name of the company or, if available, representative from the responsible company. This field can be edited.
Renter Email: The responsible company's or representative's email.
Renter Phone: The responsible company's phone number.
Renter Mobile: The responsible representative's phone number.
Status: Shows the availability of the booth.

To add a vendor to your event, click the add a line button. This will open a modal window for you to enter in the information of the vendor.
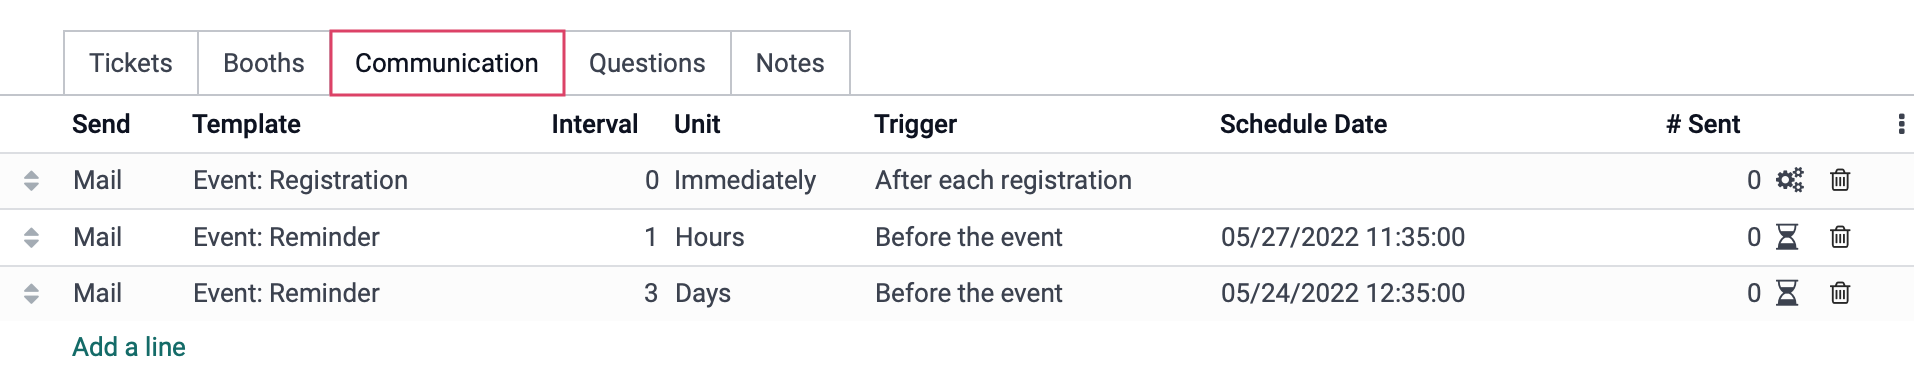
Under the Communication tab you can configure emails and/or SMS messages you'd like to send to registrants. To add a new communication, click Add a Line. This opens a new line with the following fields:
Send: Select the type of communication you're sending: Mail or SMS.
Email Template: If you selected Mail, select the Email Template to use.
SMS Template: If you selected SMS, select the SMS Template to use.
Interval: Select when this communication should be sent in relation to the trigger, along with the time Unit.
Trigger: Select the trigger that will launch the communication.
Schedule Date: This will auto-populate with calculated time in regards to when your event is scheduled. With the Interval and Unit chosen, this field cannot be edited.
# Sent: This will keep track of how many reminders have been sent out. The icon shows that this is a constantly running action that will take effect after it is triggered. The icon shows that an action is scheduled for a specific time and date.
Under the questions tab you can create questions to gather information from your registrants. To add a question, click ADD A LINE. This opens a modal window with the following fields:
On the topmost bold line, enter the question to ask.
Ask only once per order: If an order contains multiple registrations, such as a business purchasing tickets for their team, you may only need this question asked once. Enable this box in those scenarios. Otherwise, this question will be asked for each attendee in the order. This is helpful for topics the must be customized, like shirt size or dinner options.
Question Type
Selection: Select this to offer mulltiple choices. If you selected "Selection" as the Question Type, you'll then use the Answers tab to add each option by clicking Add a Line. This opens a new line when you'll simply type in the option and repeat for each additional value.

Text Input: Select this to allow the registrant to type in their own answers.
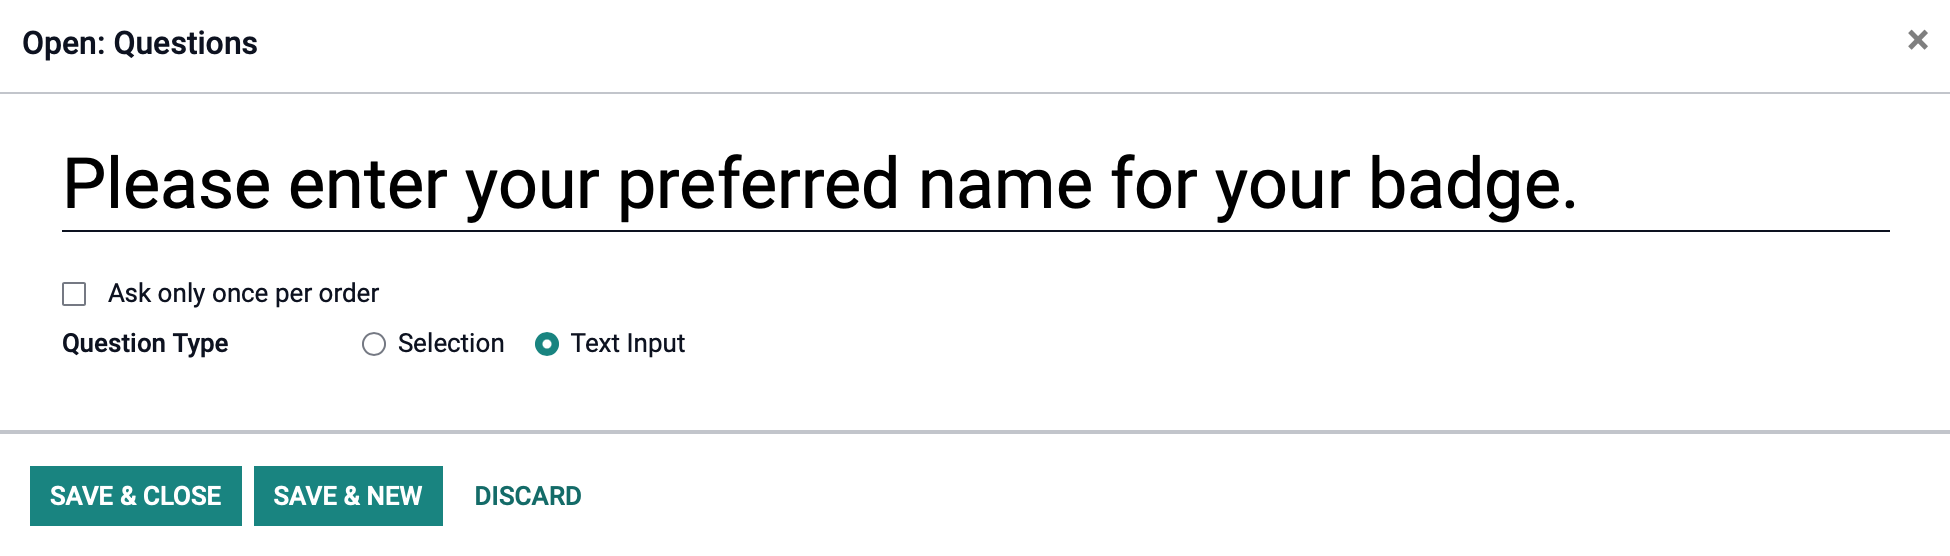
When you're done, click SAVE & CLOSE or SAVE & NEW to add another question.

Use the Notes tab to add any additional information for your internal team as well as instructions to be printed on the tickets.
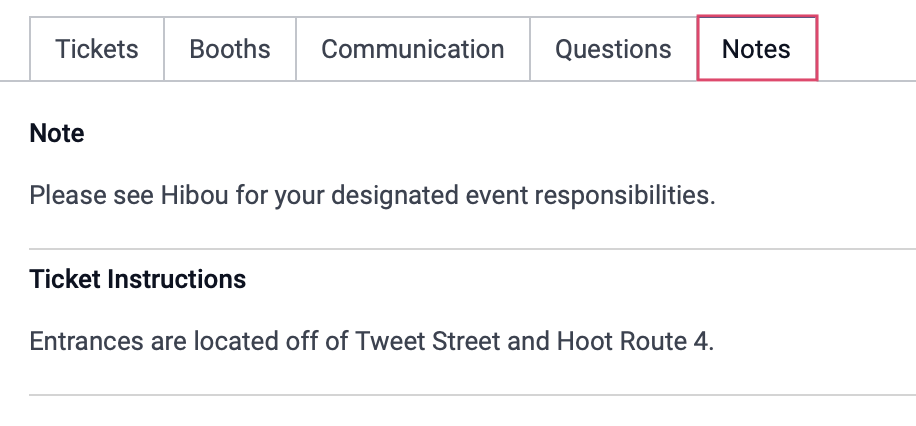
When you're ready, click Save.
Event Registration
Manual Registration
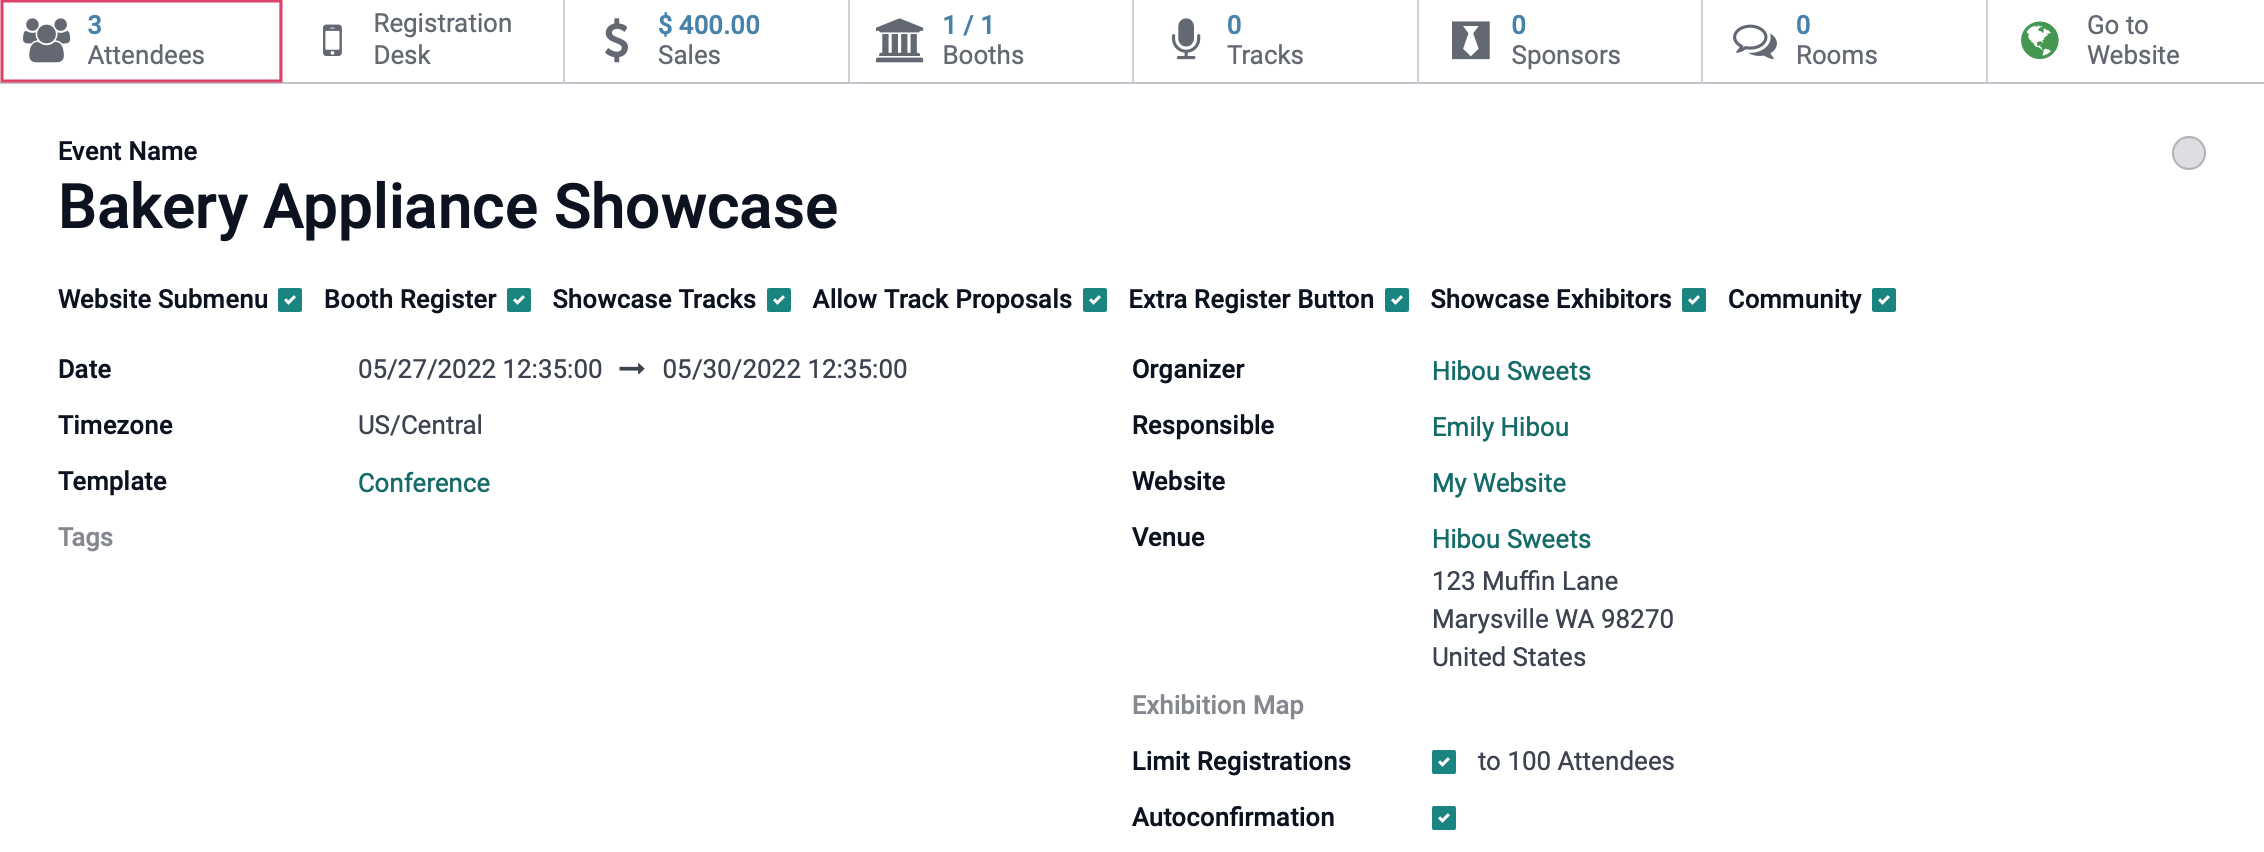
To manually register attendees, click the Attendees smart button.
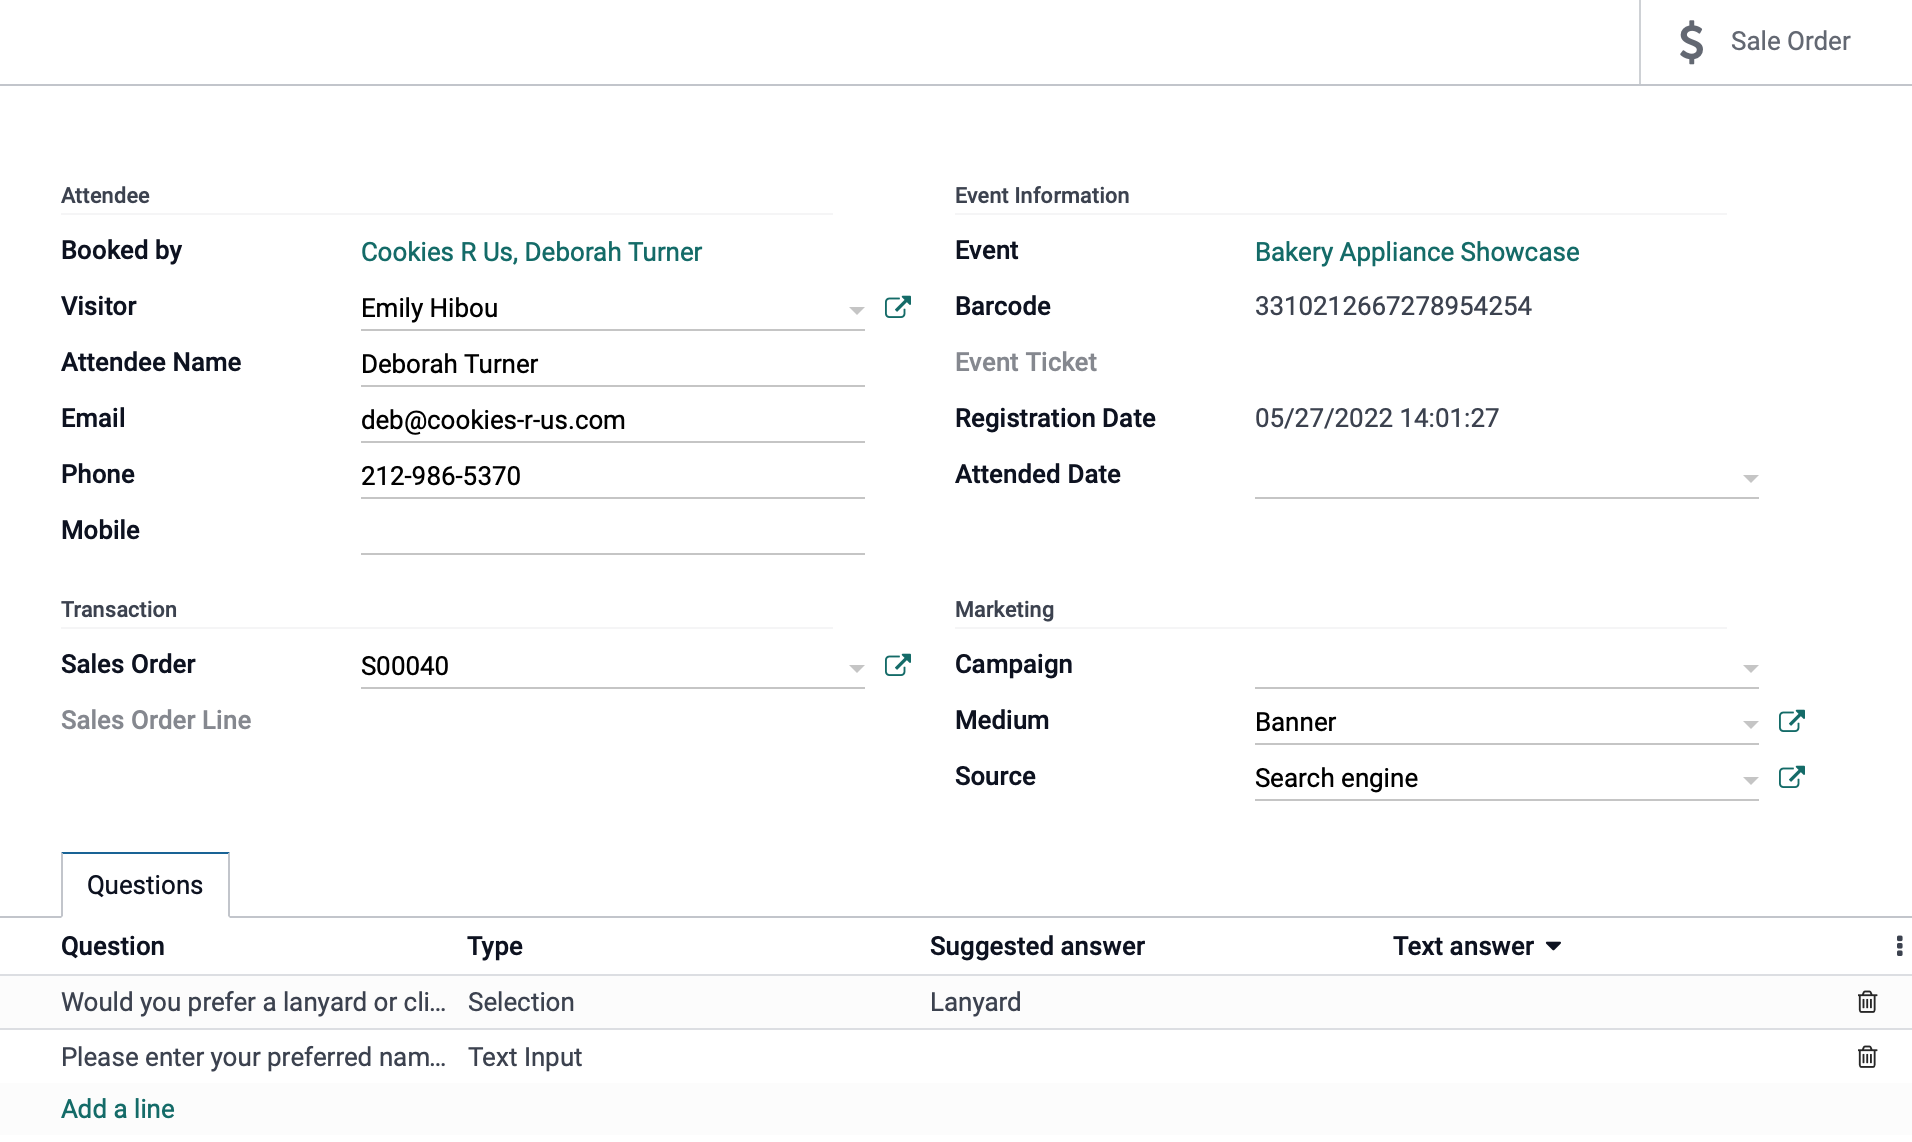
Once there, click Create. This opens the Attendees form where you'll enter the following details:
Attendee
Booked By: If applicable, select the contact who is requesting this registration.
Visitor: This will auto-populate with a user when registering from the website.
Attendee Name: Enter the name of the attendee. This will auto-complete with the details from the Booked By field.
Email: Enter an email address for the attendee.
Phone: Enter a phone number for the attendee.
Mobile: Enter a mobile phone number for the attendee.
Event Information
Event: Select the event this person will be attending.
Barcode: This will be automatically generated for this attendee's ticket.
Event Ticket: Select the ticket type for this attendee.
Registration Date: The date the attendee registered for the event.
Attended Date: The date the attendee attended.
Transaction: Select the sales order for this registration.
Marketing
Campaign: Select the marketing campaign that made the attendee aware of the event.
Medium: What ad medium notified the attendee about the event.
Source: Where did the attendee see the ad.
Under the Questions tab, click Add a Line to answer each question asked for this event.
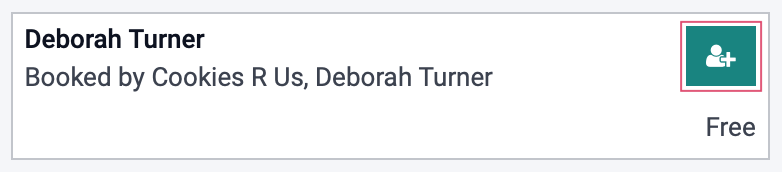
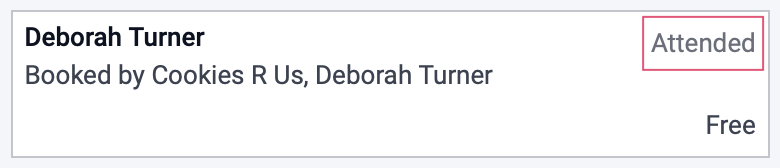
When you're ready, click Confirm. Once confirmed, you can click Send By Email to deliver a name badge to the recipient along with any other details you'd like to include.
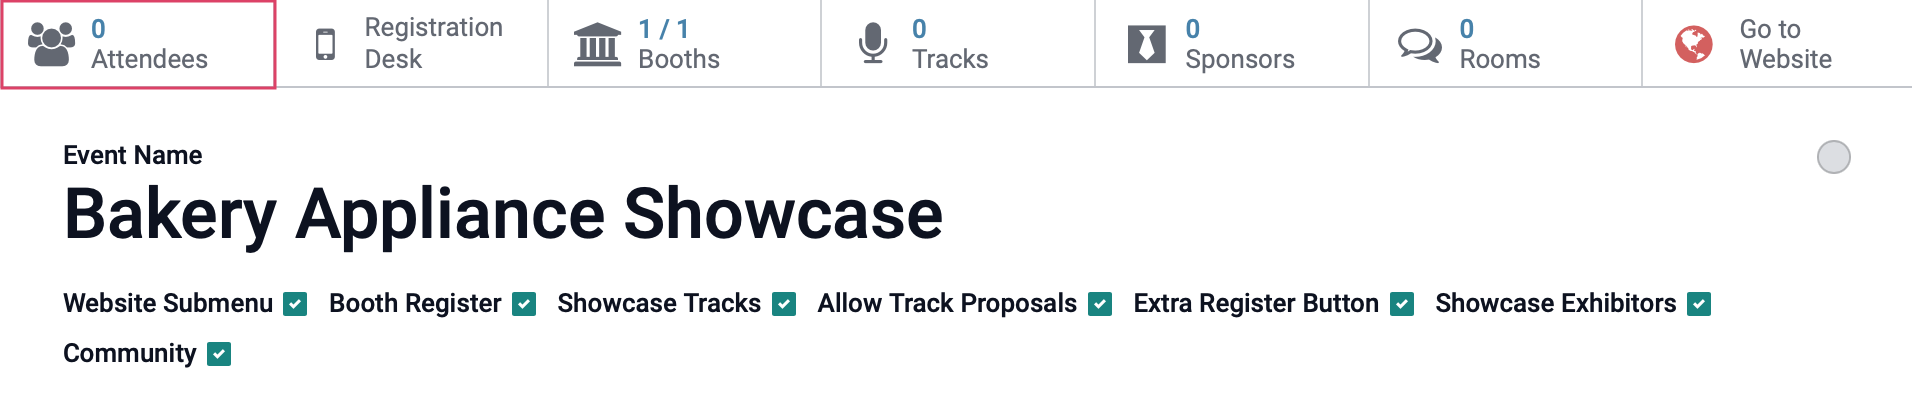
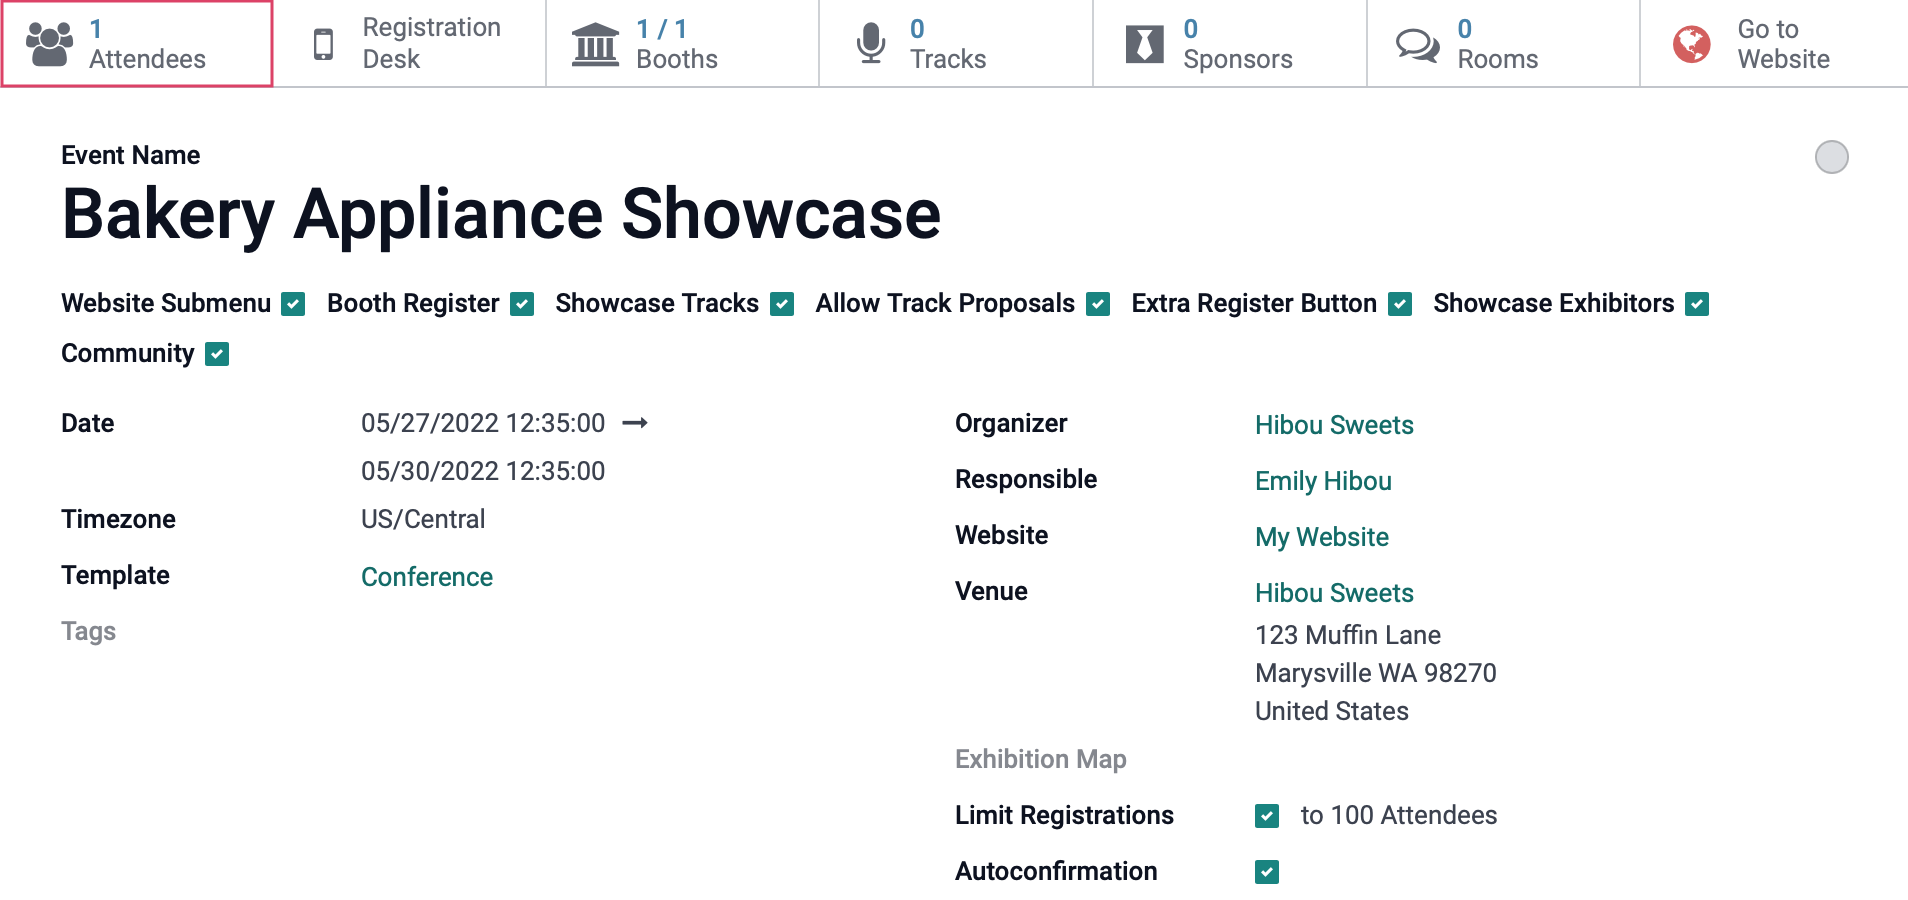
Back on the event record, you'll see there's now 1 Attendee.
Publish the Event
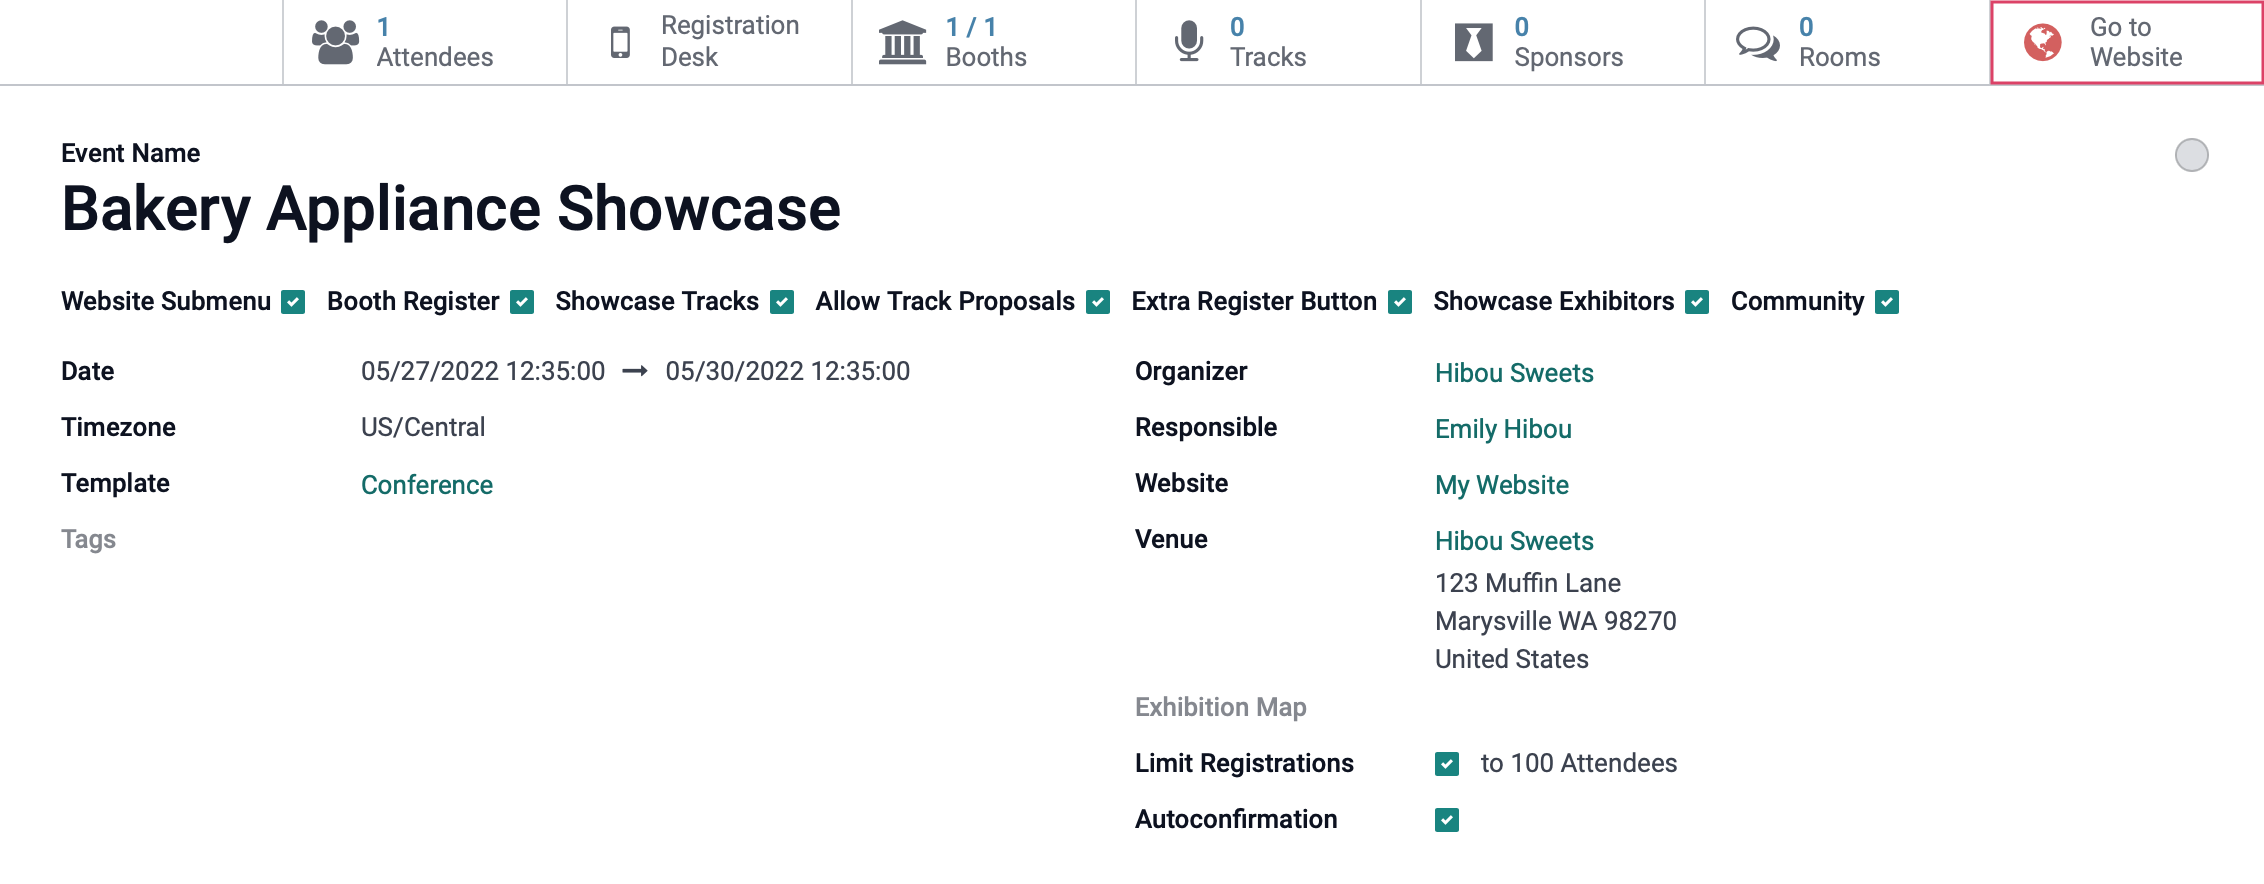
To publish this event and allow registrations, click the Go to Website smart button on the event.
Once there, toggle the Un/Published icon to green.

You can now access event registrations through the website.
Website Registration
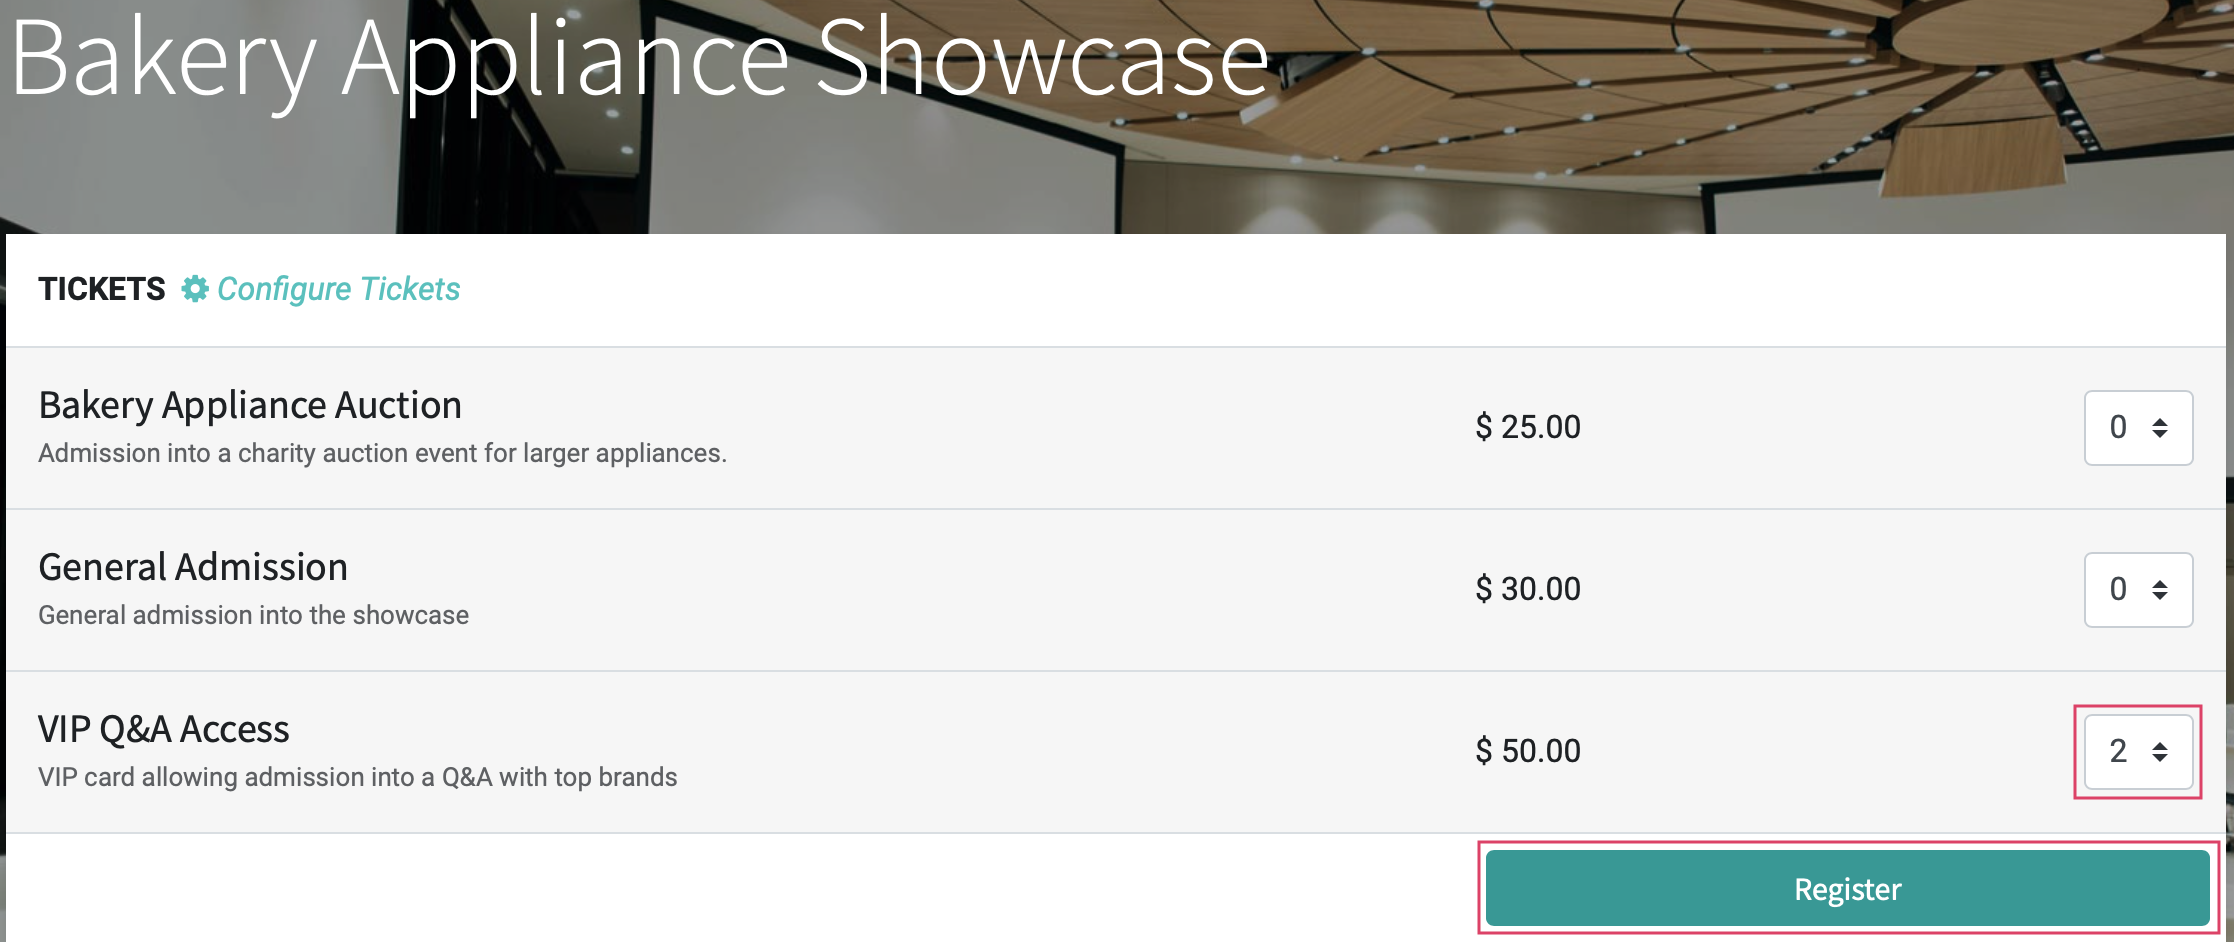
Next, click the Register link or Register button on the web page. Depending on your configuration, one or both options may be displayed.

From here, the registrant can select the number of tickets to purchase for each ticket type, then click Register.
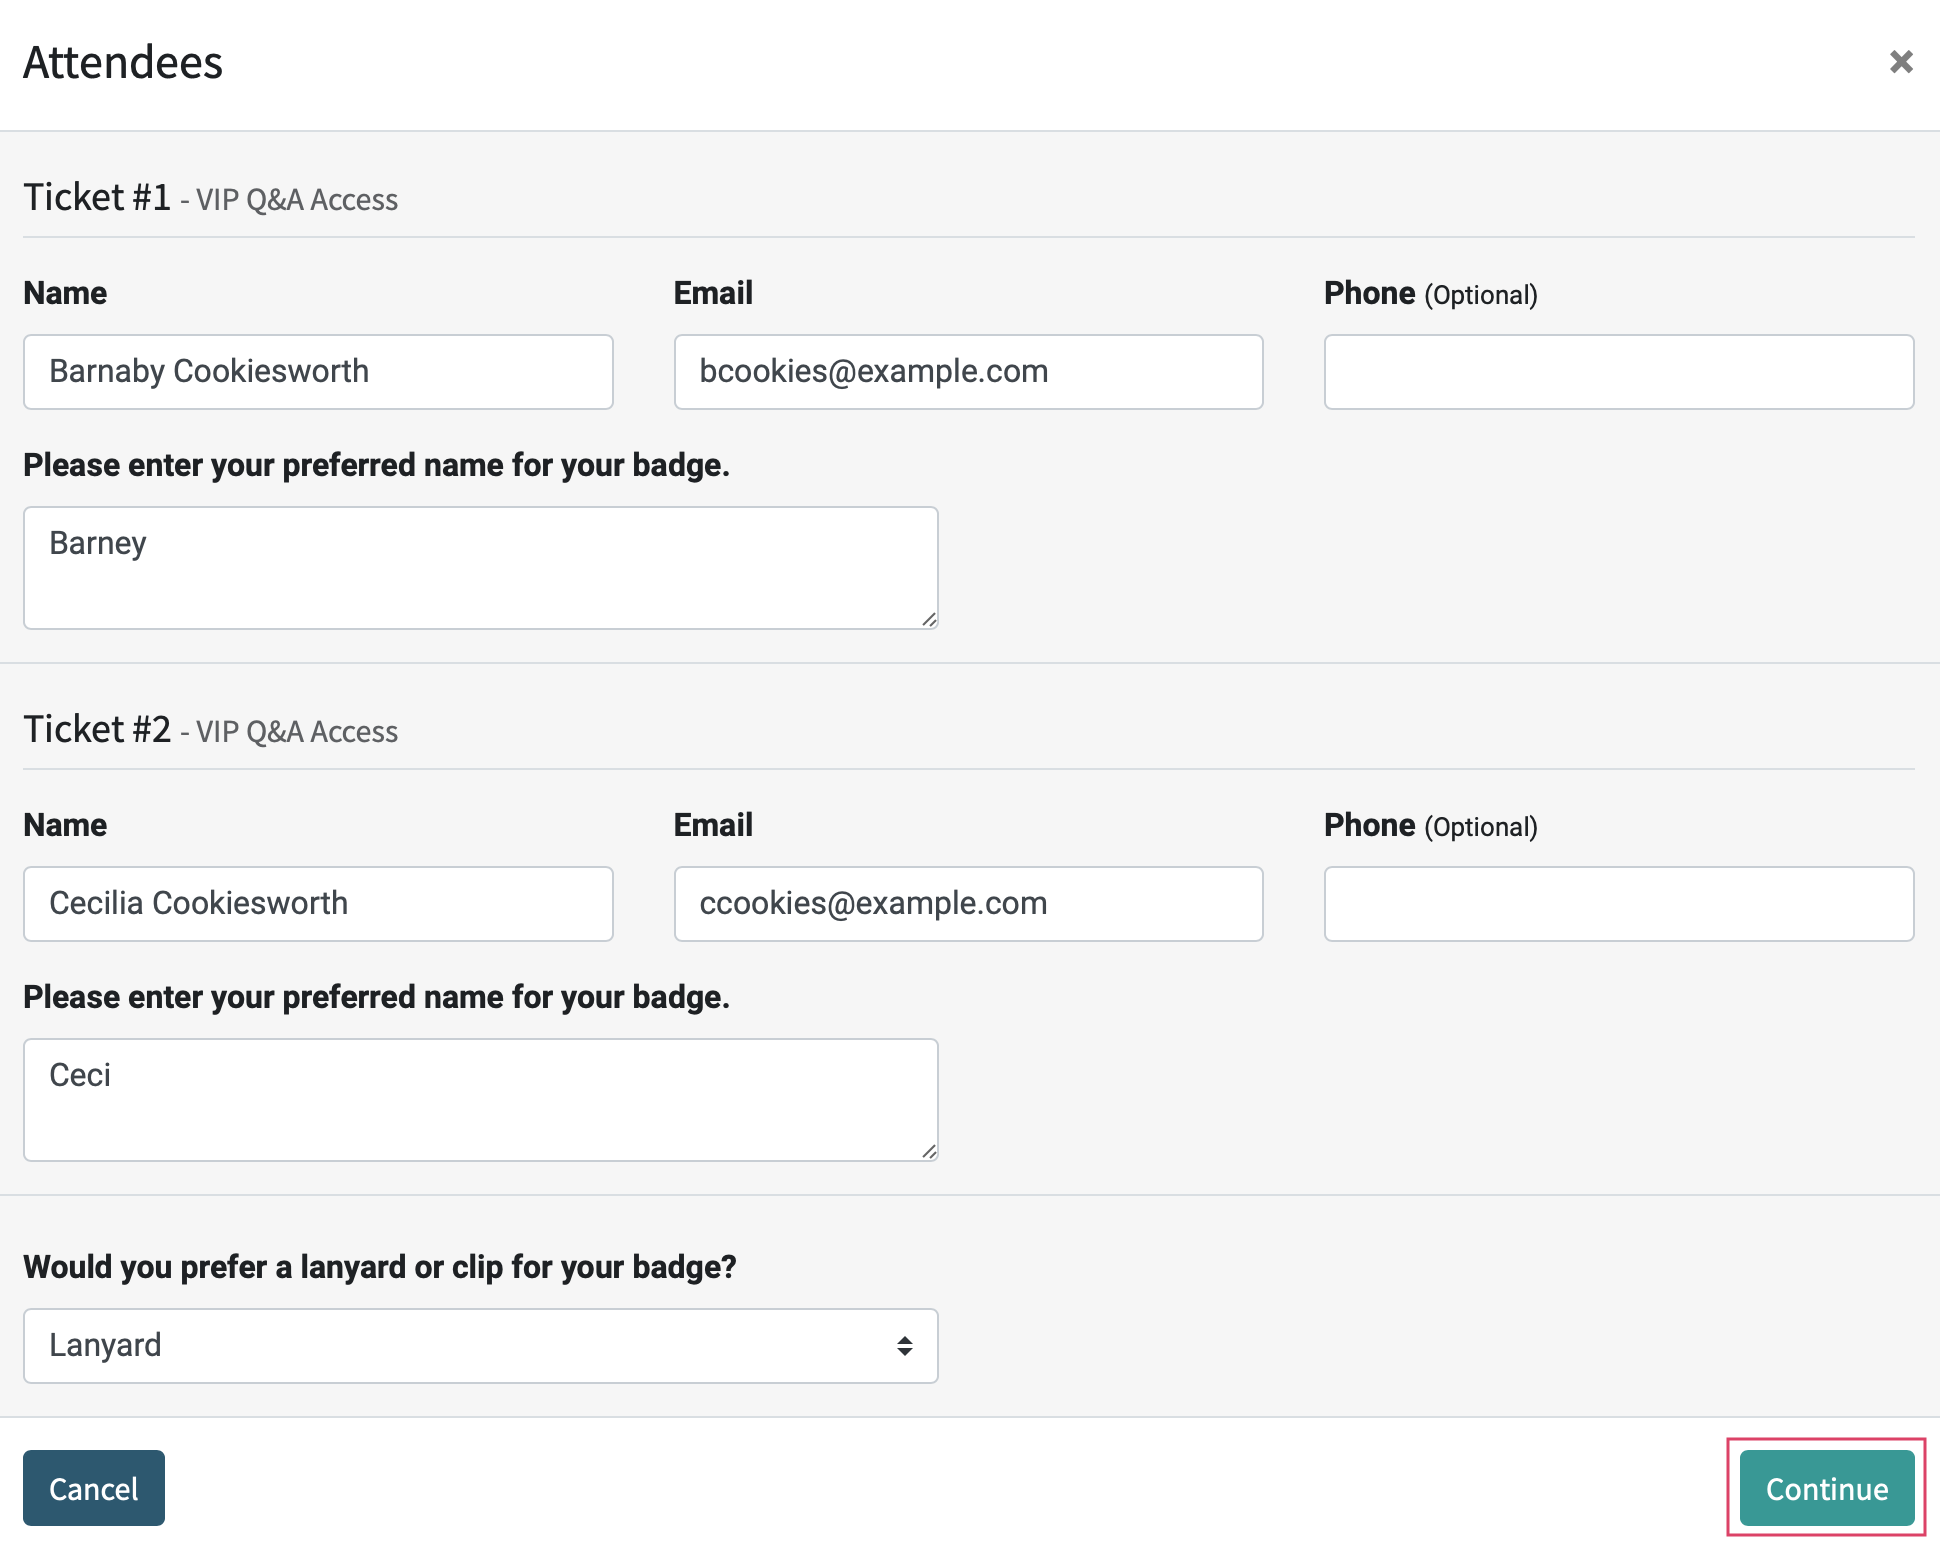
This brings up a form where they'll enter details for each attendee and answer the requested questions. When all details have been entered, the click Continue.
From this confirmation page, the attendee can see all of the details of the registration. They can also add the event to their iCal, Outlook, or Google Calendar by using the buttons at the bottom of the confirmation.
Important!
Invoice Your Attendees
If you don't have Online Ticketing installed, like this workflow, you'll need to manually create a Sale Order and invoice your attendees for the ticket costs.

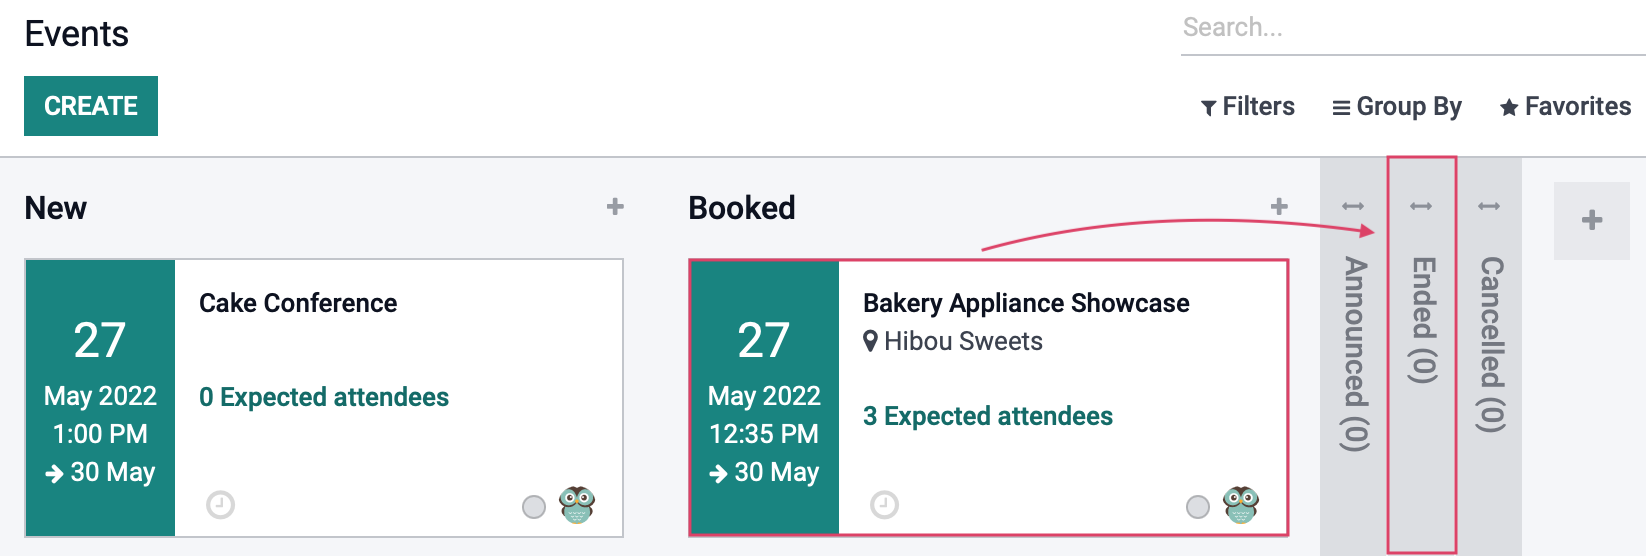
Ending the Event
When the event is complete, you can move it to the Ended column. If there are any Lead Generation rules configured for an ended event, those will process at that time.