Events: Events Configuration: Events Debug Menus
#Purpose
This document covers the different menu items you'll see in Debug mode of the Events application in Odoo 14.
Debug Mode
Be sure to enable Debug Mode for the steps in this document.
Process
To get started, navigate to the Events app.
Here we'll go over the menu items that only display in debug mode, and what their purpose is.
Tracks
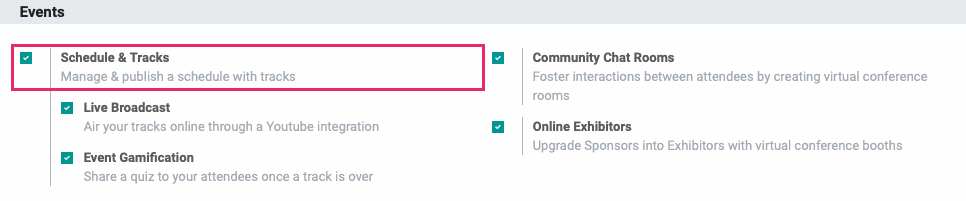
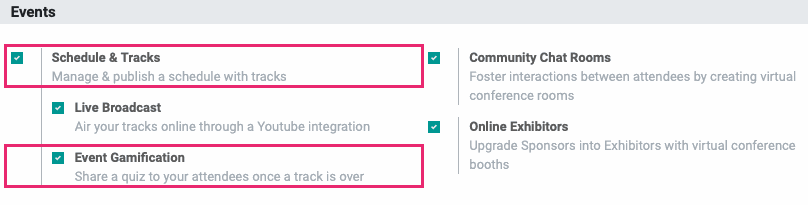
The Tracks menu displays after enabling Scheduled & Tracks in settings. Tracks are individual events within a parent event. Learn more in the Tracks: Live Broadcast and Tracks: Event Gamification documentation.
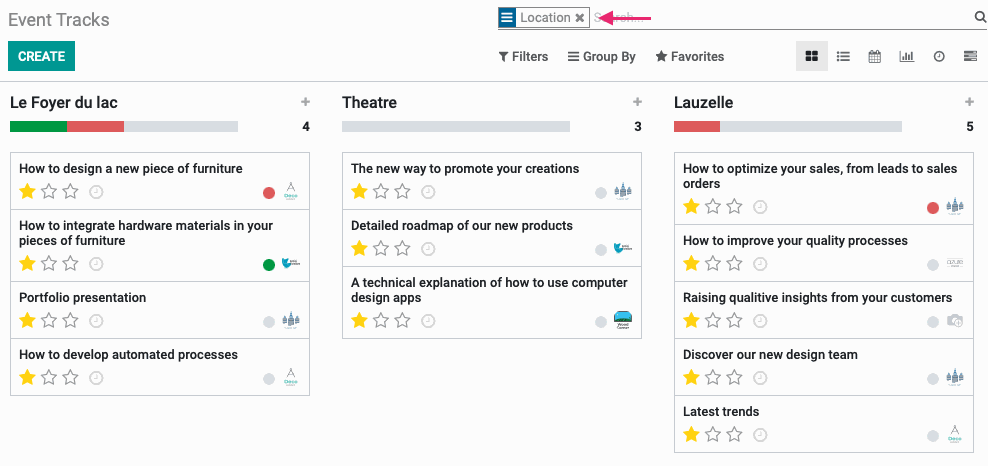
By default, this view organizes all tracks in their respective Location columns.
Configuration
The configuration menu is the most impacted by entering debug mode with the following items being added.
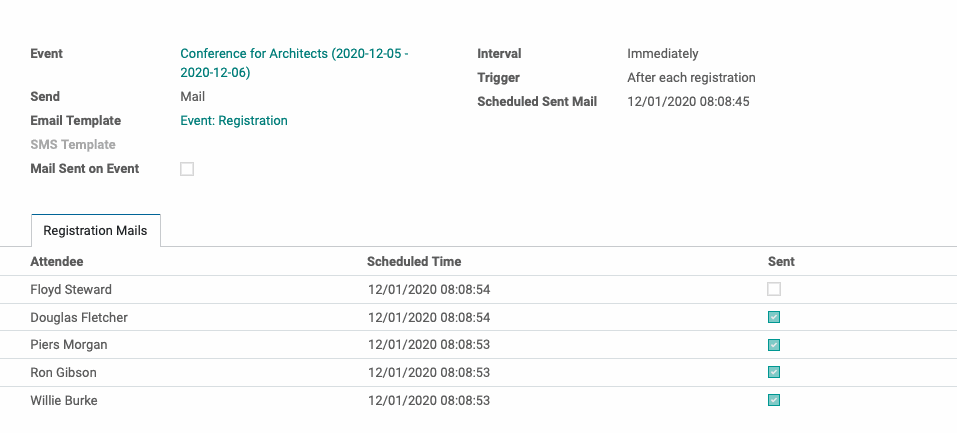
Mail Schedulers
From this view you can see all correpondence sent, or scheduled, for all events. This page will tell you how it was sent (Mail or SMS), if a template was used, and when it was scheduled.
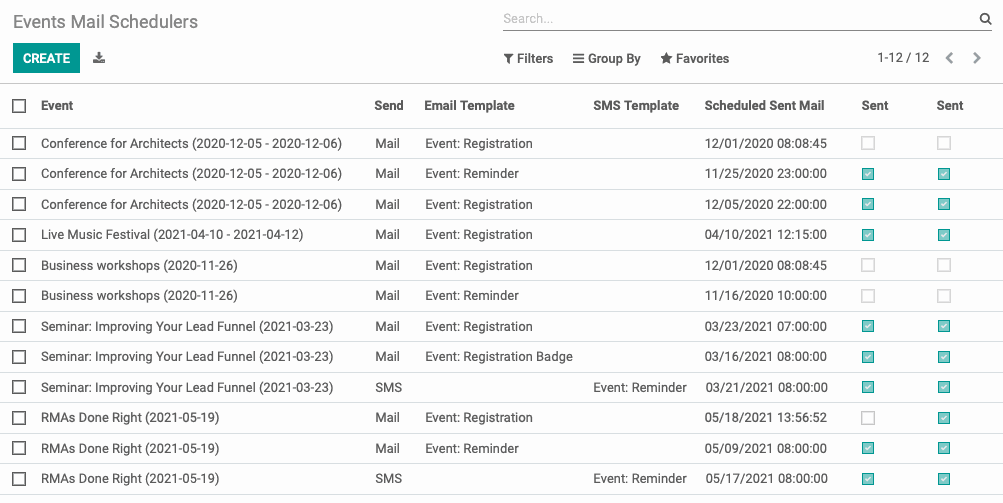
By clicking into a mailing, you can see further details, including when the email is to be sent (Interval), what the Trigger is, and names of Attendees and whether or not it was sent to each one.
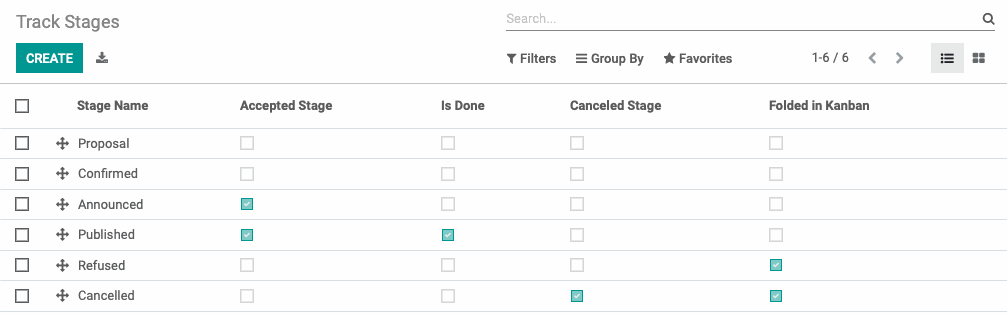
Track Stages
When you open the Tracks smart button from within an event, you'll see they're displayed in kanban view and organized by stage. This view is where you can manage those stages. At a glance, you can tell what type each stage is:
Accepted: These tracks are displayed in agenda views but not accessible.
Is Done: The planning of these tracks is complete.
Canceled Stage: These tracks have been canceled.
Folded in Kanban: These tracks are folden in kanban view, by default.
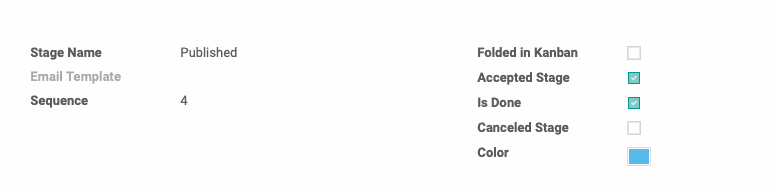
Clickinging into a stage will offer more detail, such as:
Email Template: If there is an email template associated with this template, it will display here.
Sequence: This is the visual order of the column in kanban view. If a column is manually moved from kanban view, this number will update accordingly.
Color: This allows yo uto assign a color to this stage that will display inj kanban view.
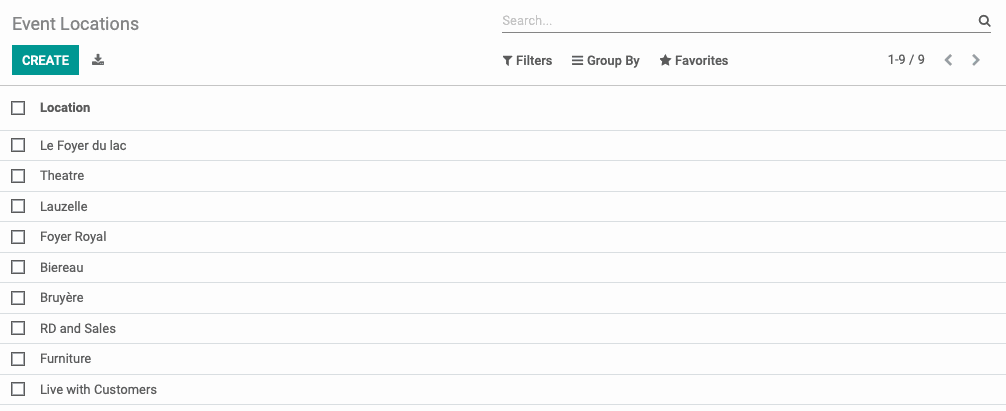
Track Locations
When creating a track, you have the option to add a location. This could be a physical or virtual location, and this page is where that data is managed. The name of the location is the only data.
Track Tag Categories + Track Tags
Event tracks can be organized by tags, and these tags often fall into categories. For example, to indicate the format of an event, you can add a Tag Category of "Format" and then tags within that category for format.

To add a new category, go to CONFIGURATION > EVENT TAGS CATEGORIES and click CREATE.
Title: Enter a track tag category title.
Tags: Click ADD A LINE under the Tag Name column to add your first tag. This will open a field where you'll enter that name and also select a color to associate with it.

Continue adding additional tags, as needed. When you're ready, click SAVE. You can now apply these tags to tracks. These tags can be managed in the Track Tags menu.
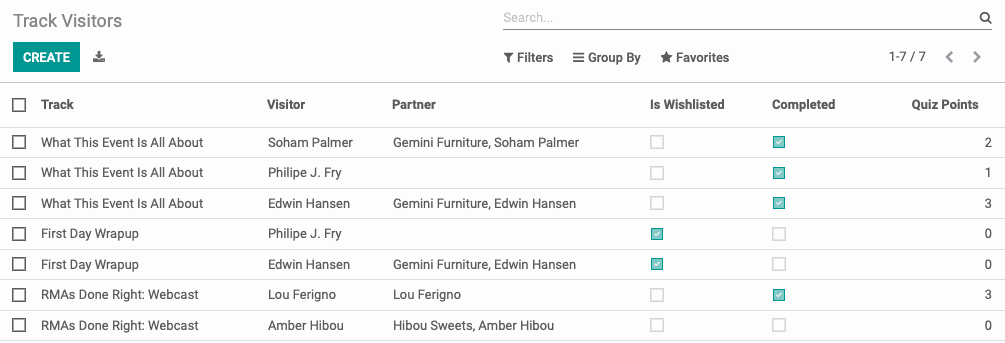
Track Visitors
This view shows you the names of people who have registered for an event, and whether or not they're associated with a partner. Additionally, you can see if they've added the event to the Wishlist, if they've Completed the event, and how many Quiz Points they earned. All of these details can be viewed or modified by clicking into the record.
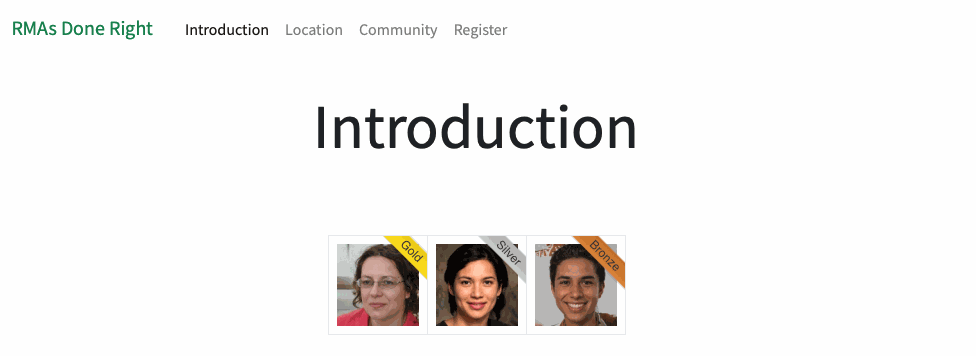
Sponsor Types
Event sponsors can be organized into classes, called Sponsor Type. This view is where you can add and manage those entries. The available columns are Sponsor Type, which is the typed name of the type, and Ribbon Style.
The Ribbon Style can be gold, silver, or bronze and will display as a ribbon on the website where Sponsors are displayed.
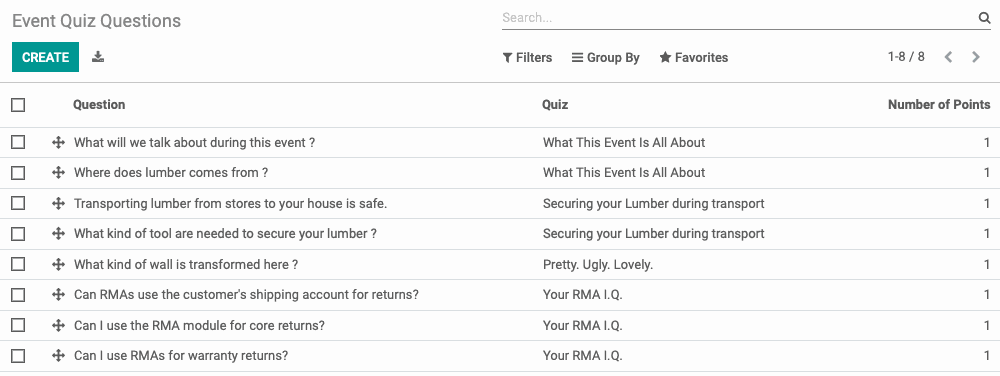
Quizzes + Quiz Questions
When Schedule & Tracks and Event Gamification are enabled, event quizzes become enabled.
The Event Quizzes view shows all existing quizzes, and which Event and Event Track they're associated with.
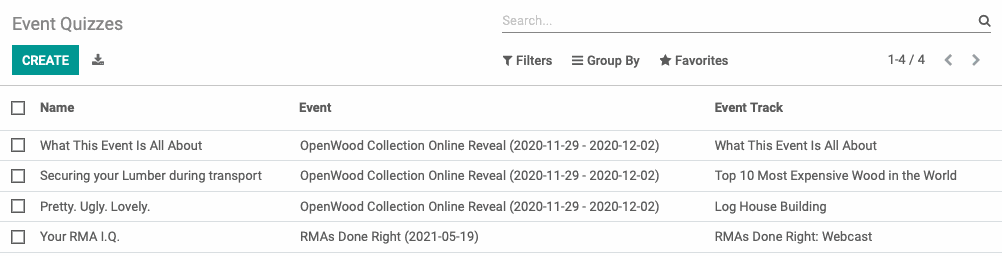
You can create quizzes directly on tracks, but you can also manage them from this page. To manage individual questions, go to Configuration > Quiz Questions. Here you'll see each question, which Quiz it's associated with, as well as the Number of Points that has been assigned.
To walkthrough the process of adding quizzes to tracks, see the Tracks: Event Gamification documentation.
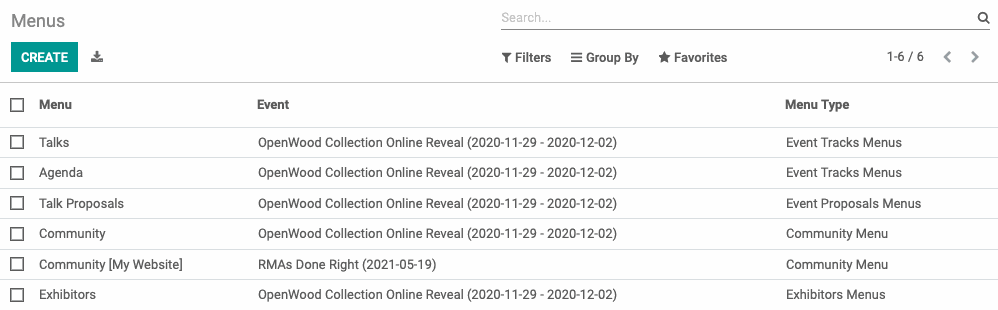
Website Menus
On each event, you can enable different menu items to display on the front-end.
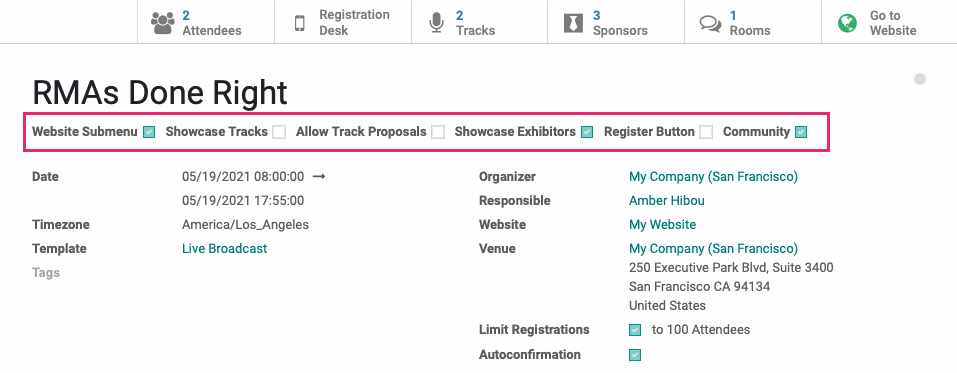
When these are enabled, the individual records are managed here.