Events: Events Configuration: Event Templates
Purpose
This document covers how to create and use an Event Template in the Odoo 15 Events application. Event Templates allow you to create a configuration for events that can apply to future events. This is a great time-saver if you host several events with a similar scope.
Process
To get started, navigate to the Events app.

Once there, go to Configuration > Event Templates. Here you'll see a list of pre-configured templates.
Create an Event Template
Click Create to add your own. This can later be used to autofill new events. A real time saver!
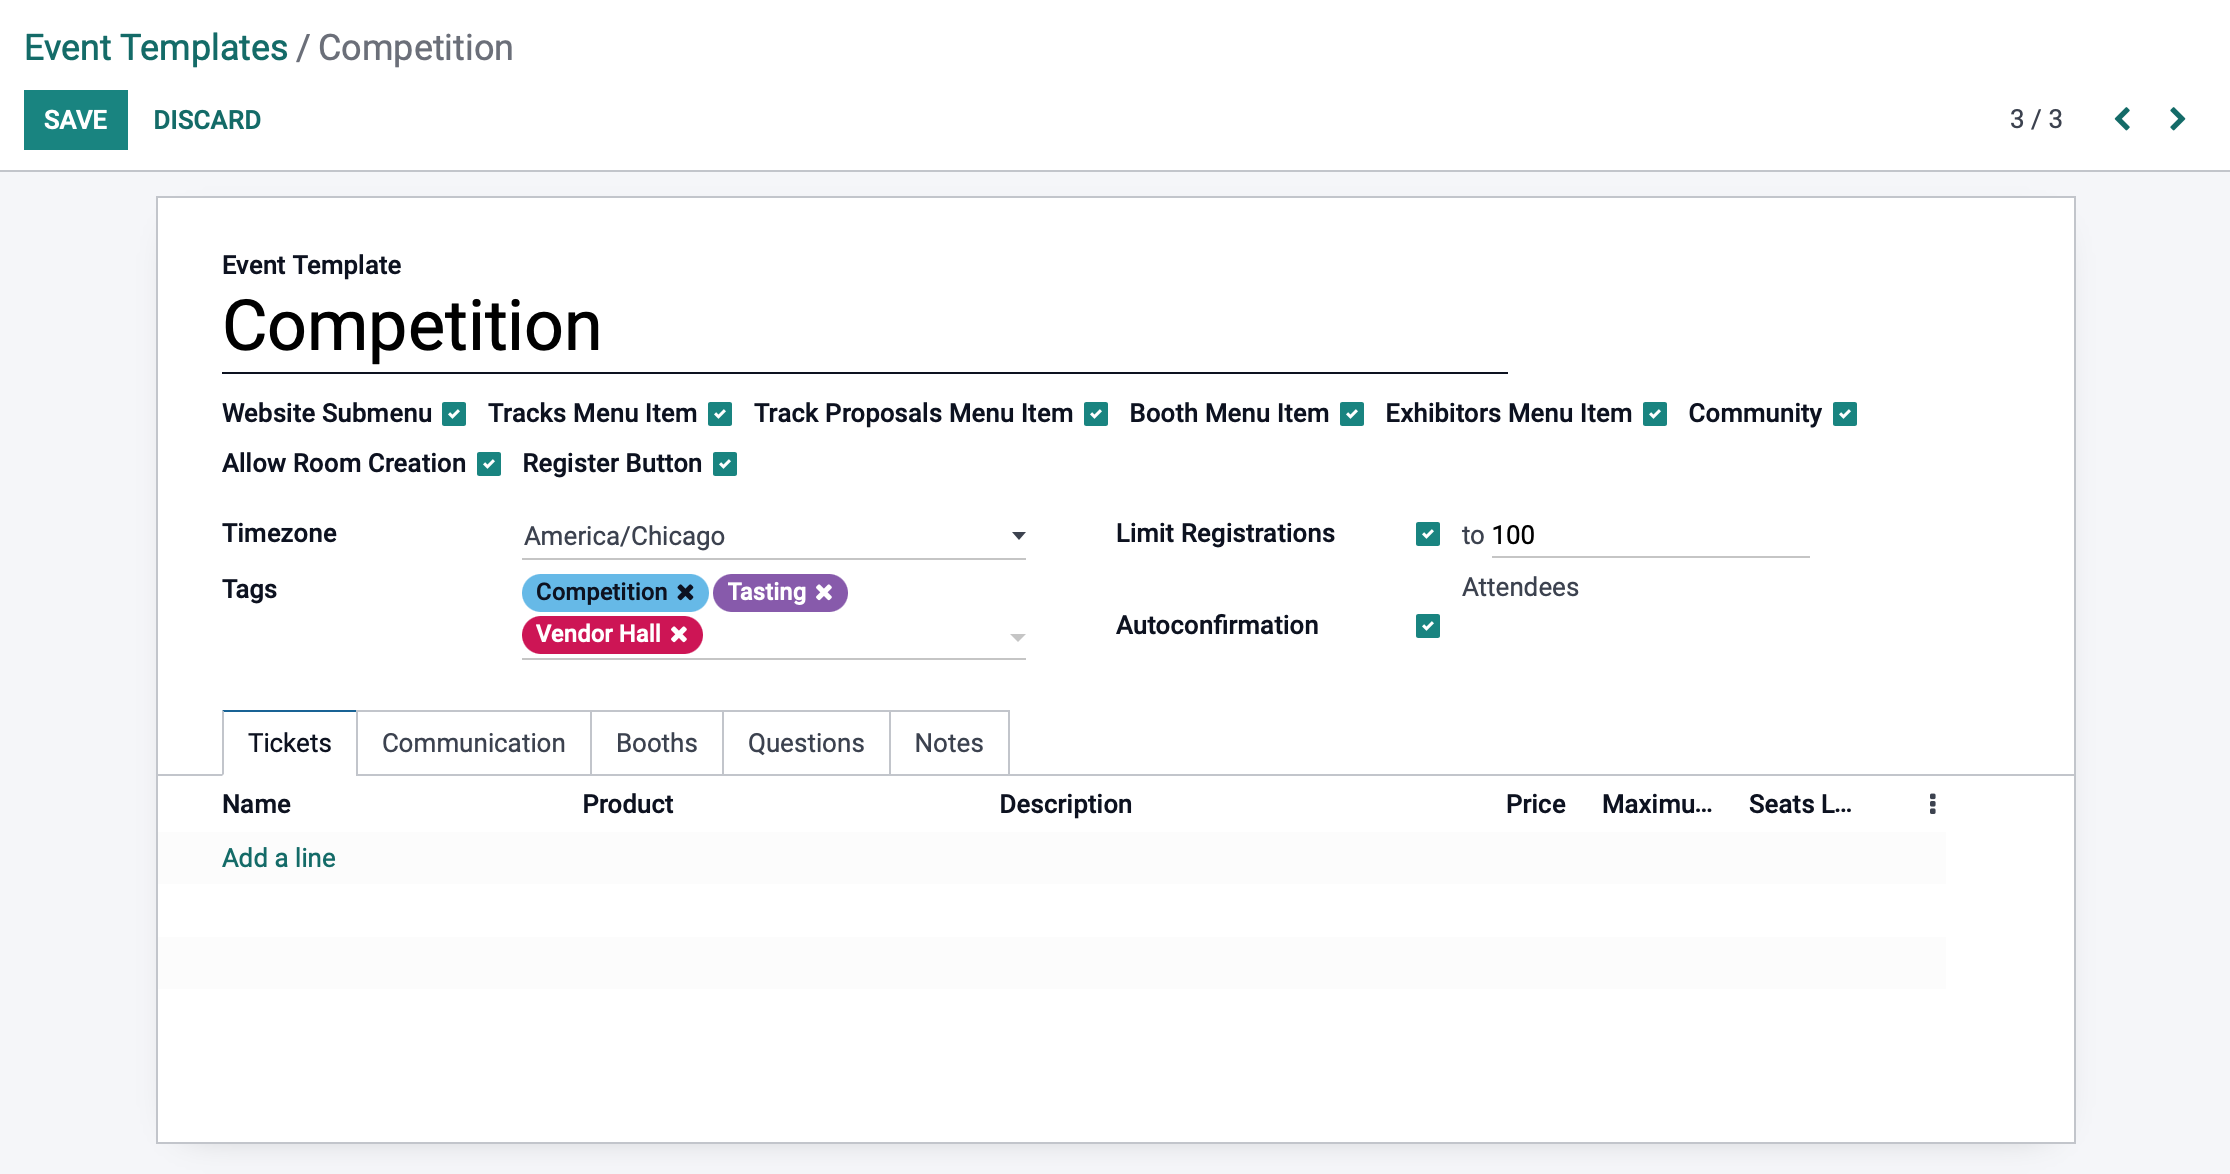
This opens the Event Templates form with the following fields:
Event Template: Enter a name for your template.
Website Submenu: Display a dedicated menu on a website. Note: Enabling this will auto-enable all of the other options.
Tracks Menu Item: Event Tracks display on the menu.
Track Proposals Menu Item: Tracks proposals on the website.
Booth Menu Item: Booths are displayed on the website.
Exhibitors Menu Item: Exhibitors are displayed on the website.
Community: Display a community tab on the website menu. Note: Enabling this will give you a the Allow Room Creation option.
Allow Room Creation: Let visitors create chatrooms.
Timezone: Select the appropriate timezone for this template.
Tags: Assign any relate tags for events created using this template.
Limit Registrations: Select this if you only have a limited number of seats or have capacity limitations.
Autoconfirmation: Events and registrations will automatically be confirmed upon creation, easing the flow for simple events.
Tickets
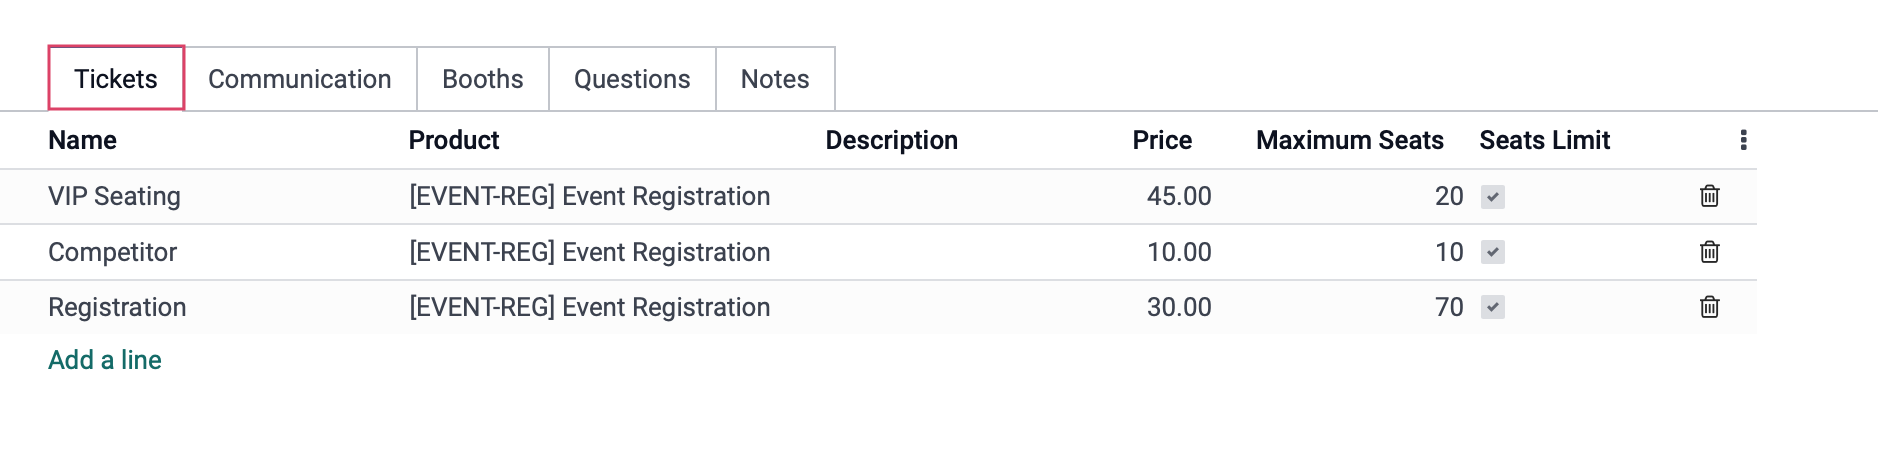
Click onAdd a Line and fill in the following fields:
Name: Name this type of ticket.
Product: This is the product code associated with this ticket.
Description: A description of the ticket you want to communicate to your customers.
Price: Select the price of this ticket.
Maximum Seats: Set the number of available seats. Leave as 0 to have an unlimited number. Note: Once you reach the defined limit, you will not be able to sell tickets anymore.
Seats Limit: This will auto-check if you have listed a limit for this ticket.
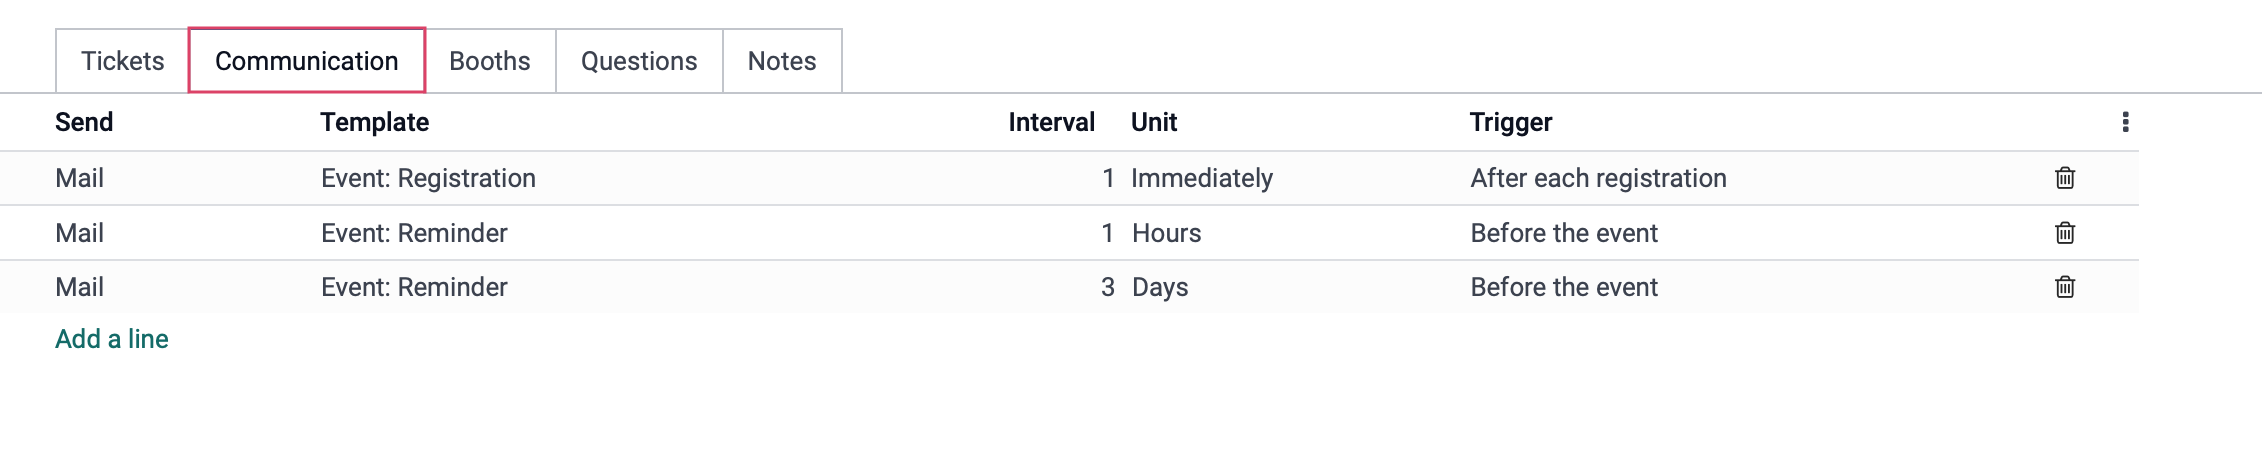
Communication
Under the COMMUNICATION tab, you will be able to customize how notifications will be sent to attendees. Click on Add a Line and fill in the following fields:
Send: Select how this notification will be sent to the attendee.
Template: If Mail or SMS is chosen, select/customize the template to be sent.
Interval: Choose how many times Units must pass between the Trigger and when this notification is sent.
Trigger: Select the action that will send this notification.
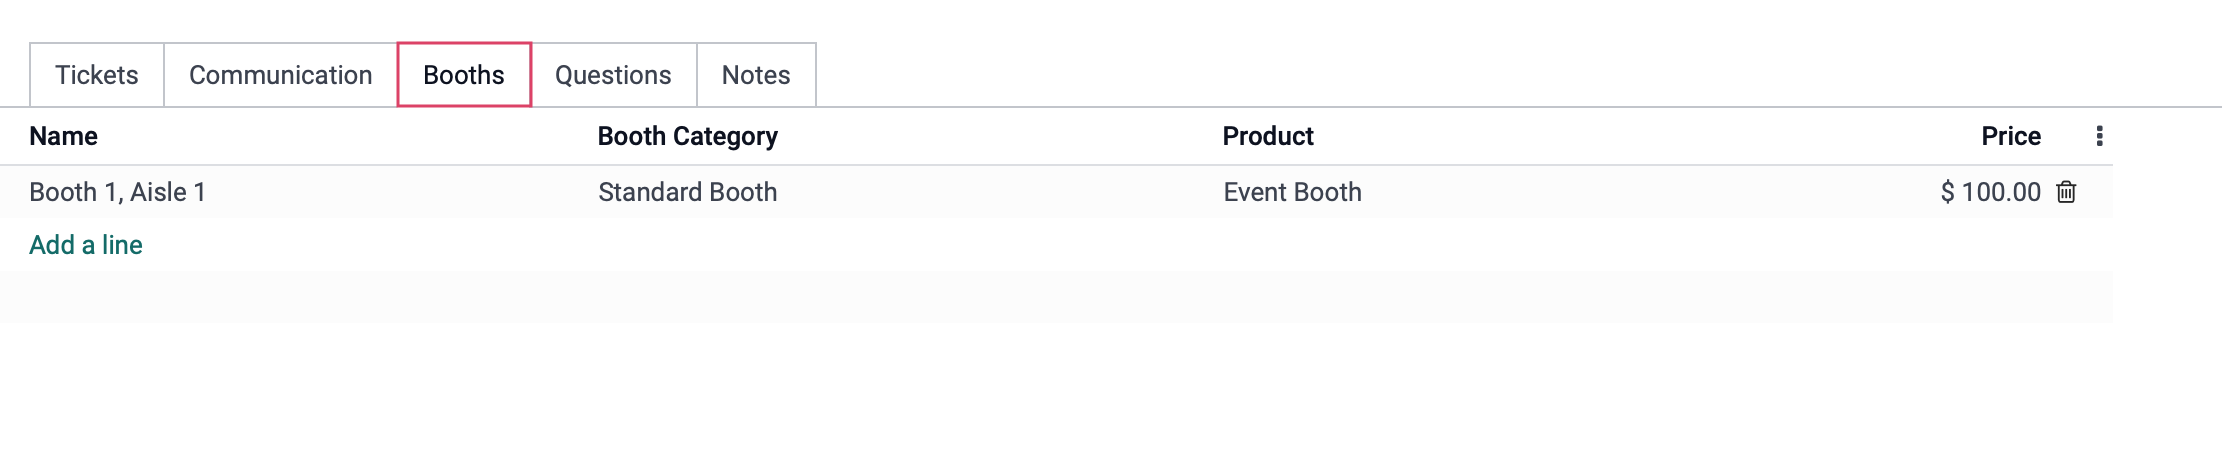
Booths
Under the Booths tab, you can keep track of the exhibitors attending your event. Click on Add a Line and fill in the following fields:
Name: Select the name, number or location of this booth.
Booth Category: Select the category of booth.
Product: Select the product name associated with this booth.
Price: Select the price vendors and exhibitors will pay to rent this booth.
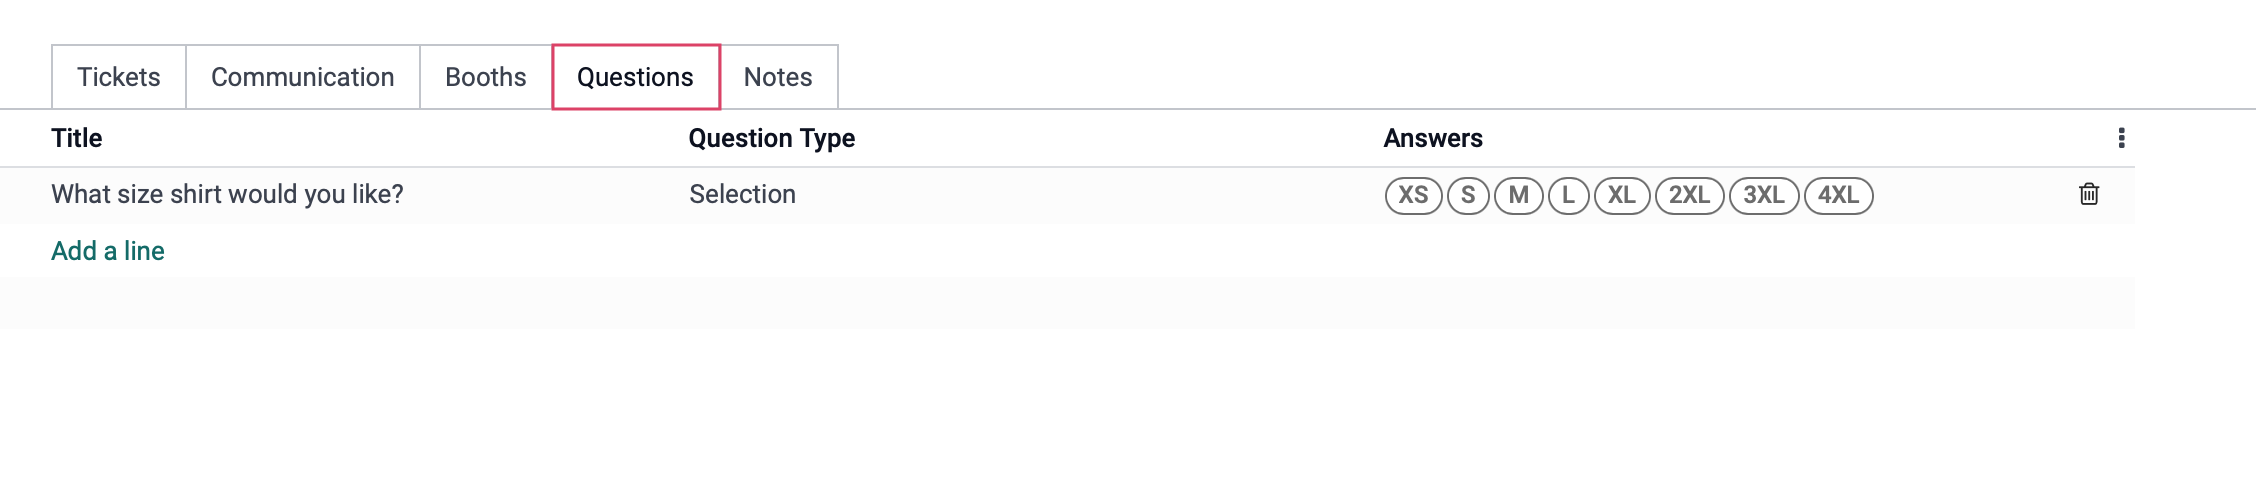
Questions
Under the questions tab, when an attendee registers for this event, you may configure questions to be sent to them asking for further information. Click on Add a Line and fill in the following fields:
Title: Create a question you would like your attendees to answer when registering.
Type: Select how this question may be answered, by selection or text.
Answers: Select or enter the suggested answers for this question.
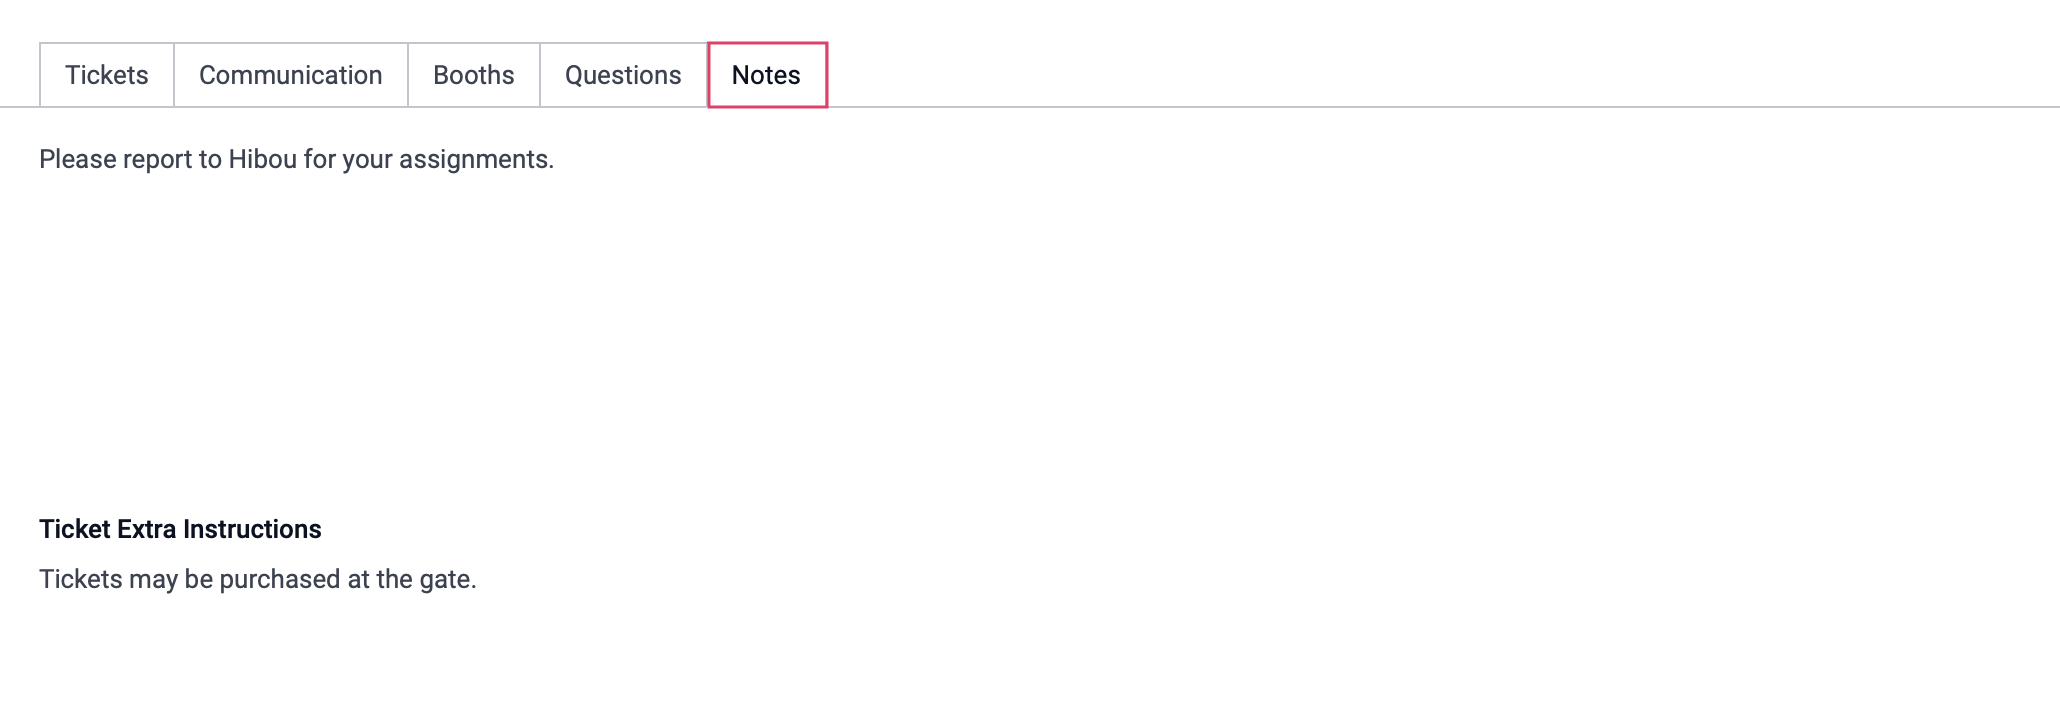
Notes
Under the notes tab, you may enter any additional notes for your internal users as well as enter additional information to be print on attendees tickets.
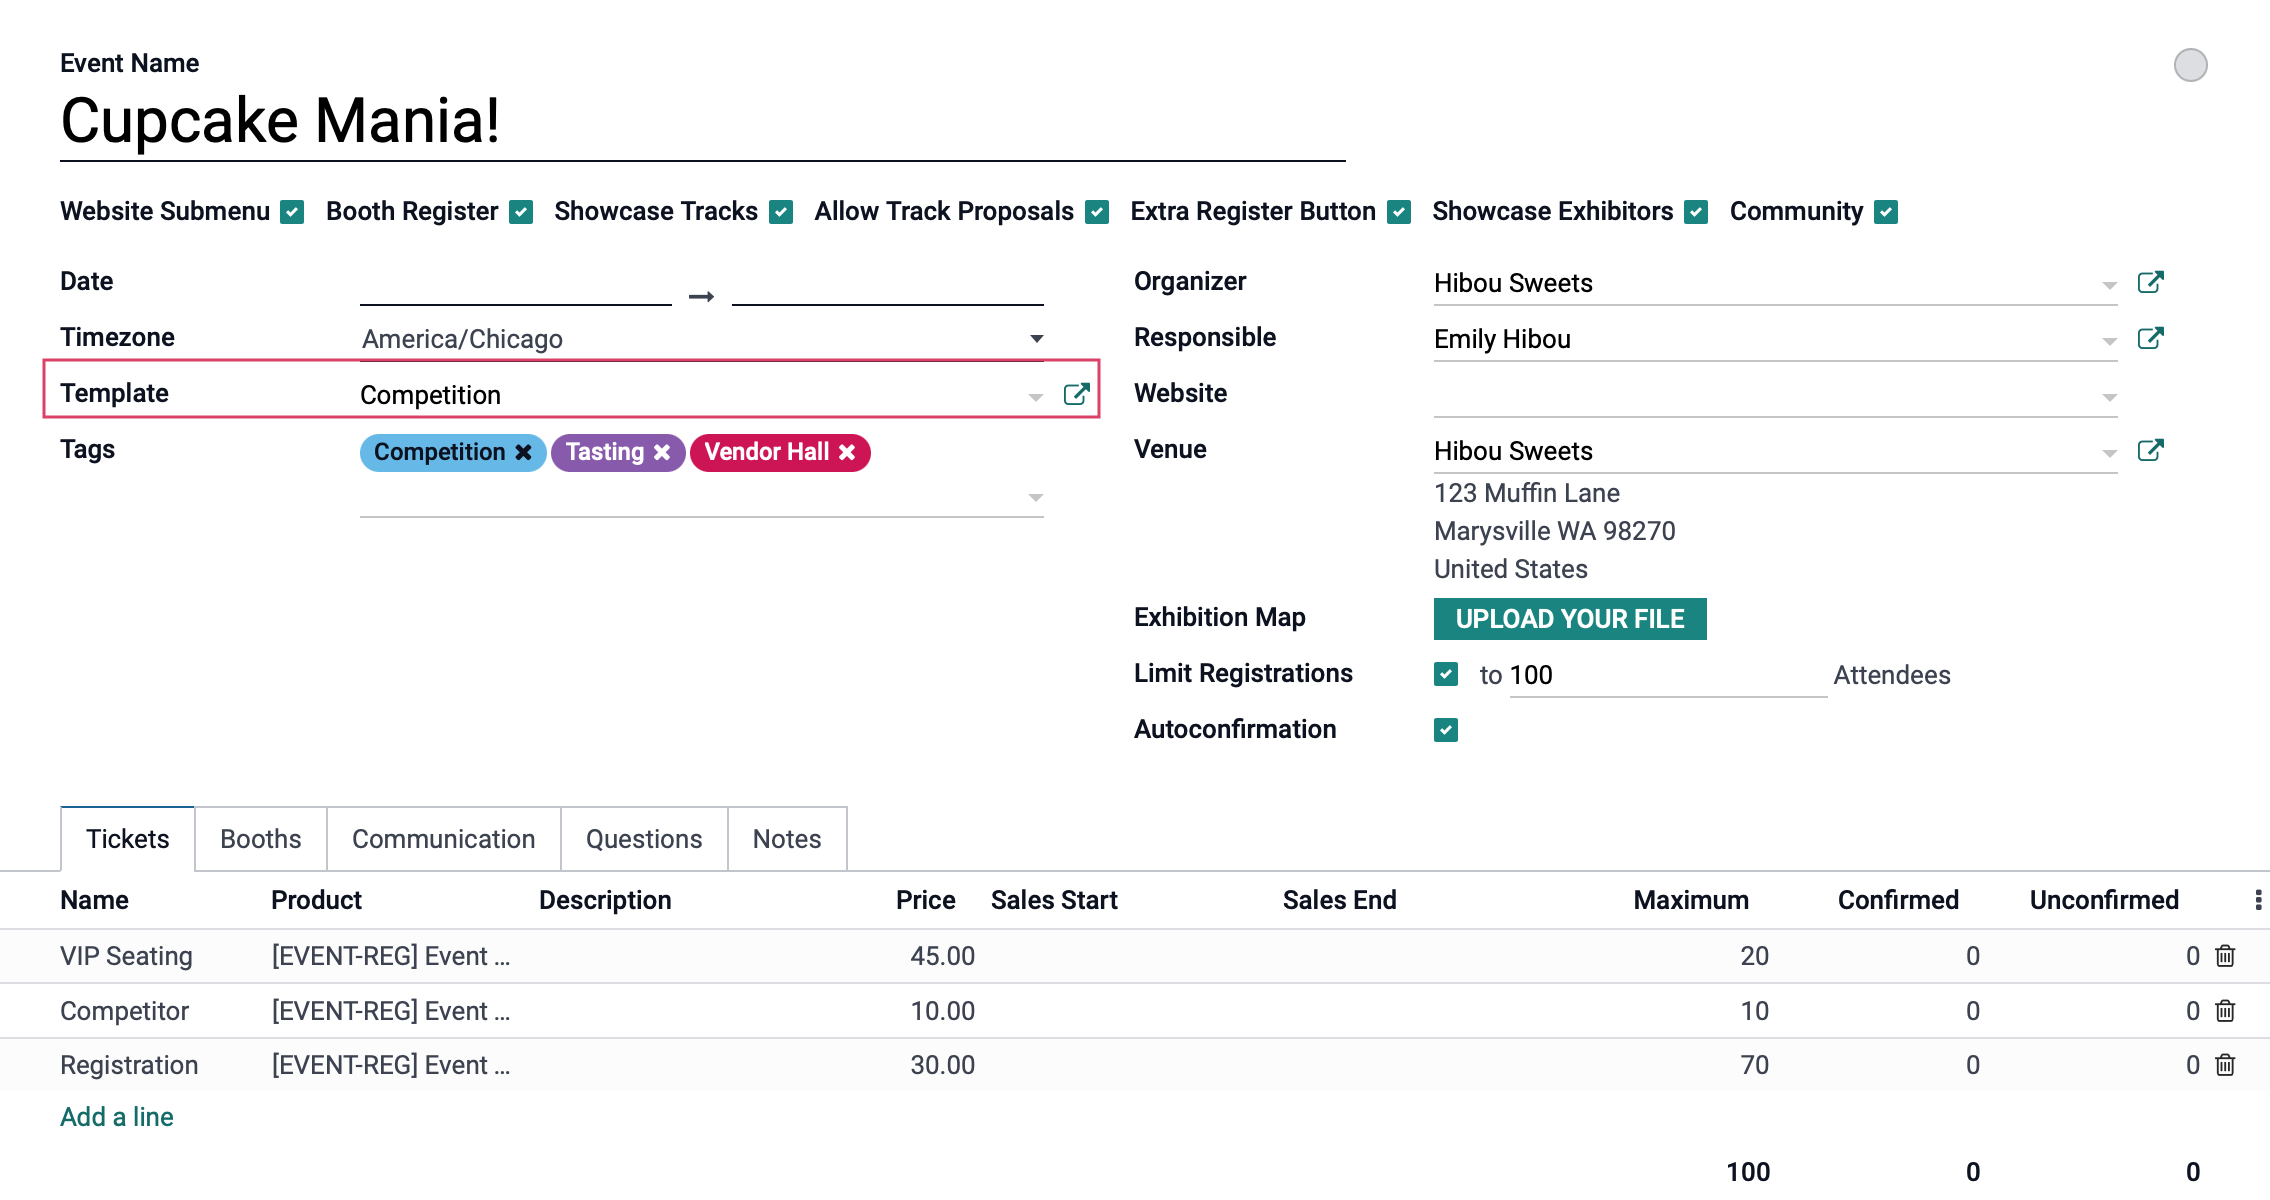
Applying a Template to an Event
When you're done adding options for your template, click Save. You can now apply this template to any event you create by selecting it from the Template field.
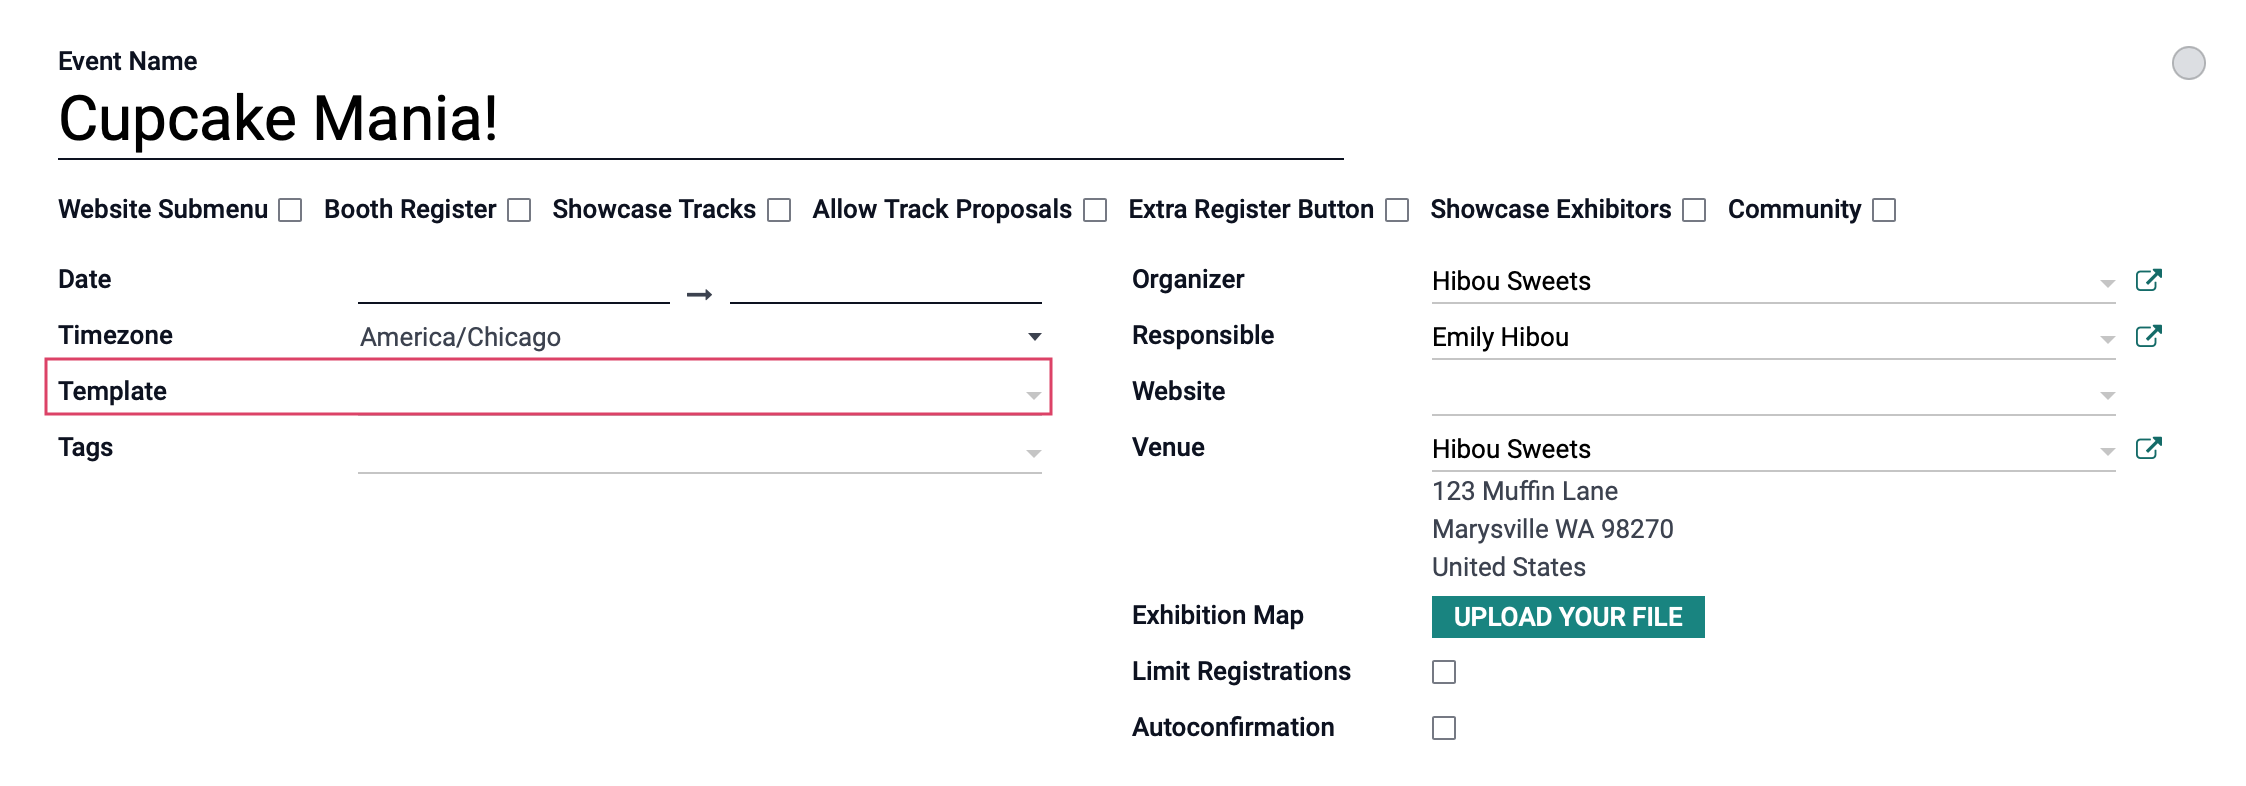
In doing so, the sections you customized in the template will then populate to the event. Making changes to an event using a template will not change the template, however you can quickly edit the template via the icon.