Scheduling: Attendances
Purpose
The Odoo Attendances application functions as a time clock. From this app, employees can check-in or check-out of work, and management can see at a glance who is available at any given time. Odoo also has the ability to accept scanned badges as a means of checking-in and checking-out.
The purpose of this document is to go over how to use the Attendances application in Odoo 13, including how to configure an Employee's database user account to have the correct access.
Good to Know!
Attendances Permissions
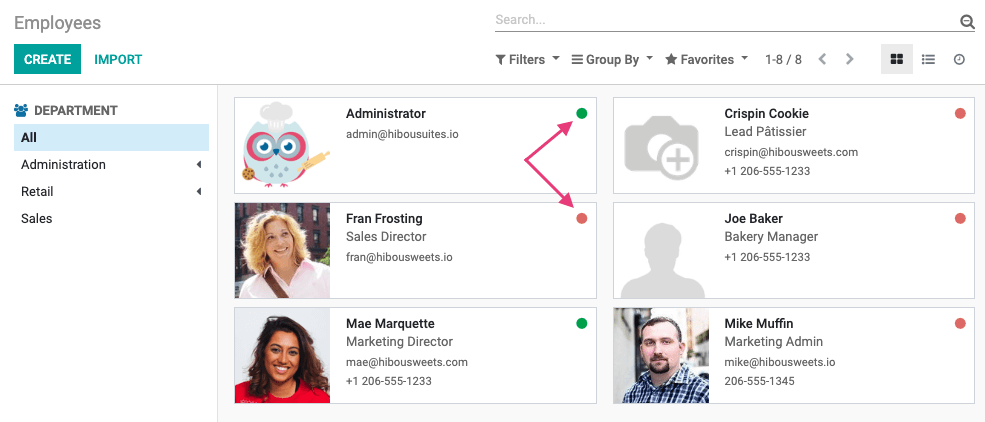
In order for an employee to have access to this application, they must first be configured as a database user. Please refer to the Employee Setup Guide for instructions.
To allow Manual Attendance access, navigate to the Settings app.
Once there, click MANAGE USERS under the Users section. Select the user you wish to grant access to, then click EDIT.
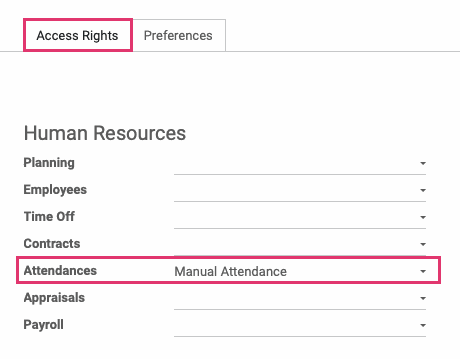
Under the ACCESS RIGHTS tab, navigate to the Human Resources section and adjust the Attendances field:
Manual Attendance: This setting allows employees to manage their own attendance (check-in and check-out).
Officer: This setting allows the employee to view attendance, employee details, and reporting.
Administrator: This setting allows the employee to configure the Attendances application.
When ready, click SAVE.
Process
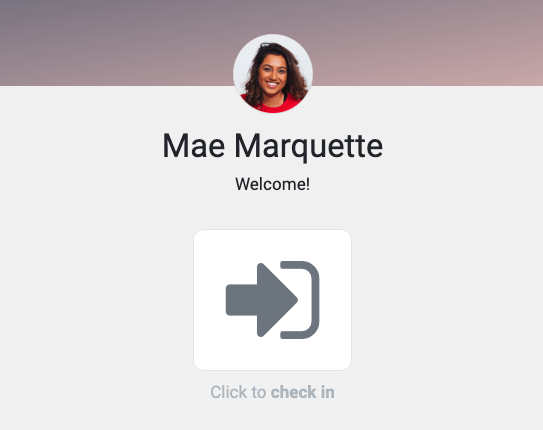
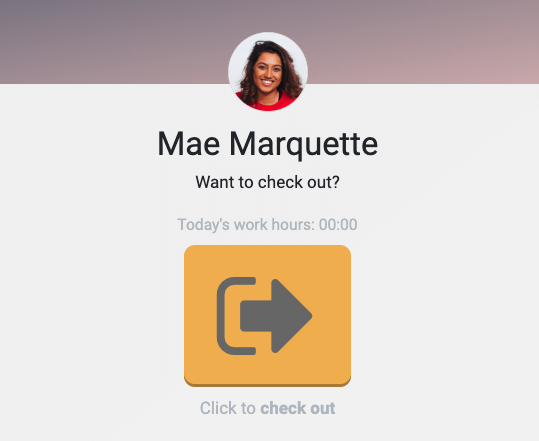
To get started, navigate to the Attendances app.

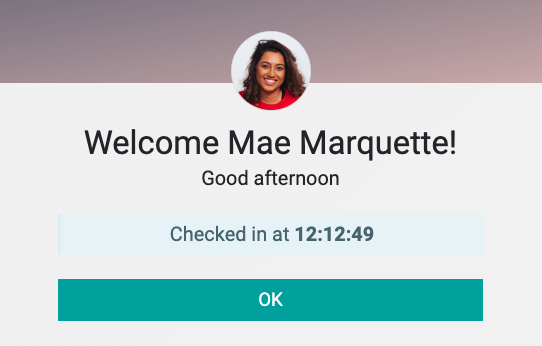
You'll then see the confirmation screen. This message will disappear after five seconds, or you can click OK to dismiss it immediately.
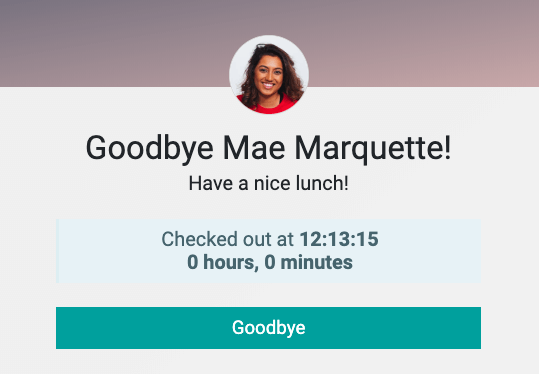
You'll then see the confirmation screen. This message will disappear after five seconds, or you can click OK to dismiss it immediately.
Managing Attendances
This step requires Officer or Administrator access.
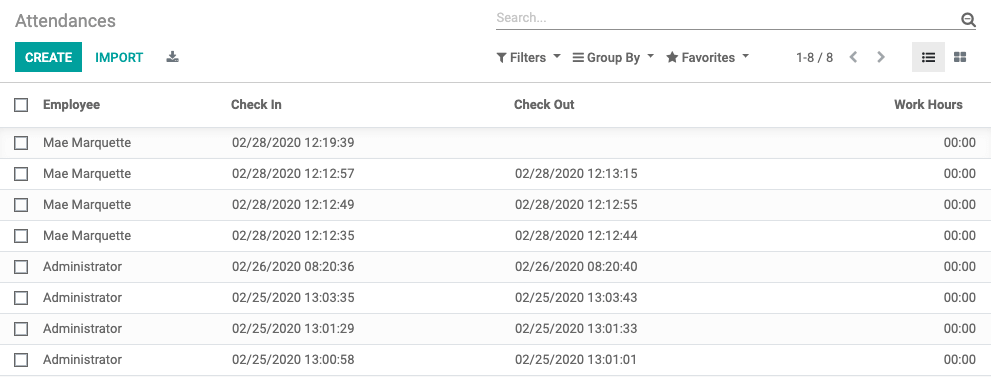
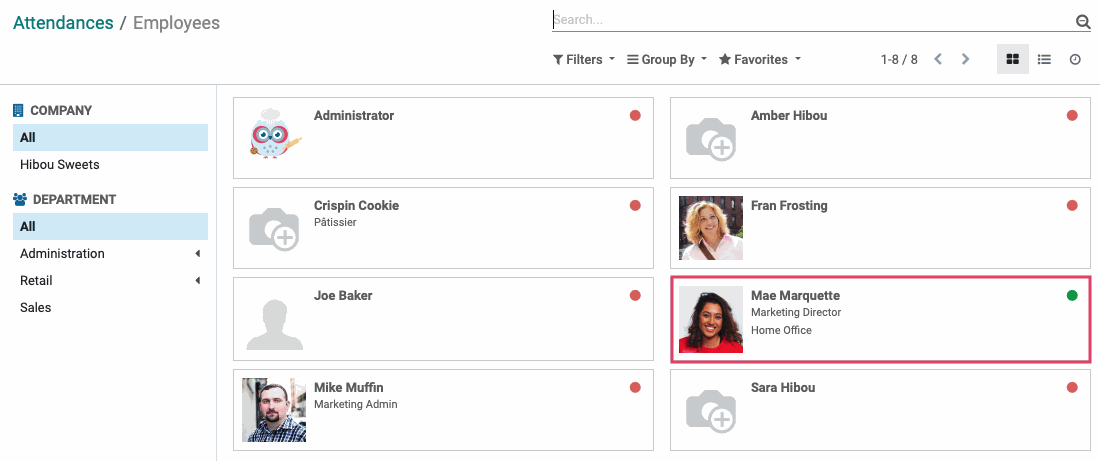
From the navigation menu, select ManageR > Attendances to see a list view of timeclock entries.
Managers can open any record to edit the Check-in and Check-Out timestamps or create missing entries to assist forgetful employees.
Checking in with Badges and PINs
Badge and PIN attendance is not configured for employees with Manual Attendance access. Instead, it's meant to work in a central location for all employees (e.g. entry area, front desk). For scanning to function, there must be a scanner connected and configured as in input device.
Employees will also need a badge generated and/or a PIN number assigned. For more information on setting up a Badge or PIN number, see our Employee Set-up document.
To enable Badge or PIN check-in/check-out, navigate to the Attendances app.

Once there, click Configuration. Under the Check-In/Out section, enable Employee PIN.
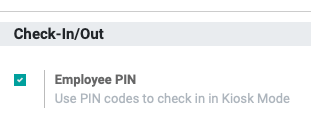
When you're done, click Save.
Kiosk Mode
From within the Attendances app, the Badge/PIN kiosk can be accessed from Manager > Kiosk Mode.
The kiosk will offer the option to scan a badge barcode immediately using a scanner, or manually enter a PIN using the Identify Manually button.
Note: There is no need to click "Scan your badge" for this option. You simply need to scan it as the only input.

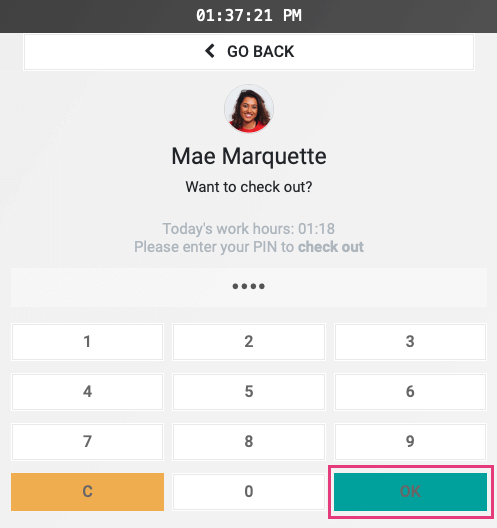
If you choose to login with the PIN, you'll then need to select your employee record from the list.
From here you'll enter your PIN number and click Ok. The current time will be displayed on the top of the screen.