Scheduling: Time Off / Leaves: Time Off Requests
Purpose
The purpose of this documentation is to show you how Time Off Requests are created and managed in the Odoo 13 Time Off application.
Process
To get started, navigate to the Time Off app.
Requesting Time Off
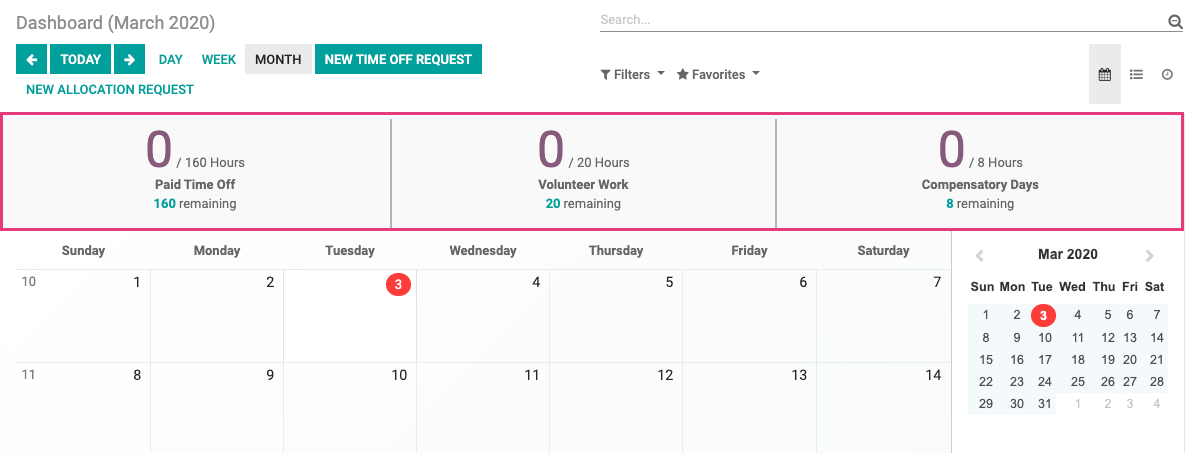
Your initial view upon opening the app is My Time Off > Dashboard. At the top of this page, you'll see all the allocations available to you.
Good to Know!
If a company uses a "No Allocation Needed" Time Off Type, the available allocations won't be shown on the dashboard because there are no strict limits.
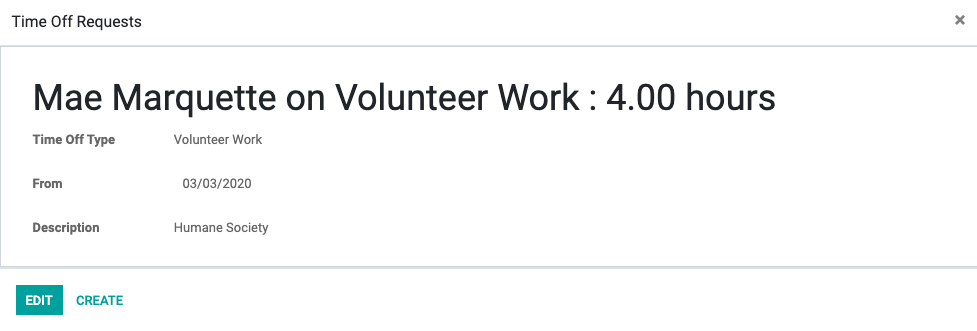
From this page, click NEW TIME OFF REQUEST. This opens the Time Off Requests form in a modal window.
Time Off Type: Select the type of leave you're requesting from the drop-down. Allocation options will show the available hours in the drop-down, as well.
From / To: If you're taking full days off, enter the start and end date of the leave request. Otherwise, enter only the start date and select one of the following options:
Half Day: This option requires that you select either Morning or Afternoon.

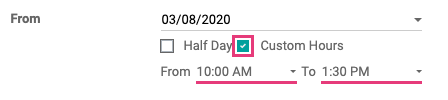
Custom Hours: Select this option if you're requesting specific hours off within the timeframe. When selected, you'll be required to enter the From and To times of your leave.
Description: Optionally, enter the description or reason for leave.
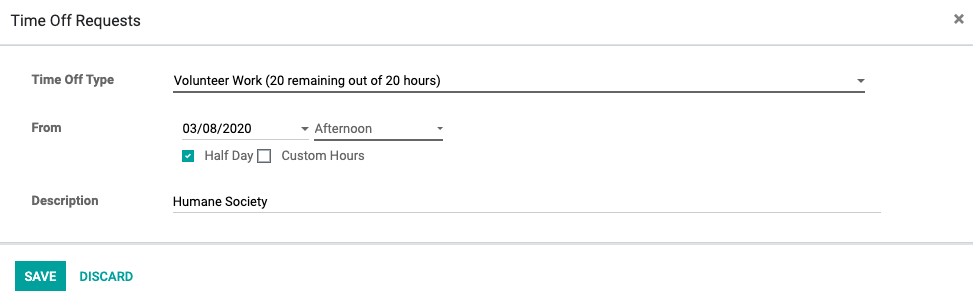
When you're done, click Save. You'll then have the option to Edit the request if needed.
The Time Off Request will be added to your calendar, and you can view the status of the request by going to My Time Off > Time Off Requests.

Other status options are:
To Submit: This indicates a draft request that still needs to be submitted. It could also mean the manager set it back to draft to request changes. The line will be shown in blue.
Approved: This indicates the leave request has been approved. The line will be shown in black.
Refused: This indicates the leave request has been denied. The line will be shown in red.
Managing Time Off Requests
Go to MANAGERS > TO APPROVE > time off. By default, this will list out only the employees whose time-off requests you manage. You can view all time-off requests by removing the PEOPLE I MANAGE filter.

From this listings page, you can click the corresponding icon to quickly approve or refuse the time-off off request.

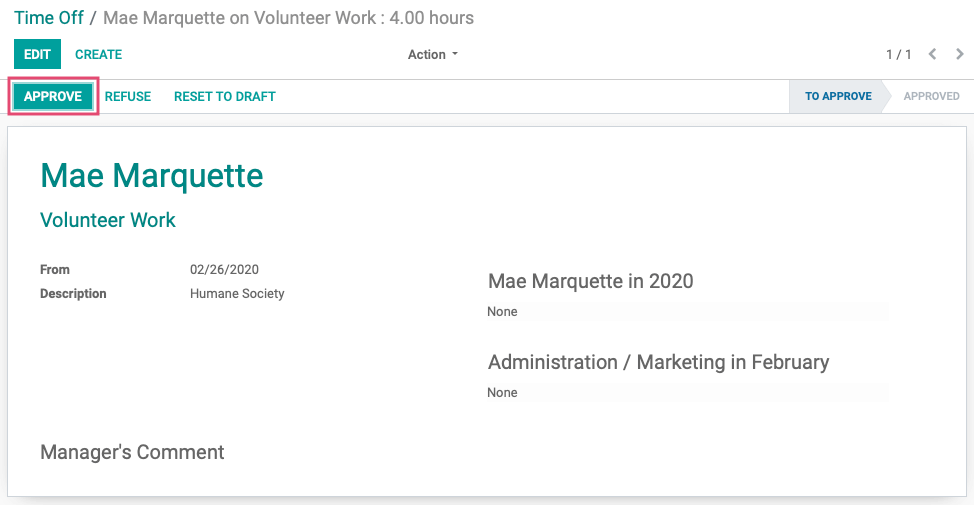
To view the full request, click into the record from the list.

On this page, you can APPROVE or REFUSE the time-off request. For this example, we'll approve the request.
Good to Know!
Second Approval
If this Time Off Type requires a second approval, the request move to the SECOND APPROVAL phase. The employee in charge of the final approval will then click VALIDATE.
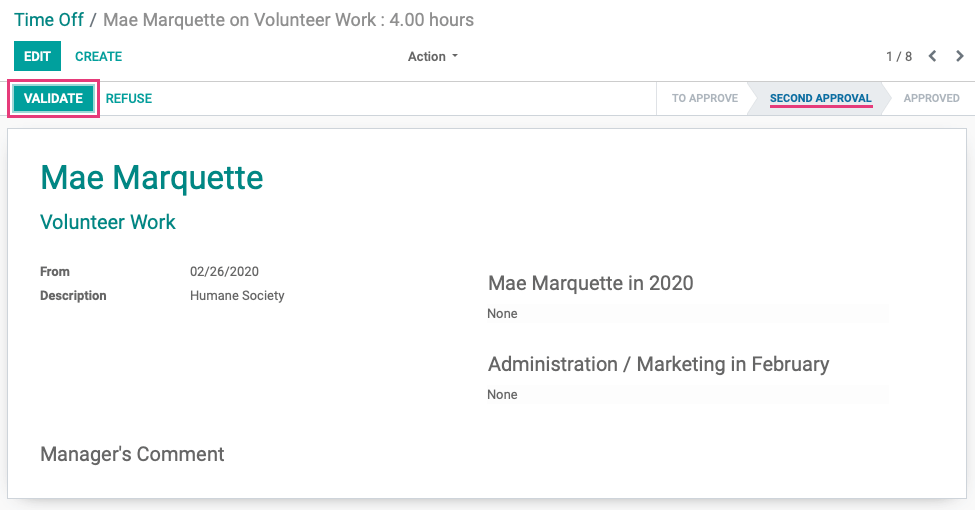
Once approved, there will be a summary for the employee's time off for the year, as well as the approved Time Off Requests for others in the same department and same month.
