Sales: Sales Workflows: Service Invoicing Policies: Timesheets on Tasks
Purpose
The purpose of this documentation is to walkthrough the Service Invoicing Policy, Timesheets on Tasks, in Odoo 16. Service Invoicing Policies determine how and when a service-type product is invoiced. This policy is intended to be used when you're being paid for actual time spent on the service, such as a Research Service.
Process
Timesheet Configuration
To get started, navigate to the Timesheets app.
Once there, click configuration > settings then scroll to the Billing section and set the Invoicing Policy to All Recorded Timesheets.
When you're done, click SAVE.

Product Configuration

Once there, click Products > Products, then either select an existing service type product to modify or create a new product using the Product Creation Workflow document as a guideline, and be sure to configure your product with the following settings:
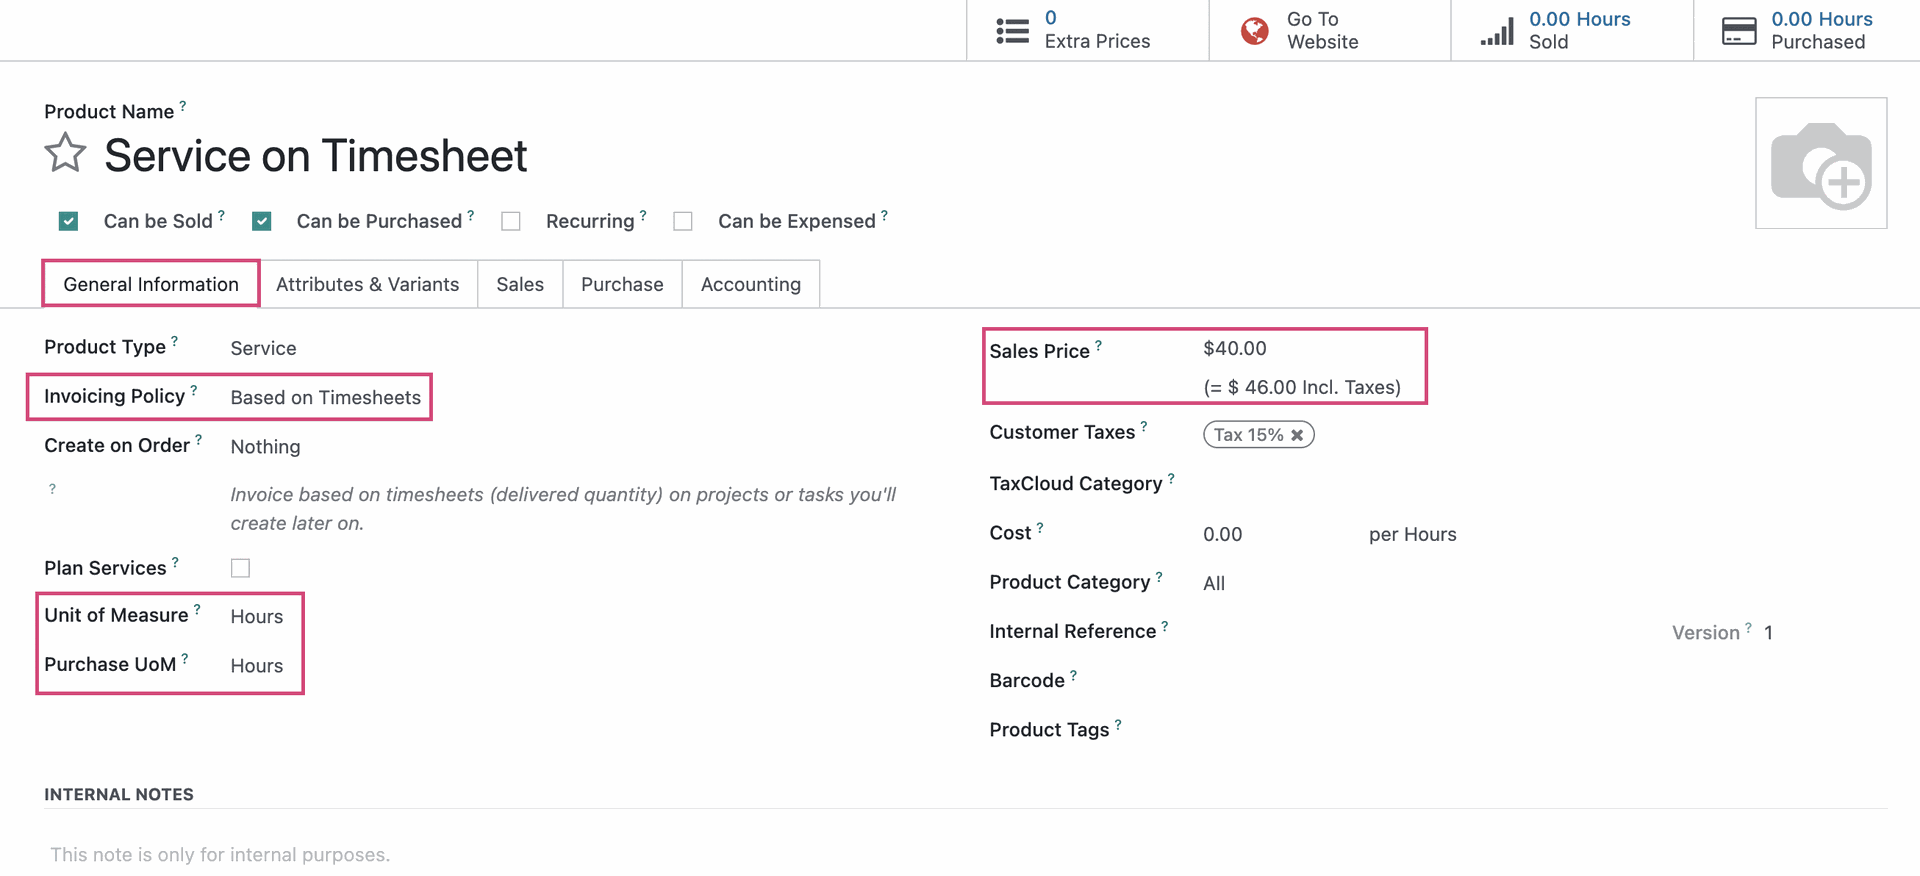
Under the GENERAL INFORMATION tab:
Product Type: Set to Service
Invoicing Policy: Set this to Based on Timesheets.
Sales Price: This is the cost-per-unit of the service.
Unit of Measure: This is the default Unit of Measure used for all stock operations. You can leave this as a general “unit” measure or use “hours,” “days,” or another time-based measure.
Purchase UoM: This field represents the Unit of Measure used for Purchase Orders. The unit here will automatically default to the unit selected in the Unit of Measure field. However, you can manually change this.
When you're done, click the save icon.
Create an Order
To use Timesheets, you must also set up a Create on Order option on the product. See our Service Tracking for a Product document for workflow examples.
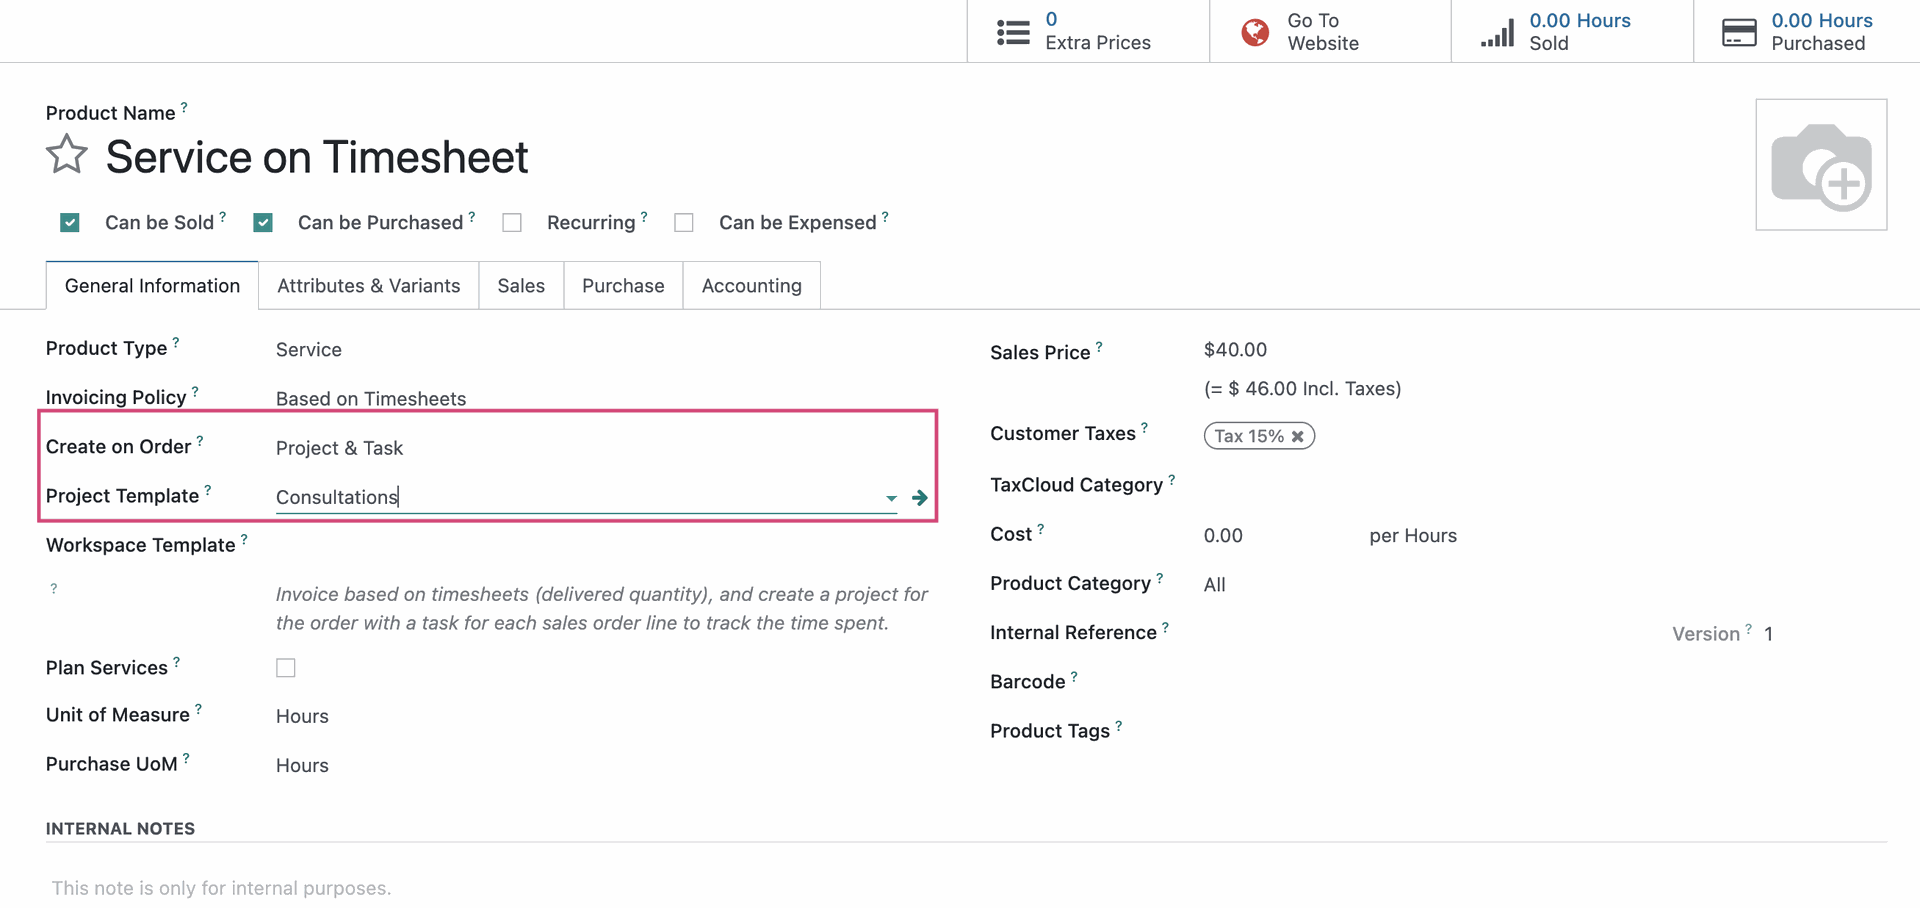
Create On Order: On Sales Order confirmation, this product will generate a project/or task. From those, you can track the service you are selling. This will also use the sale order's configured project if defined or fallback to creating a new project based on the selected template.
Our example indicates that when this service is ordered, a task will be created in a project based on the Sale Order. In this case we have also assigned the Project Template; you can choose your Project Template and configure from here by clicking the external link icon after entering a template in this field. This will allow us to enter time spent on the timesheets for each task. These timesheets will give us an accurate figure to invoice.
Quotation / Sale Order
To see how this works in a Sale Order, navigate to the Sales app.

Once there, click NEW.
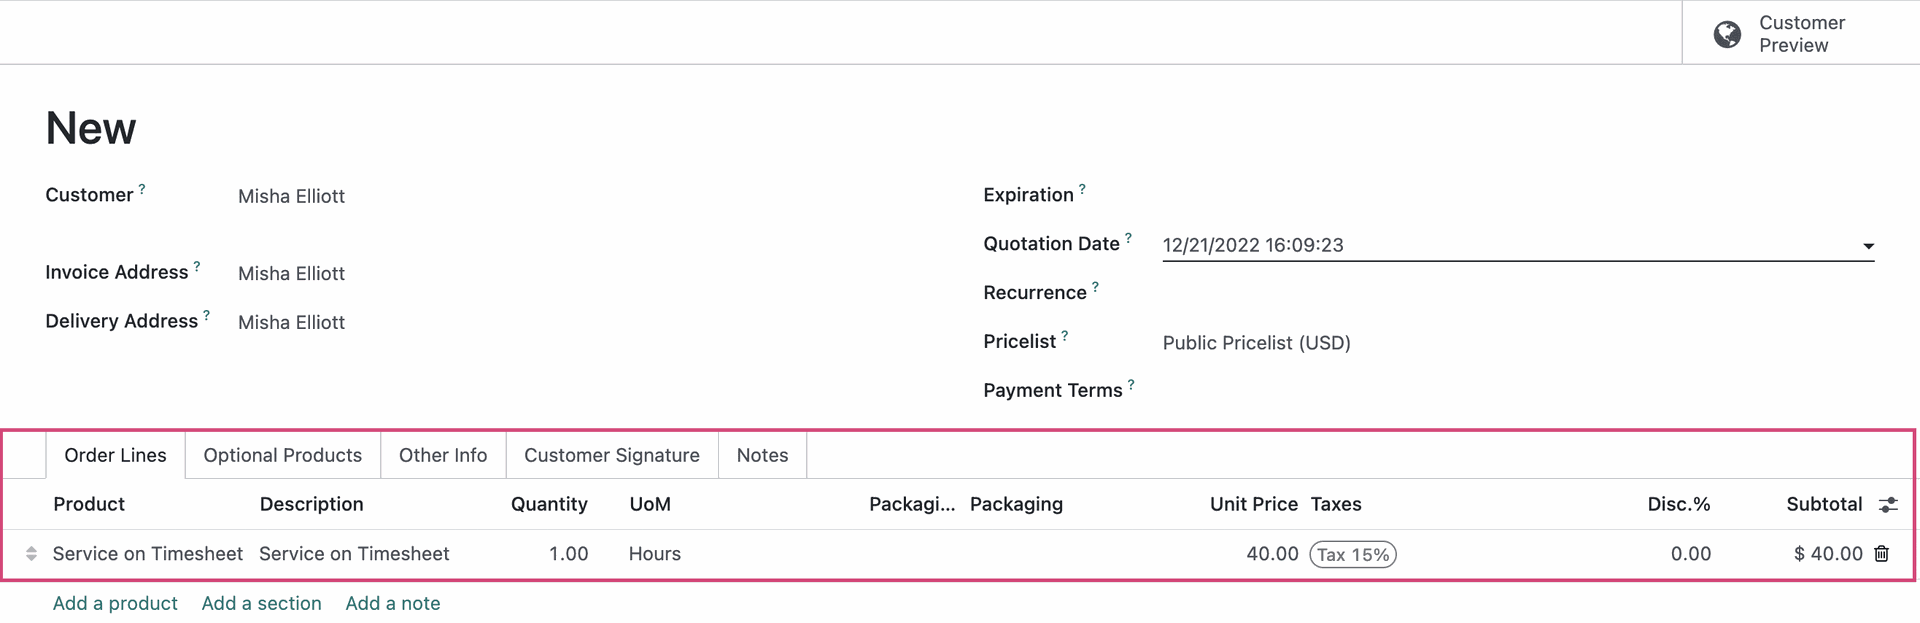
On the New Sales Order form, select your Customer from the drop-down.
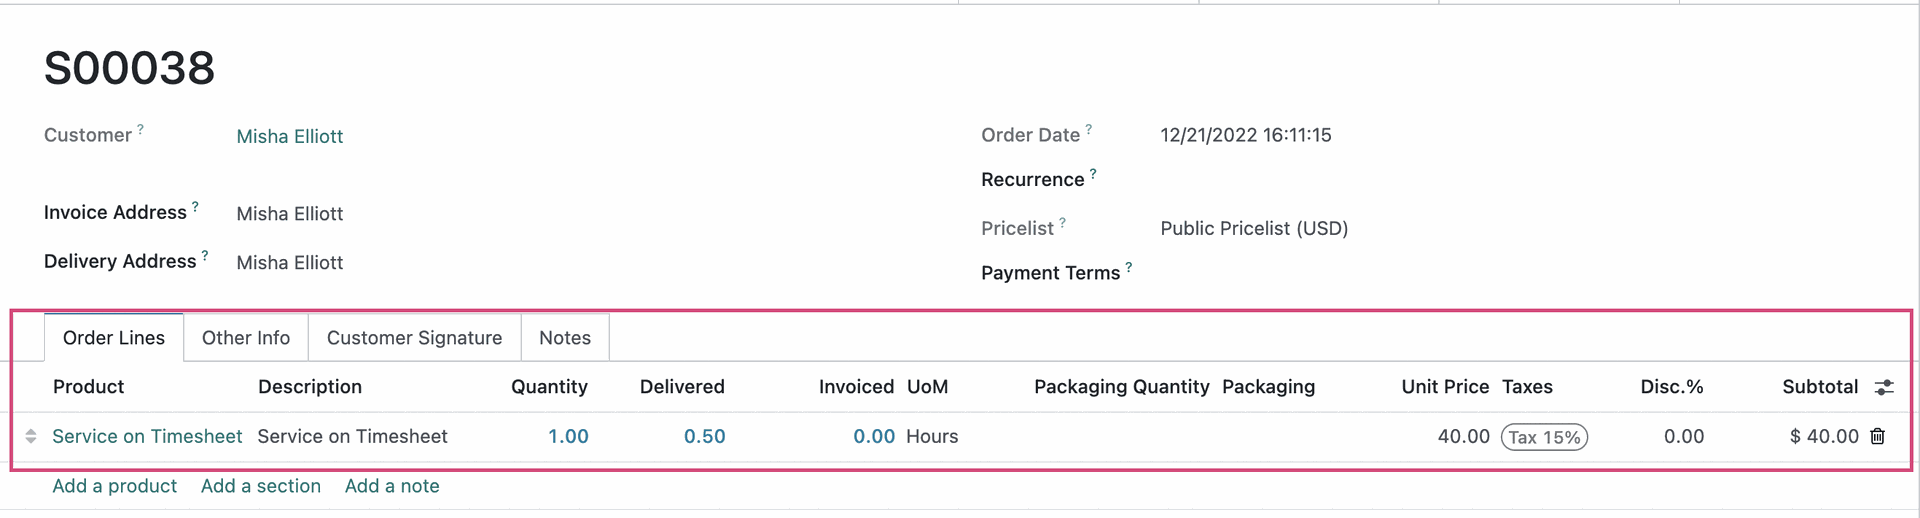
Under the ORDER LINES tab, click ADD A PRODUCT and add the service product configured with this Service Invoicing Policy. The example below shows our Service on Timesheet product at $40/hour.
The customer is ordering one hour of this service, however our Invoicing Policy for this product states that they will be billed based on the timesheets entered on the task, meaning their total is dependent on how long the task takes which could be more or less than the Unit Price.
When you're finished, click CONFIRM. You'll see the order line remains black, indicating it's not ready to be invoiced. This is because we're invoicing on actual time spent, per the Service Invoicing Policy.
Because our Service Tracking selection is set to create a task in a Sales Order project, we also see a Projects smart button which will take us to the project that houses the task created for this Sale Order. There's also a Tasks smart button. This is where we'll enter timesheets.
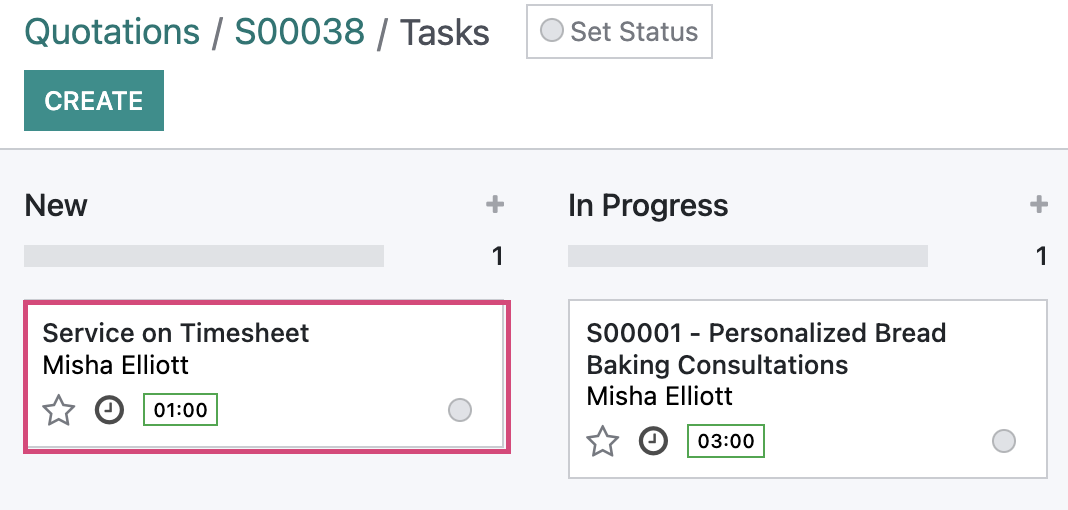
Click the Tasks smart button.

If there are multiple tasks, select the task which shares the product name.
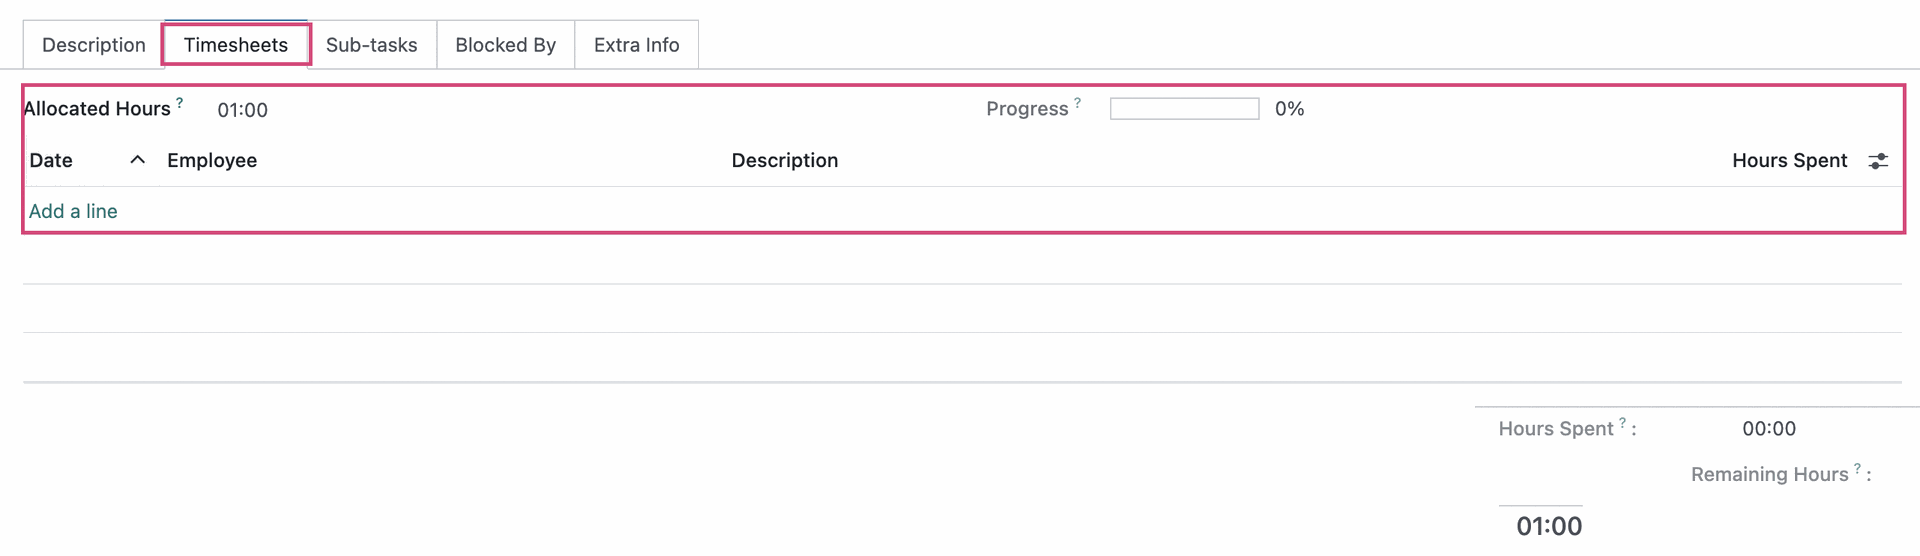
On the task record, under the TIMESHEETS tab, you'll see the number of hours ordered on the Sale Order are now the Planned Hours for this task.
To enter a timesheet, click ADD A LINE.
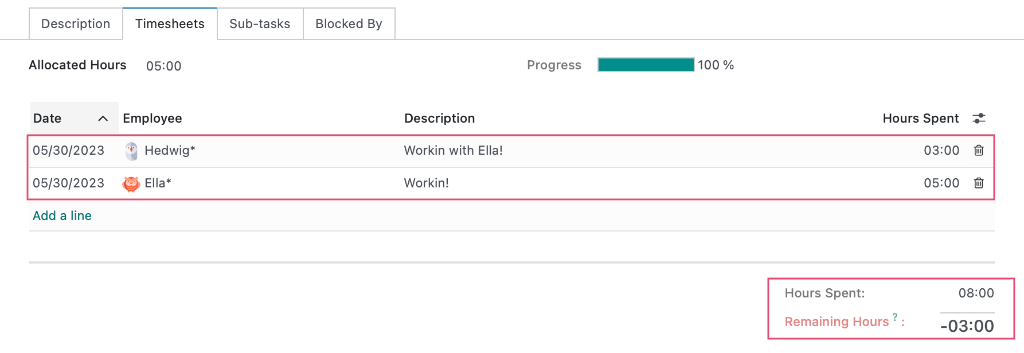
Enter one or more time entries for this task, and add more time than originally planned. When you do that, you will see the Durations of the lines add up to the total Hours Spent on this task. Below the Hours Spent, you will also see the Remaining Hours. Since the time entered is over the Allocated Hours, the Remaining Hours is negative.
When you're ready to invoice this order, click the Sales Order smart button or navigate back using your breadcrumbs..

On this Sales Order, you'll now see that the order line is blue. This means we've entered time for the service and it's able to be invoiced.
On the order line, the Quantity shows what was ordered and the Delivered column shows real-time spent; however the Subtotal does not reflect the cost for delivered quantity.
Important!
If the product line is not blue, it's because your Timesheet settings are configured to bill for approved timesheets only. To view these settings, navigate to the Timesheets app, click Configuration > Settings, then scroll down to the Billing section.
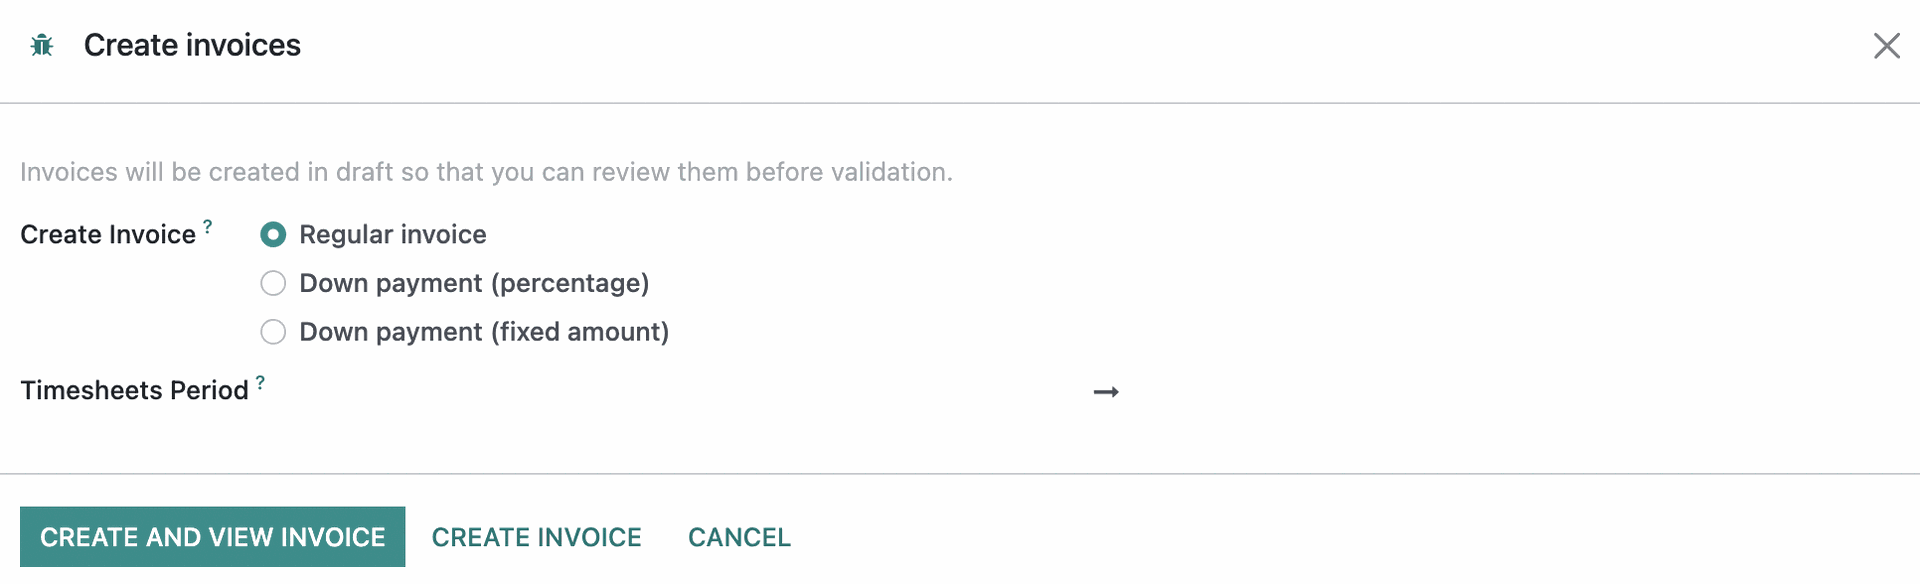
Click CREATE INVOICE to bring up the Create Invoices modal window. On this modal window, "Regular Invoice" is pre-selected. Click Create and view invoice.
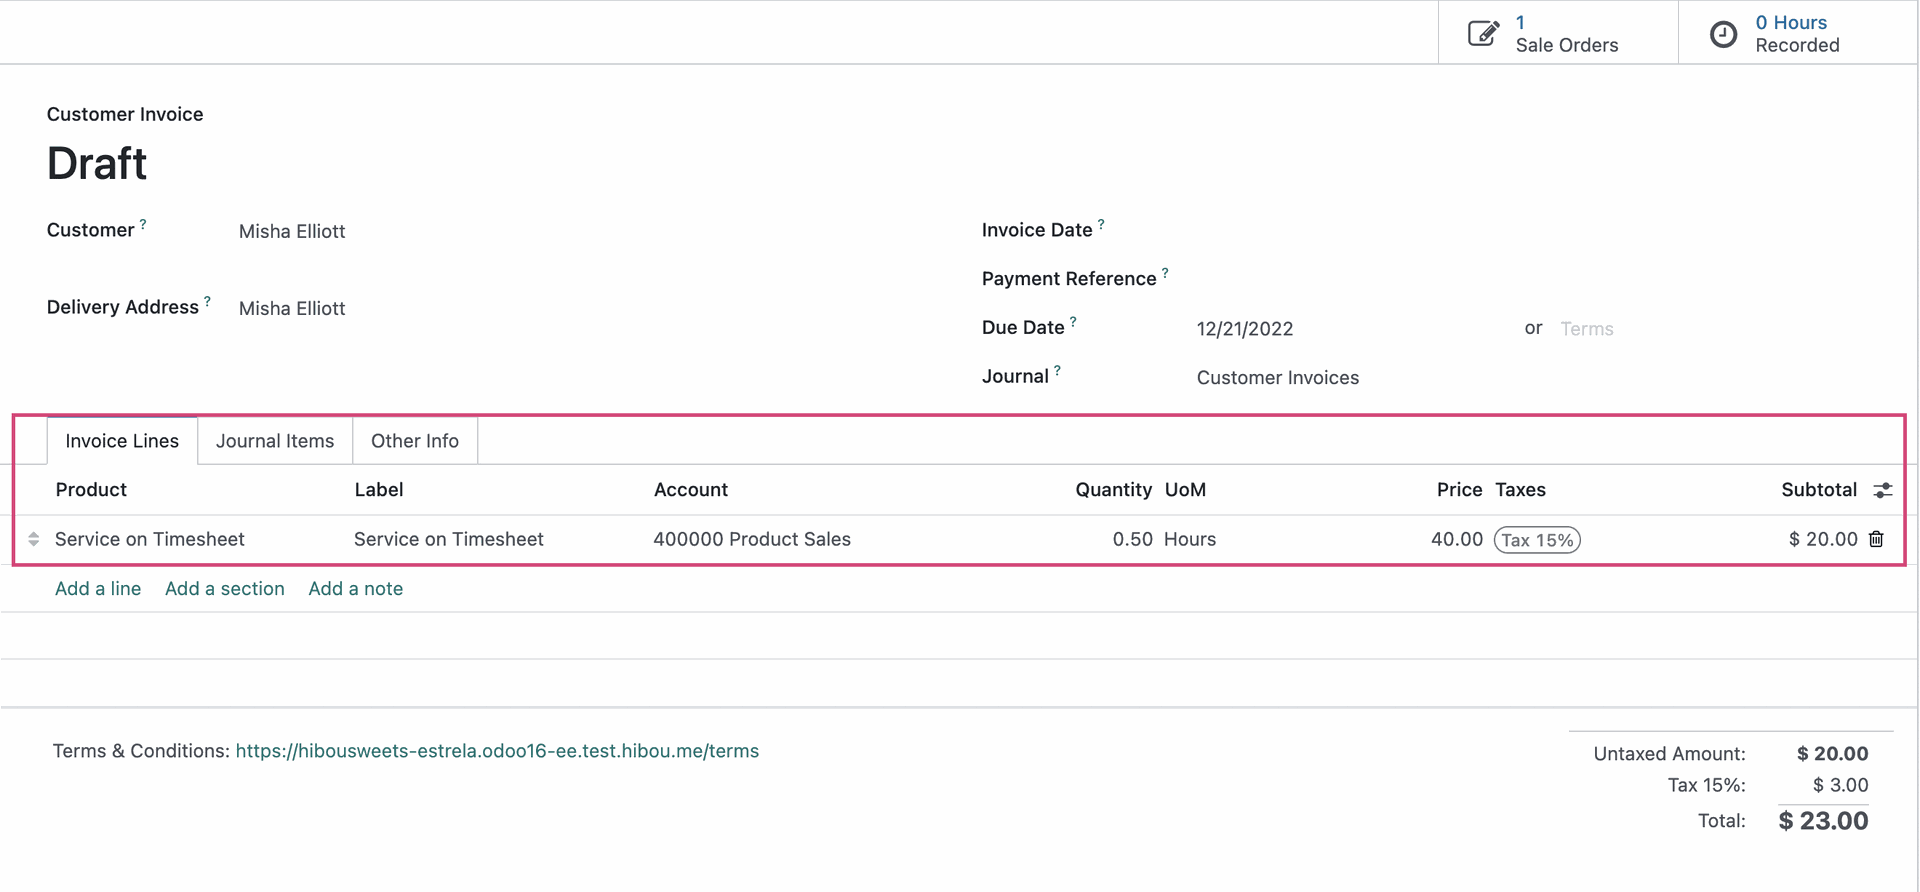
The invoice that was created reflects the actual time spent. If you want to modify what the customer is invoiced for, click EDIT and change either Quantity, Price, or Discount to adjust their total.
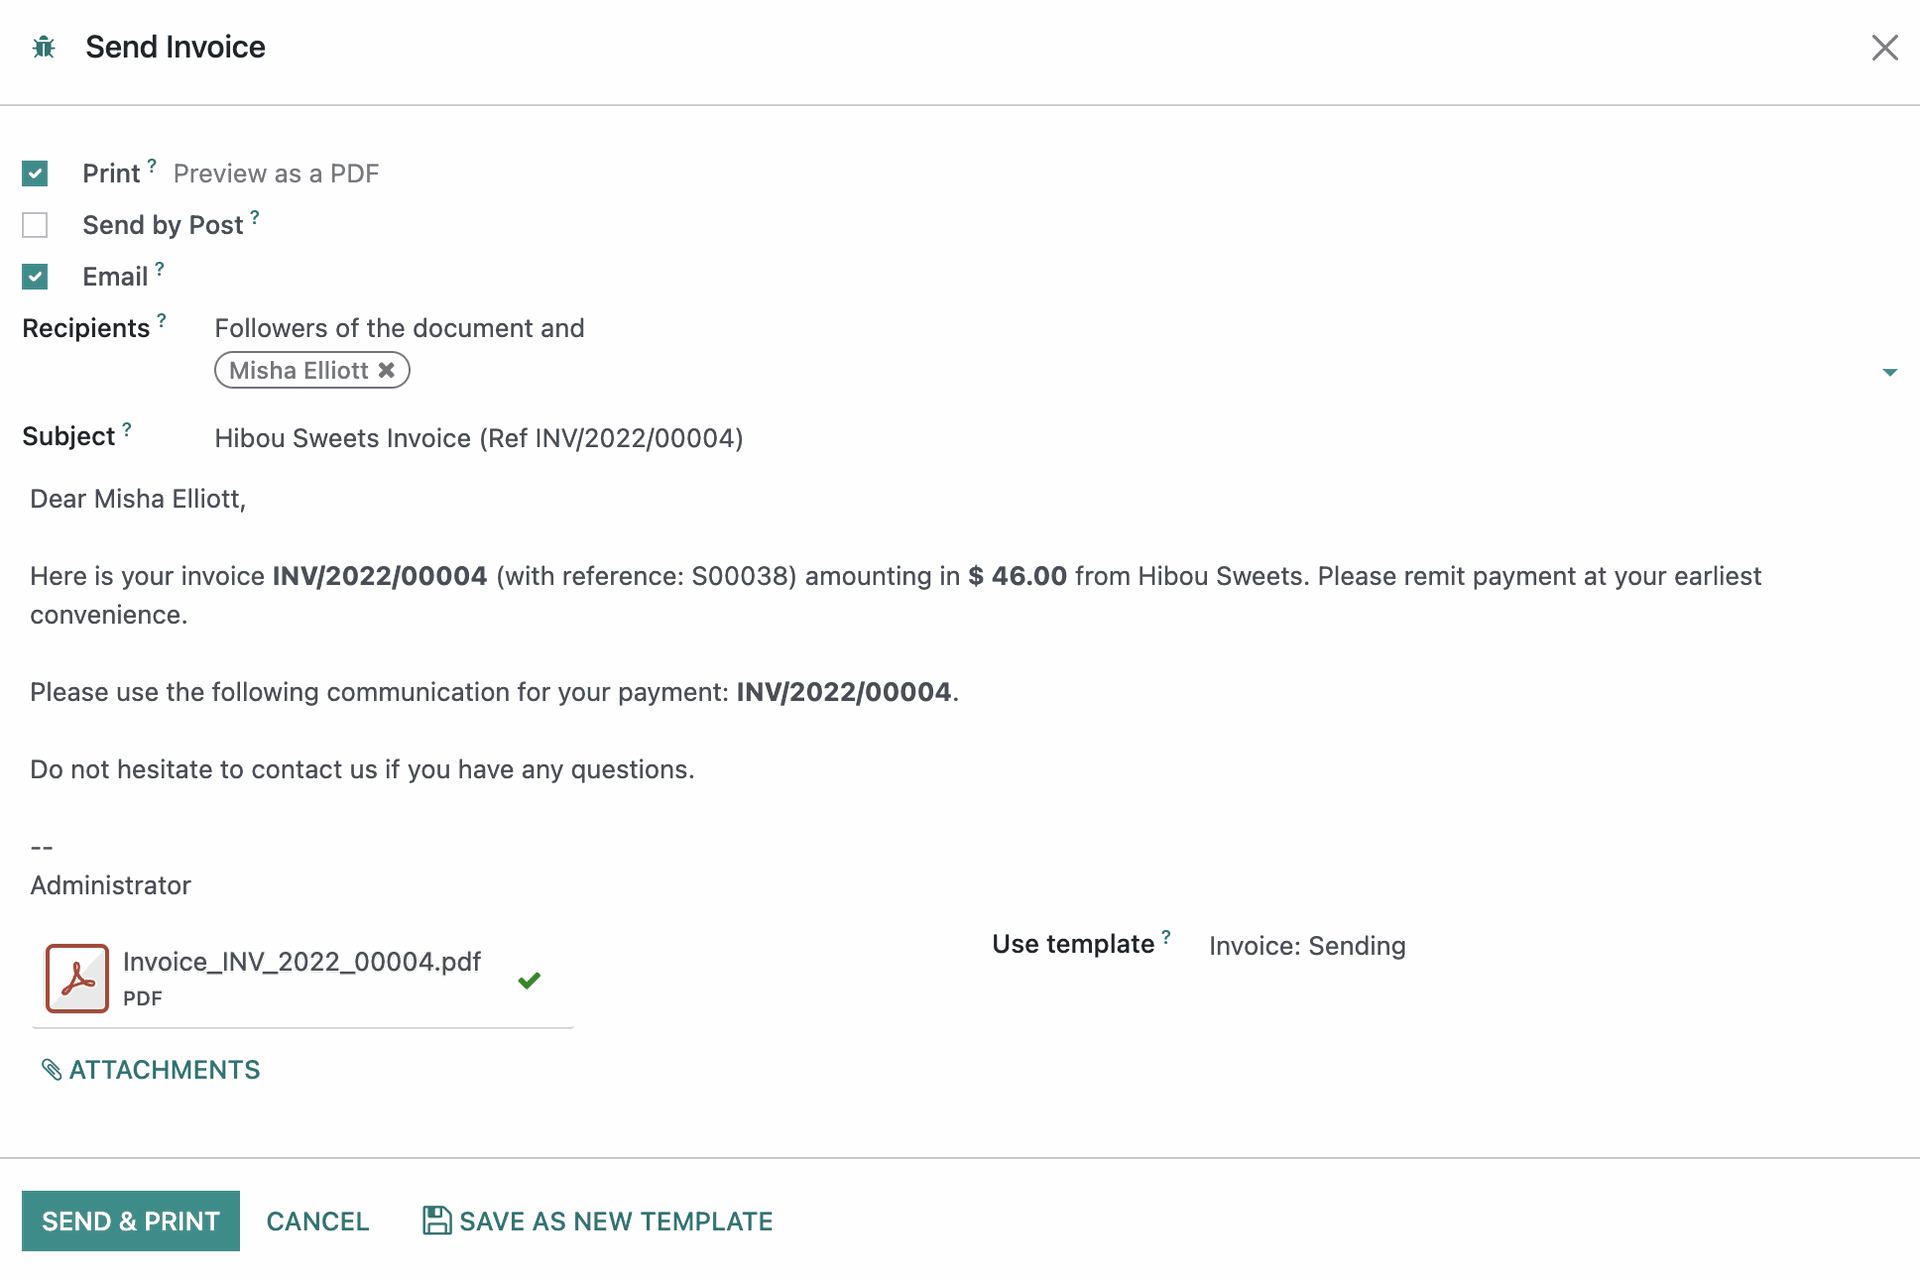
When you're done, you can now confirm the invoice to post it and you'll be ready to collect payment from the customer by clicking send & print.

A modal window will display allowing you to edit, print, and view the invoice email. When you're ready to send, click SEND & PRINT.