Marketing: Email Marketing: Mailing Lists
Purpose
This document explains the process creating Mailing Lists in the Email Marketing app in Odoo 14. Mailing Lists are groups of contacts that can be used in email campaigns without the need to filter contacts every time you want to send it an email to a specified list of recipients.
Process
To get started, navigate to the Email Marketing app.

Mailing Lists
To create a new mailing list, select MAILING LISTS > MAILING LISTS.
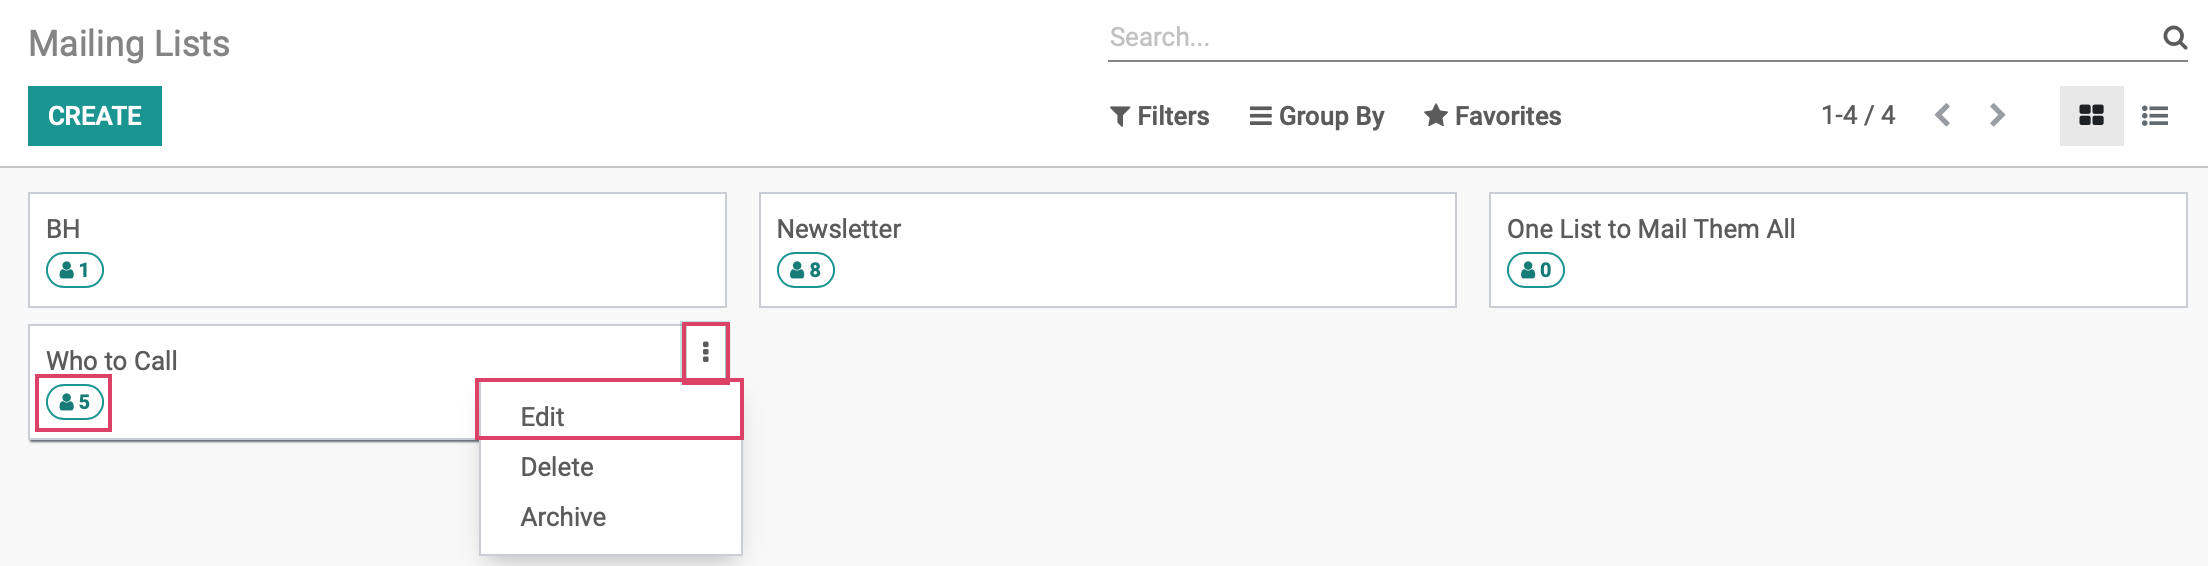
Displayed will be a kanban view of existing mailing lists. To create a new mailing list, click on CREATE.

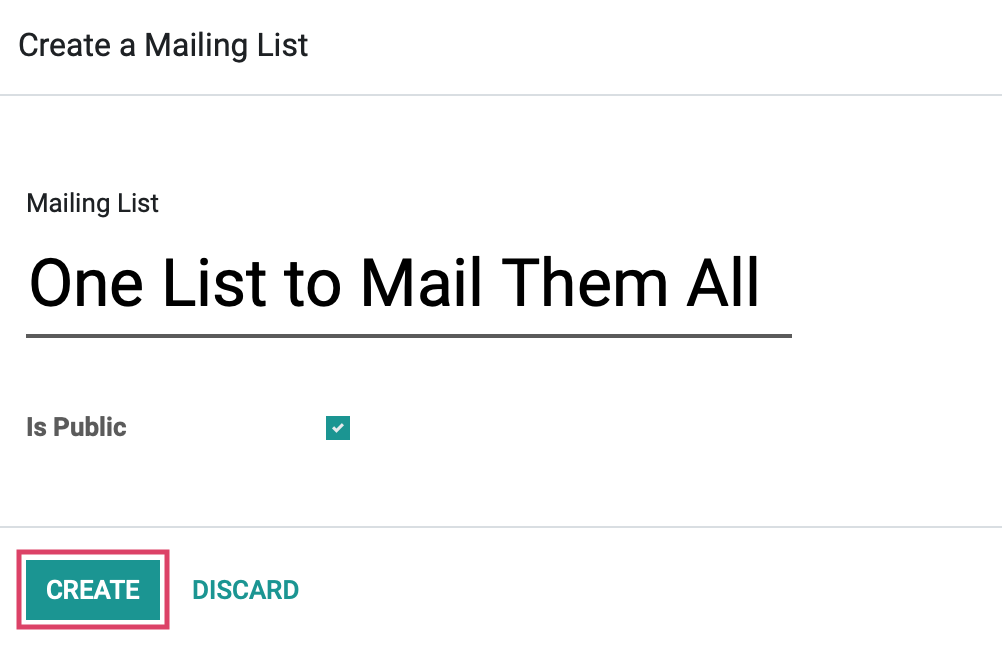
Mailing List: Enter the name of your list, this can be as lame or epic as you desire.
Is Public: Checking this box makes the list accessible by the recipient on the unsubscription page, which allows them to update their subscription preferences.
Once finished, click CREATE.
Once on the mailing list template, you will see a smart button that will lead you to the same information that the icon on the overview showed, a list of all of the mailing list contacts associated with this mailing list.

Mailing List: This is a required field , enter a name for your mailing list.
Website popups: Click Add a line beneath Website. The following modal will open.
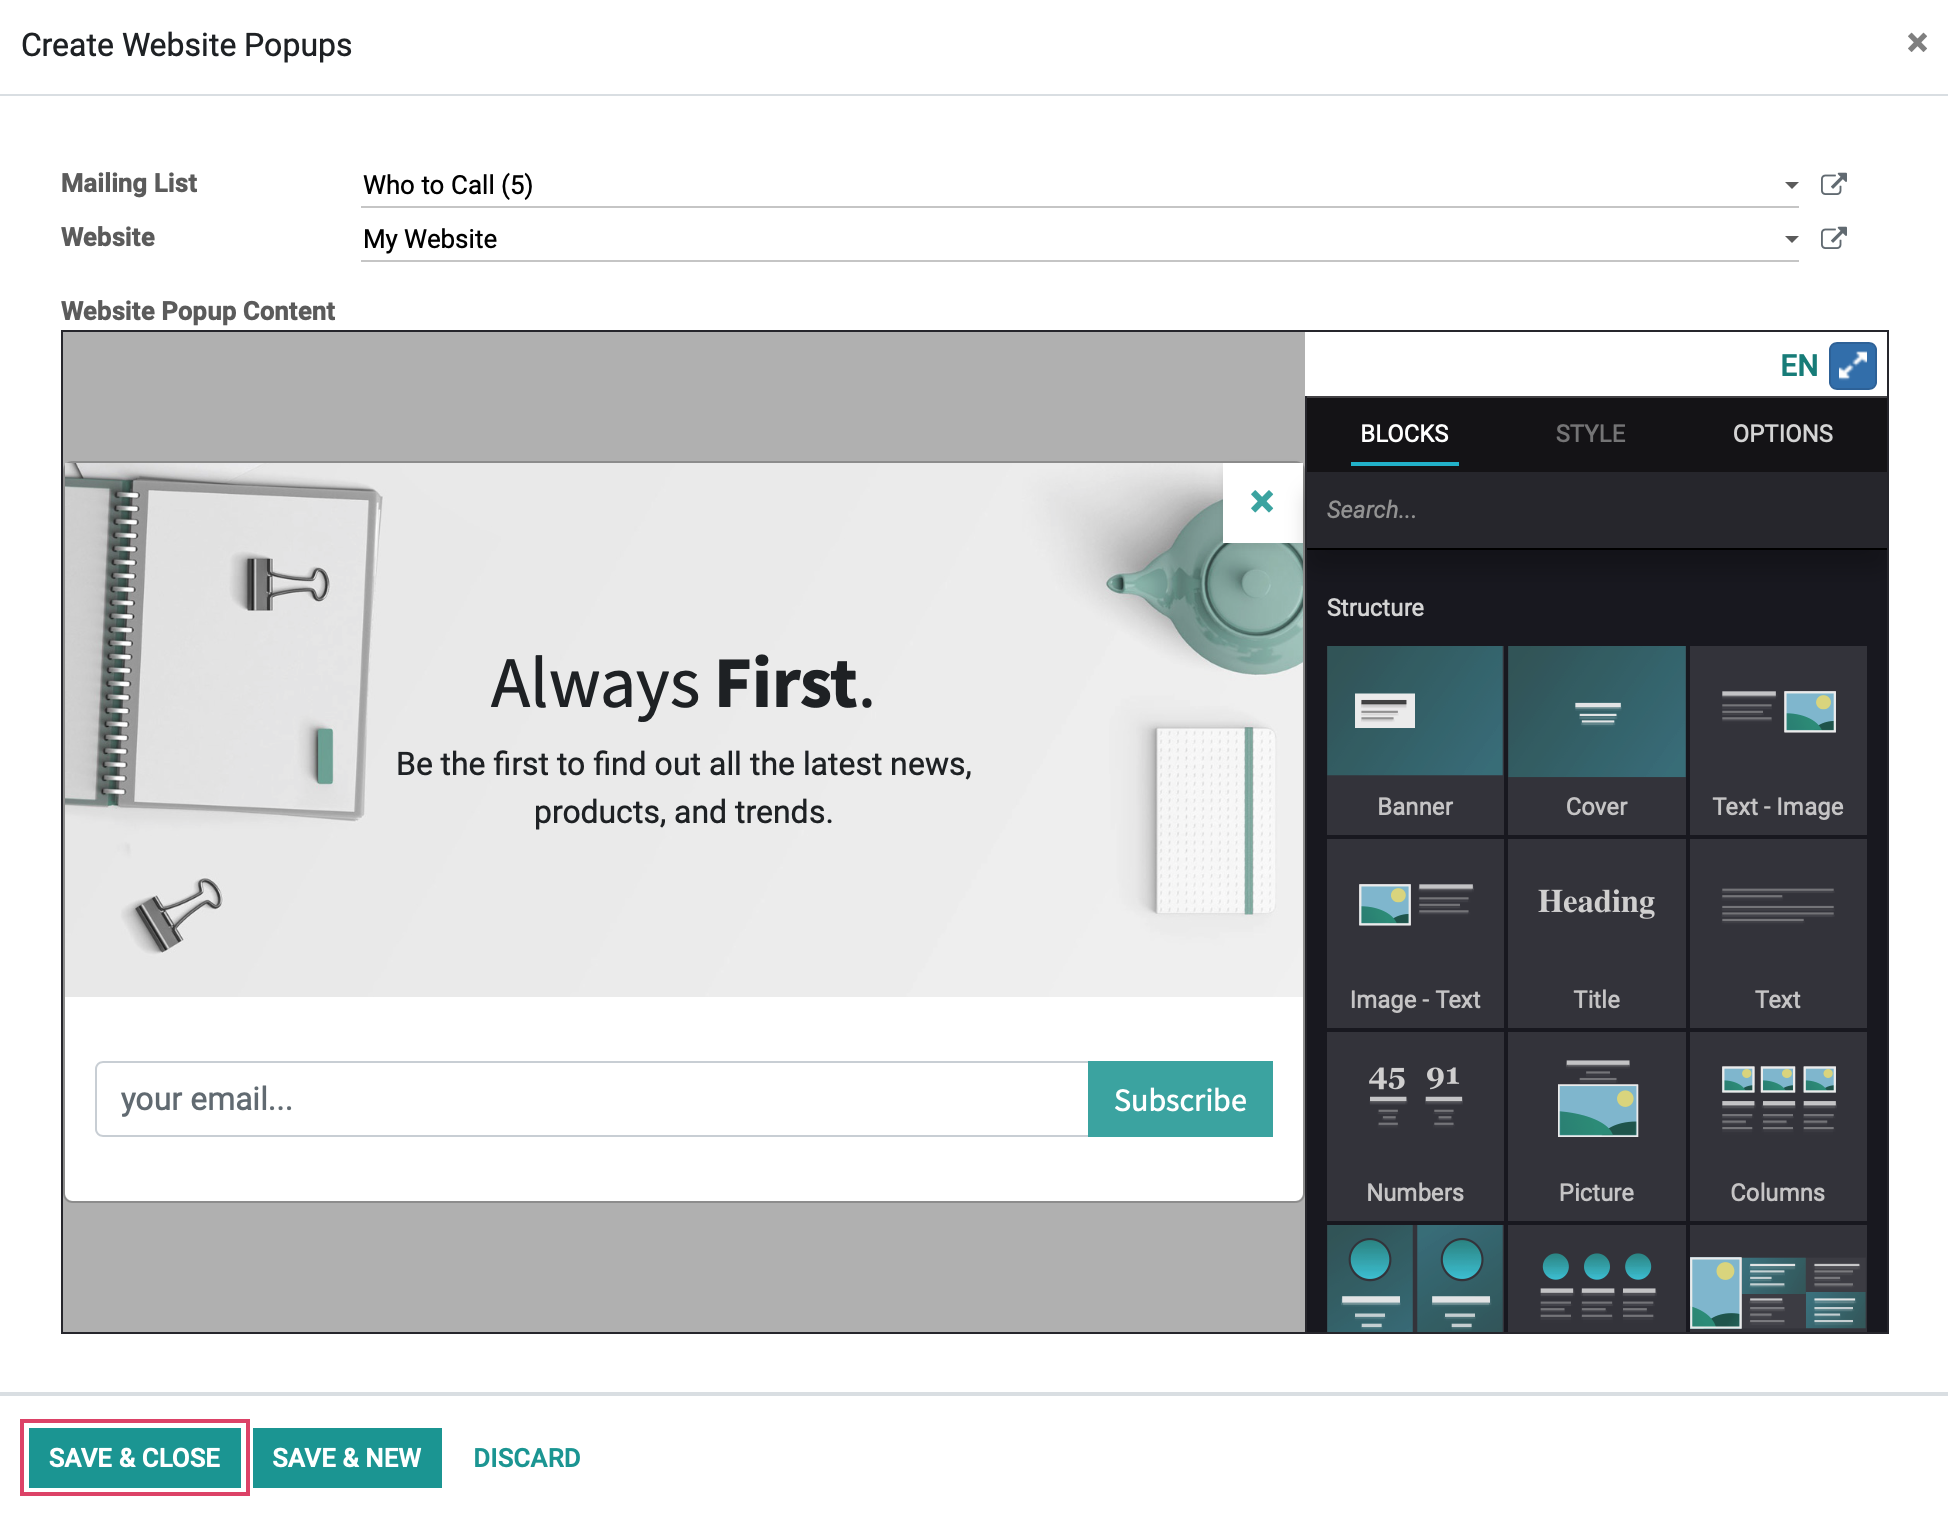
Mailing List: Enter the Mailing List you would like to include for this pop-up.
Website: Enter the website you would like the pop-up to appear on.
When you have designed your pop-up just the way you want, click SAVE & CLOSE.